Making a server available from the Internet
- Windows
- 21 February 2013 at 13:04 UTC
-

- 2/2
6. Free domain name to resolve dynamic IP address problems
If you have a dynamic IP address, then you must be wondering how it is to know your external IP address every time you want to access your server. To solve this problem, we will use the "noip.com" website and associated software that then we will upload.
If you have a static IP address, this solution can also be used as it will allow you to access your server using a domain name rather than retain its IP address.
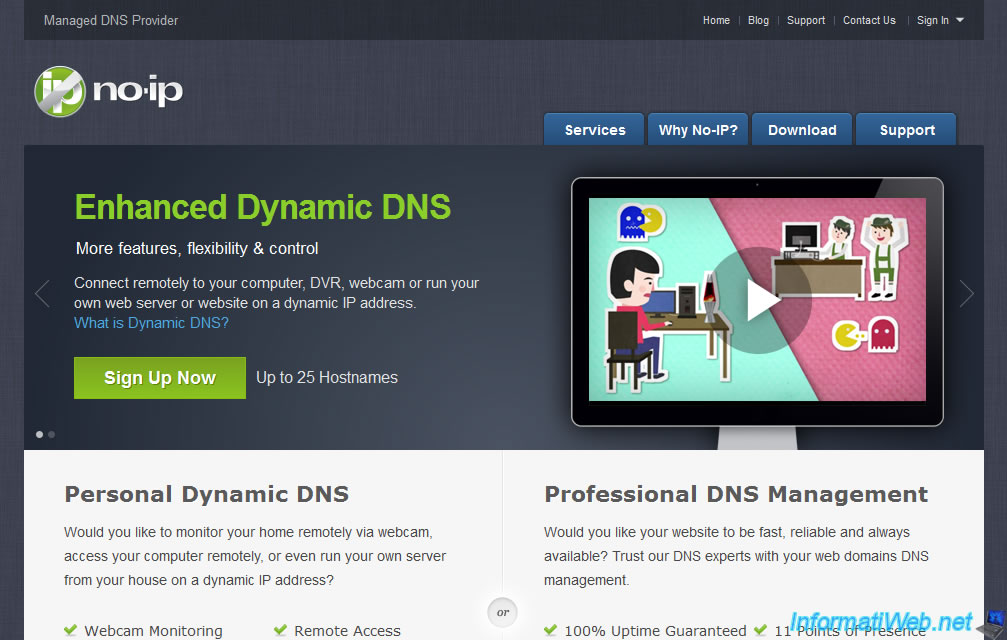
Begin by registering for free by clicking on the "Sign Up Now" button.
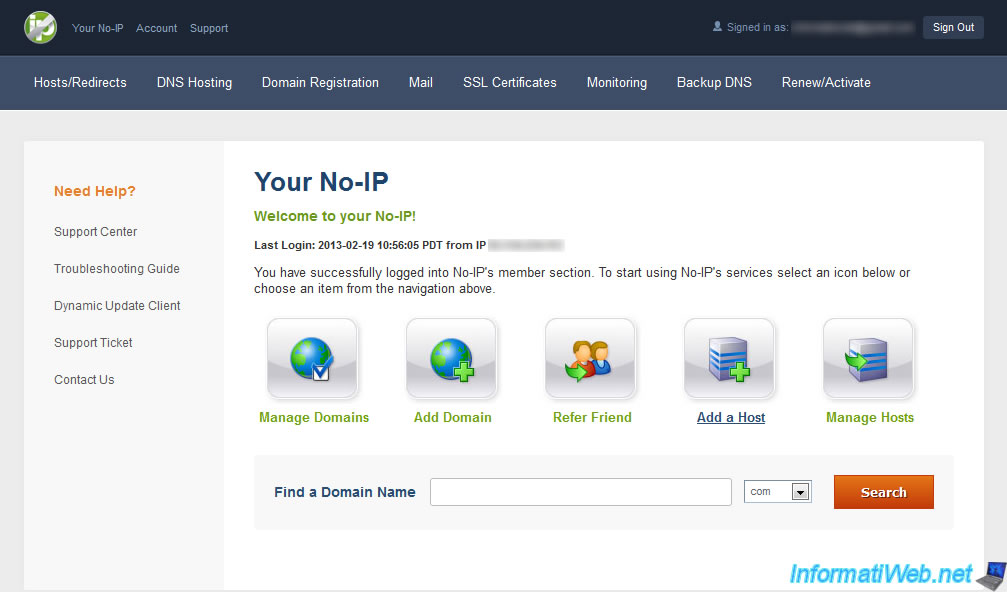
Then click "Add a Host".
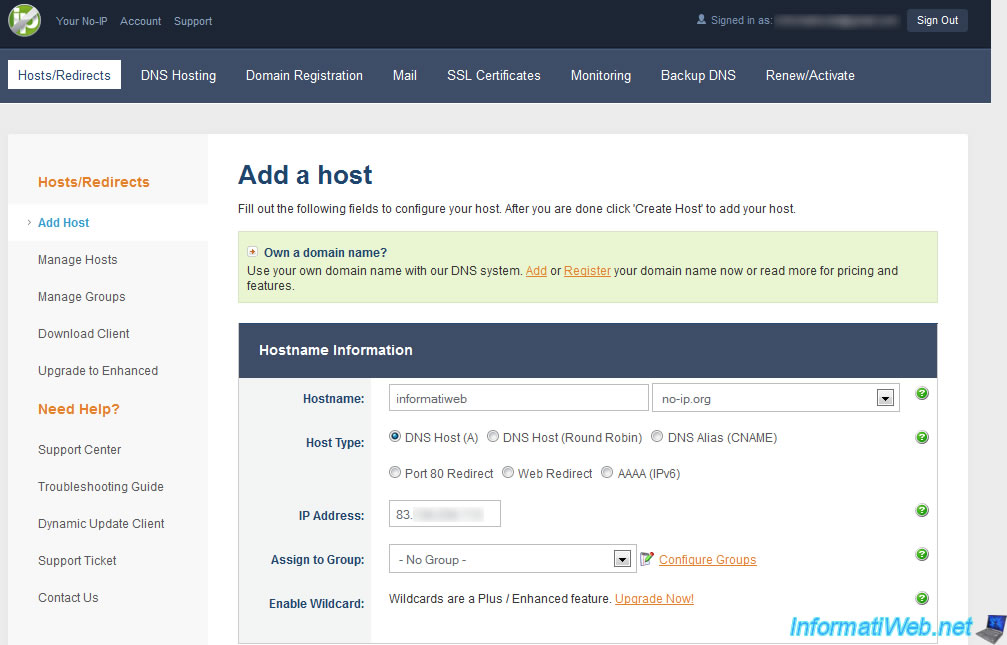
Specify a name and then select the field free to use. This domain system is free because in reality it is a subdomain and not a root domain. This is also the only way to change the IP address associated with the domain (finally : subdomain) without having to wait 24 hours (the time of the DNS propagation) that changes are taken into account.
Then leave the other options as they are :
- Hostname : This is the address that we just set up and through which you access your home server hosted.
- Host Type : This is the type of DNS record. If you want to create a DNS server on your local network, read our tutorial : "Windows Server 2008 - DNS".
Types of proposed by No-IP records are :
- DNS Host (A) : Combines a subdomain to an IPv4 address. This is the one we chose, which is set by default.
- DNS Host (Round Robin) : Combines a subdomain to multiple IP addresses. This allows especially to save the bandwidth of a server by redirecting requests to different servers. This option is rarely used.
- DNS Alias (CNAME) : Combines a subdomain to another domain.
- Port 80 Redirect : Redirect port 80 domain to another local port. For example, you can access your subdomain (informatiweb.no-ip.org equals informatiweb.no-ip.org:80) to access your local running on port 8080 server. Port to redirect the router is 8080 and not 80.
- Web Redirect : Redirect subdomain want to another web address. For example, you can redirect "informatiweb.no-ip.org" to "http://www.InformatiWeb.net".
- AAAA (IPv6) : Same as DNS Host (A) it associates the subdomain to an IPv6 address. - IP Address : Your external IP (set automatically by default)
- Assign to Group : Allows you to associate this subdomain to a group created in your "No-IP" account.
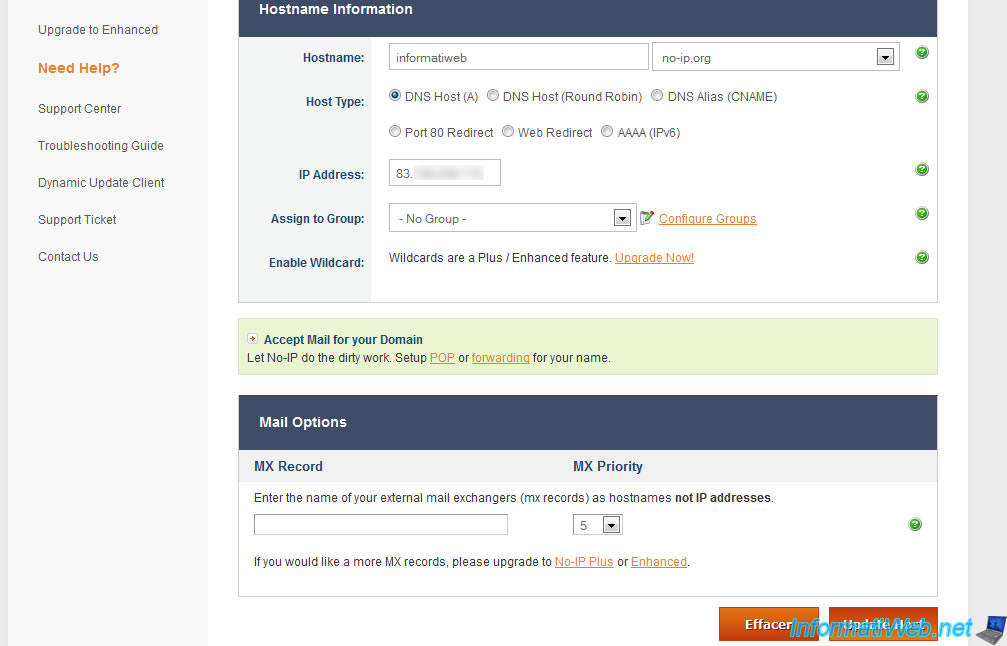
Below you will also have the opportunity to create an MX record if you need it. This record type is reserved exclusively for mail servers. To create one, read our tutorial : "Windows Server - Mails server".
Then click "Update Host".
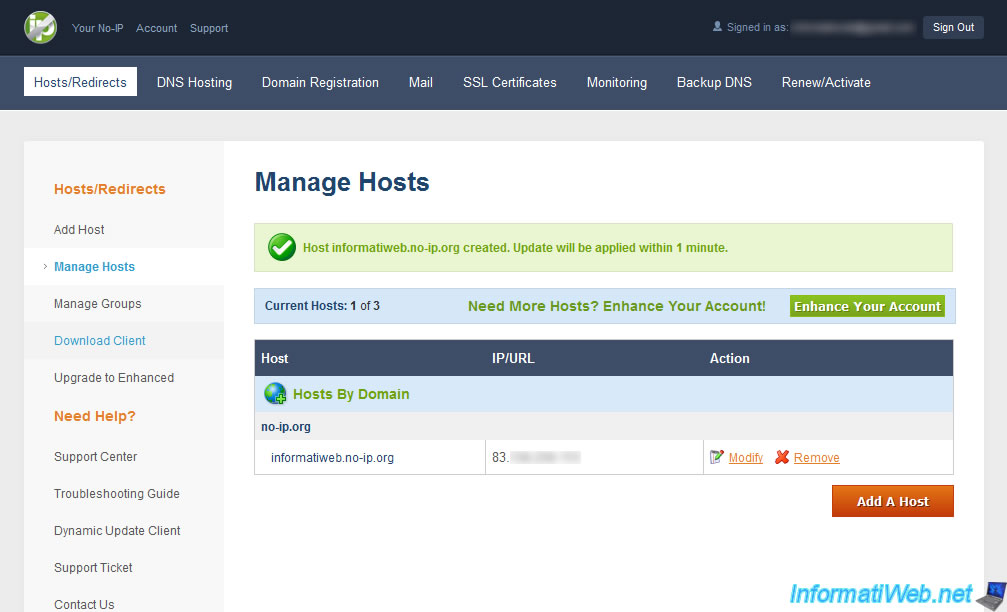
As stated on the website of "No-IP", it will be necessary to wait about a minute for the changes to take effect.
Now we download their utility to update automatically defined for the domain that we created external IP. To do this click on "Dynamic Update Client" in the left menu.
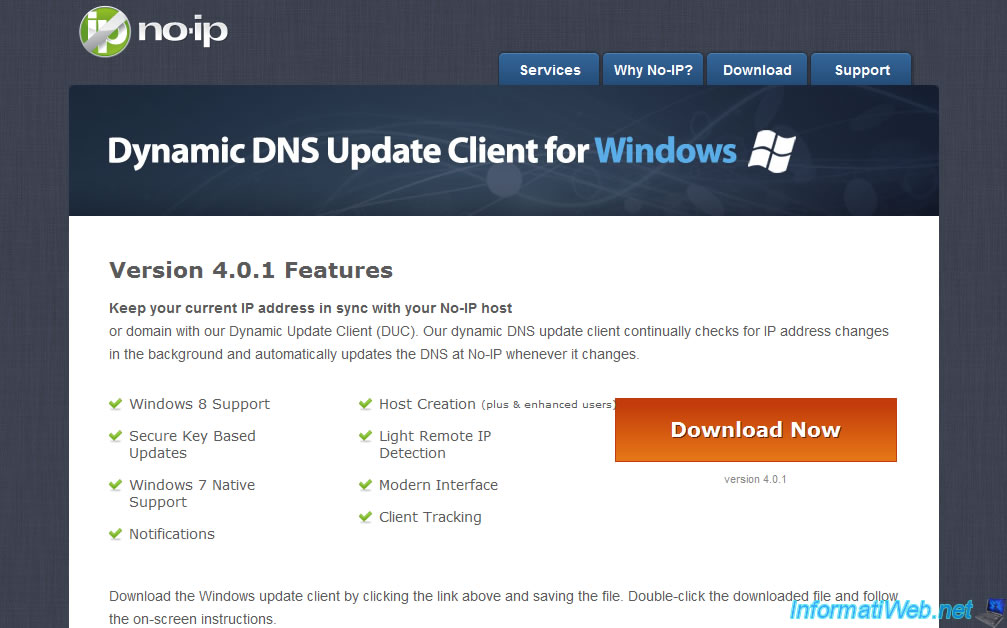
This utility will prevent you to reconnect with each change, and to have access to your server even if your external IP changed while you were away.
Just click "Download Now".
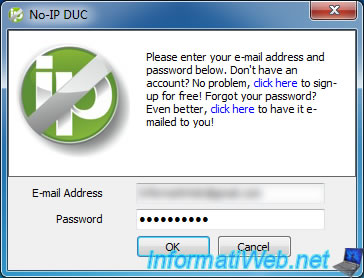
Install and launch the software. It will ask for your email address and password assigned to it.
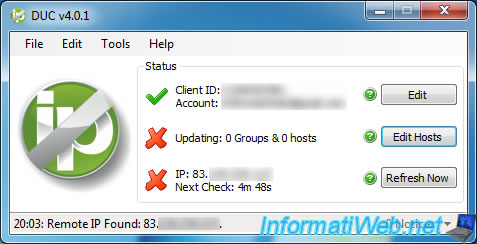
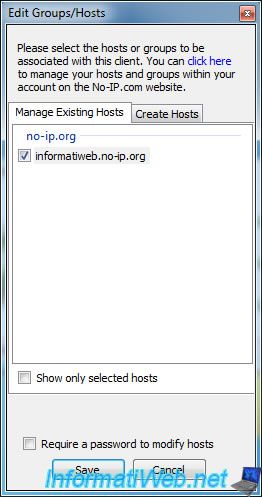
Once the software will connect to the server "No-IP", you will be able to edit the settings of the software. Click the "Edit Hosts" button to select the fields you want to update your external IP address.
Then select the field to update by checking the corresponding check box and click on "Save".
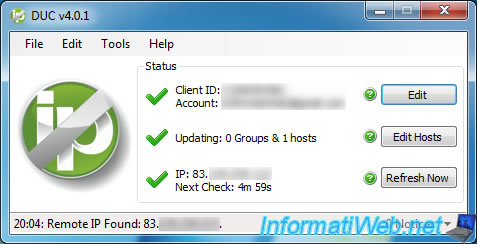
If everything goes well the cross bottom should be replaced by a "V" green and the IP address has been updated for the domain(s) selected. As you can see the update will be every 5 minutes.
If you want to update manually, click the "Refresh Now" button.
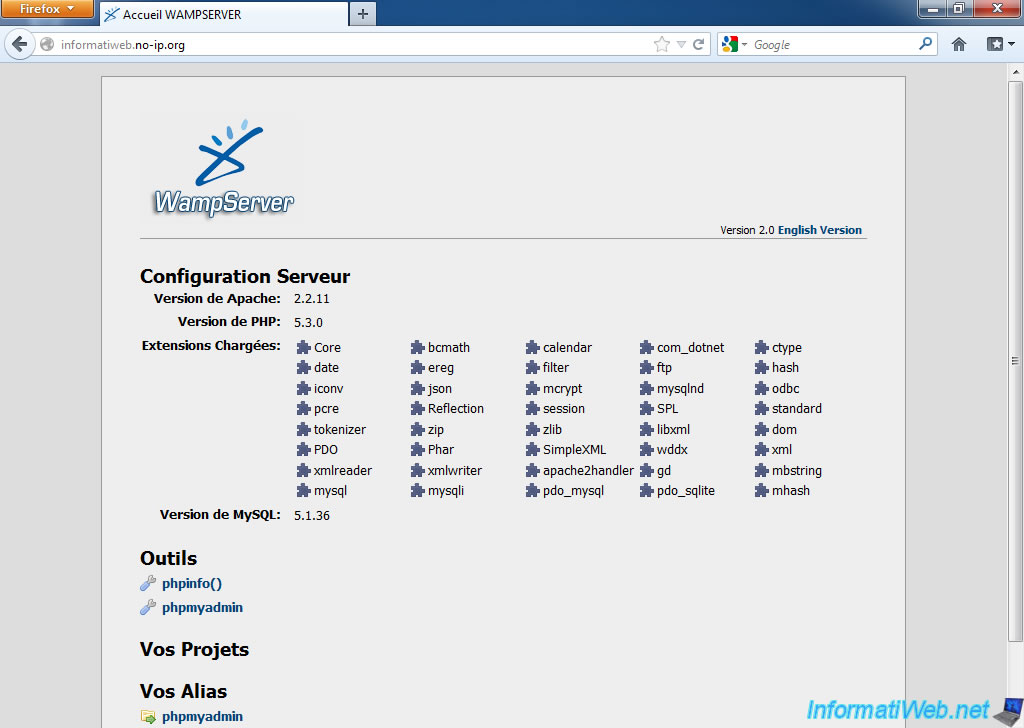
Here is your server is now accessible via your external IP address and also using the domain associated with it. To prove that it works here 2 screen prints done on the computer connected to the VPN through France. As you can see we reach the "InformatiWeb.no-ip.org" field and our Web server is accessible.
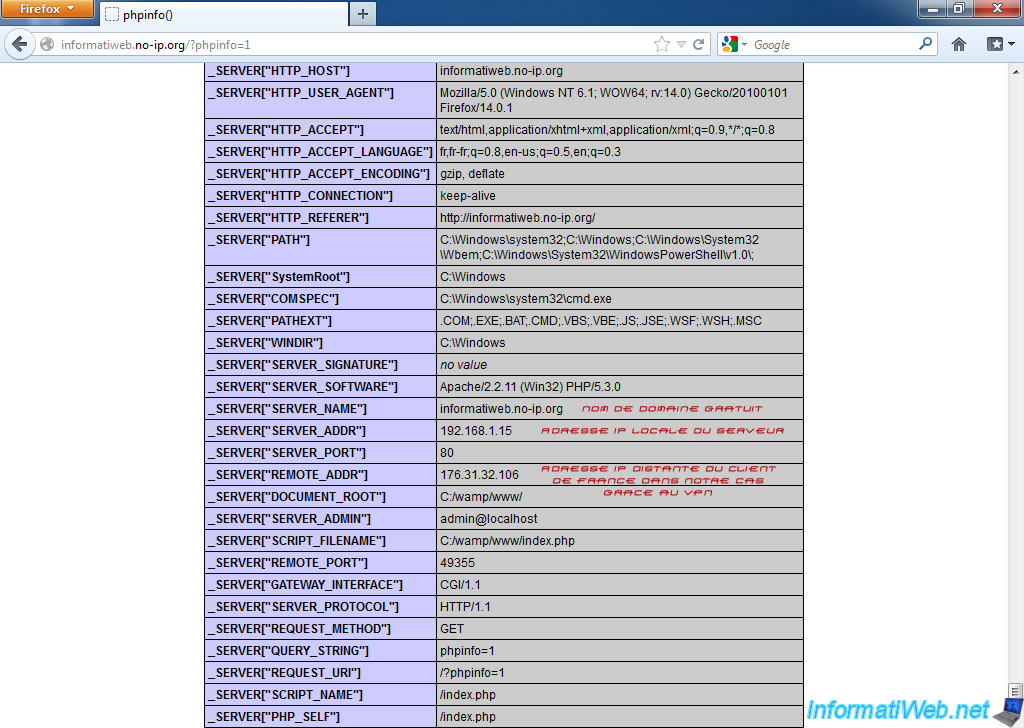
And you prove that we access the property from France, here is a screenshot of variables displayed by the server using PHP printing.
As you can see:
- Server_Name is our domain created on the site "No-IP".
- Server_Adress is the LAN IP address of our server hosted by us.
- Remote_Addr is the IP address of the client. This is the external IP address of our computer connected in France. This is the IP address of the server displayed in French SecurityKISS.
That concludes this tutorial on access to a hosted server at home from the outside (Internet).
Share this tutorial
To see also
-

Windows 5/20/2016
Control a computer remotely (Win 7 to 11)
-
Windows 12/18/2011
Set a static LAN IP address
-

Windows 8/18/2016
Windows 10 / 11 - Start in safe mode
-

Windows 11/22/2012
Windows XP - Create a bootable USB key to install Windows
No comment