- Windows
- Windows 7
- 01 January 2021 at 12:39 UTC
-

- 1/3
As you probably know, Windows 7 support has ended since January 14, 2020. This means that you will no longer receive security updates from Microsoft for Windows 7 and that this leaves you vulnerable to new attacks of hackers since that date. So it's time to upgrade to a new version of Windows.
Although you can upgrade to Windows 10, your computer may not be compatible with this version of Windows. Or the manufacturer of your computer or its motherboard doesn't provide drivers for Windows 10 in your case.
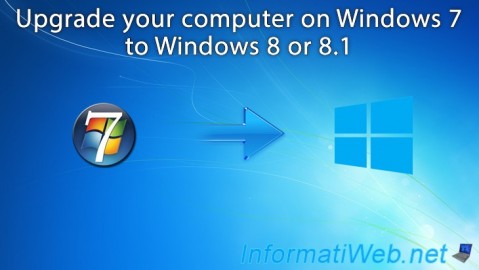
So, here's how to upgrade your Windows 7 computer to Windows 8 or 8.1. Knowing that Windows 8 support ended on January 13, 2016, but that Windows 8.1 extended support only expires on January 10, 2023.
Important : if you plan to install Windows 8.1 (which is highly recommended to continue to benefit from Microsoft support), we recommend that you use the Windows 8.1 installation DVD and not the Windows 8 installation DVD.
Indeed, if you want to upgrade from Windows 8 to 8.1, you will first need to download and install all the updates available via Windows Update before you can upgrade to Windows 8.1.
- Back up your data before upgrading
- Upgrade your computer to Windows 8 or 8.1
- Restore Windows data and settings
1. Back up your data before upgrading
Although the upgrade technically allows you to keep your documents and settings, it's still preferable to back up your data and your favorites before performing the actual upgrade.
Especially since depending on the source edition of Windows 7 and the destination edition of Windows 8, the retention options will not be the same.
To back up your data, the most recommended way is to copy your data to an external hard drive, an USB key or another partition of your hard drive (so not on the "C" partition).
Usually, you will mainly save the content of the "Documents" and "Downloads" folders for each computer user, as well as the favorites (or bookmarks) stored in the different web browsers you use : Mozilla Firefox, Google Chrome, Internet Explorer, ...
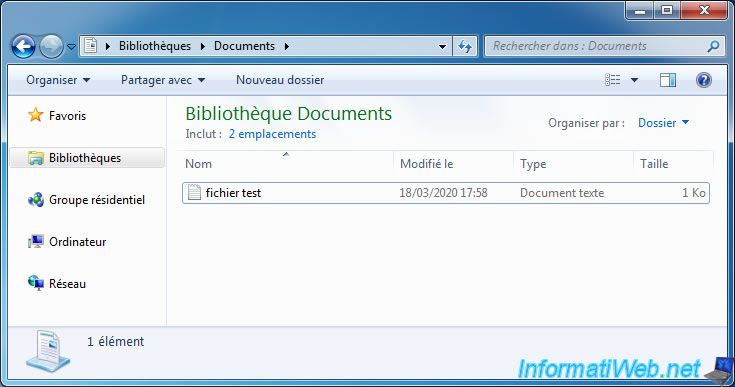
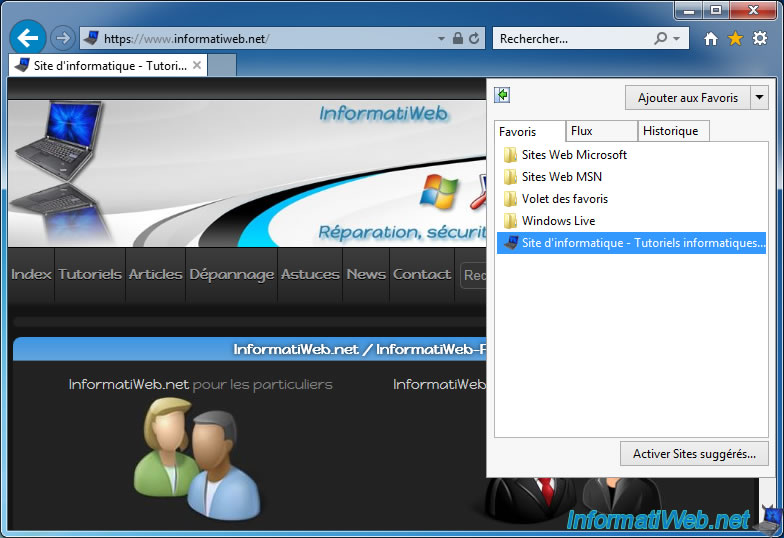
Another possibility to save your data and your settings in a few clicks is to use the "Windows Easy Transfer" program (formerly : Windows File and Settings Transfer) of Windows 8 or 8.1 (depending on the destination Windows version you choose).
Note that you must use the program of the destination Windows version and not the one of the source PC. Otherwise, you will not be able to restore the data after the upgrade.
Since the new version of Windows is not yet installed, you will have to use the tool from the Windows 8 installation DVD (even if you plan to use Windows 8.1).
To do this, right click "Open" on your CD/DVD drive.
Warning : this tool is no longer available on the Windows installation DVD since Windows 8.1. However, the Windows 8 tool also works to restore data on a Windows 8.1 PC.
Source : Windows Easy Transfer no longer on 8.1 -- anyone recommend a great alternative program
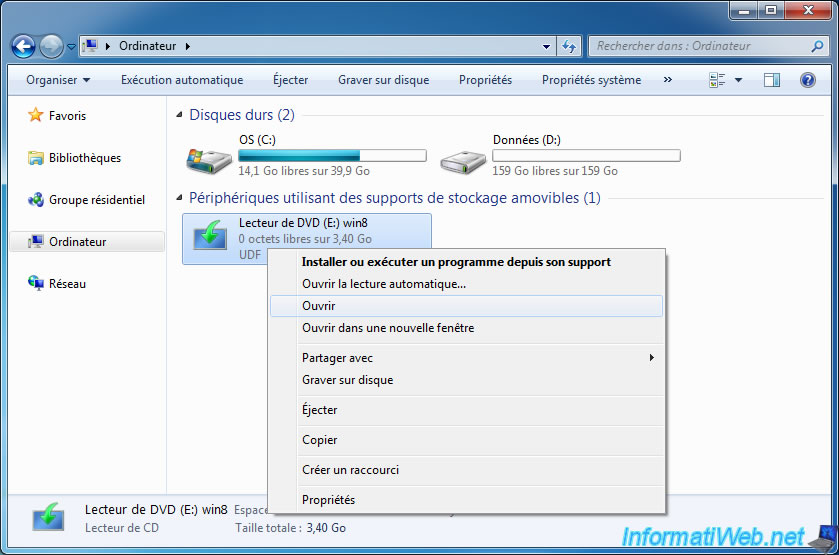
Then, in the "support\migwiz" folder, you will find the "migsetup.exe" program.
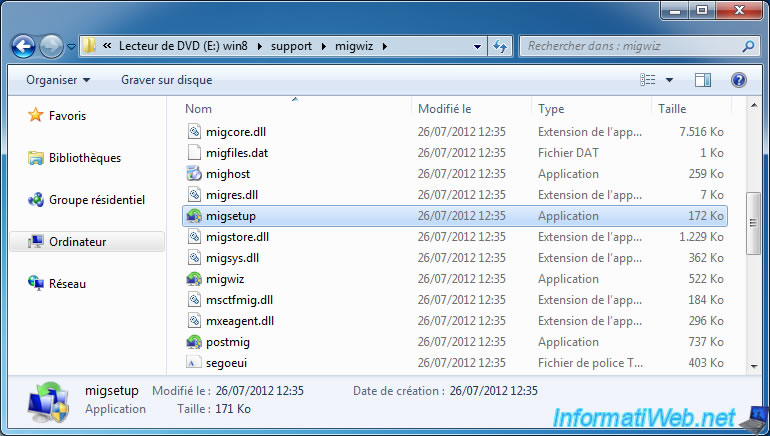
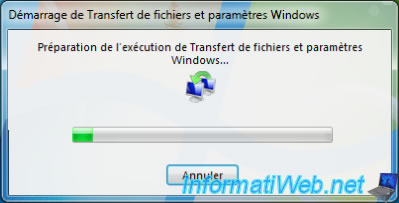
Launch this program and a "Starting Windows Easy Transfer" window will appear for a short time.
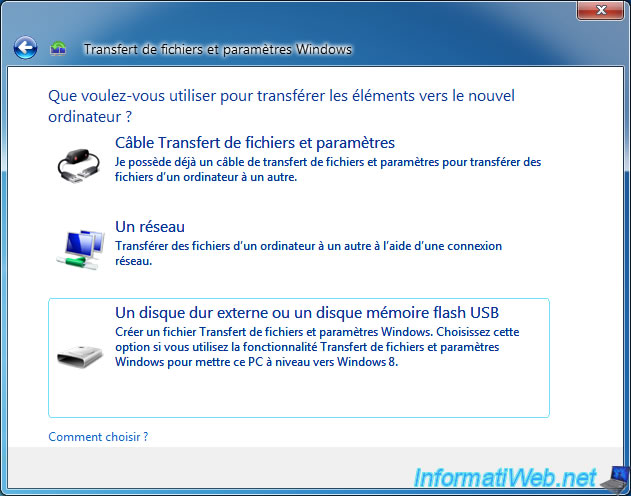
In the "Windows Easy Transfer" window that appears, click "An external hard disk or USB flash drive".
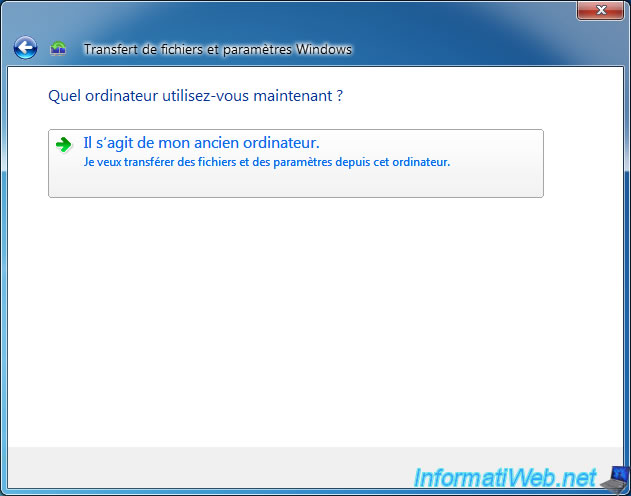
Then, click on : This is my old computer.
The tool will scan your computer for user data and settings and shared folders (in other words, the "C:\Users\Public" folder).
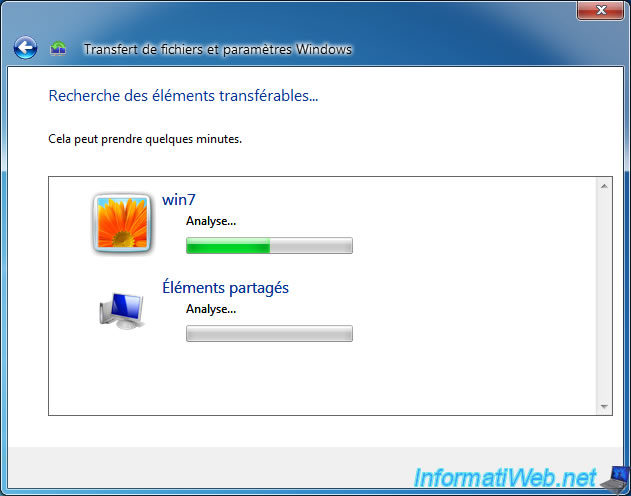
By default, everything is selected and the size of each data group is displayed.
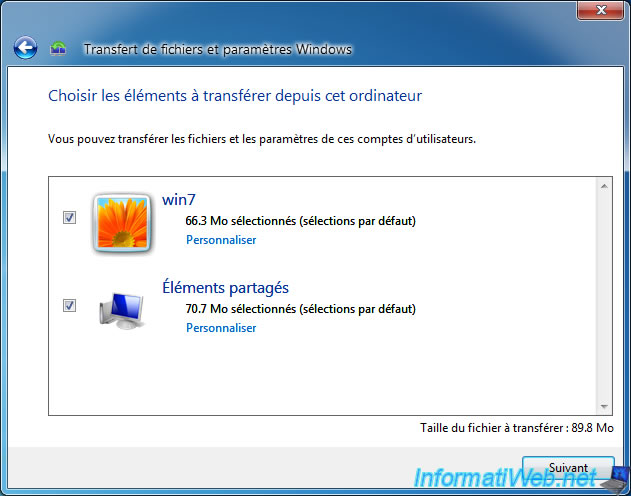
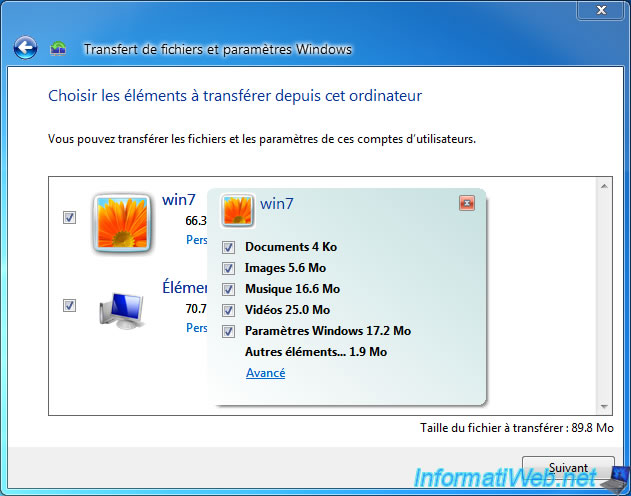
If you click on "Personalize" for user data, you can choose to save or not :
- documents
- music
- pictures
- videos
- Windows Settings
- and more (by clicking on Advanced)
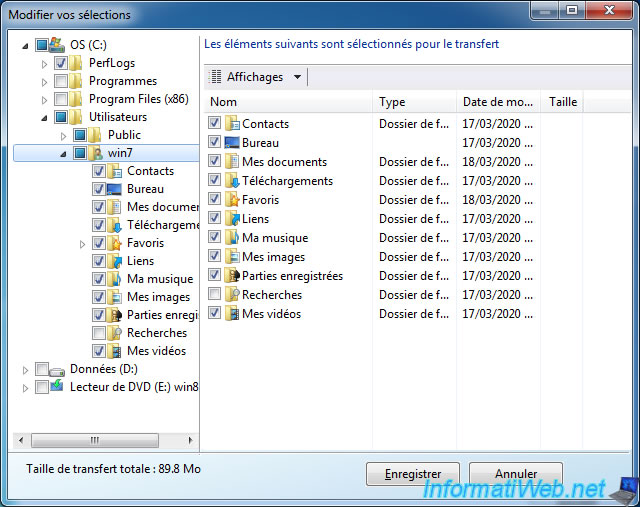
If you clicked on "Advanced", the tool will allow you to manually select which files should be backed up or not.
For shared items, you will have these choices :
- Favorites
- Public Desktop
- Public Documents
- Public Pictures
- Windows Settings
- and more
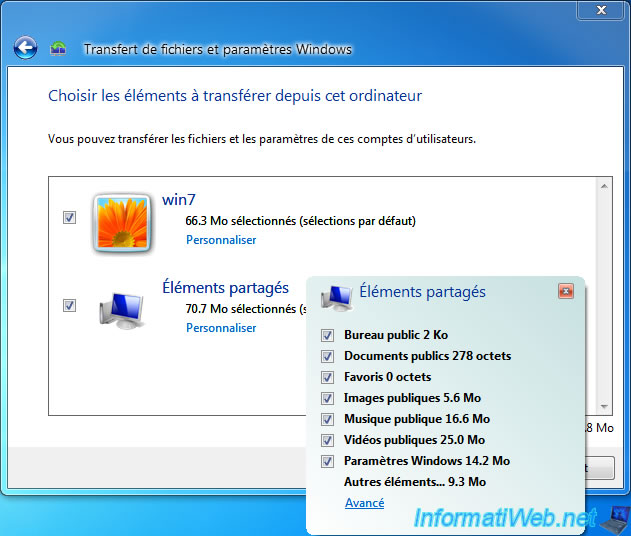
If you click on "Advanced", you will again be able to choose which public folders should be backed up or not.
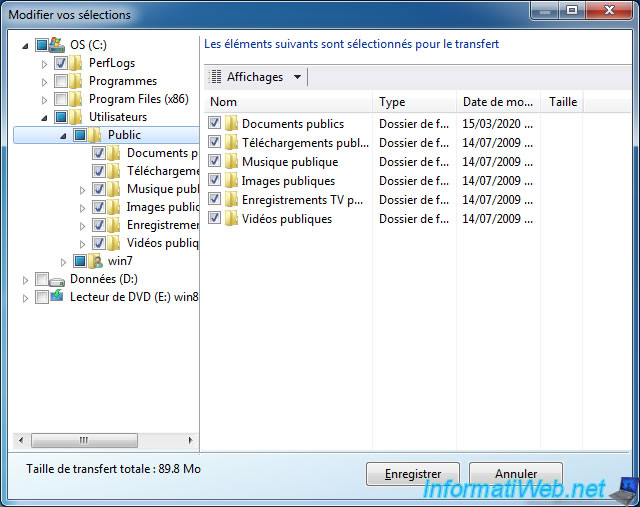
Once the selection is complete, go to the next step.
Here, the tool explains to you that your Windows data and settings will be saved in a single file which can be password protected if you wish.
If you don't want to protect this file, just click Save.
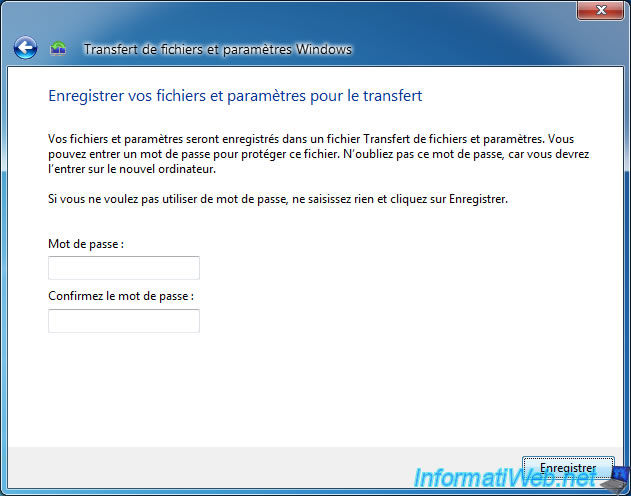
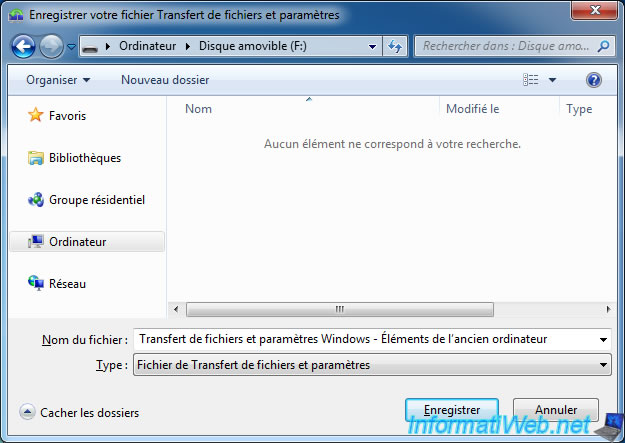
Select where you want to store this file.
Warning : don't select a location in partition C, as this file will be lost if the upgrade removes it. For example, select an external hard drive or an USB key to be sure not to lose your personal data.
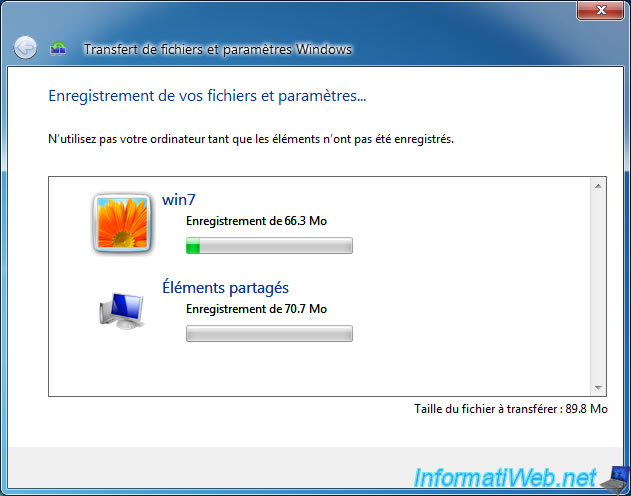
Wait while Windows data and settings are backed up.
When the export is complete, click Next.
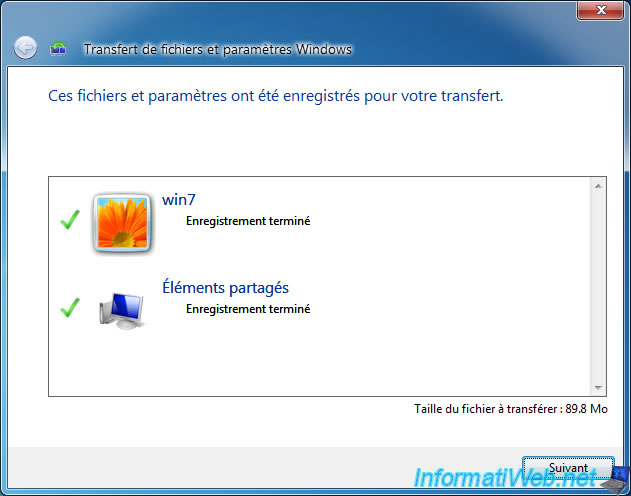
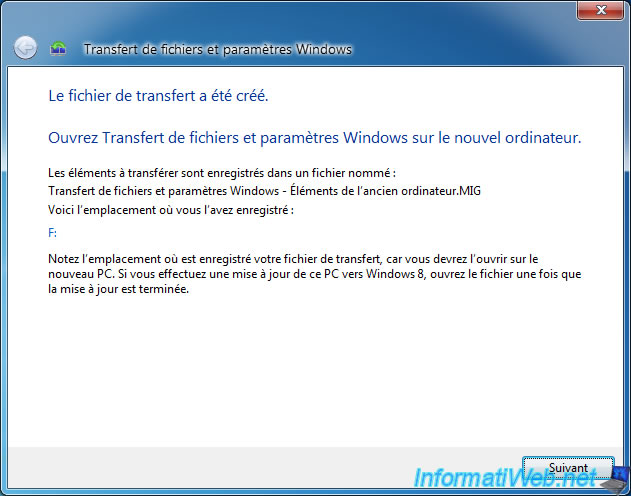
The "Windows Easy Transfer" tool shows you the location where your data and settings were saved.
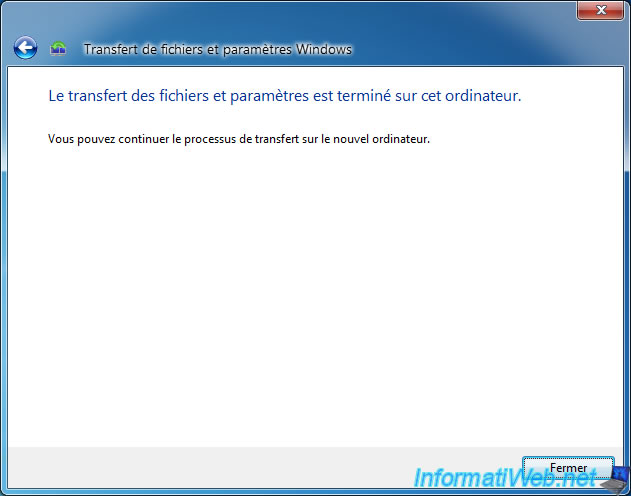
Now, click on Close.
Share this tutorial
To see also
-
Windows 6/7/2022
Delete a recalcitrant file
-
MultiBoot 3/25/2024
Microsoft multiboot with Windows 7 and Windows 8.1
-
Windows 12/19/2020
Windows 7 - Installation on an USB support
-
Windows 10/6/2021
Windows 7 / 8 / 8.1 - Help a remote user without third-party software
You must be logged in to post a comment