Upgrade your computer on Windows XP to Windows 7
- Windows
- Windows XP
- 27 November 2020 at 18:30 UTC
-

- 3/3
4. Restore your data
As stated earlier, upgrading from Windows XP to Windows 7 doesn't exist.
This means that Windows data and settings are therefore not kept from one version to another.
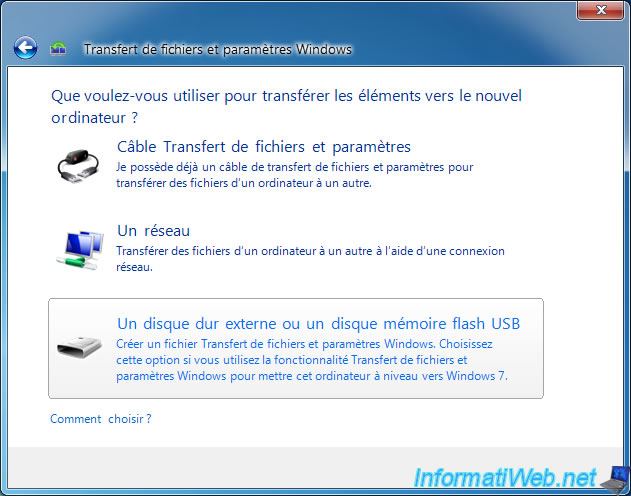
However, since we exported our data and settings previously, we can reuse the "Windows Easy Transfer" tool to restore them on Windows 7.
![]()
Click on Next.
![]()
Click on: An external hard disk or USB flash drive.
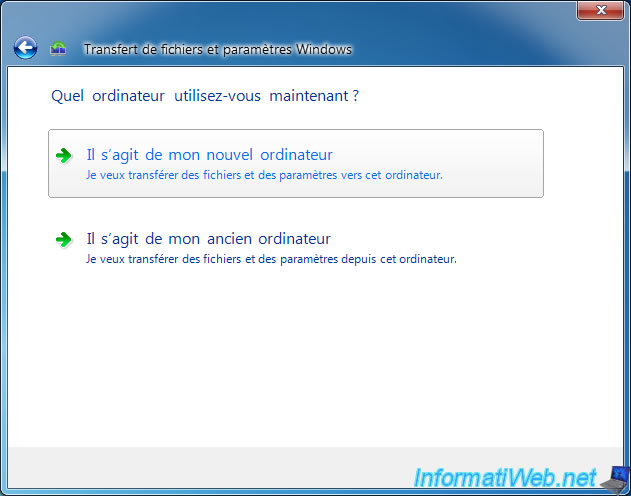
Choose : This is my new computer.
Click Yes.
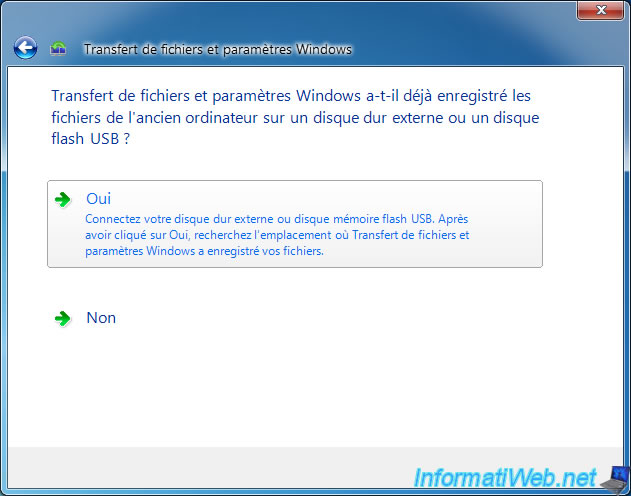
Select the file previously exported from Windows XP.
![]()
By default, all the data and settings present in this file will be imported.
However, you can click Customize to filter the data to import if you wish.
![]()
Wait while the data are imported.
![]()
When the import is complete, click Close.
![]()
If Windows asks you to restart, click : Restart now.
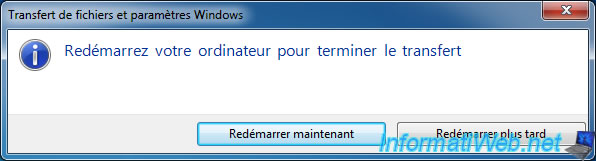
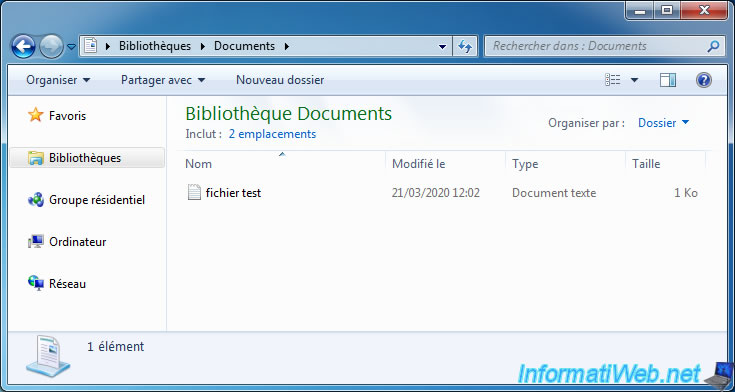
Now, our data are back to where it came from.
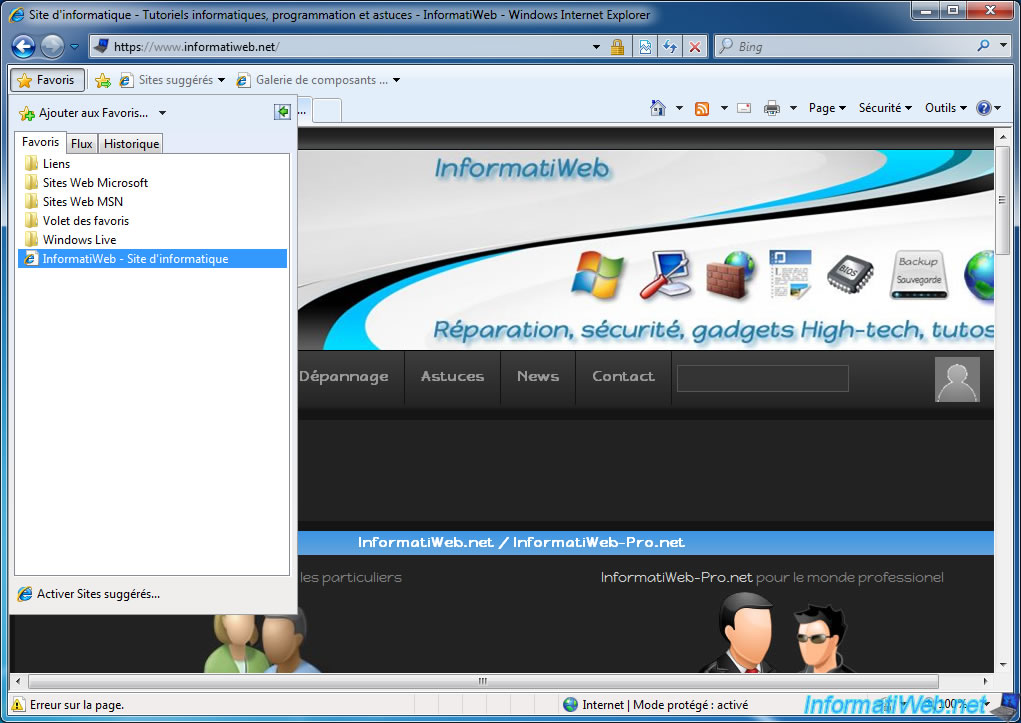
And we also got our favorites in Internet Explorer.
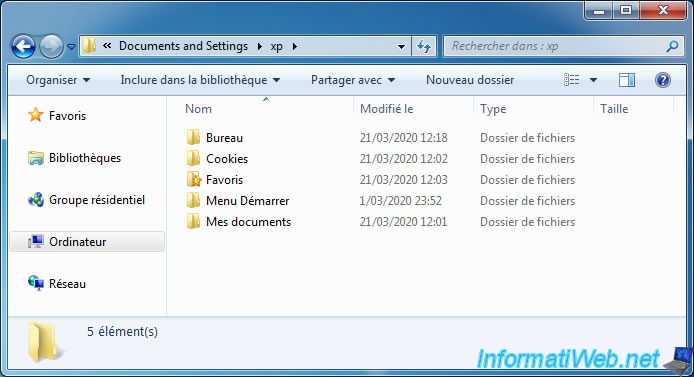
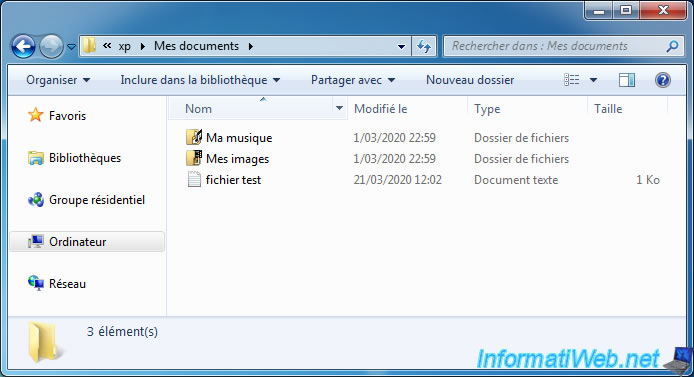
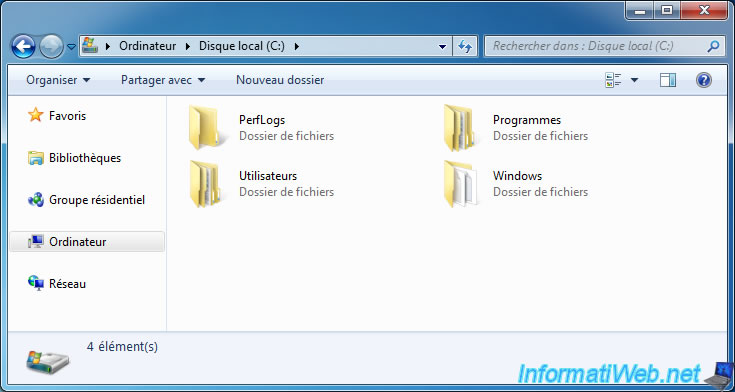
5. Contents of the Windows.old folder
In the event that you have lost data or have forgotten to save some data (such as Firefox bookmarks, for example), know that everything is in the "Windows.old" folder.
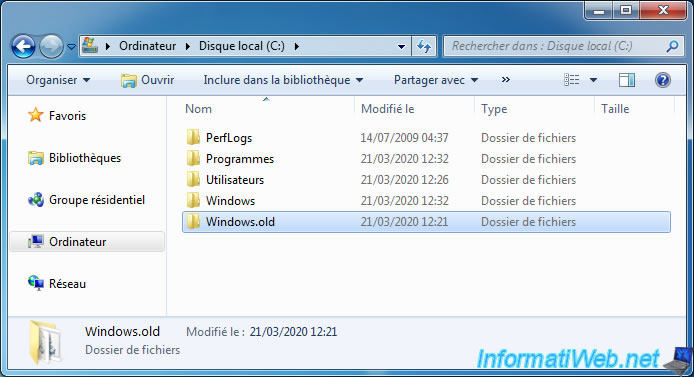
Windows XP user data are located in the "Documents and Settings" folder which corresponds to the "Users" folder of Windows 7.
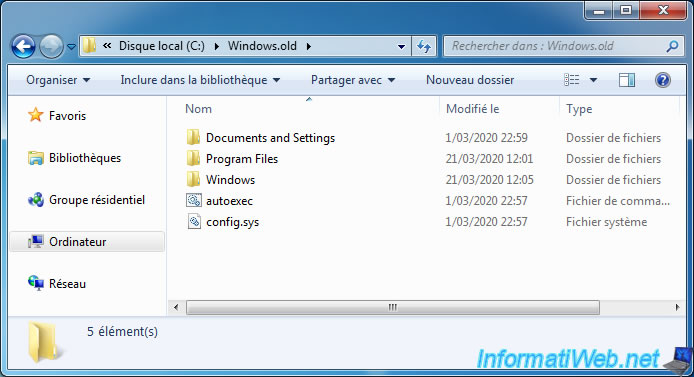
You can for example recover your old documents, your old desktop shortcuts, ... in the sub-folders of "Documents and Settings".
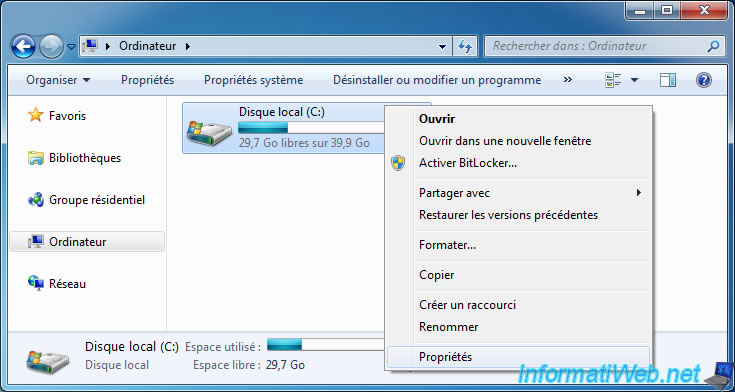
6. Delete the Windows.old folder
Once you get all the important data you want from "Windows.old" folder, you can delete it very easily and safely like this.
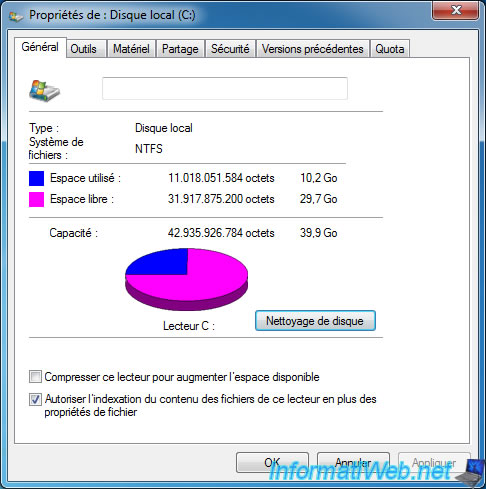
Right click "Properties" on the "C" partition.
Click on the "Disk Cleanup" button.
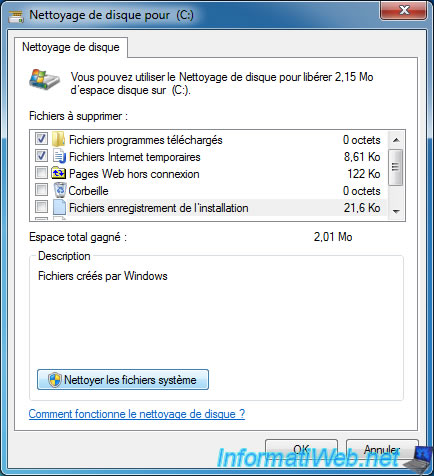
First click on the "Clean up system files" button without worrying about the boxes above.
Check the box "Previous Windows installation(s)" which, as indicated by the "Disk Cleanup" tool, allows you to safely remove "Windows.old" folders, then click OK.
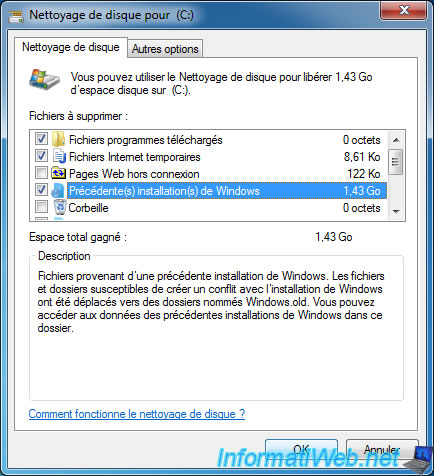
Click on : Delete Files.

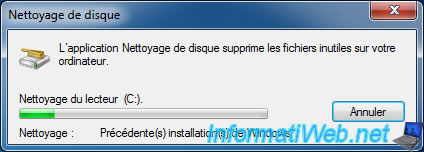
Wait while cleaning up previous Windows installation(s).
If you go back to the "C" partition, you will find that the "Windows.old" folder has disappeared.
Share this tutorial
To see also
-

Windows 8/12/2019
Control a computer remotely (Win XP)
-

Windows 11/3/2013
Windows XP - Connect to a Wifi network
-

Windows 3/14/2013
Windows XP - Repair installation of Windows
-

Windows 1/7/2010
Windows XP - Windows Search - Search engine
No comment