Encrypt data using the Encrypting File System (EFS) on Windows 10 and 11
- Windows
- Windows 10, Windows 11
- 01 December 2023 at 19:30 UTC
-

- 4/4
9. Add encryption / decryption option in Windows context menu
Currently, each time you have to view the properties of the file to be encrypted and perform a few clicks to encrypt it.
To make it faster and much more practical, you can very simply add an "Encrypt" or "Decrypt" option (depending on the status of each file) by adding a simple value in the Windows registry.
To do this, open the start menu, search for "regedit" and launch the registry editor displayed.
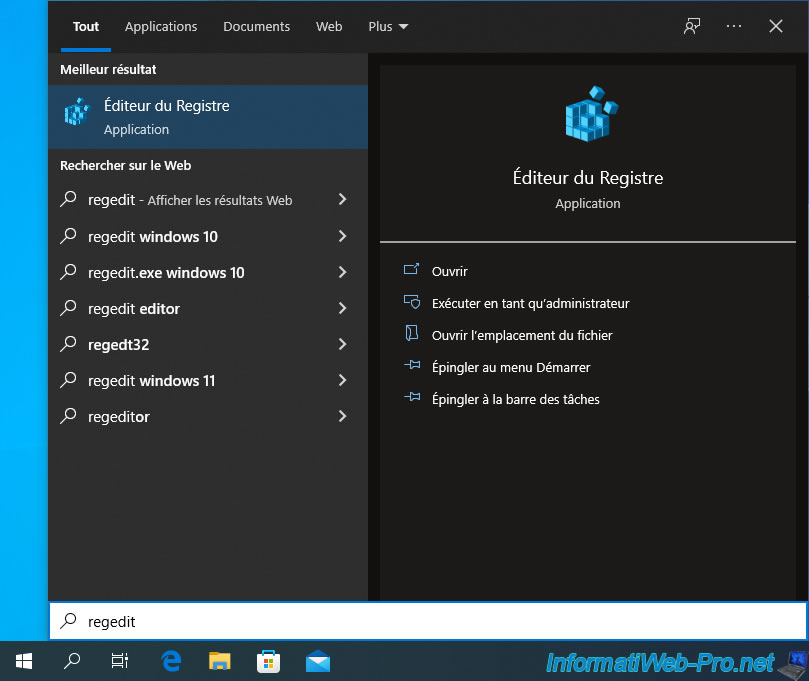
The Registry Editor appears.
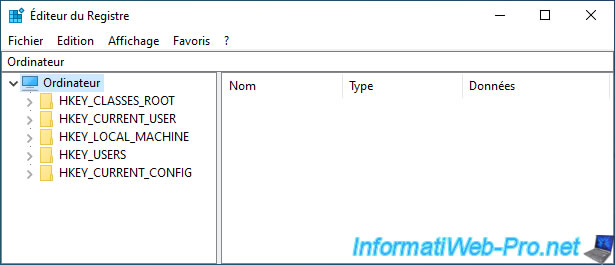
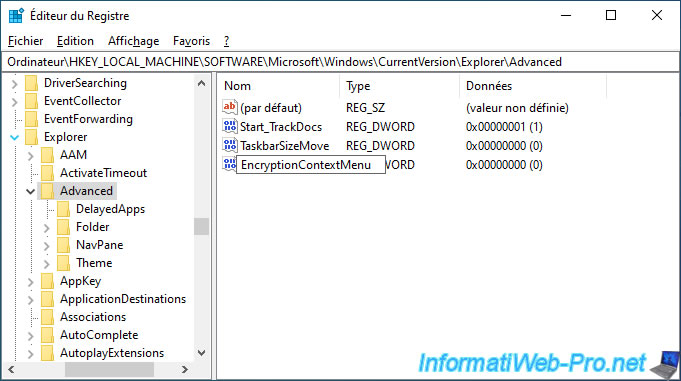
Go to the key : HKEY_LOCAL_MACHINE\SOFTWARE\Microsoft\Windows\CurrentVersion\Explorer\Advanced.
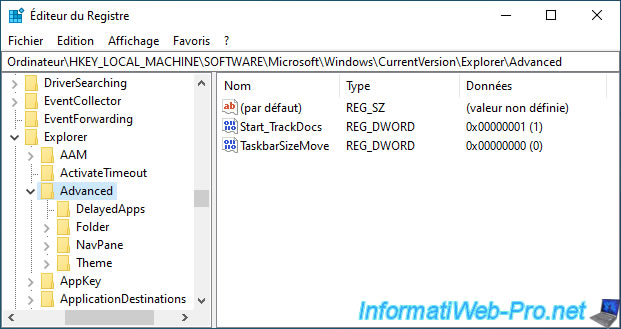
In the right part of the window, right-click "New -> DWORD (32-bit) Value".
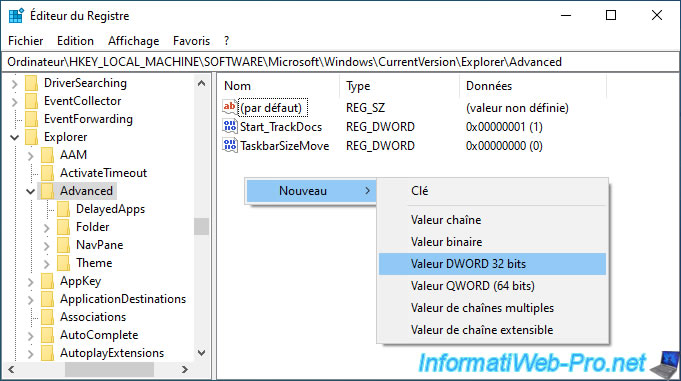
Name this new DWORD value : EncryptionContextMenu.
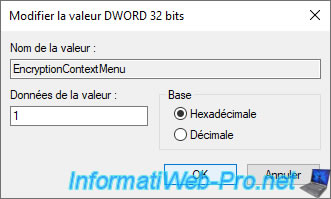
Double click on it and enter "1" as the value.
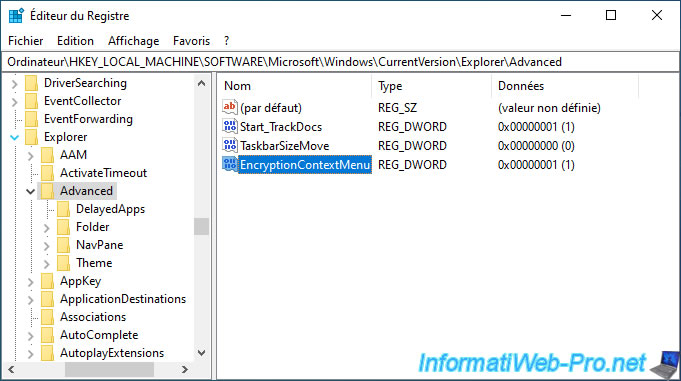
The DWORD value was created.
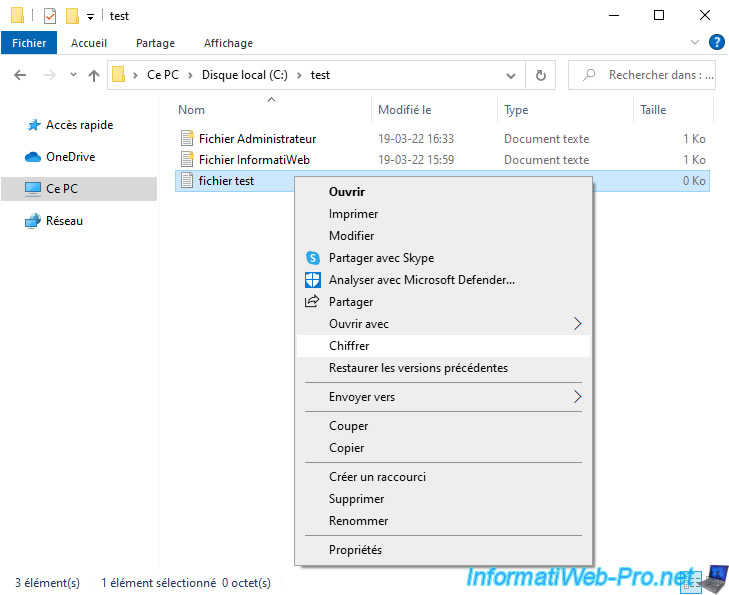
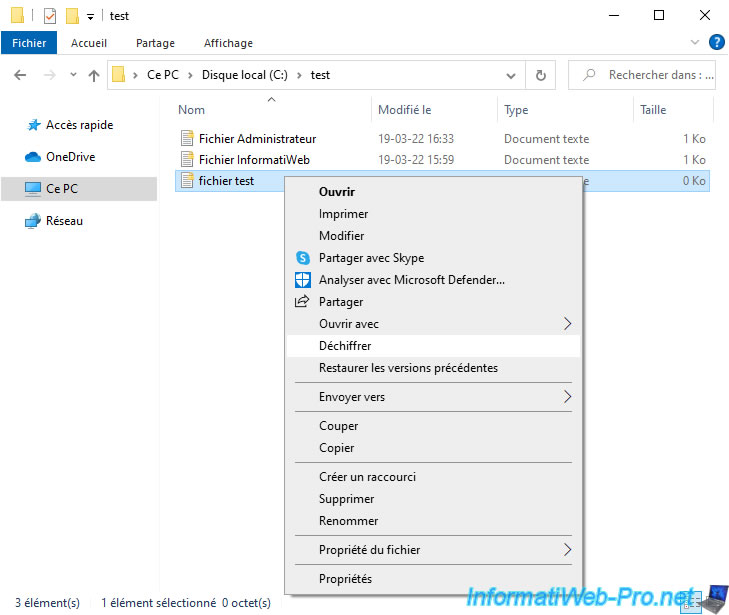
Now, right-click on a file that is not encrypted and you will see that an "Encrypt" option is available in this context menu.
Note : on Windows 11, you will need to click on "Show more options -> Encrypt".
Select "Encrypt the file only" and click OK.

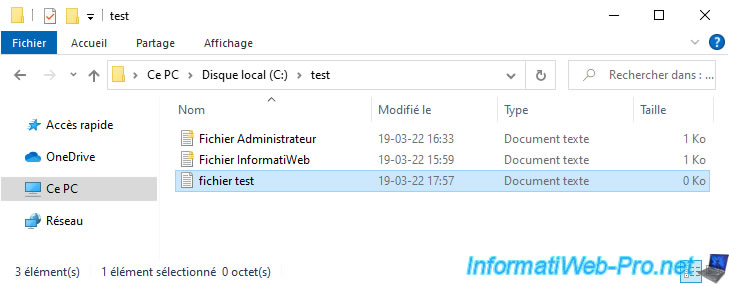
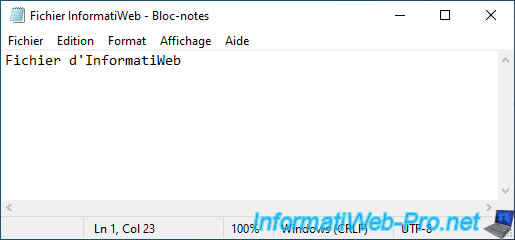
The file has been encrypted.
Admit that it's much faster.

Now, if you right-click on an encrypted file, you will see that the available option is "Decrypt".
Again, on Windows 11, you will first need to click on "Show more options" to access this "Decrypt" option.
The file has been decrypted (with one click).
10. Re-import the EFS certificate
In case you have formatted your computer, you will need to restore the backup of your EFS certificate and its associated private key to be able to continue opening and modifying your files encrypted in the past.
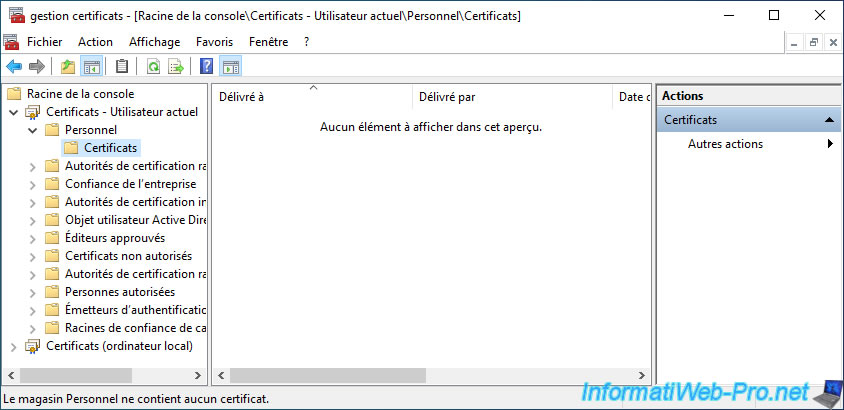
Indeed, after formatting (for example), your EFS certificate will no longer be available in your personal (user) certificate store.
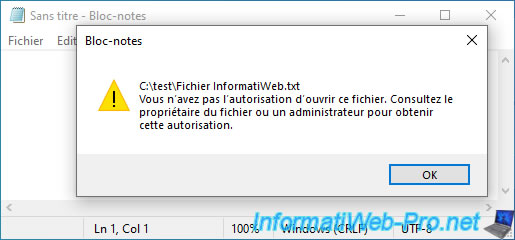
Which means that Windows will tell you will show you a warning when you try to access files that you had encrypted in the past.
Plain Text
You do not have permission to open this file. See the owner of the file or an administrator to obtain permission.
To solve this problem, you must import the ".pfx" certificate (containing your public key, as well as your private key) into your "Personal" certificate store.
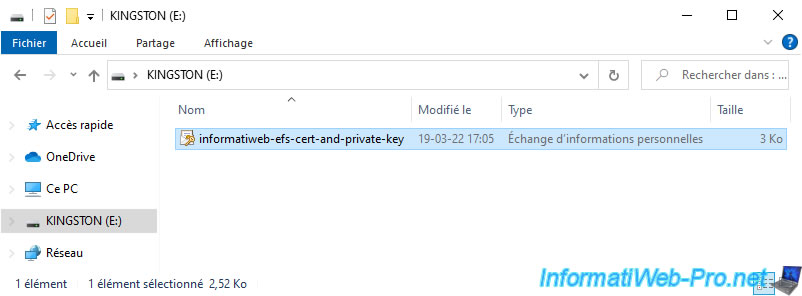
To do this, double-click on the previously exported ".pfx" certificate.
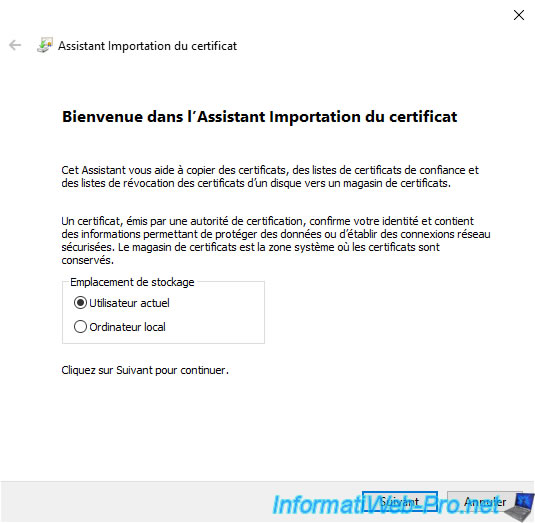
The "Certificate Import" wizard appears.
Leave the "Current User" option selected and click Next.
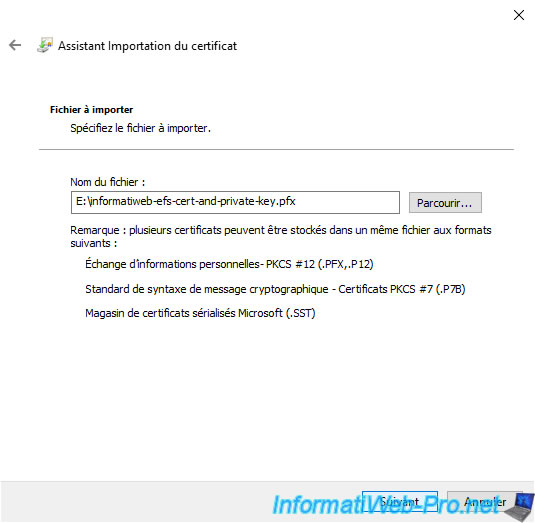
The path of the certificate to import is already filled in.
Click Next.
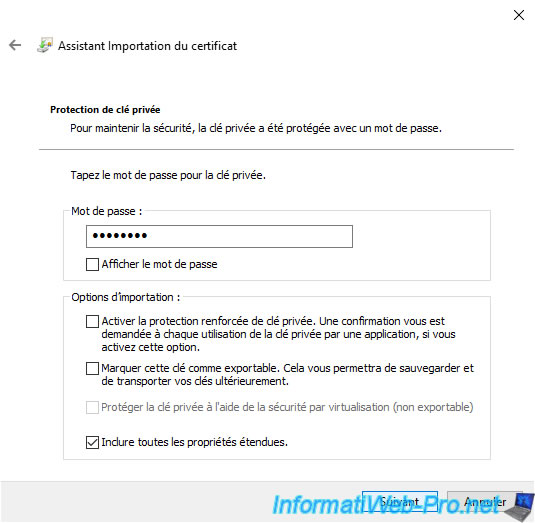
Specify the password indicated previously when exporting this certificate in ".pfx" format so that Windows can access the private key contained therein.
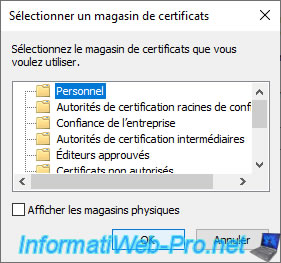
Let the wizard automatically select the certificate store based on the certificate type.
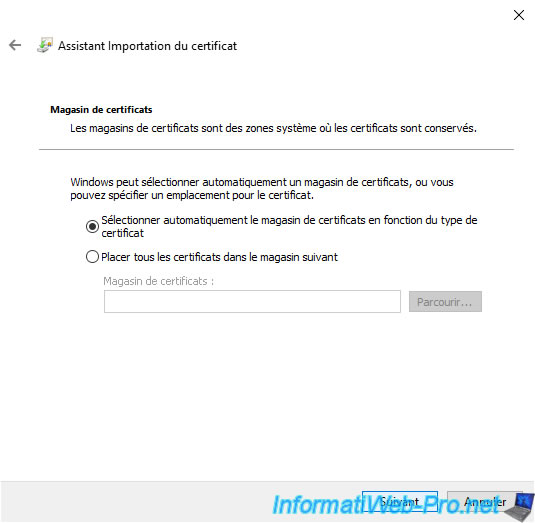
Note : this will be imported into the "Personal" certificate store.
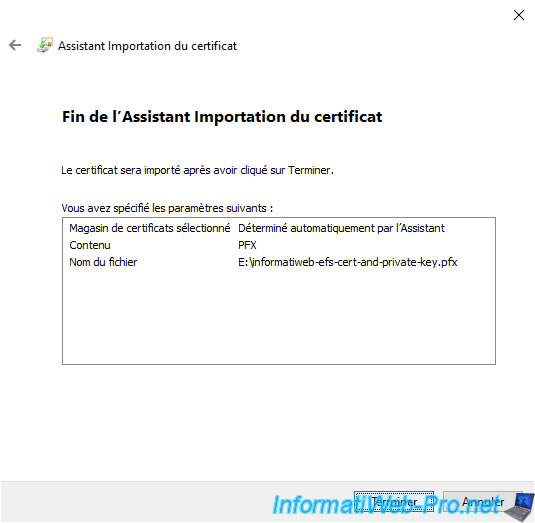
Click Finish to confirm the import of this certificate and its associated private key.
The "The import was successful" message appears.
Your EFS certificate appears in your "Personal" certificate store for the current user.
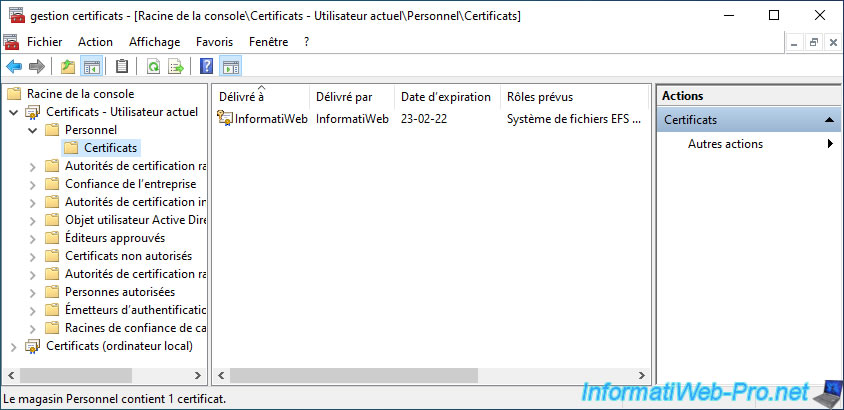
Now, you will have access to your encrypted files again.
Share this tutorial
To see also
-

Windows 1/29/2021
Enable God mode on Windows
-
Windows 3/28/2022
Windows 10 - Change a user's password
-

Windows 10/17/2022
Windows 10 - Fresh start (format and reinstall Windows)
-

Windows 1/25/2022
Windows 11 - Download the official iso from Microsoft's server
No comment