Encrypt data using the Encrypting File System (EFS) on Windows 10 and 11
- Windows
- Windows 10, Windows 11
- 01 December 2023 at 19:30 UTC
-

- 3/4
7. Test as administrator
On Windows, there is an "Administrator" account which allows you to obtain all the rights (or almost) and which is disabled by default.
To enable it, refer to our "Windows 7 / 8 / 8.1 / 10 / 11 - Enable the Administrator account" tutorial.
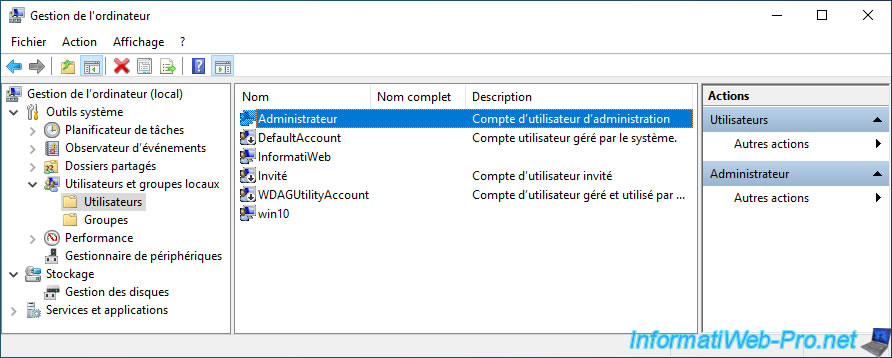
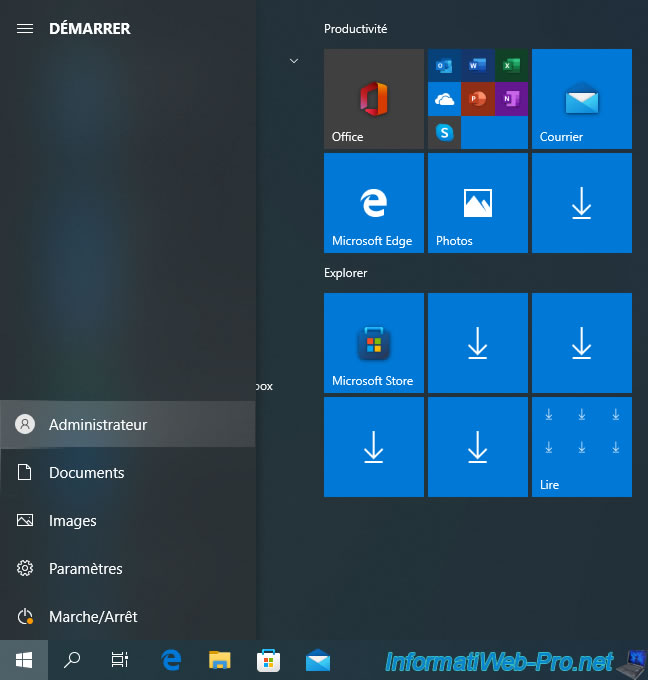
Once this "Administrator" account is enabled, log in with it.
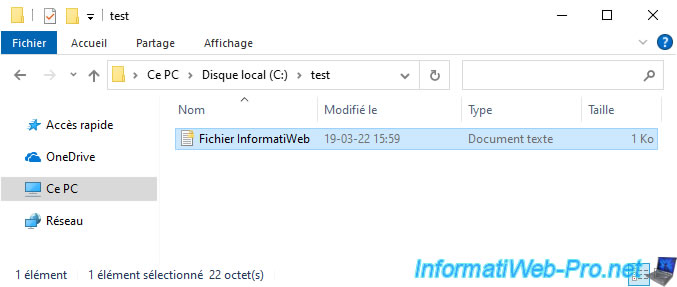
Attempt to access the file encrypted by another user of this computer.
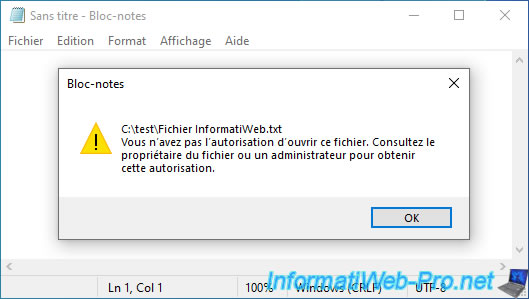
As you can see, only the user who encrypted this file can access it.
Indeed, it's the only one who has the private key allowing to decrypt (read) the encrypted header of this file to obtain the symmetric key which makes it possible to encrypt and decrypt the contents of this file.
So, even the real "Administrator" account created by default on Windows will not be able to access it.
Plain Text
You do not have permission to open this file. See the owner of the file or an administrator to obtain permission.
Create a file as administrator, then right-click "Properties" on it.
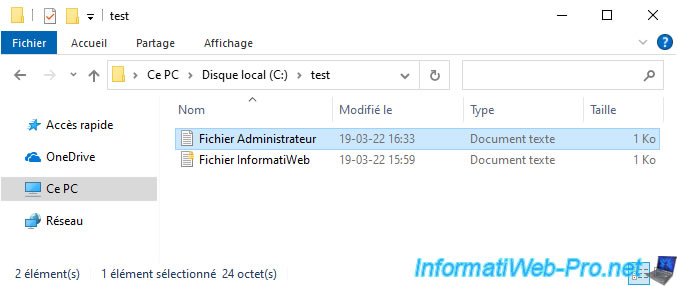
Click on the "Advanced" button.
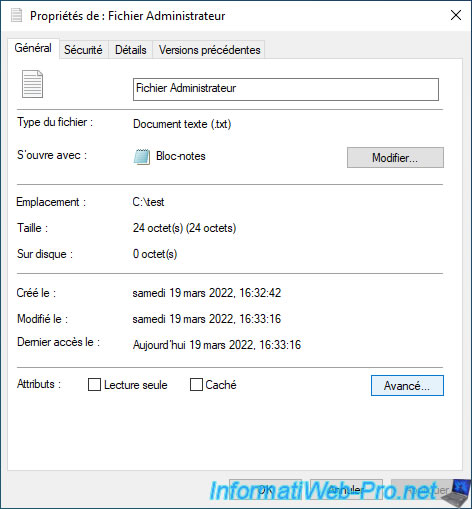
Check the "Encrypt contents to secure data" box and click OK.
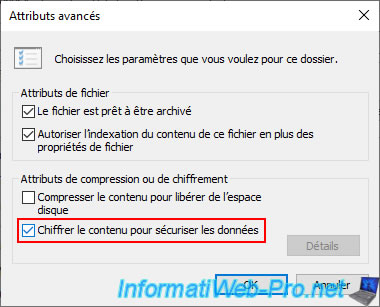
Click OK for the properties window.
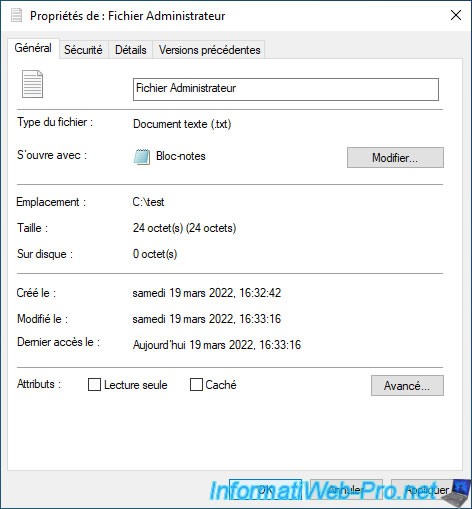
Select "Encrypt the file only" and click OK.
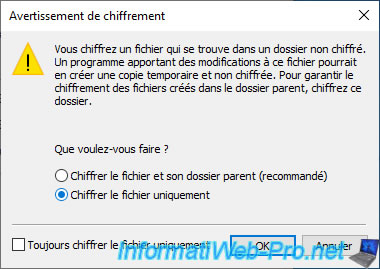
Again : since this is the 1st file that the administrator has encrypted, a notification will appear to allow you to save the key and the EFS certificate of the administrator.
For more information about this EFS backup, refer to step "5. Notification for exporting your file encryption key" of this tutorial.
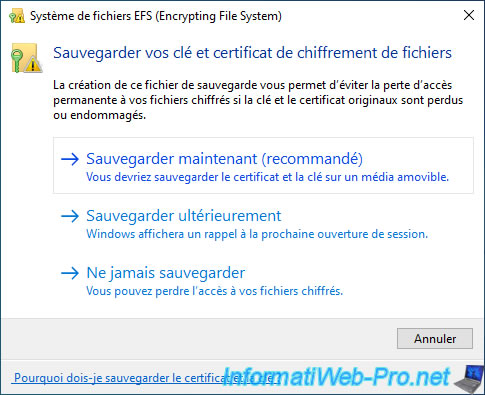
8. Manually export the EFS certificate and its associated private key
If you no longer see the notification or associated icon of EFS in the Windows taskbar (next to the time), you will need to manually export the EFS certificate generated for your user account.
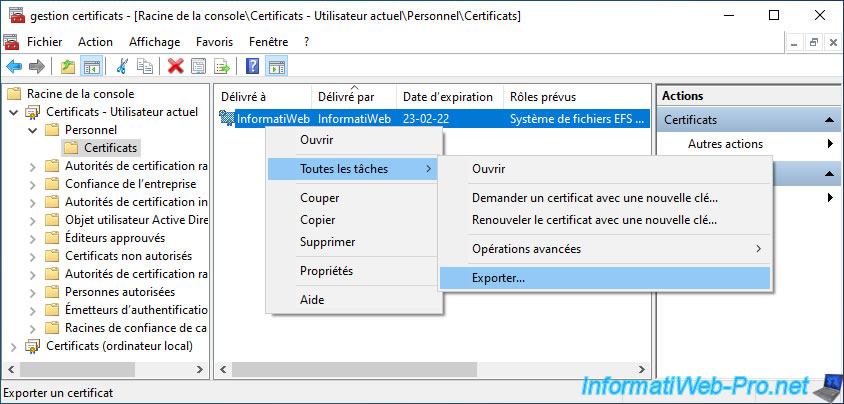
To do this, reuse the previously saved "mmc" console.
If you don't have this "mmc" console pre-registered, refer to step "3. Manage certificates on Windows" of this tutorial to obtain it.
Then, go to "Certificates - Current User -> Personal -> Certificates" and right click "All Tasks -> Export" on the certificate whose intended purpose is "Encrypting File System".
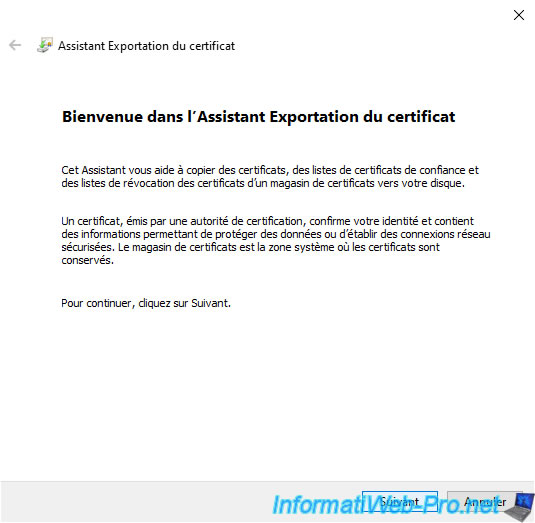
The "Certificate Export" wizard appears.
Click Next.
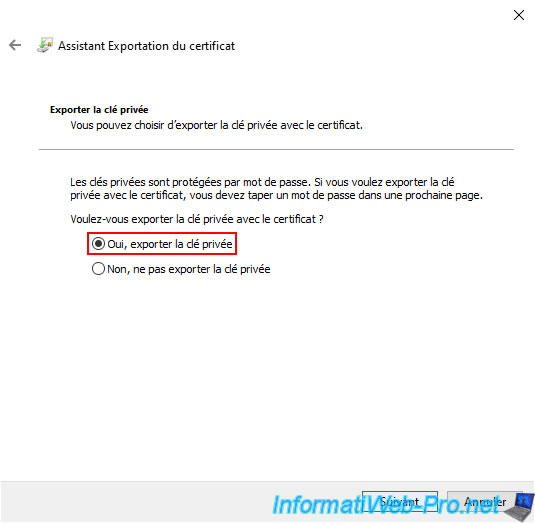
Select "Yes, export the private key" to be able to export the certificate and its associated private key (as it would have been with the notification from EFS).
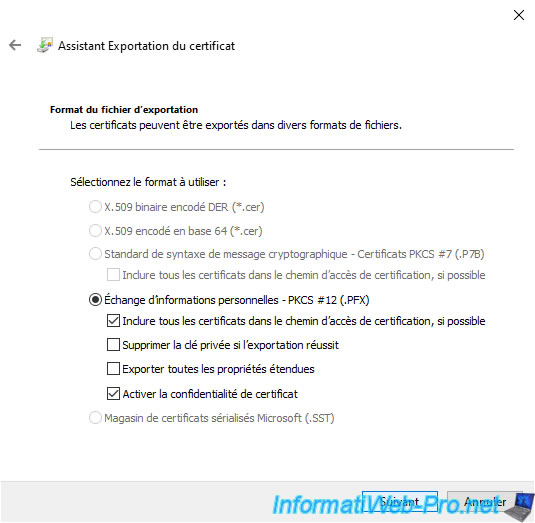
As expected, the wizard allows you to export this certificate in ".pfx" format.
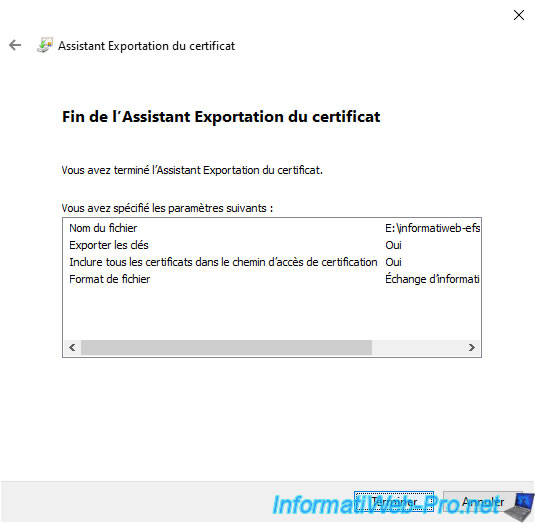
Leave the options checked by default as it matches the options checked by default when you back up your EFS certificate and associated private key.
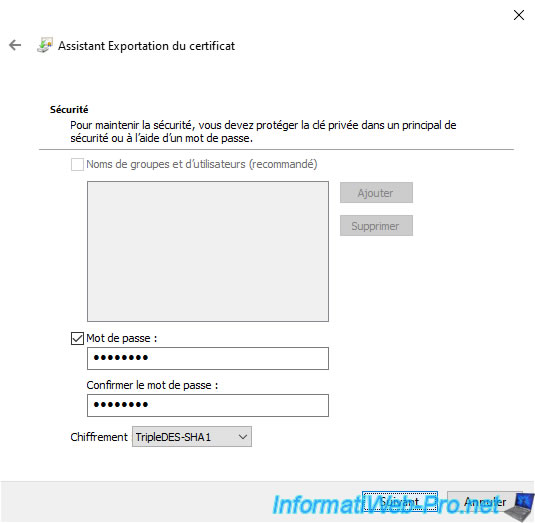
Specify a password to protect the private key that will be exported with the certificate and leave the cipher selected as the default since it matches the one currently used by your EFS certificate.
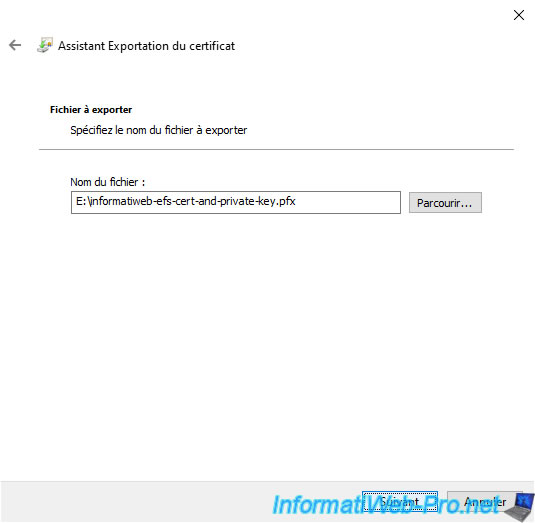
Click "Browse" to choose where you want to save it.
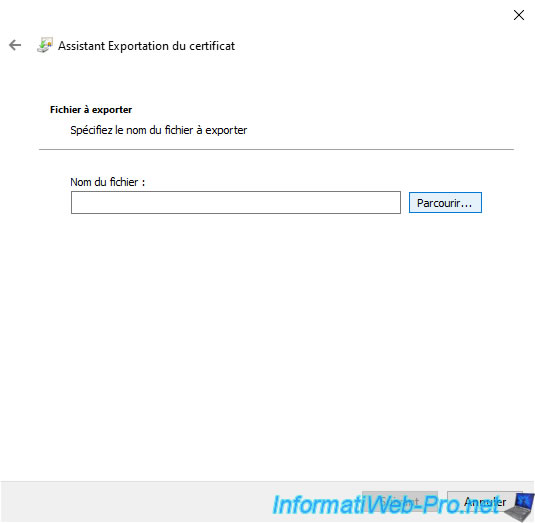
Save this certificate on an USB key (for example) or in any other secure location.
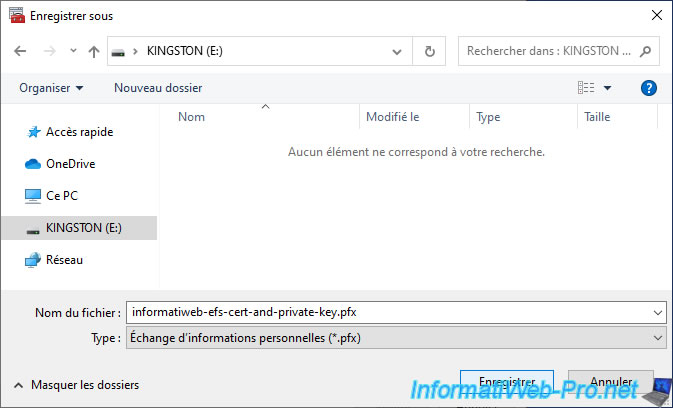
Click Next.
Click Finish.
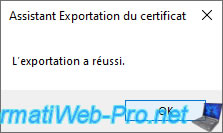
The message "The export was successful" appears.
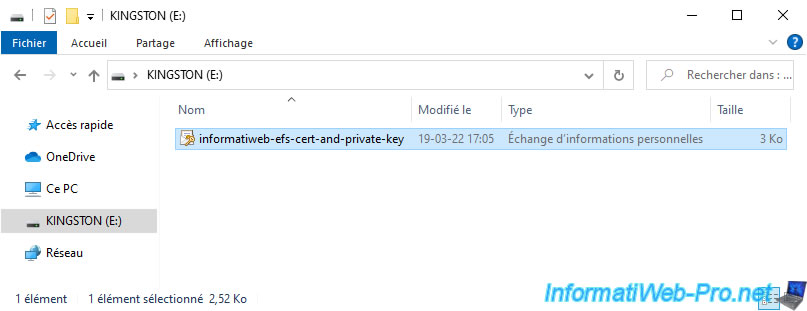
As expected, the certificate was exported in ".pfx" format (as it would have been if you had exported it from the EFS notification).
Share this tutorial
To see also
-

Windows 8/22/2023
Upgrade Windows 10 to newer version of Win 10 (from DVD)
-
Windows 1/23/2025
Windows 10 - Hide Microsoft account email on login screen
-
Windows 10/7/2024
Windows 11 - Disable history in quick access
-
Windows 11/20/2023
Windows 11 - Install Windows 11 without Internet (v25H2 to v22H2 included)
No comment