Encrypt data using the Encrypting File System (EFS) on Windows 10 and 11
- Windows
- Windows 10, Windows 11
- 01 December 2023 at 19:30 UTC
-

- 2/4
4. Encrypt a file
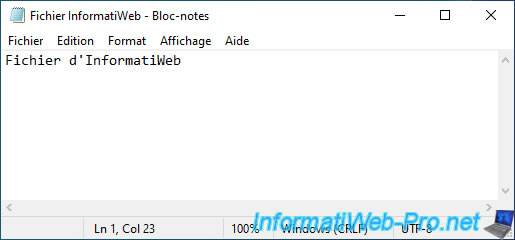
To test data protection using EFS encryption, we are going to create and encrypt a file from our "InformatiWeb" user account.
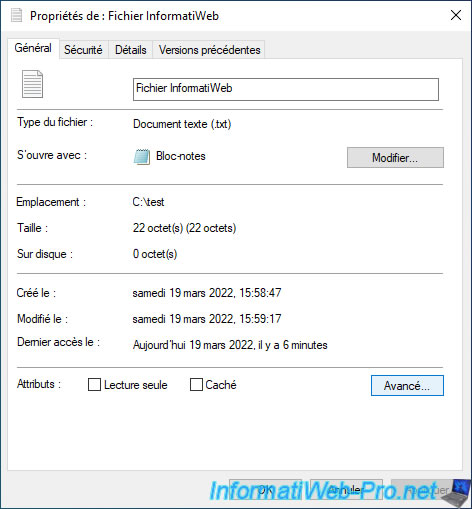
Create a file and right-click "Properties" on it.
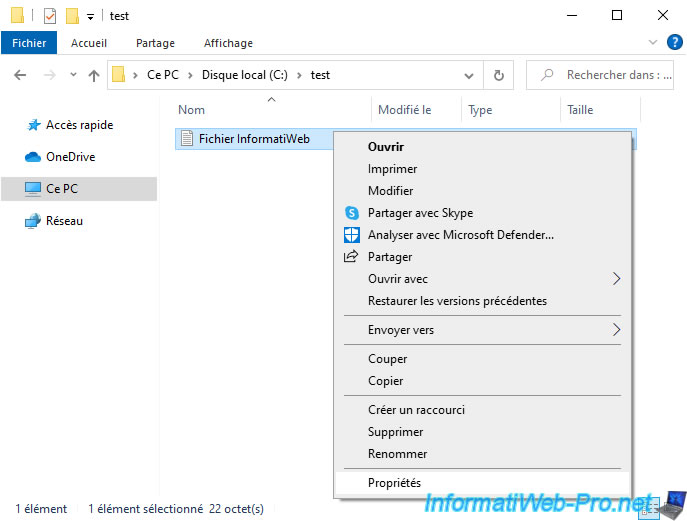
Click on the "Advanced" button.
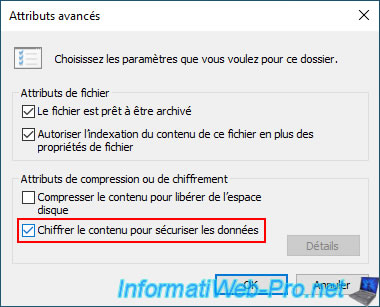
Check the "Encrypt contents to secure data" box and click OK.
Click OK in the properties window of the desired file.

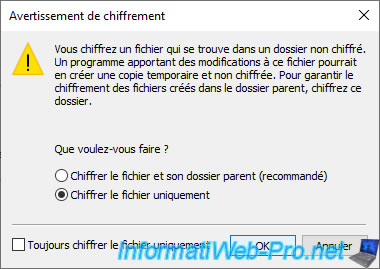
Select "Encrypt the file only" and click OK.
Important : as Windows tells you, some programs may create a temporary copy of the file when you modify it.
Which means that if this copy is not erased automatically by this program and you have chosen "Encrypt the file only", there could potentially be an unencrypted copy next to its encrypted equivalent.
The other case concerns data recovery, since a temporary copy has been written to the hard drive, even if this copy is quickly erased, it could potentially be recovered using data recovery software.
If the encrypted data is confidential (which it certainly is), you should select "Encrypt the file and its parent folder (recommended)" instead.
In our case, we chose "Encrypt the file only" to simplify the realization of this tutorial.
The desired file has been encrypted.
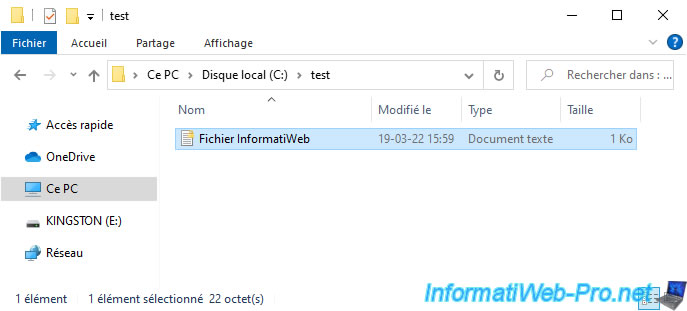
In our case, it's a simple text file.
5. Notification for exporting your file encryption key
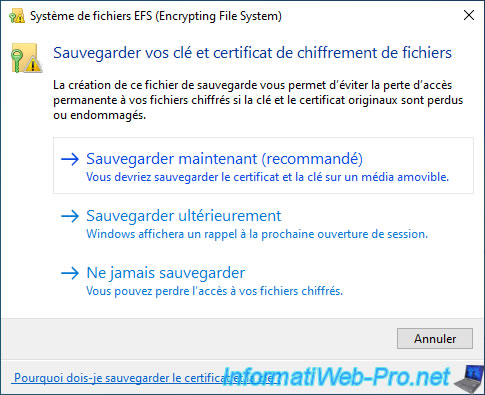
When you encrypt your 1st file, Windows will show you a "Back up your file encryption key" notification.
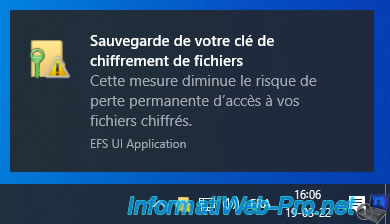
If you click on this notification, an "Encrypting File System" window will appear to allow you to save your file encryption key and certificate.
Indeed, when you encrypt data, it becomes unreadable without the certificate and the associated private key.
To prevent you from losing your data in the event of the loss of this certificate or the associated private key or during formatting, Windows suggests that you save a copy of this certificate and this associated key on an USB key or other go.
Thus, you can re-import this on your computer in the future (for example : after formatting your computer) to be able to access your encrypted files again.
Click : Back up now (recommended).
Note : it's apparently impossible to re-access this window manually if you have not done so from this Windows notification.
If you don't have access to this window, refer to step 8 of this tutorial to manually export the EFS certificate and its associated private key.
The "Certificate Export" wizard appears.
Click Next.

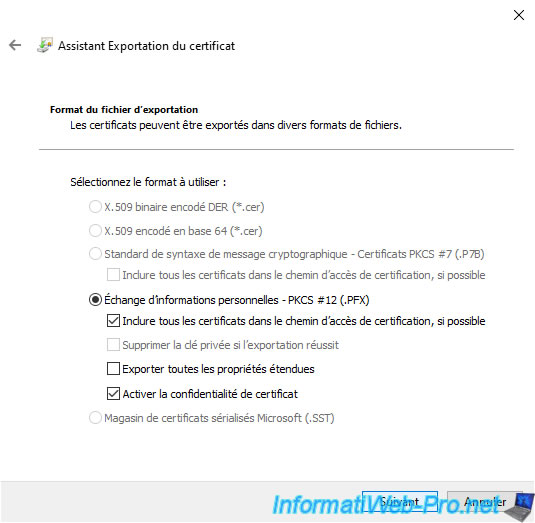
As you can see, the wizard is already pre-configured to export your certificate in ".PFX" format.
Which is a format for exporting a certificate and its associated private key in the same file.
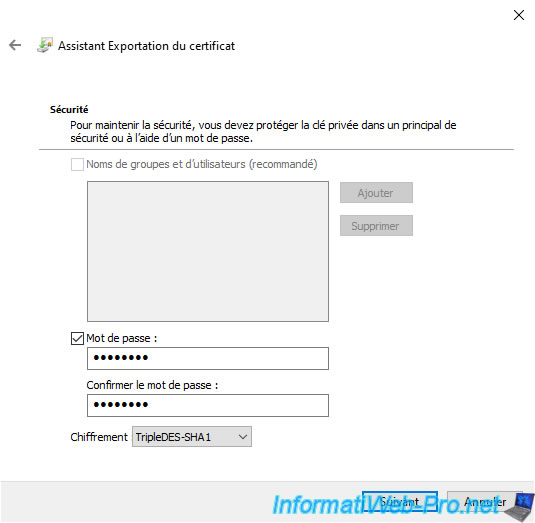
Specify a password to secure the private key that will be exported with the certificate.
So, even if someone gets the exported ".pfx" file, he won't be able to get the private key easily.
First he will have to find the right password.
For encryption, leave the "TripleDES-SHA1" option which is the algorithm currently used by the EFS file system on Windows 10 and 11.
Click "Browse" to choose where you want to export your certificate in ".pfx" format.
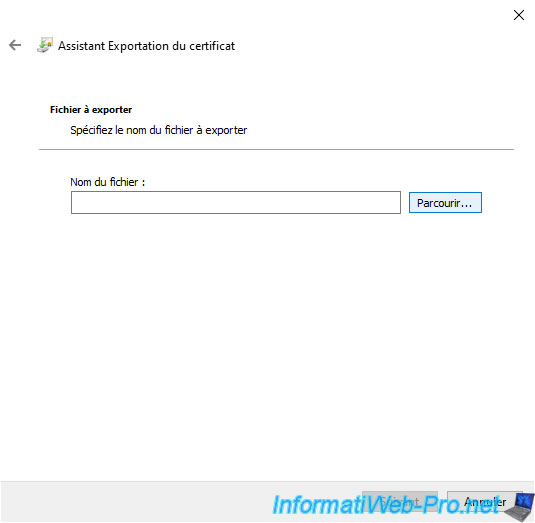
Export it to an USB key or to a secure location.
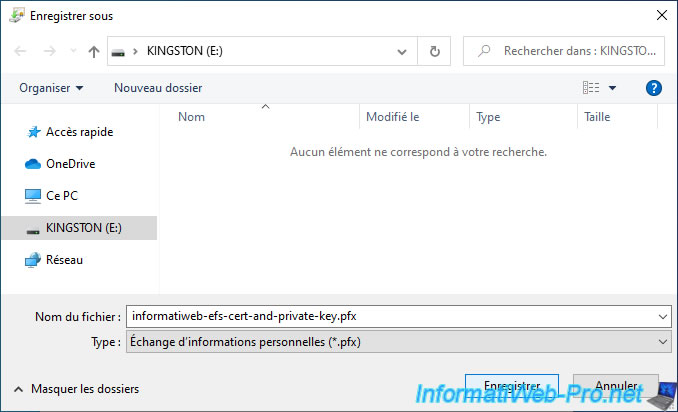
Then, click Next.
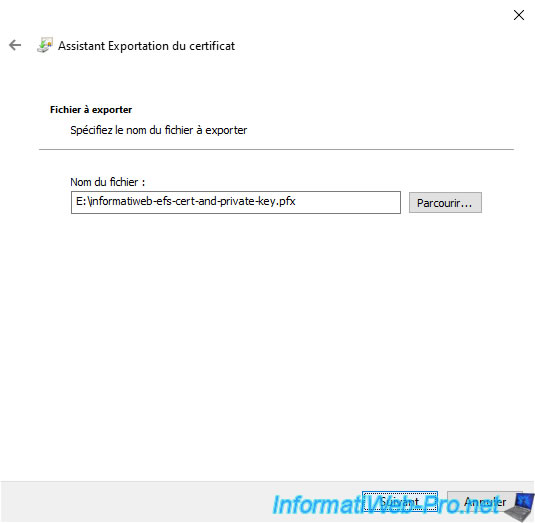
Click Finish.

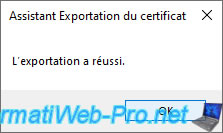
The message "The export was successful" appears.
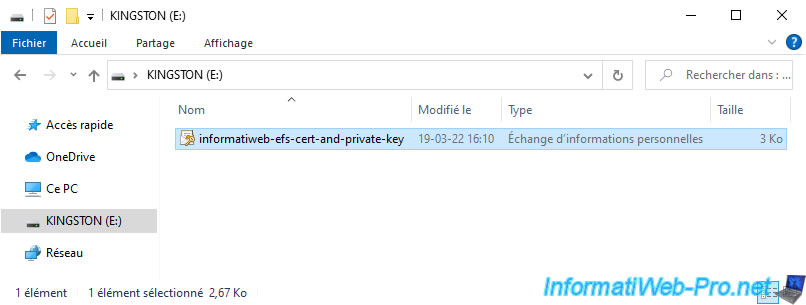
As you can see, the certificate was exported in ".pfx" (Personal Information Exchange) format.
6. EFS certificate generated for the current user
If you reopen your "mmc" console using the previously saved console (in our case, under the name : certificate management), you will see that a new certificate has appeared in the "Certificates - Current User -> Personal -> Certificates" section.
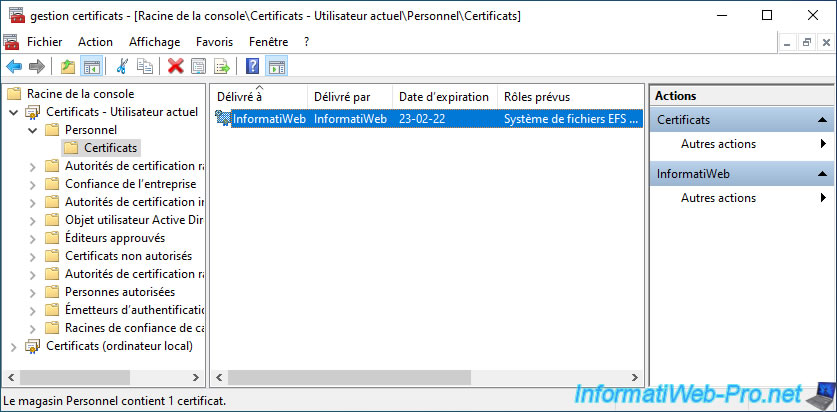
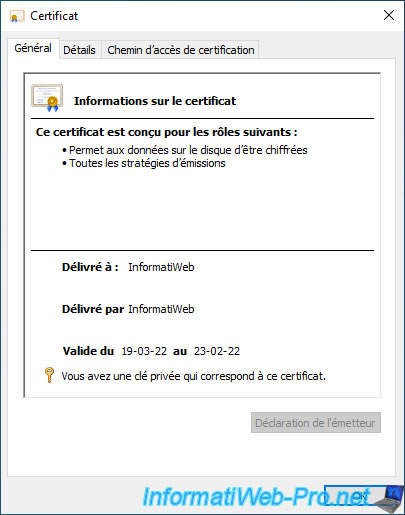
If you double-click on it, you can see that this certificate is designed for the following roles :
- Allows data on disk to be encrypted
- All issuance policies
You will also see :
- that it's a self-signed certificate since it was issued to and by you.
- that you also have the private key corresponding to this certificate.
For validity, Windows 10 and 11 only display the last 2 digits of the year. However, the validity is about 100 years, which may mislead you if you look at the validity period in the "General" tab.
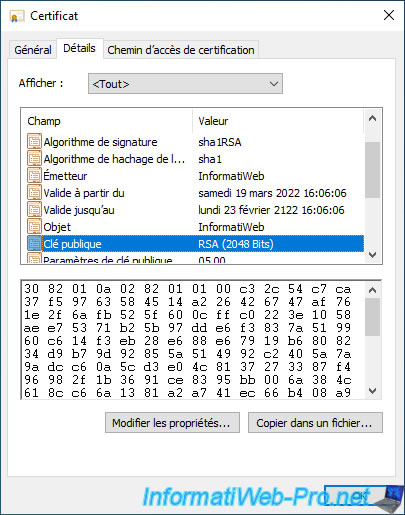
If you go to the "Details" tab of this certificate, you will be able to see that the public key is readable and that it's a 2048-bit key.
This is normal given that large keys are used when using asymmetric encryption (public key / private key).
You will also be able to see that the EFS certificate is valid for about 100 years thanks to the "Valid from" and "Valid to" fields of this certificate.
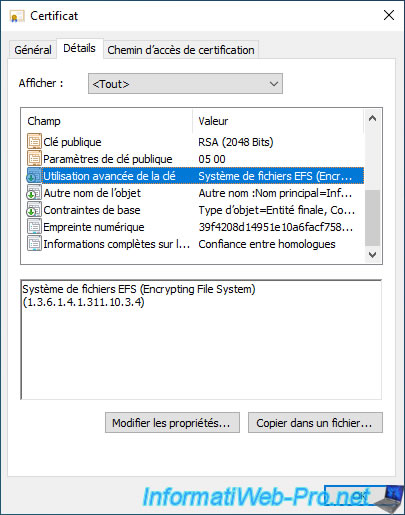
In the "Enhanced key usage" field, you will see that it's an EFS certificate : Encrypting File System (1.3.6.1.4.1.311.10.3.4).
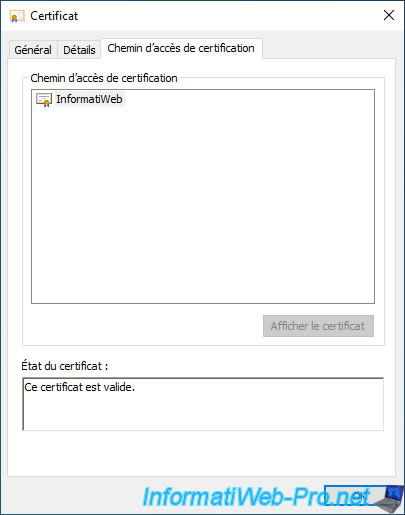
Since this is a self-signed certificate, no parent certificate will appear in the "Certification Path" tab.
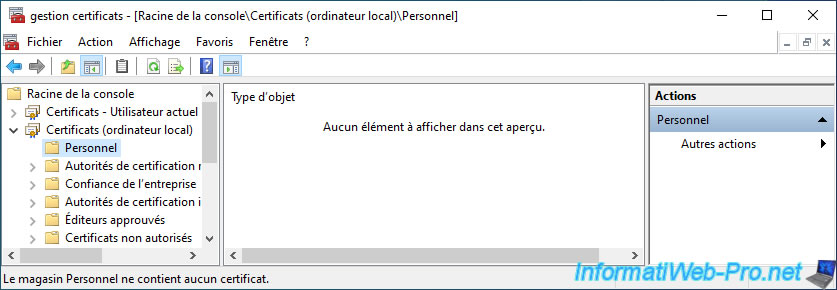
As you can see, no certificate will be created for the local computer.
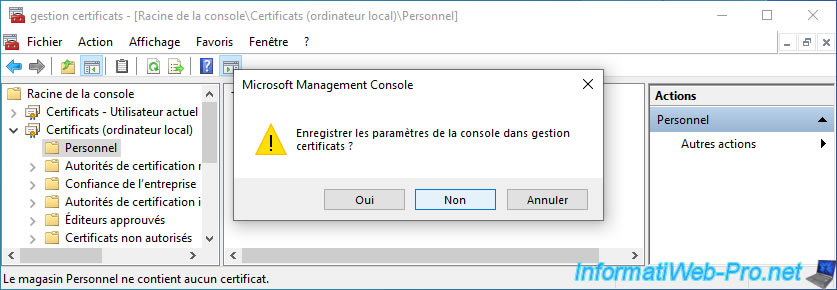
Close the "mmc" console and click "No" to not modify its configuration.
Share this tutorial
To see also
-

Windows 3/22/2022
Upgrade from Windows 10 to Windows 11 (not compatible hardware / official method)
-
Windows 5/5/2025
Upgrade Windows 11 to newer version of Win 11
-
Windows 6/23/2018
Windows 10 / 11 - File sharing
-
Windows 3/17/2025
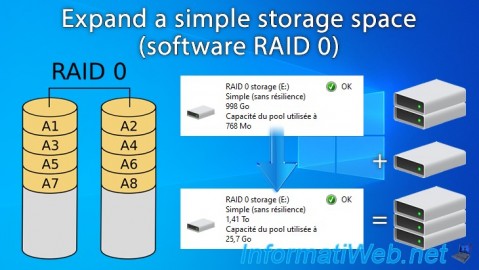
Windows 11 / 10 / 8.1 / 8 - Expand a simple storage space (software RAID 0)
No comment