- Windows
- Windows 11
- 05 April 2022 at 07:54 UTC
-

As on previous versions of Windows, you will have the option of using a "Public network" or "Private network" network location type on Windows 11 for your wired (Ethernet) or wireless (Wi-Fi) network.
However, unlike previous versions of Windows where you had a choice when connecting to a new network, Windows 11 defaults to the "Public network" network location type for all networks you connect to.
This is a security advantage, but it will cause you problems if you want to see the computers on your network and/or share folders (for example) with them.
In the tutorial below, you will find several techniques to change the network location type for your wired (Ethernet) or wireless (Wi-Fi) network.
- Choose the network location type from the settings of a wired network (Ethernet)
- Choose the network location type from the settings of a wireless network (Wi-Fi)
- Choose the network location type from the network section of file explorer
- Choose the network location type from command line via PowerShell
- Choose the network location type by editing Windows 11 registry
1. Choose the network location type from the settings of a wired network (Ethernet)
To quickly change the network location type for the wired (Ethernet) network you are connected to, right-click on the "Network" icon in the Windows 11 taskbar and click : Network and Internet settings.

In the "Network & Internet" section of the "Settings" application that appears, click on "Properties" for your "Ethernet0" network.
Note : as you can see, Windows 11 defaults to a "Public network" network location type.

By default, Windows 11 has selected the "Public (recommended)" network profile type.
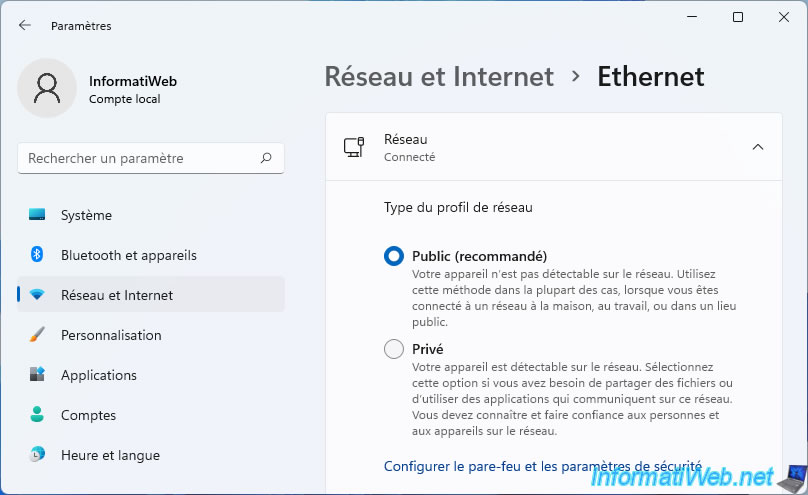
To facilitate file sharing and access to other computers on the network, you will need to select "Private".

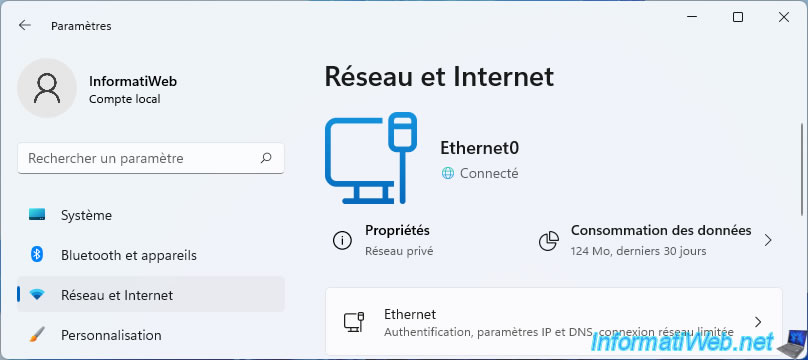
Now, Windows 11 tells you it's a private network.
2. Choose the network location type from the settings of a wireless network (Wi-Fi)
If you're connected to a Wi-Fi network, click the network icon, then click the arrow to the right of the "Wi-Fi" icon.
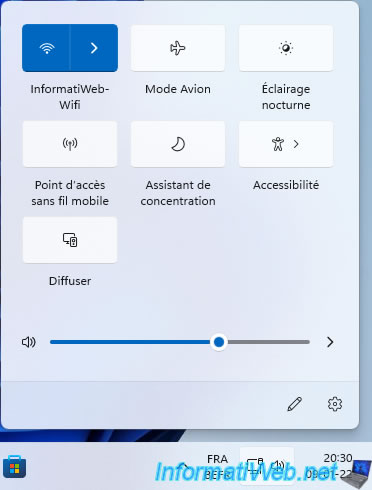
Click on the "i" icon located to the right of the Wi-Fi network you are connected to.

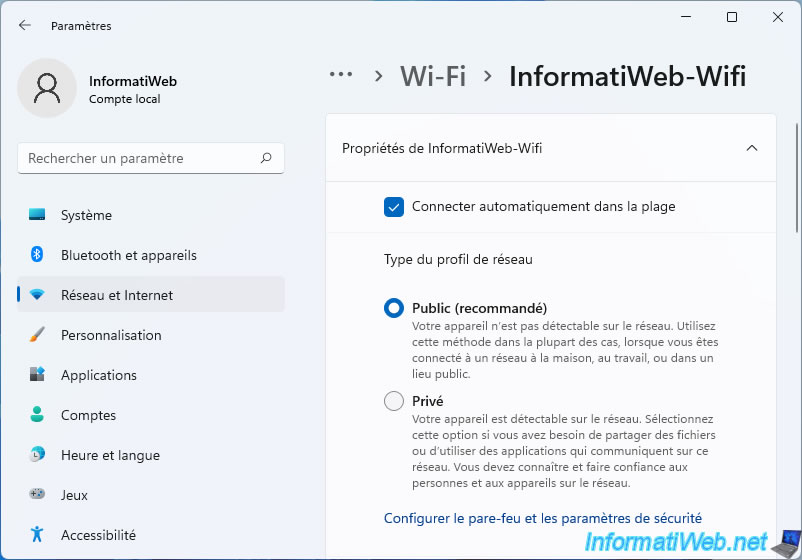
The properties of the Wi-Fi network to which you are connected are displayed.
As you can see, Windows 11 has set this Wi-Fi network as "Public" by default.
To facilitate file sharing on your network, select "Private" as the network profile type.
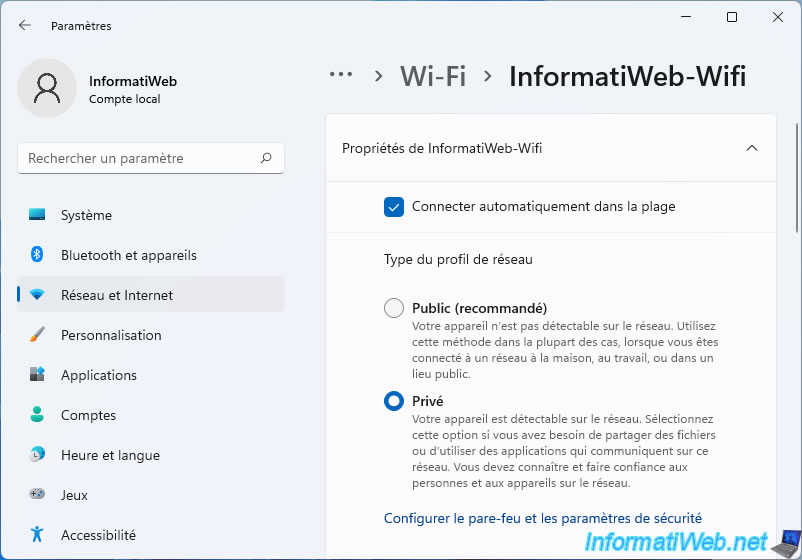
As expected, Windows 11 now treats your network as a private network.
3. Choose the network location type from the network section of file explorer
If you are looking for a technique that is identical on all versions of Windows, we recommend this one.
To get started, open the file explorer.

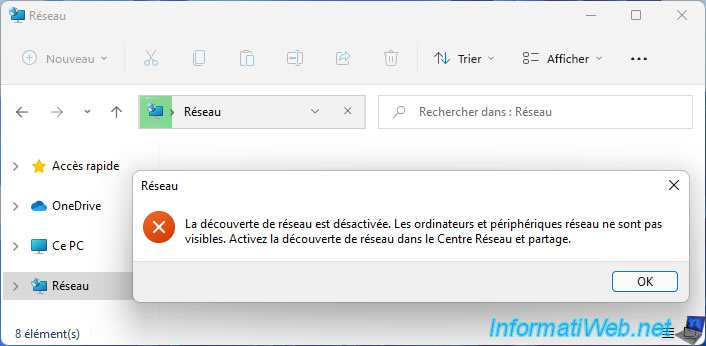
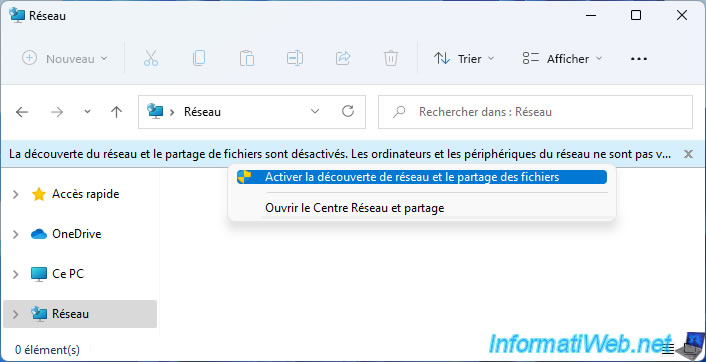
Go to the "Network" section of file explorer and an error message will appear regarding network discovery (if Windows 11 considers your network to be a public network).
Click OK to hide it.
Plain Text
Network discovery is turned off. Network computers and devices are not visible. Please turn on network discovery in Network and Sharing Center.
Then, click on the yellow banner that appears, then on "Turn on network discovery and file sharing".
In the "Network discovery and file sharing" window that appears, answer "No, make the network I am connected to a private network" to the "Do you want to turn on network discovery and file sharing for all public networks?" question.

Answering "No, make the network I am connected to a private network" will have changed your network to "Private network".
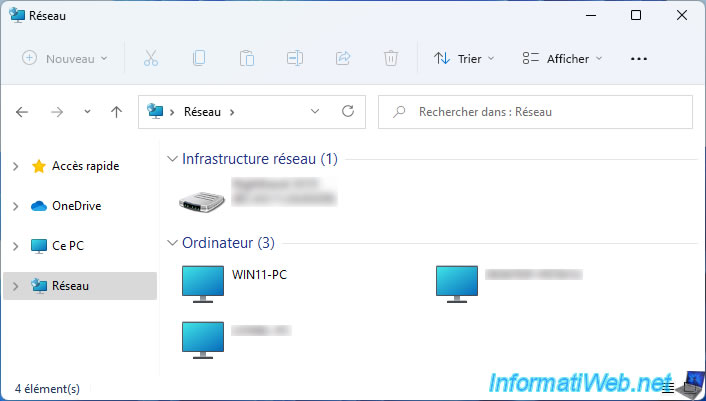
And since network discovery is enabled by default in the Windows 11 firewall for private networks, so network discovery is now allowed.
This allows you to see the other computers on your network (if they are also configured as a "private network").
Note : the "Network infrastructure" section (when displayed) allows you to obtain information concerning the switch / router to which you are connected.
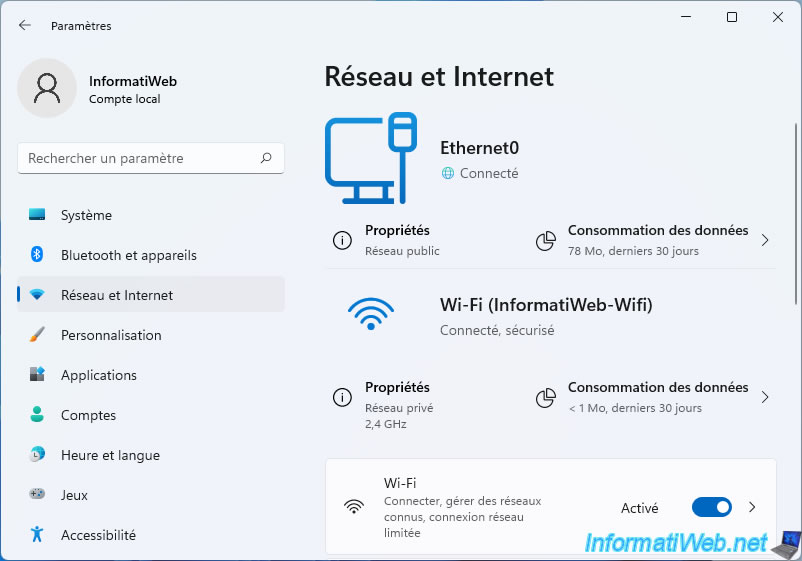
To verify that Windows 11 has changed the network location type to "Private Network", right-click on the "Network" icon and click : Network and Internet settings.

As you can see, Windows 11 treats our network as a private network.

4. Choose the network location type from command line via PowerShell
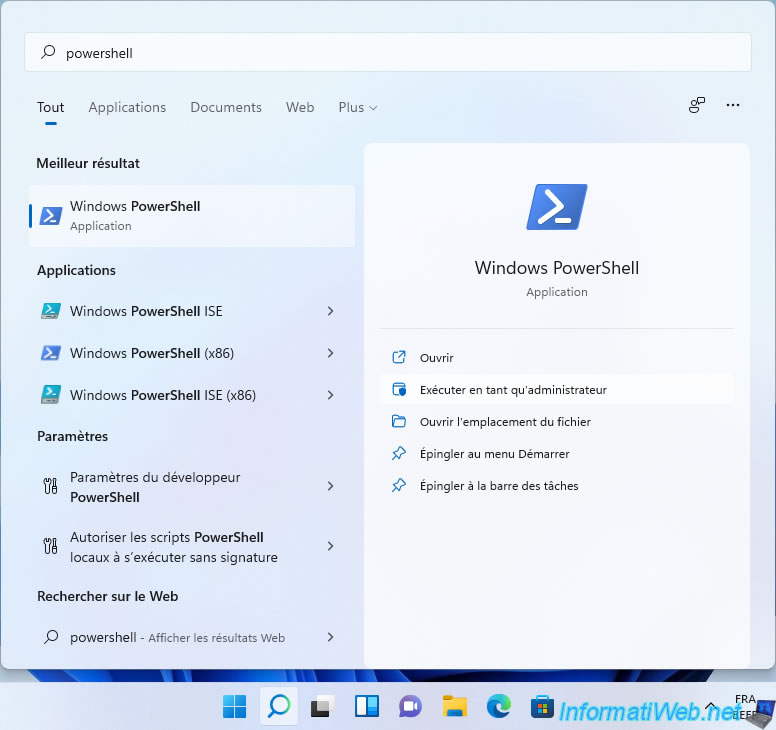
If you want to change network location type on Windows 11 from command line, you will need to use "PowerShell" (which is included by default on Windows 11).
In the "Windows PowerShell" console that appears, display the information of the network to which you are connected using the command :
PowerShell
Get-NetConnectionProfile
As you can see, Windows considers this network as public (NetworkCategory : Public).
Plain Text
Name             : Network
InterfaceAlias   : Ethernet0
InterfaceIndex   : 7
NetworkCategory  : Public
IPv4Connectivity : Internet
IPv6Connectivity : NoTraffic
To change this network to "Private network" and thus authorize file sharing, network discovery, ... use the command :
PowerShell
Set-NetConnectionProfile -Name "Network" -NetworkCategory Private
Display network information again.
PowerShell
Get-NetConnectionProfile
As expected, Windows 11 tells you that it's now a private network (NetworkCategory : Private).
Plain Text
Name             : Network
InterfaceAlias   : Ethernet0
InterfaceIndex   : 7
NetworkCategory  : Private
IPv4Connectivity : Internet
IPv6Connectivity : NoTraffic
To switch back to public mode, use this command :
PowerShell
Set-NetConnectionProfile -Name "Network" -NetworkCategory Public
Display network information.
PowerShell
Get-NetConnectionProfile
And as expected, this network has gone public.
Plain Text
Name             : Network
InterfaceAlias   : Ethernet0
InterfaceIndex   : 7
NetworkCategory  : Public
IPv4Connectivity : Internet
IPv6Connectivity : NoTraffic
5. Choose the network location type by editing Windows 11 registry
Finally, its also possible to change the network location type of any known network (network to which you have connected at least once) using the Windows 11 registry editor.
To do this, open the start menu, search for the "regedit.exe" program and launch the registry editor that appears.
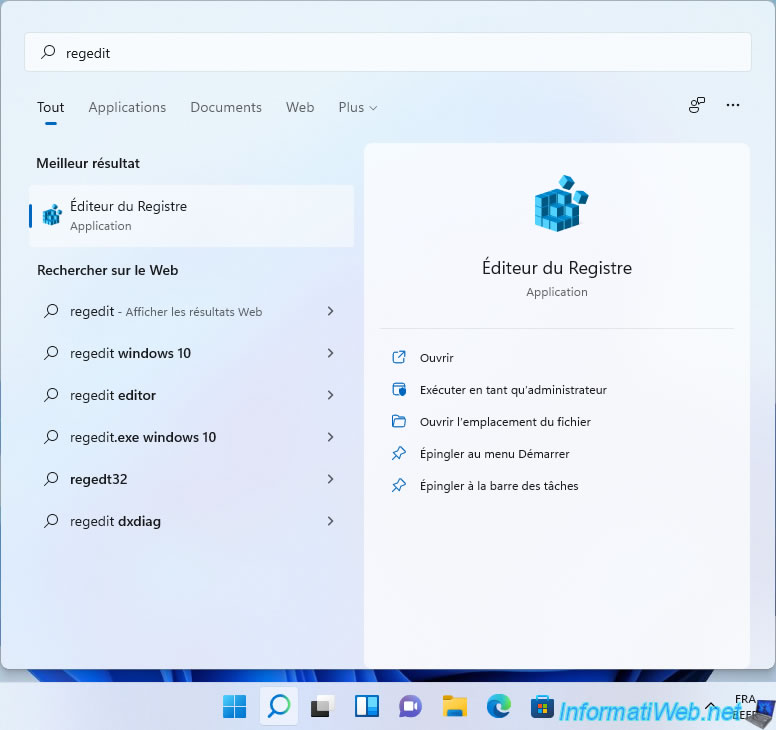
The Registry Editor appears.

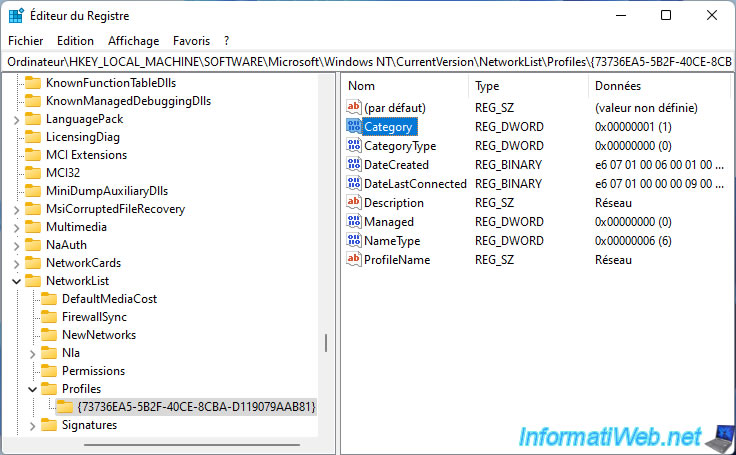
In the registry editor, go to the "HKEY_LOCAL_MACHINE\SOFTWARE\Microsoft\Windows NT\CurrentVersion\NetworkList\Profiles" key.
In this folder, you will find as many folders as there are networks (wired or wireless) to which you have connected at least once.
Select the folder corresponding to the network you wish to modify and double-click on the "Category" item.

For this "Category" data, specify :
- 0 : for this network to be considered a public network by Windows 11
- 1 : for this network to be considered a private network
Then, click OK.
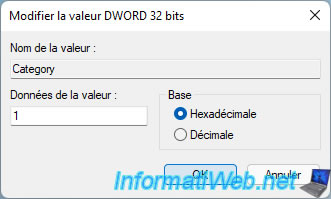
The value of the "Category" data item has been modified.
To check if this change has been taken into account, right-click on the network icon in the Windows 11 taskbar and click on : Network and Internet settings.

As you can see below the word "Properties", Windows 11 considers it a private network.

Share this tutorial
To see also
-
Windows 12/17/2012
Clean Windows safely
-

Windows 1/29/2021
Enable God mode on Windows
-

Windows 10/24/2022
Windows 11 - Reset your PC
-
Windows 12/17/2015
Windows 8 / 8.1 / 10 / 11 - System restore
You must be logged in to post a comment