Create a Windows 7 system image and restore it from Windows or from its installation DVD
- Windows
- Windows 7
- 12 December 2020 at 10:21 UTC
-

- 2/2
4. Restore the system image from CD
If Windows no longer starts, you will need to boot from the Windows 7 installation DVD or the system repair disc created earlier.
At startup, press any key when this message appears.

The "Windows is loading files" message will appear.

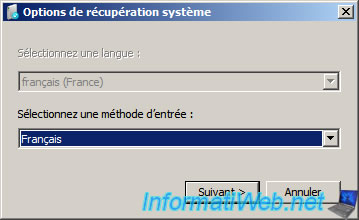
If you started on the system repair disc, a "System Recovery Options" window will appear.
Select the keyboard language and click Next.
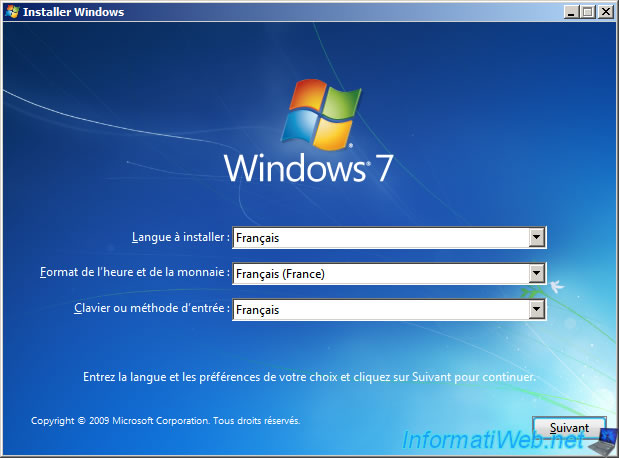
If you started on the installation DVD, select your keyboard language and click Next.
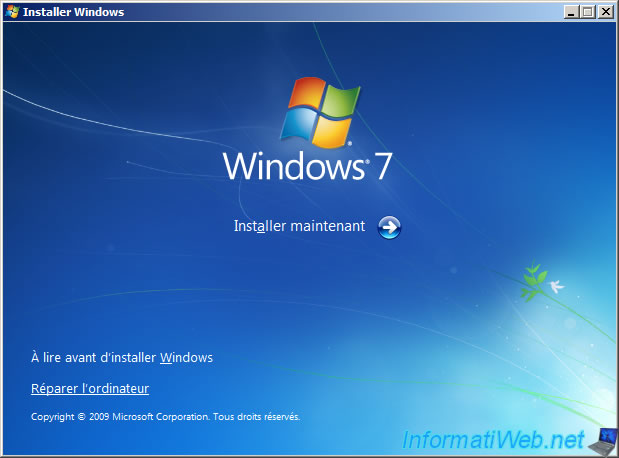
Then, still if you started on the Windows installation DVD, click on the "Repair your computer" link at the bottom left.
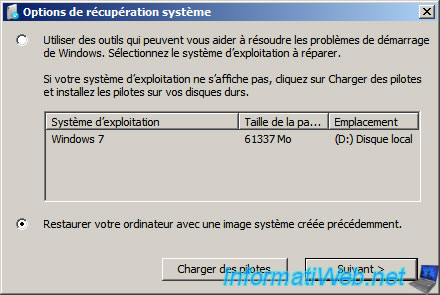
In the "System Recovery Options" window that appears, select "Restore your computer using a system image that you created earlier" and click Next.
5. Restore a Windows 7 system image
Now, you should have a "Re-image your computer" window on the screen.
The wizard will automatically scan your hard drives and peripherals connected to your computer to find a system image.
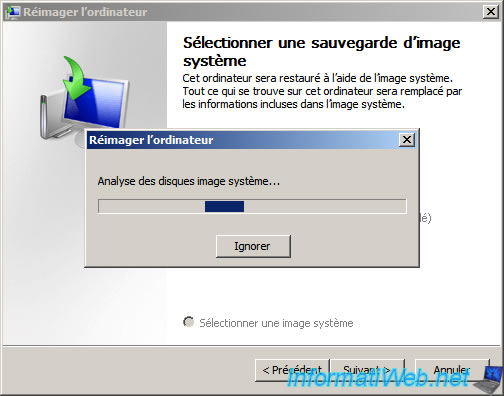
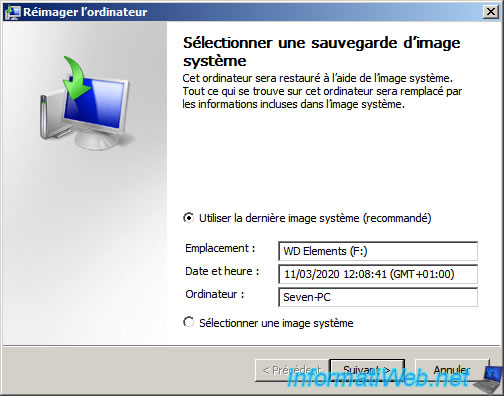
If your external hard drive containing your system image is connected to an USB 2.0 port on your computer, the backup will be automatically detected.
In this case, click Next to use the latest backup by default.
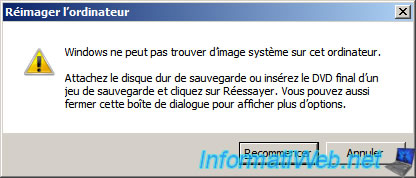
Otherwise, a "Windows cannot find a system image on this computer" warning will be displayed.
In this case, connect the support (external hard drive, USB key, ...) containing your system image to your computer, then click on Retry.
Warning : Windows RE (where you are) of Windows 7 doesn't support USB 3.0 by default. So, you will have to connect your USB support to an USB 2.0 port (so not the blue USB ports) so that it's detected by the "Re-image your computer" wizard.
Then, the wizard will offer you to format and repartition the disks.
However, if you have started the restore from Windows, you will see that the "Format and repartition the disks" option is grayed out.
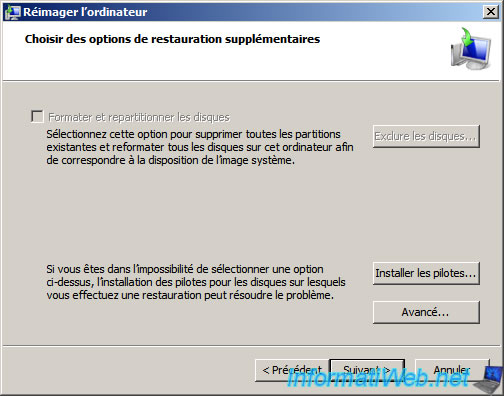
However, if you used the system repair disc or the Windows 7 installation DVD, you can check this box if you wish.
Important : checking this box will delete all the data on all the hard drives of your computer. We therefore recommend that you uncheck this box.
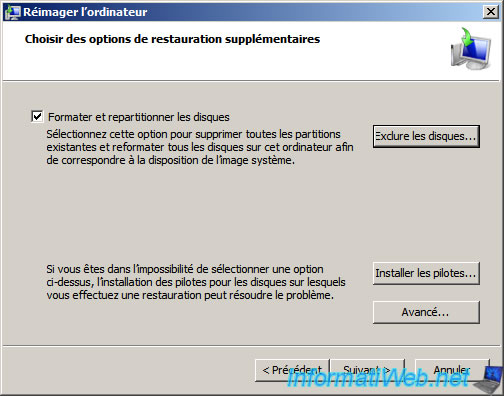
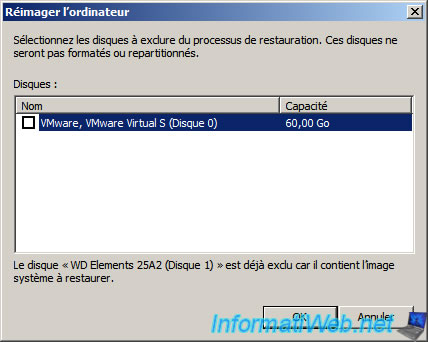
And once checked, you can click on the "Exclude disks" button. Which will display this to you.
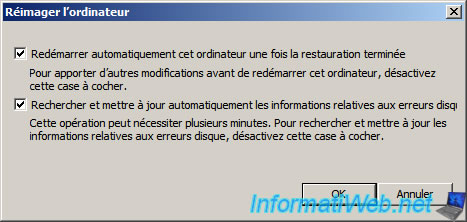
For the Advanced button, you can enable or not the following options :
- Automatically restart this computer after the restore is complete
- Automatically check and update disk error information
In short, click on Next and the wizard will tell you that your computer will be restored from the specified system image.
Click on Finish.
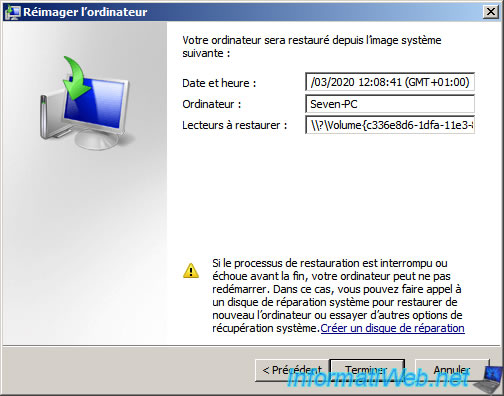
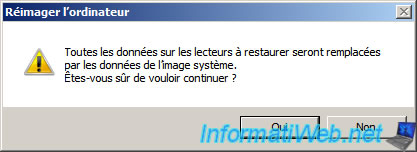
As indicated in this warning, all data will be deleted on the drives specified above.
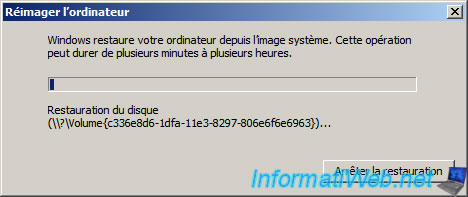
First, the wizard restores the disc information.
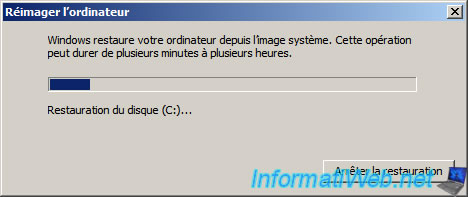
Then, the partitions that are part of it.
Once the restoration is complete, click : Restart now.
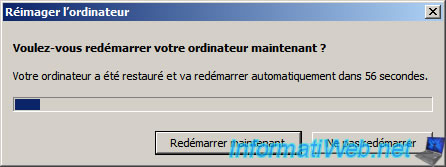
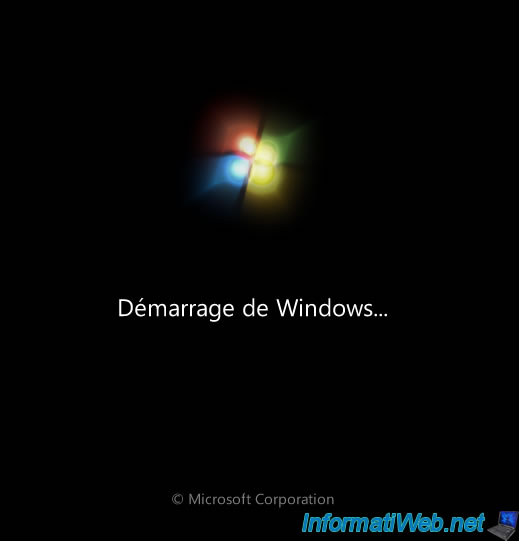
Windows 7 restarts.
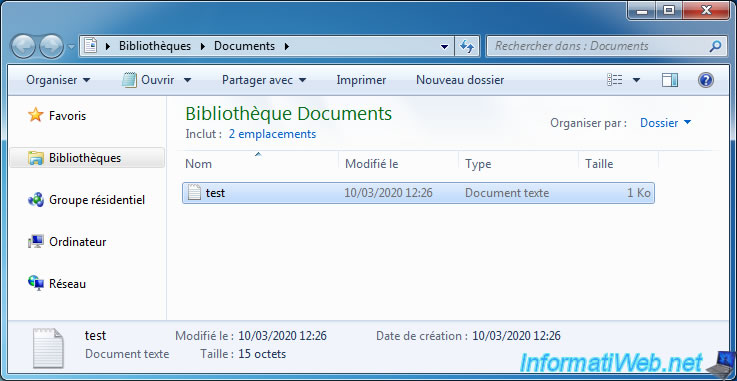
As you can see, the personal documents are still there.
Share this tutorial
To see also
-
Windows 3/26/2013
Check and repair the file system
-
Windows 9/5/2022
Windows - Install the drivers from the device manager
-
Windows 9/19/2022
Windows - Install Windows in UEFI mode (GPT)
-

Windows 4/21/2013
Windows 7 - Create Universal Installation DVD
No comment