Change the network profile used (private or public) on Windows 8.1
- Windows
- Windows 8 / 8.1
- 02 April 2022 at 20:37 UTC
-

- 2/2
5. Choose network location type from the Network section of File Explorer
If you are looking for an easy-to-remember technique that can be used on all versions of Windows, follow this one.
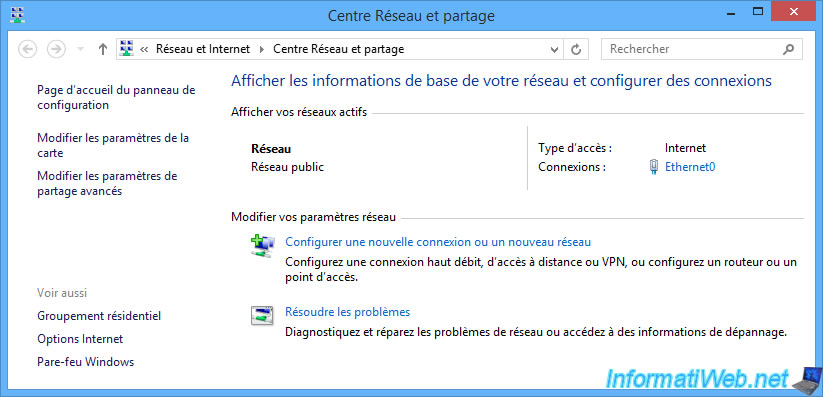
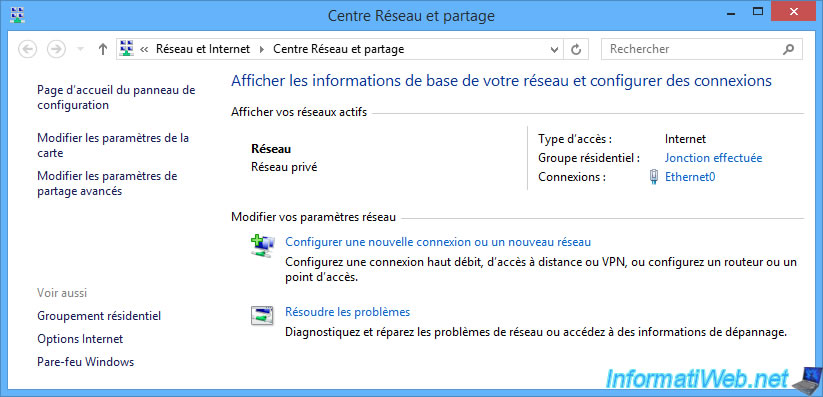
To get started, open the Network and Sharing Center.

As you can see, Windows 8 / 8.1 uses a public network in our case.
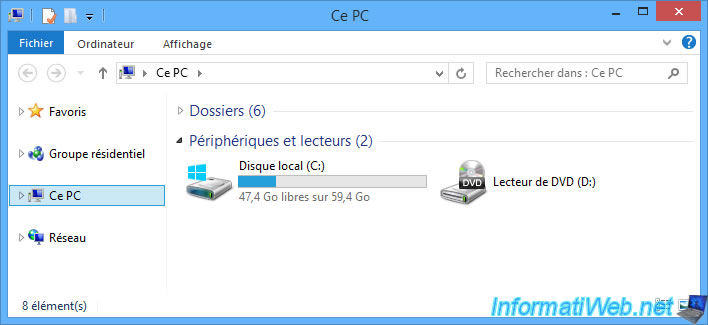
Now, open File Explorer.
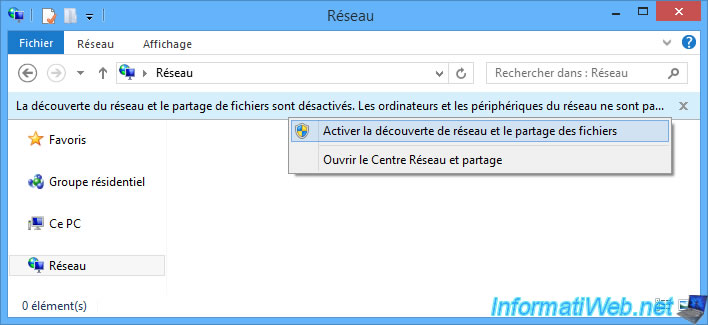
Go to the "Network" section and you will see a banner appear : Network discovery and file sharing are turned off. Network computers and devices are not ...
Click on this banner, then on : Turn on network discovery and file sharing.
A "Network discovery and file sharing" window appears with 2 options :
- No, make the network that I am connected to a private network : allows you to change the network location type of the network you are connected to to "private network".
- Yes, turn on network discovery and file sharing for all public networks : allows leaving the network location type at "public network", but changing the default settings of "public network" type so that discovery network and file sharing are allowed.
Warning : this modifies the settings defined for the type of network location "public network". These options will therefore be enabled for all public networks to which you connect.
In summary, click on the 1st option (No, make the network...) to change the network location type to "private network.

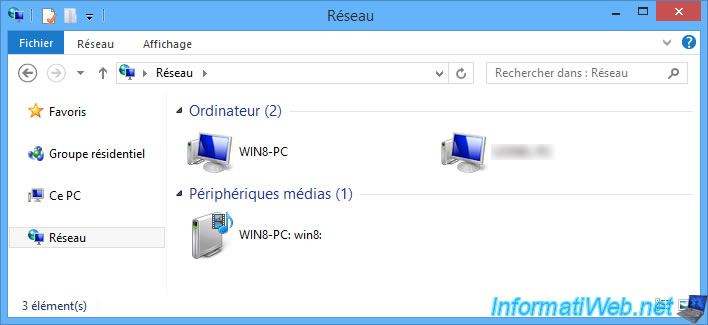
Now, you have the ability to view computers and media devices on your network.
To verify that the location type has been changed, return to the Network and Sharing Center.
6. Choose network location type from command line via PowerShell
On Windows 8 / 8.1, you also have the option to change the network location type of the network you are connected to using the "Windows PowerShell" command prompt available from Windows 7.
To launch it, open Windows 8 / 8.1 home screen and type "powershell".
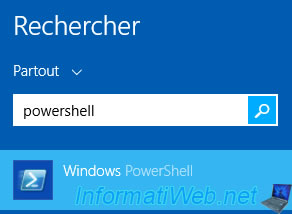
Then, right-click "Run as administrator" on the "Windows PowerShell" program that is offered.
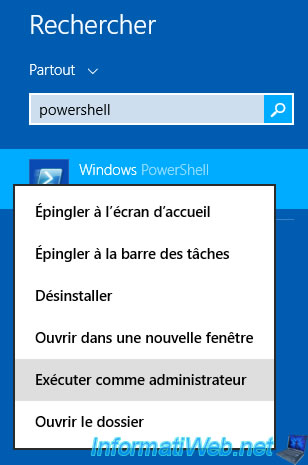
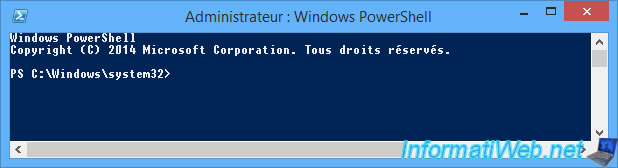
The Windows PowerShell program opens as administrator.
In this PowerShell command prompt, use the following command to get information about your network :
PowerShell
Get-NetConnectionProfile
In our case, we can see :
- Name : the name generated by Windows 8 / 8.1 for our network is "Network".
- InterfaceAlias : the name generated by Windows for the network adapter used is Ethernet0. This also indicates that you are connected to the network via a network (Ethernet) cable.
- NetworkCategory : the network location type used in our case is "public network" (Public).
- and more
Plain Text
Name             : Network
InterfaceAlias   : Ethernet0
InterfaceIndex   : 3
NetworkCategory  : Public
IPv4Connectivity : Internet
IPv6Connectivity : LocalNetwork
To change the network location type to use for this network, use the following command by specifying the name of the network you want to change in the "Name" setting :
PowerShell
Set-NetConnectionProfile -Name "Network" -NetworkCategory Private
As expected, the network location type has been changed to "private network" (Private).
Plain Text
Name             : Network
InterfaceAlias   : Ethernet0
InterfaceIndex   : 3
NetworkCategory  : Private
IPv4Connectivity : Internet
IPv6Connectivity : LocalNetwork
To use the "public network" network location type, use this command :
PowerShell
Set-NetConnectionProfile -Name "Network" -NetworkCategory Public
As expected, the network location type has been changed to "public network" (Public).
Plain Text
Name             : Network
InterfaceAlias   : Ethernet0
InterfaceIndex   : 3
NetworkCategory  : Public
IPv4Connectivity : Internet
IPv6Connectivity : LocalNetwork
7. Choose network location type by editing Windows 8/8.1 registry
Finally, you can also go through the registry of Windows 8 / 8.1.
Good news, the technique is much simpler than on Windows 7.
To get started, open the Windows 8 / 8.1 home screen and launch the "regedit.exe" program.
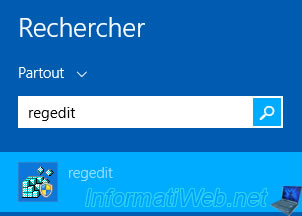
The Registry Editor appears.
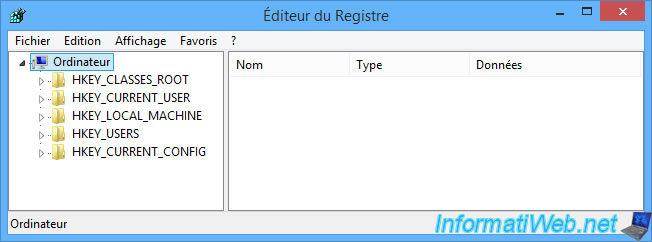
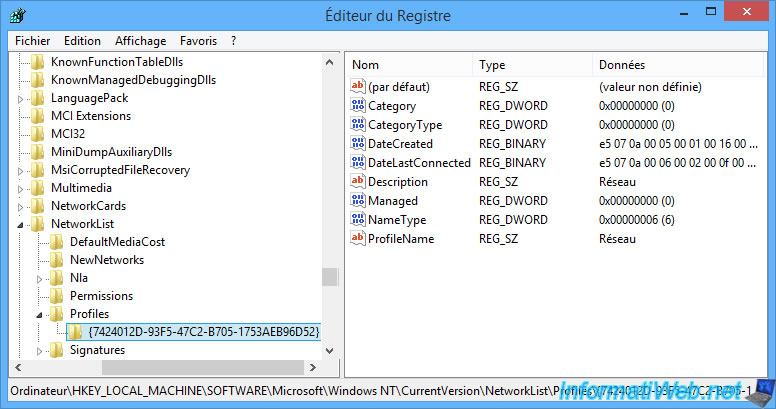
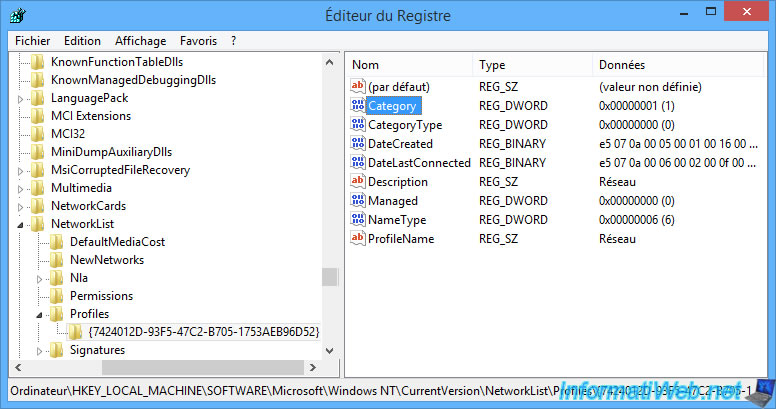
Go to the "HKEY_LOCAL_MACHINE\SOFTWARE\Microsoft\Windows NT\CurrentVersion\NetworkList\Profiles" registry key.
In this registry key, you will find as many folders as there are networks to which you have connected at least once.
To find the network you are currently connected to, compare the name displayed on Windows 8 / 8.1's Network and Sharing Center with the value listed for the "ProfileName" data available in each of these folders.
In our case, our network is called : Network.
To change the network location type of the desired network, double click on the "Category" data.
Then, specify the number corresponding to the desired network location type :
- 0 : public network
- 1 : private network (equivalent to the "home network" of Windows 7)
- 2 : domain network (used only when joining your computer to an Active Directory domain)
In our case, we indicated "1" to use a private network.
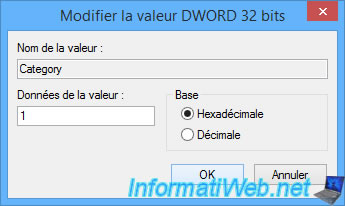
The value of "Category" has been changed.
To verify that the value used is correct, open the Windows 8 / 8.1 Network and Sharing Center by right-clicking "Open Network and Sharing Center" on the network icon available in the taskbar.

As expected, Windows 8 / 8.1 now uses a private network.

Share this tutorial
To see also
-

Windows 8/29/2022
Windows - Install the drivers from the manufacturer's site
-

Windows 8/22/2022
Windows - Install the drivers from the supplied CDs
-

Windows 5/2/2025
Windows - Manually install Windows in UEFI mode (GPT)
-

Windows 9/21/2021
Windows 8 / 8.1 / 10 / 11 - Switching from IDE to AHCI without reinstalling Windows
No comment