Simple, advanced, hidden and secure file sharing on Windows XP
- Windows
- Windows XP
- 16 June 2018 at 13:16 UTC
-

- 3/3
5.2. Create a user for shares
If you want to allow access to a share with other credentials than the user accounts on your computer, you will need to create a new user on Windows XP.
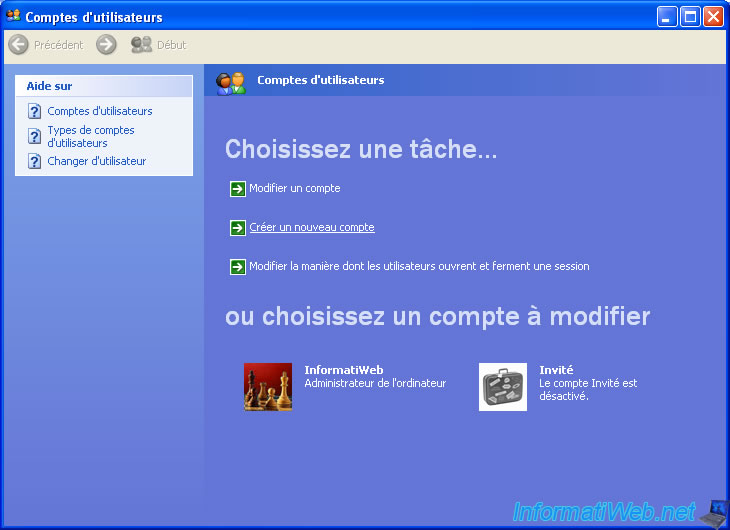
To do this, open the control panel and click on "User Accounts".
Then, click on : Create a new account.
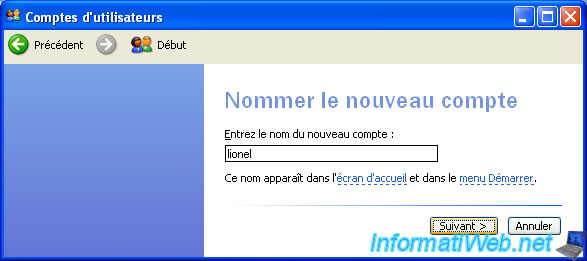
Enter a name for this new account and click Next.
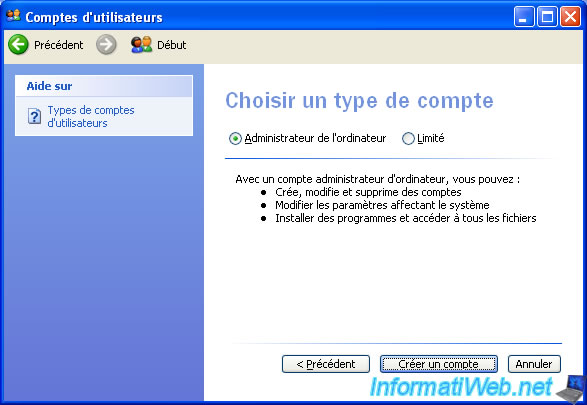
Change the account type if you want, then click : Create Account.
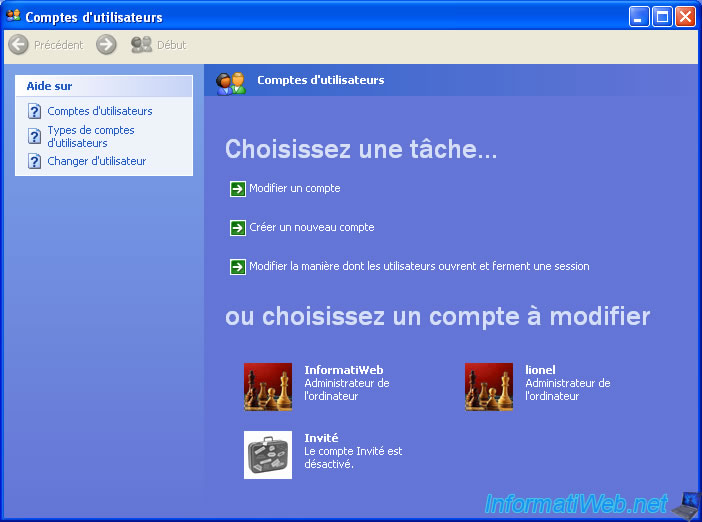
Now, we have a new user that we can also use for our network shares.
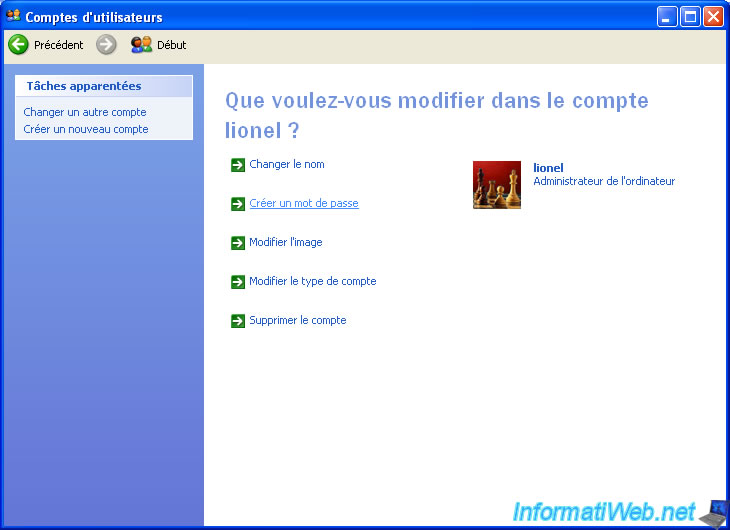
For security, we will create a password for this user.
Thus, we will use a combination "username + password" to access our network share.
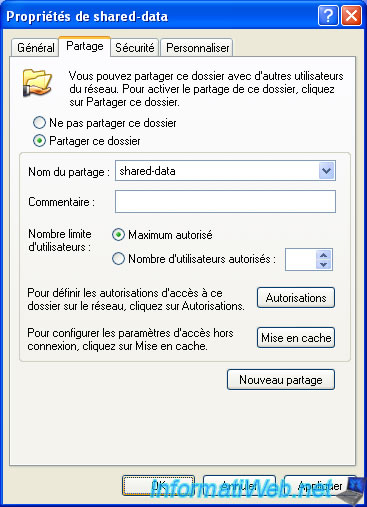
Now that this user is password protected, we allow access to this share only for that user.
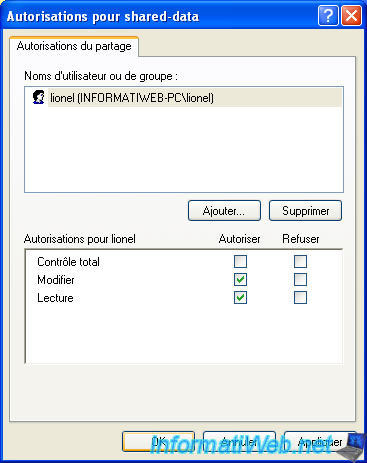
Click OK.
As you may have suspected, the creation of this user will also appear on the home screen (if you use this option).
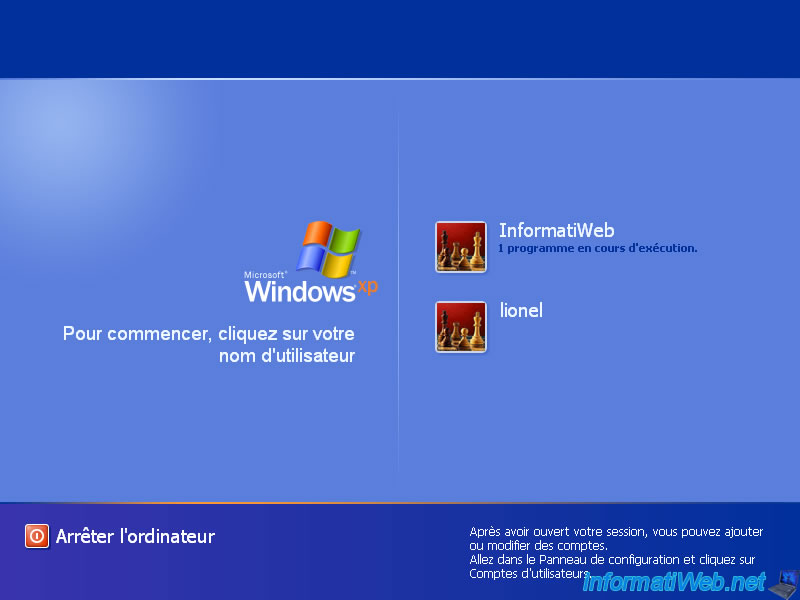
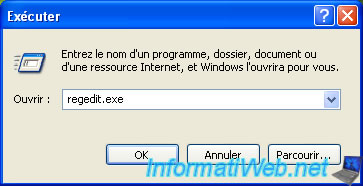
If you want to hide this user from the home screen, open the registry editor via the "Run" option available in the start menu.
Then, type regedit and click OK.
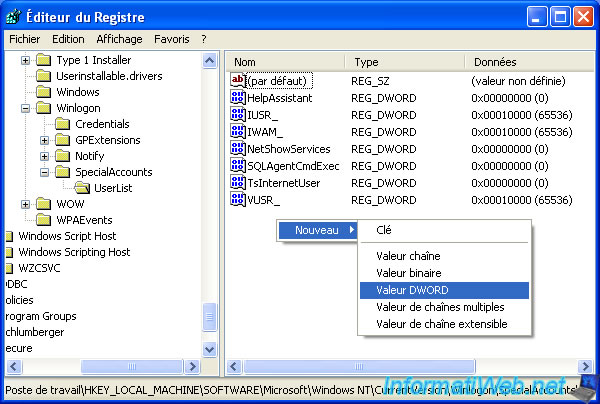
Go to the "HKEY_LOCAL_MACHINE\SOFTWARE\Microsoft\Windows NT\CurrentVersion\Winlogon\SpecialAccounts\UserList" key and create a new DWORD value.
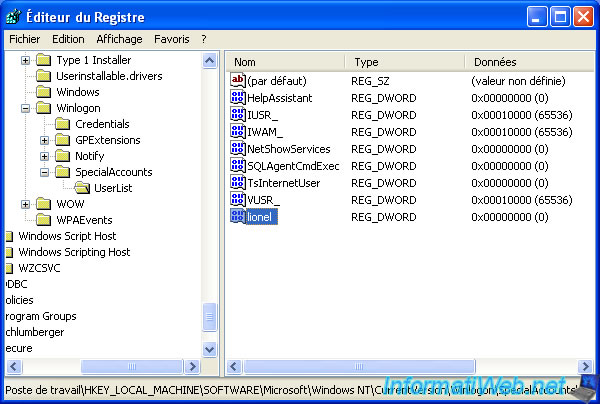
Specify the name of the user to hide for the name of this data and 0 for its value.
Now this user will no longer appear in the home screen.
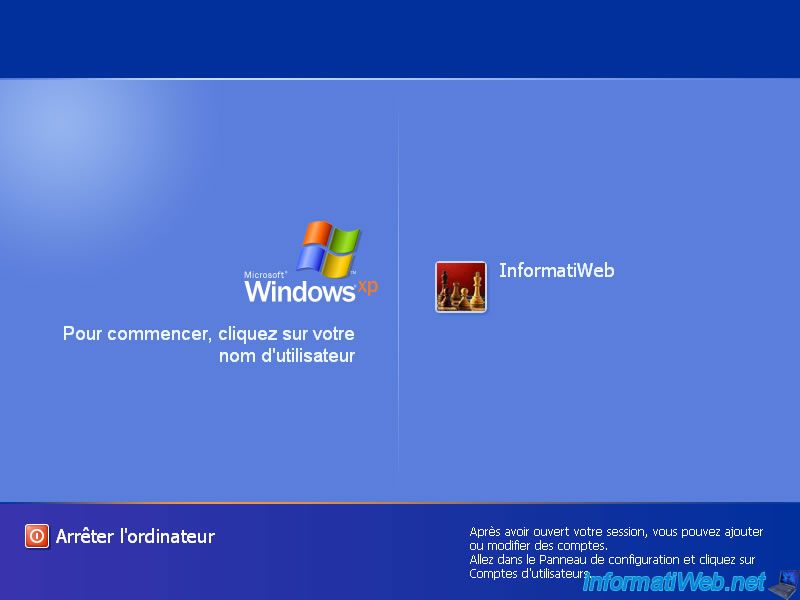
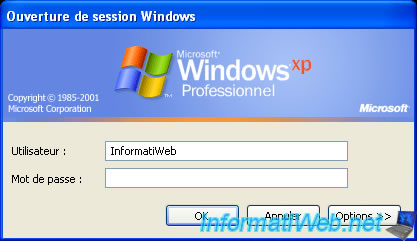
If you want to use it one day, you can delete the previously created DWORD value or press the "CTRL + ALT + DEL" keys twice on the Windows XP Home screen.
The "Windows logon" window will appear and you will be able to specify :
- a username
- and his password
5.3. Access a password-protected network share
Except if the client computer has a user with the same username and password as the user created on the target computer, you will not be able to access the network share using the classic method explained at the beginning of the our tutorial.
Indeed, Windows XP will display a "Access denied" message.

To access it, you will need to use the command line (NET USE commands) or connect a network drive to this share.
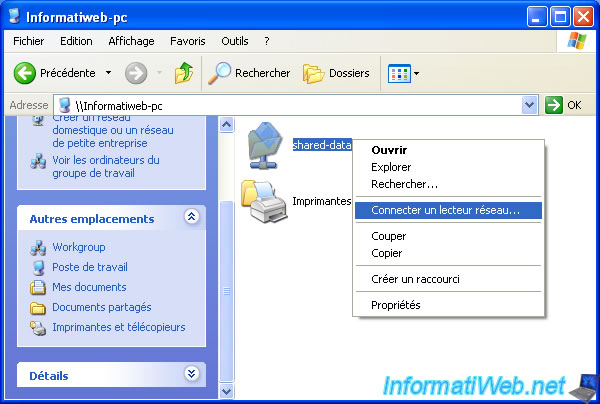
Click on the "different user name" link.
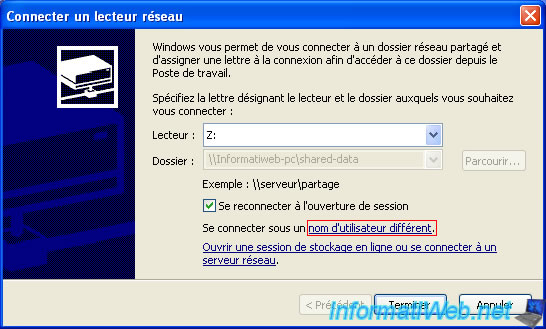
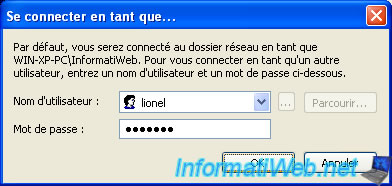
Specify the credentials to use to connect to this share.
Click Finish.
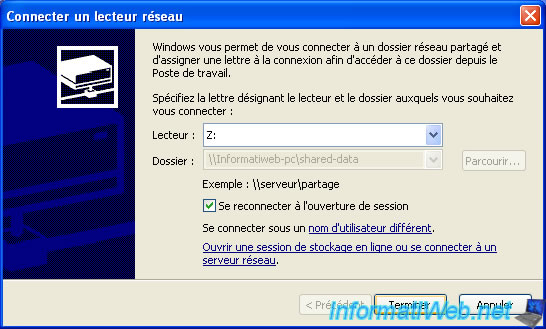
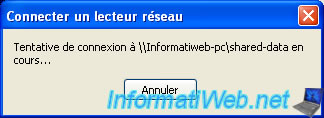
Windows is attempting to connect to the network share.
If you performed the same tests as we did at the beginning of the tutorial, Windows might show you this message :
The specified network folder is currently mapped with a different username and password.

Indeed, if you type the "NET USE" command in a command prompt (cmd.exe), you will see that this network share will appear.
Batch
net use

To fix this problem, you must remove this network share.
For this, in our case, we used this command :
Batch
net use \\INFORMATIWEB-PC\shared-data /delete

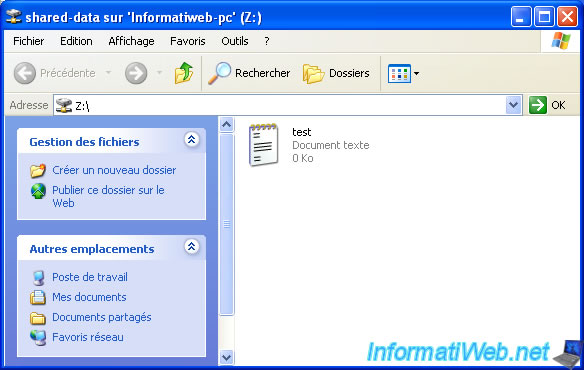
Now the creation of the network drive will work and you will have access to the files that are in the shared folder.
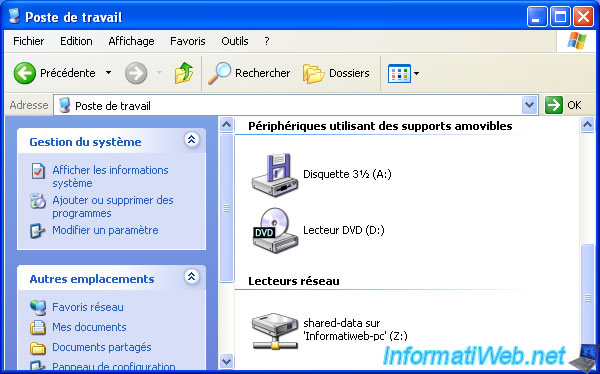
Once connected, the network drive will appear in : My Computer.
Share this tutorial
To see also
-
MultiBoot 3/11/2024
Microsoft multiboot with Windows XP and Windows 7
-
Windows 11/27/2020
Upgrade from Windows XP to Windows 7
-

Windows 11/3/2013
Windows XP - Connect to a Wifi network
-
Windows 12/4/2015
Windows XP - System restore
No comment