- Virtualization
- Windows 8 / 8.1, Windows 10, Windows 11
- 23 August 2019 at 17:49 UTC
-

The Microsoft's Hyper-V virtualization server is available in "Server" editions of Windows, but also as a feature in client versions of Windows.
- Check the required configuration
- Enable Hyper-V feature
- Virtual switch not created by default on Windows 8
- Virtual switch created by default on Windows 10 and 11
- Hyper-V test
1. Check the required configuration
Before you start the installation of Microsoft Hyper-V, verify that your computer meets the requirements for Hyper-V.
Important : Hyper-V requires :
- x64 (64-bit) architecture for SLAT to be available.
Hyper-V is therefore NOT available on the x86 (32-bit) architecture. - the SLAT (Second Level Address Translation) to work.
- at least a professional edition of Windows.
Indeed, the Hyper-V feature is officially not available on the Home edition of Windows.
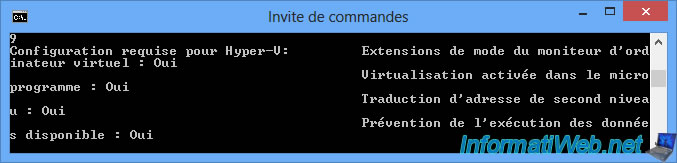
To do this, run a command prompt and type :
Batch
systeminfo
At the end of the information displayed by this command you will find :
Plain Text
Hyper-V Requirements:
VM Monitor Mode Extensions: Yes
Virtualization Enabled In Firmware: Yes
Second Level Address Translation: Yes
Data Execution Prevention Available: Yes
If everything is "yes", it's good.
Source : Windows 10 Hyper-V System Requirements | Microsoft Learn.
2. Enable Hyper-V feature
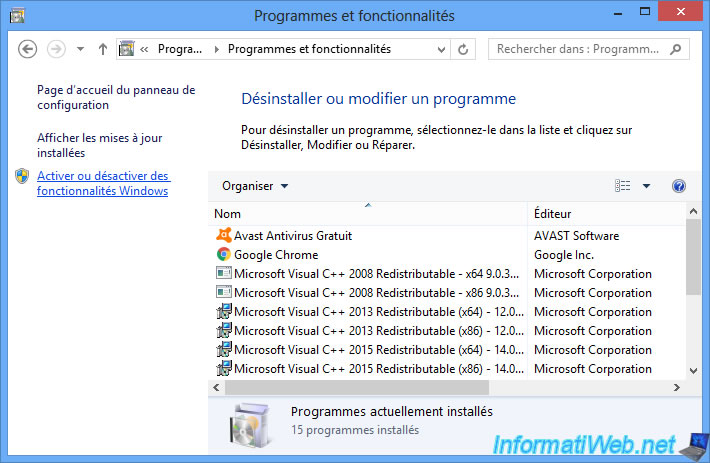
Open the control panel and go to : Programs -> Uninstall a program.
Then, click on "Turn Windows features on or off".
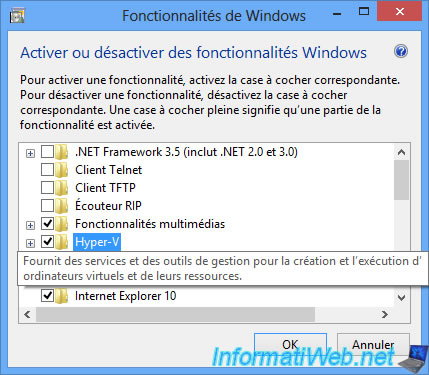
Check the "Hyper-V" box and click OK.
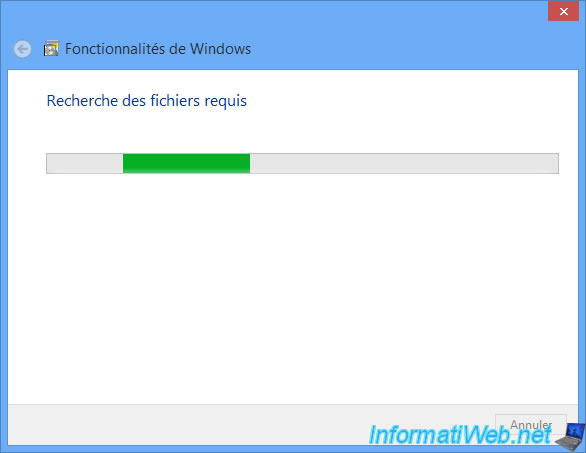
Windows prepares the required files.
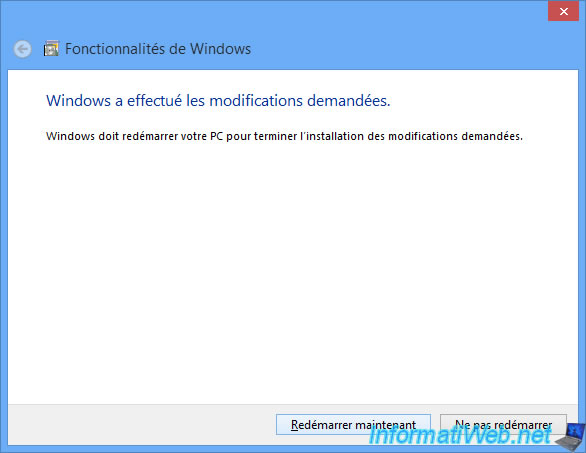
Then, Windows will have to restart.
Click on: Restart now.
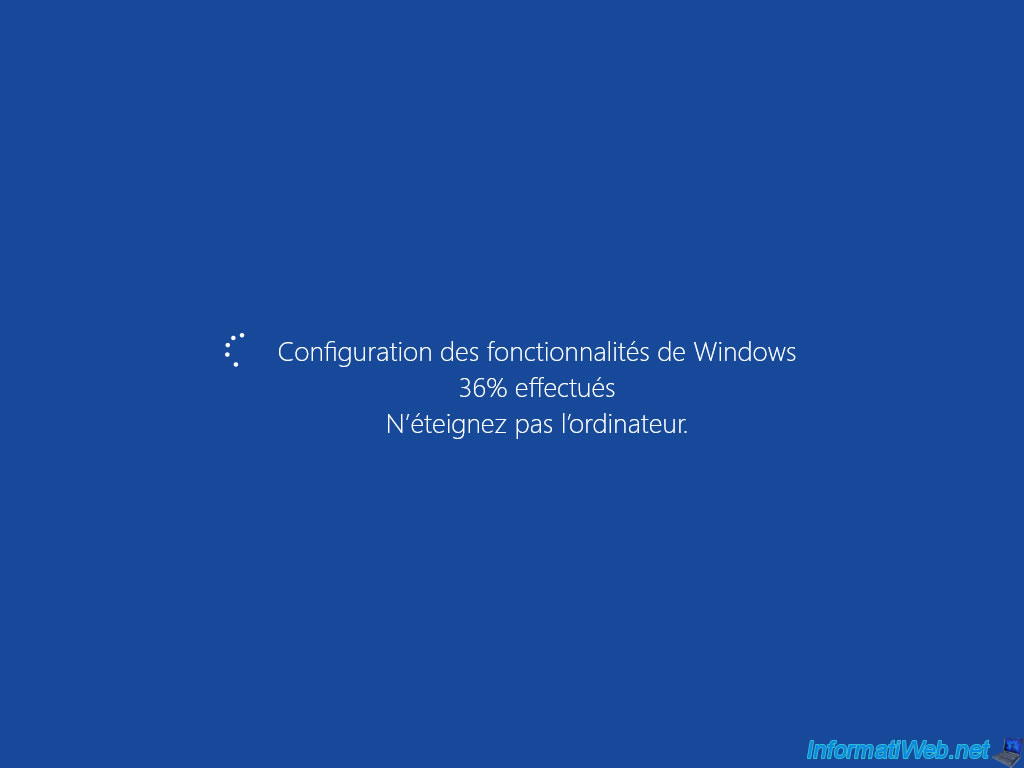
Your computer will restart several times and Windows will configure features (in this case : those related to Hyper-V in this case).
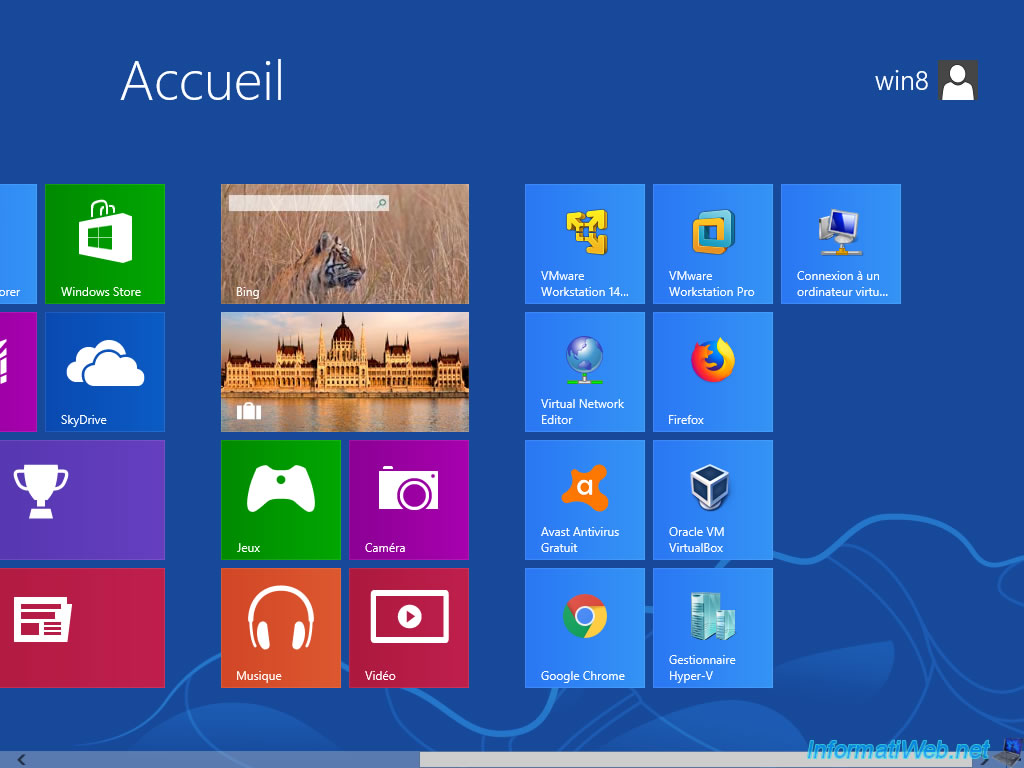
Once the installation and configuration is complete, you will arrive on the Windows 8 home screen.
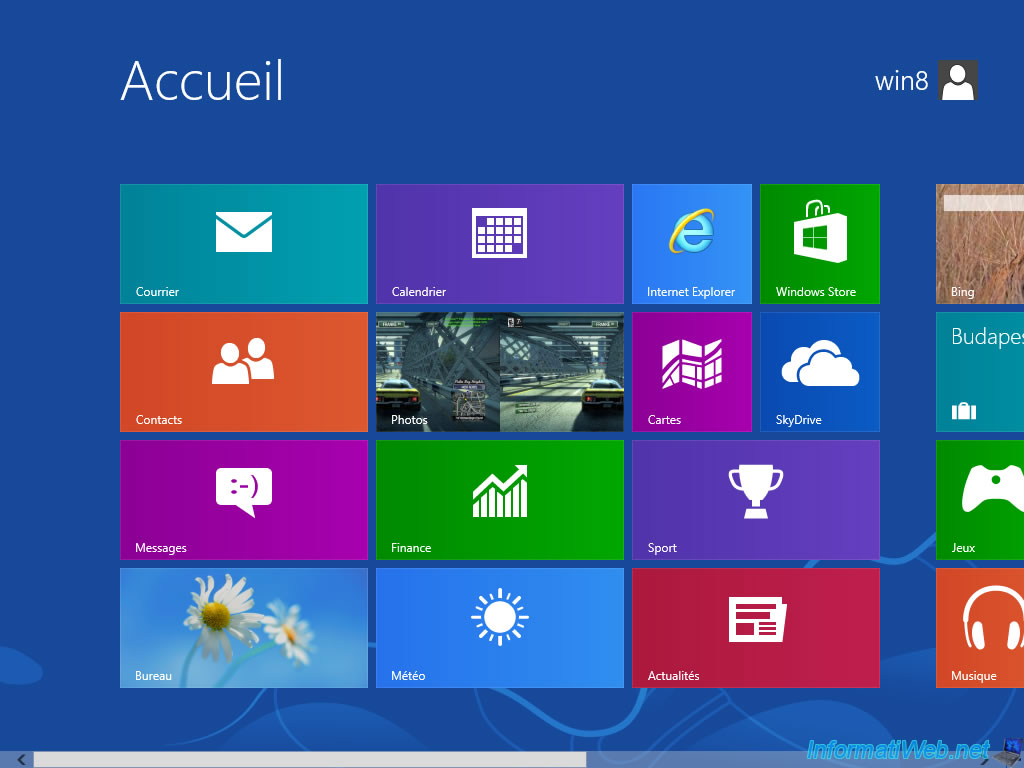
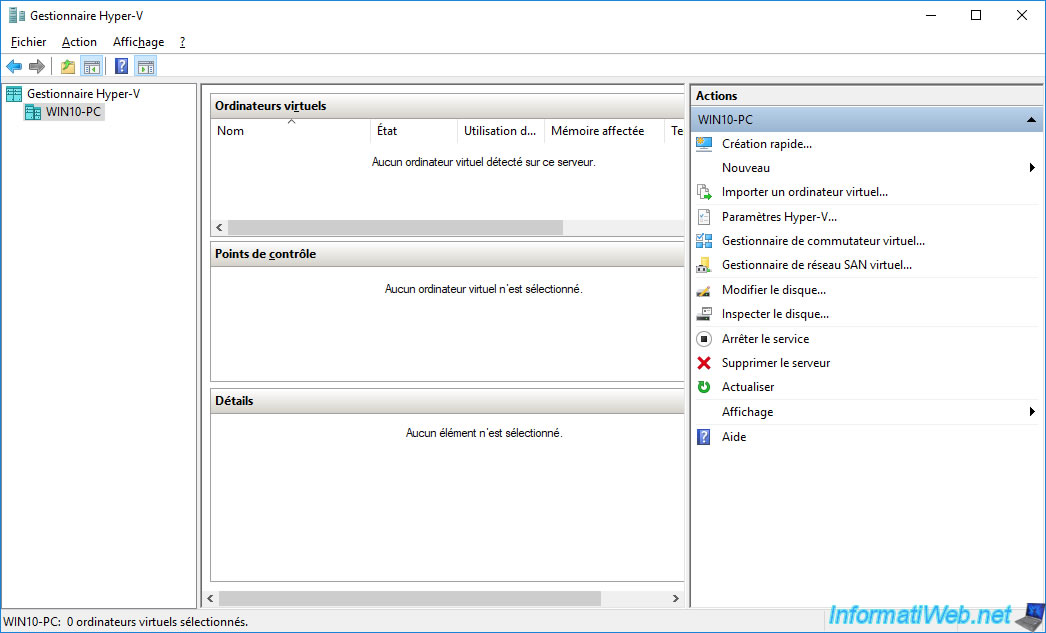
If you go on the right, you will see that the "Hyper-V Manager" has appeared.
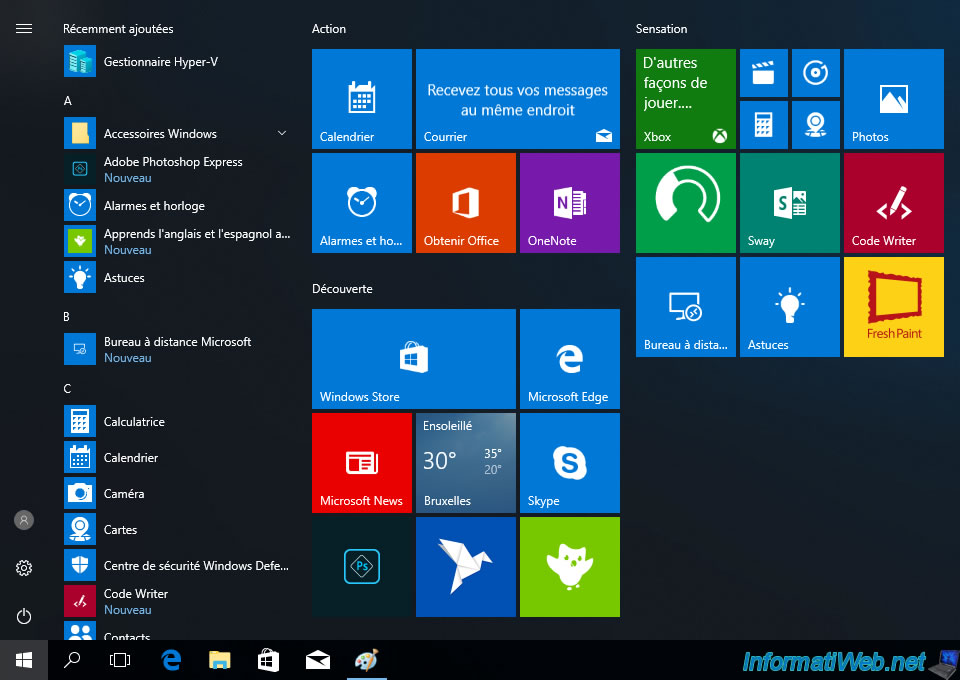
On Windows 10, you will see the Hyper-V Manager appear in the start menu.
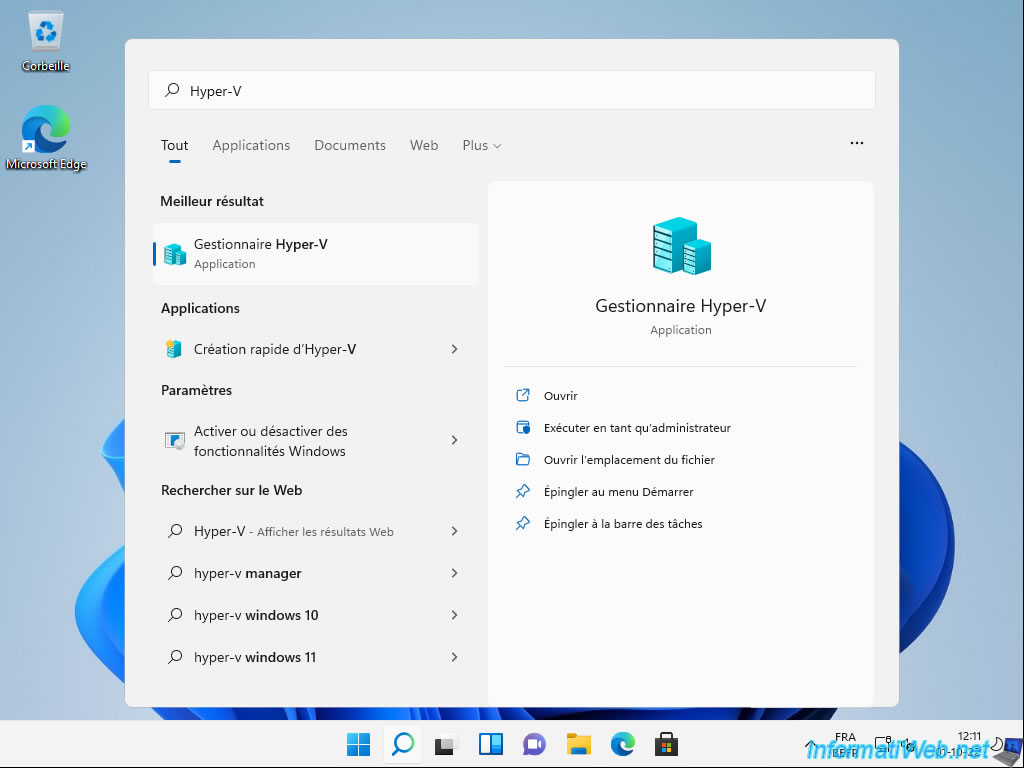
On Windows 11, open the start menu, search for "Hyper-V" and launch the "Hyper-V Manager".
3. Virtual switch not created by default on Windows 8
The Hyper-V Manager of Windows 8 is very similar to that of Windows Server 2012.
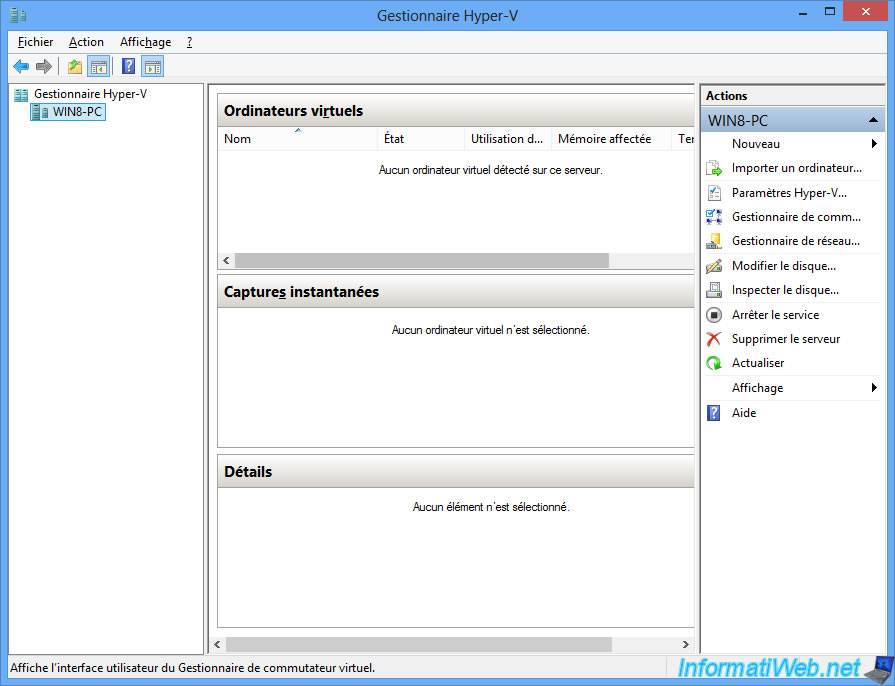
However, unlike the installation of the Hyper-V role in Windows Server 2012 where the wizard offers you directly to create your first virtual switch, this is not the case in Windows 8.
It will therefore be necessary to create it manually.
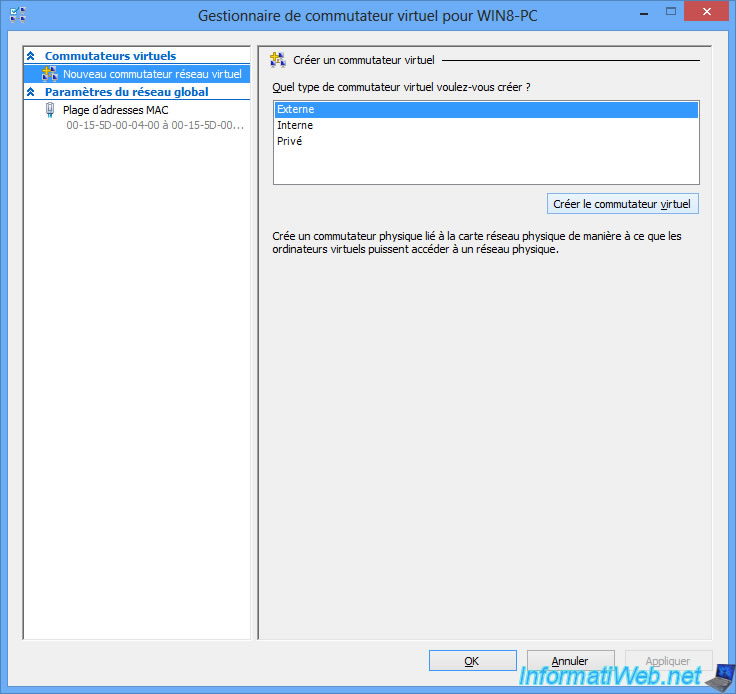
In Hyper-V Manager, select your Hyper-V server and click on "Virtual Switch Manager".
Then, select "External" and click "Create Virtual Switch".
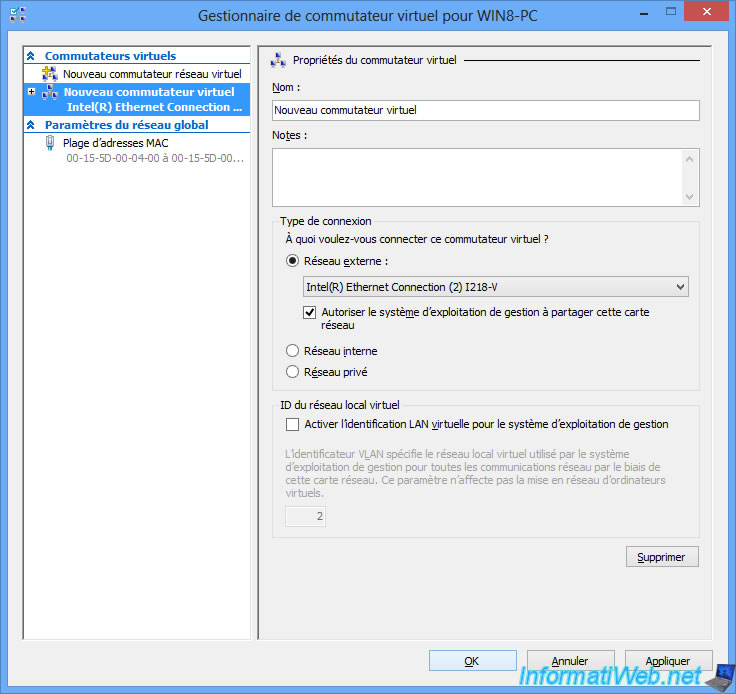
Choose "External network" and select which physical network adapter your virtual machines will use to access the network.
If you only have one physical network card on your computer, you will also need to check the "Allow management operating system to share this network adapter" checkbox.
Finally, click OK.
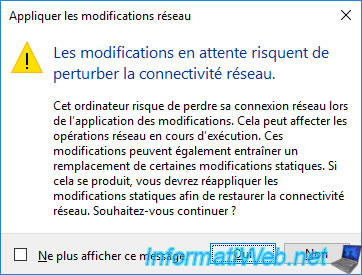
Click Yes to save the changes.

4. Virtual switch created by default on Windows 10 and 11
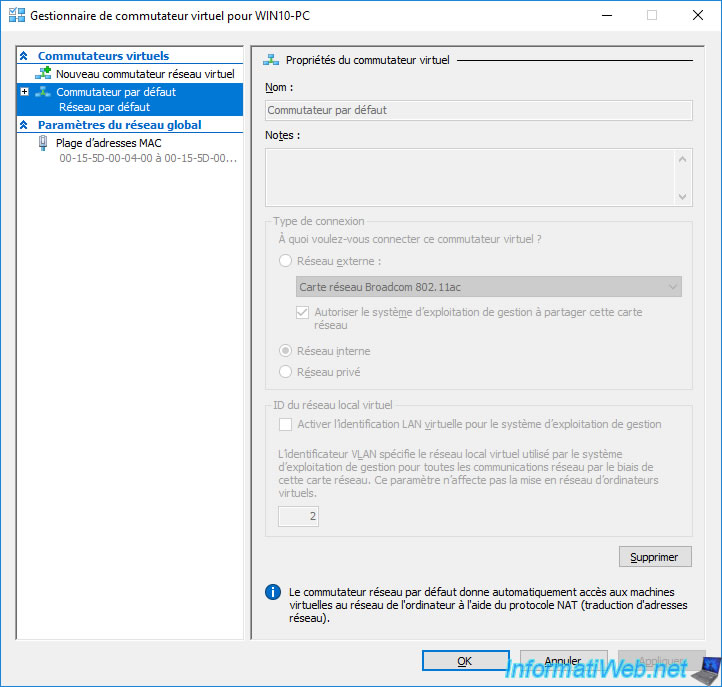
For Windows 10, Hyper-V will obviously be different from that of Windows 8 since it will look like Hyper-V of Windows Server 2016 and not that of Windows Server 2012.
Since Windows 10, a default virtual switch will be automatically configured during Hyper-V installation.
Warning: as you can see, this one is not modifiable (even if you create another one) and only allows the communication of the virtual machines between them. This means that your virtual machines will not have access to physical machines on the network or to the Internet.
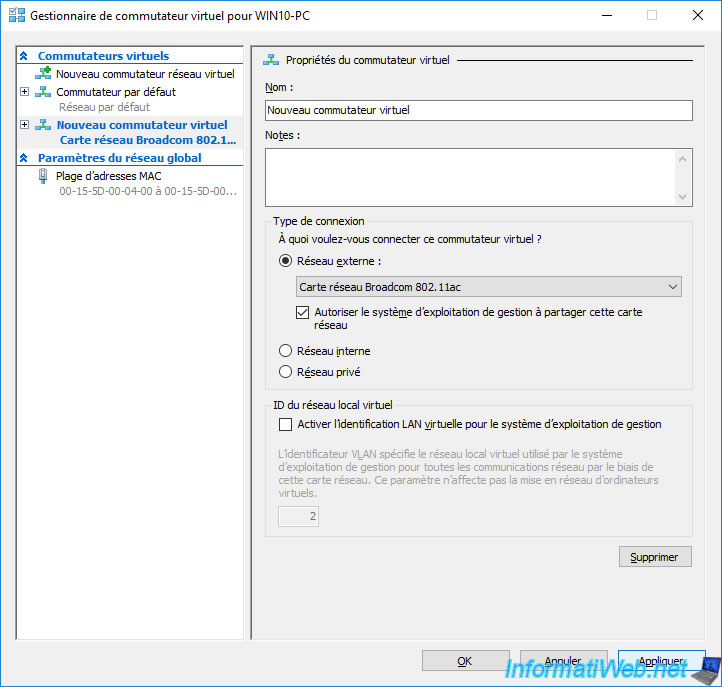
To quickly resolve the problem, simply create a new virtual switch and select the "External network" connection type.
Finally, click OK or Apply to save the changes.
Note : to use it, simply go to the settings of your virtual machines.
Click yes.
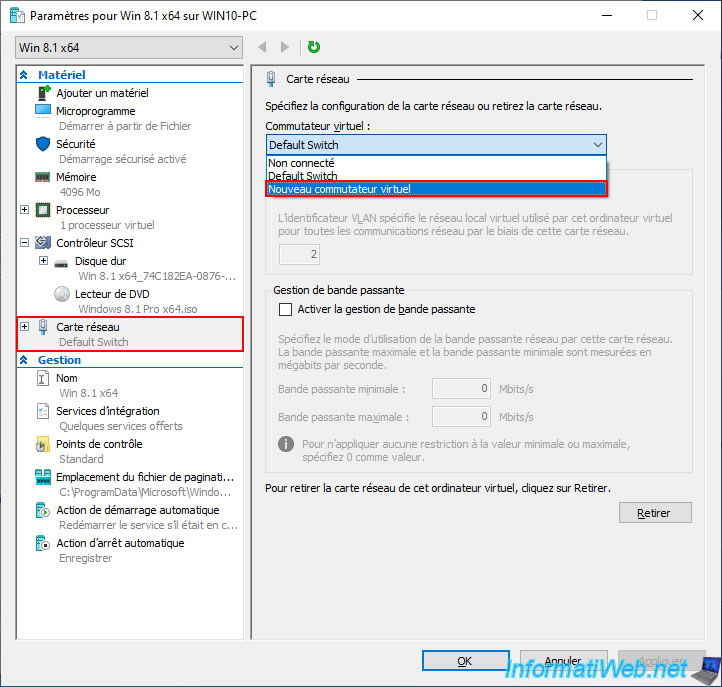
To make your virtual machines use this new virtual switch, simply select the desired virtual machine and then click "Settings" at the bottom right.
Note: you can also use the "File -> Settings" menu in your virtual machine's console to access the same settings.

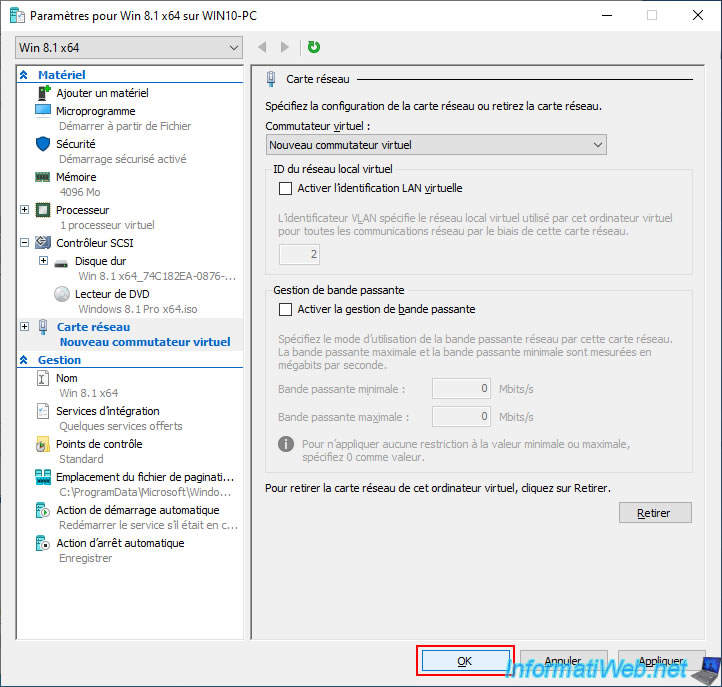
Next, go to the "Network Adapter" section of this virtual machine and select the new virtual switch created above.
To finish, click OK.
Note that restarting your virtual machine (or deactivating and then reactivating its virtual network adapter from the guest OS) may be necessary for it to recover its new IP configuration.
5. Hyper-V test
If your computer meets the requirements for Hyper-V, you will be able to create and use virtual machines.
To learn how to configure and use the Microsoft Hyper-V Virtualization Server, refer to our tutorials available on InformatiWeb Pro.
Share this tutorial
To see also
-
Windows 8/4/2021
Upgrade from Windows 8 to Windows 8.1 (free)
-
Windows 8/22/2023
Upgrade Windows 10 to newer version of Win 10 (from DVD)
-
Windows 4/24/2025
Windows 10 - Organize start menu icons
-

Windows 10/28/2024
Windows 10 - Use a Bluetooth headset
You must be logged in to post a comment