Backing up your PC to a Synology NAS using Acronis True Image (Cyber Protect Home Office)
- Backup
- Acronis True Image
- 16 June 2025 at 13:04 UTC
-

- 2/2
3. Backup your entire PC to a Synology NAS
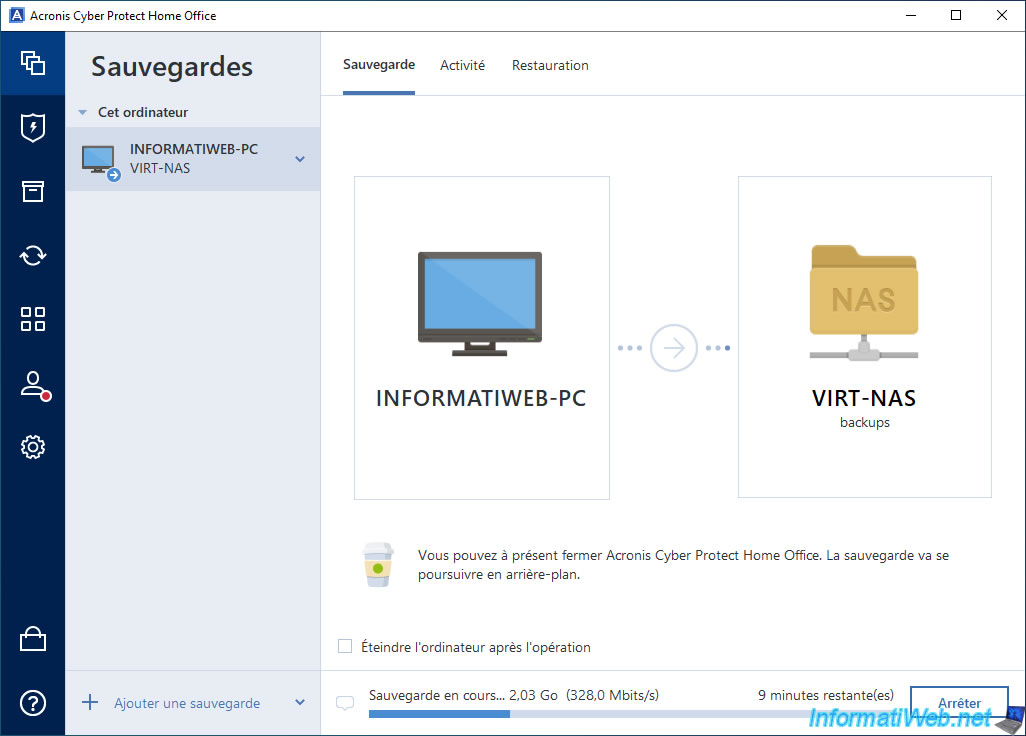
Now that your Synology NAS and Acronis Cyber Protect Home Office (True Image) are configured correctly, click "Backup".

Please wait while your computer is backed up to your Synology NAS.
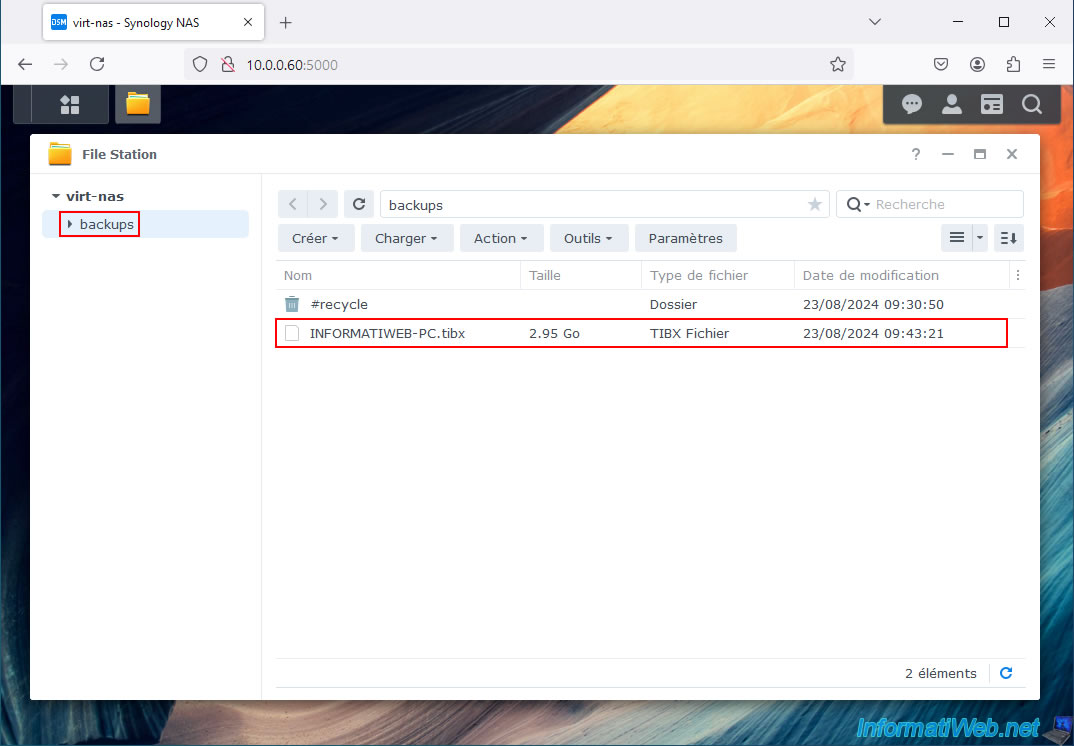
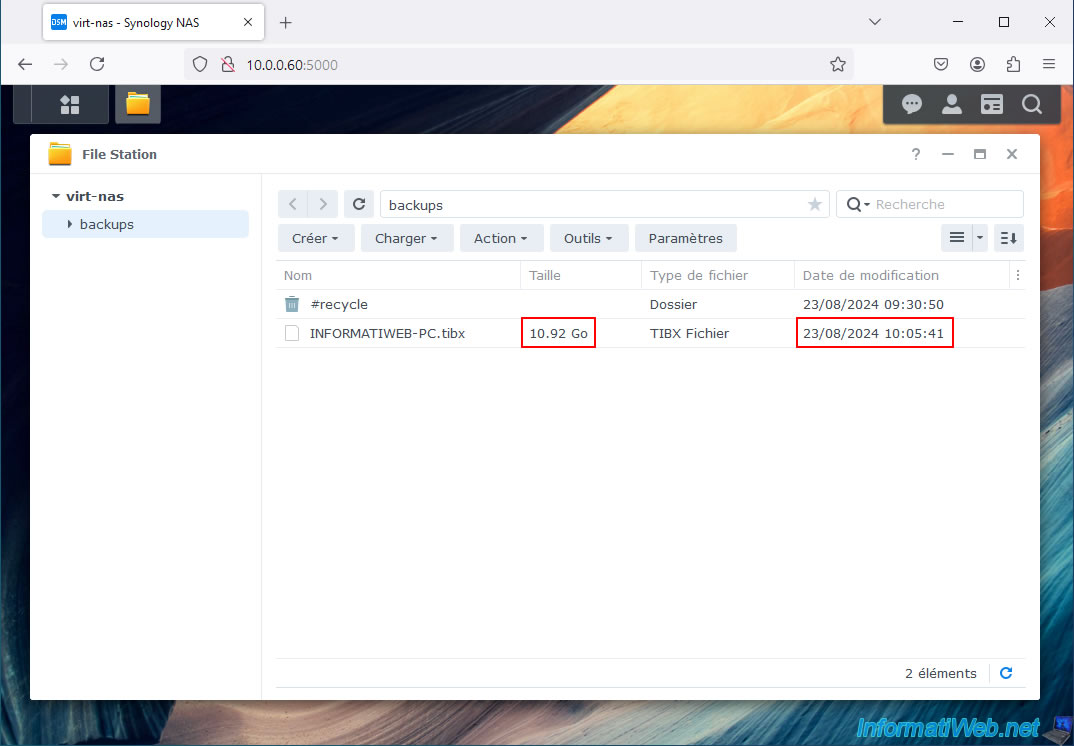
On your NAS, you will see that a TIBX file has been created in your shared "backups" folder.
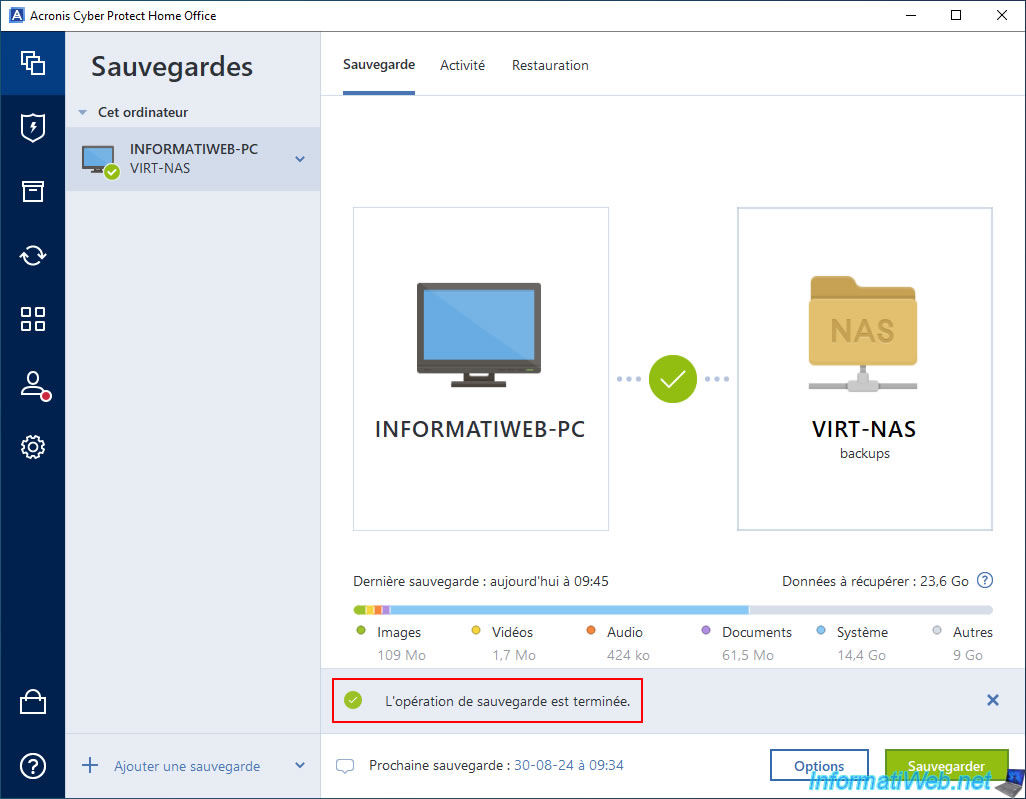
The backup is complete.
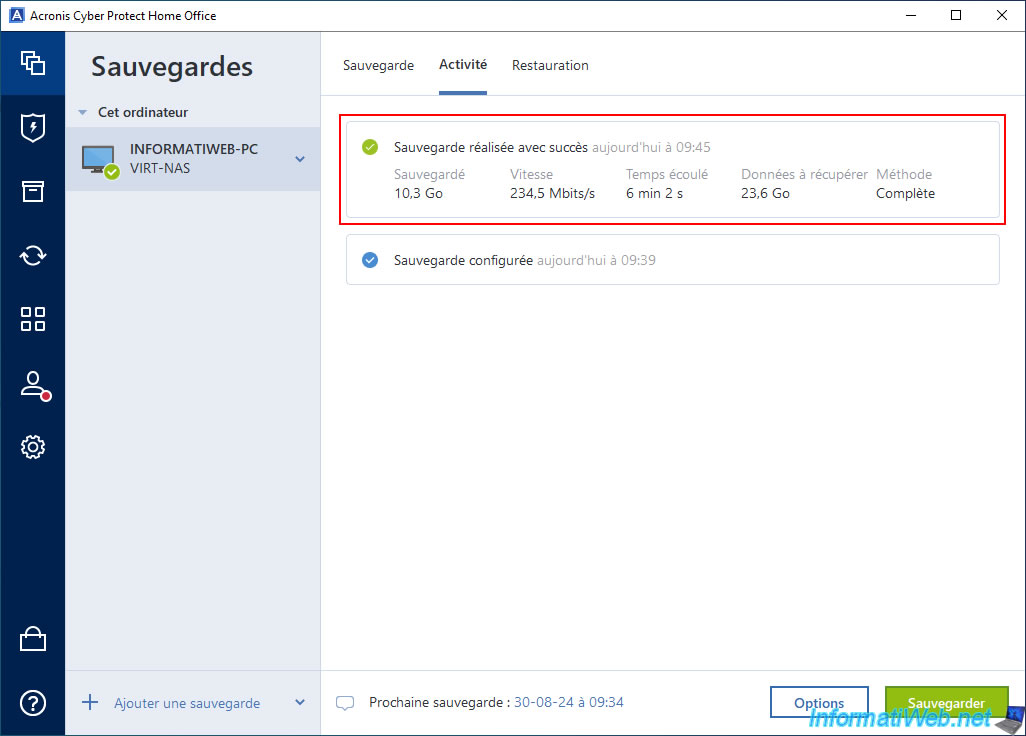
In the "Activity" tab, you will see that the backup was completed successfully.
Once the backup is complete, you will see that the size of the created TIBX file will have increased.

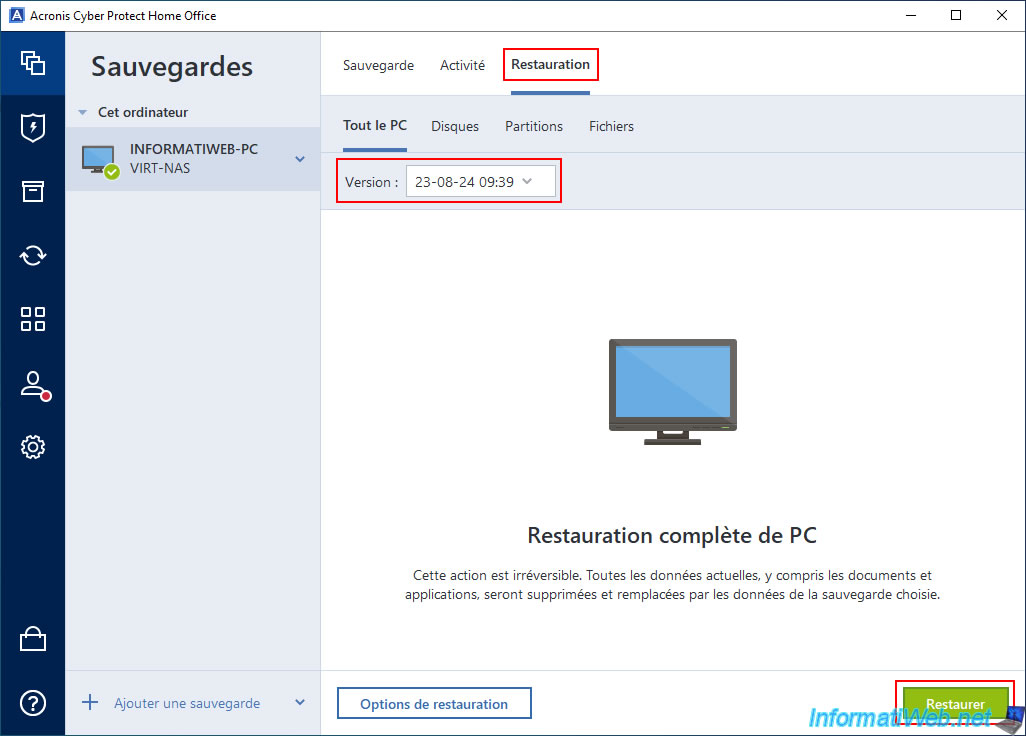
4. Restore your entire PC from a Synology NAS
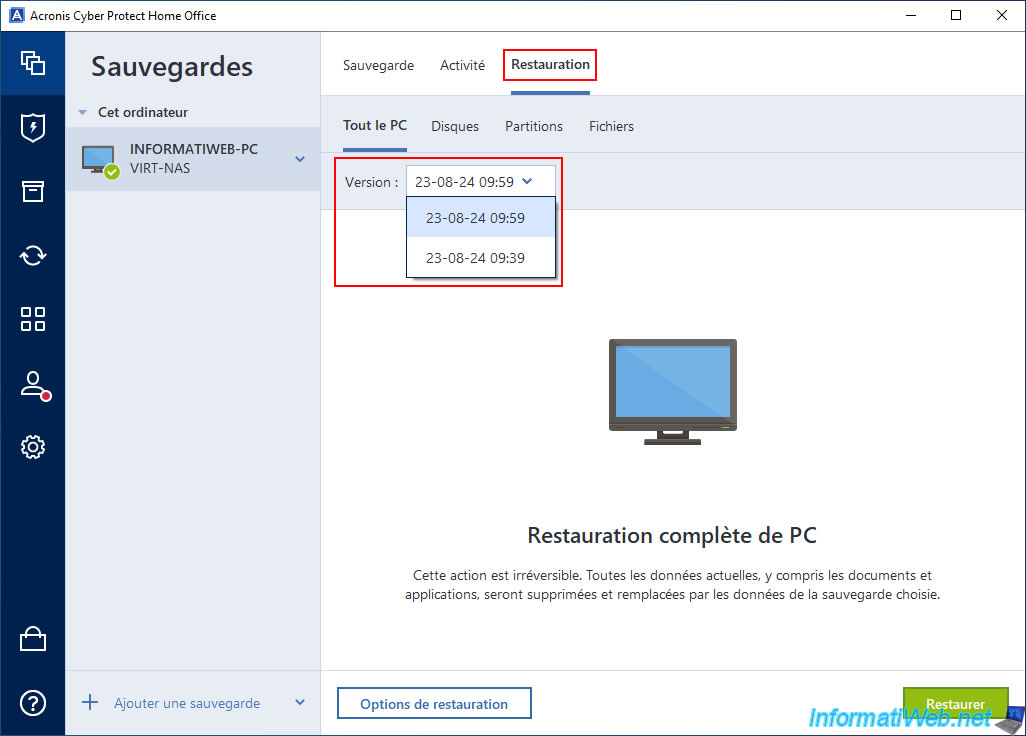
In the "Restore" tab, you will see a backup version appear.
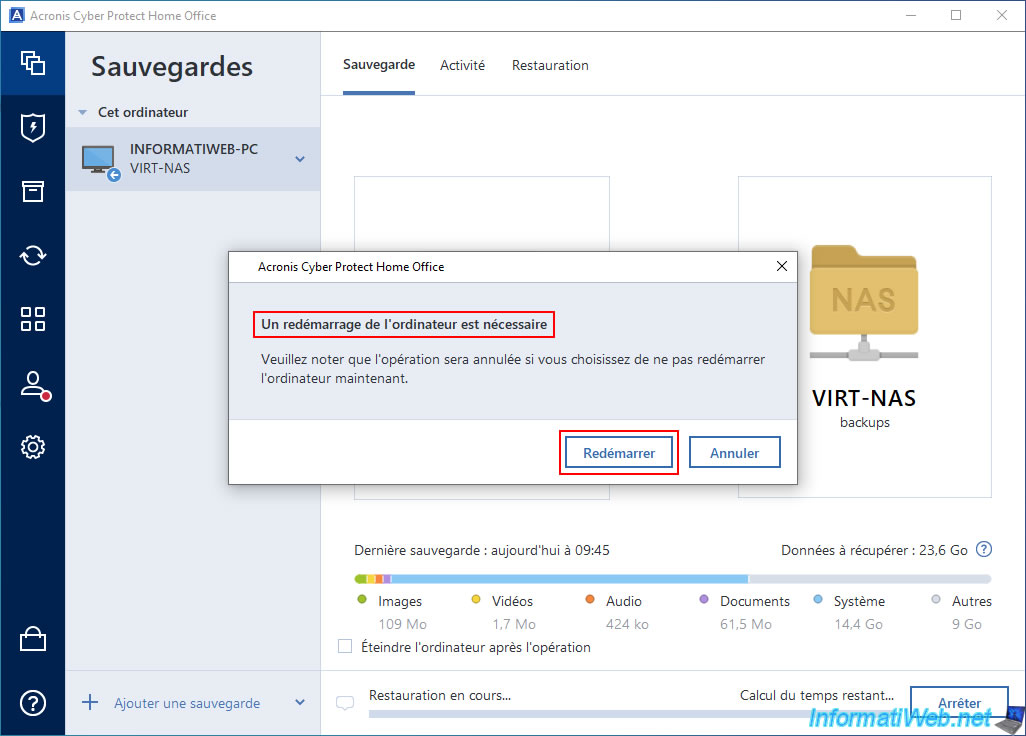
Since Windows has also been backed up, Acronis Cyber Protect Home Office (True Image) will ask you to restart your computer.
Click: Restart.
Please wait while restarting.

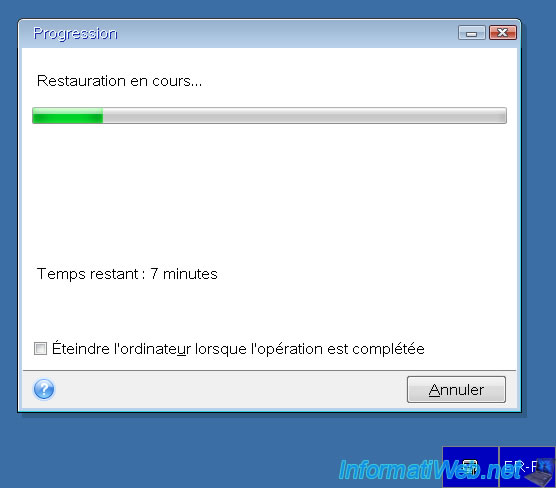
Please wait while your computer is restored.
Once the restore is complete, your computer will restart into Windows.

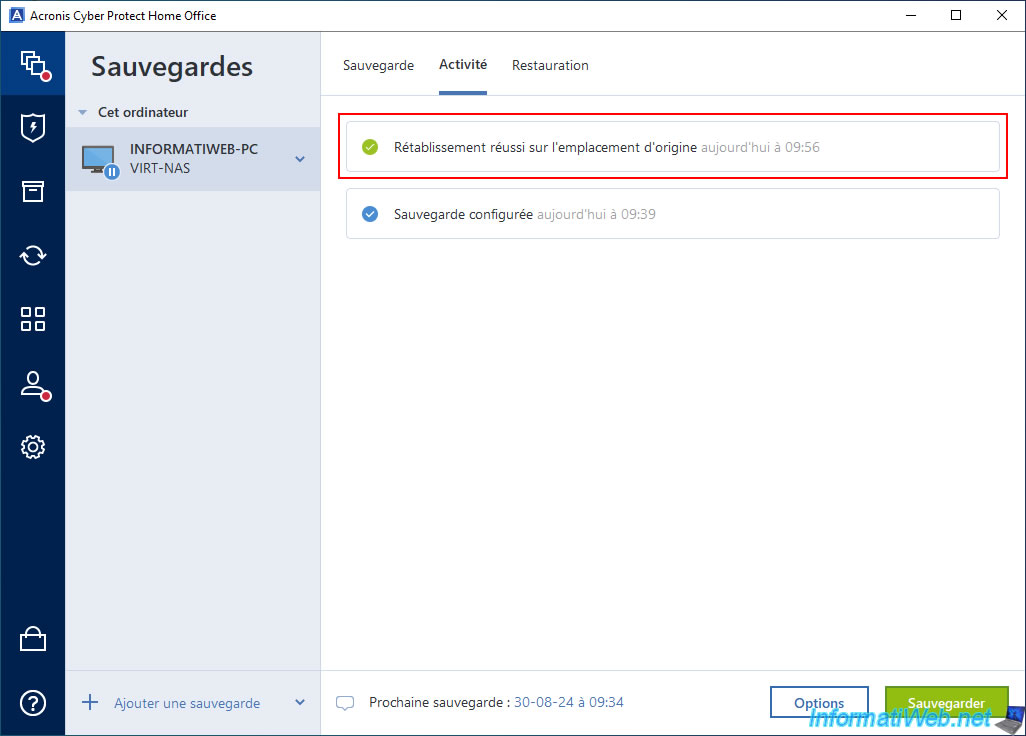
In the "Activity" tab of Acronis Cyber Protect Home Office (True Image), you will see the message "Restore to original location successful" appear.
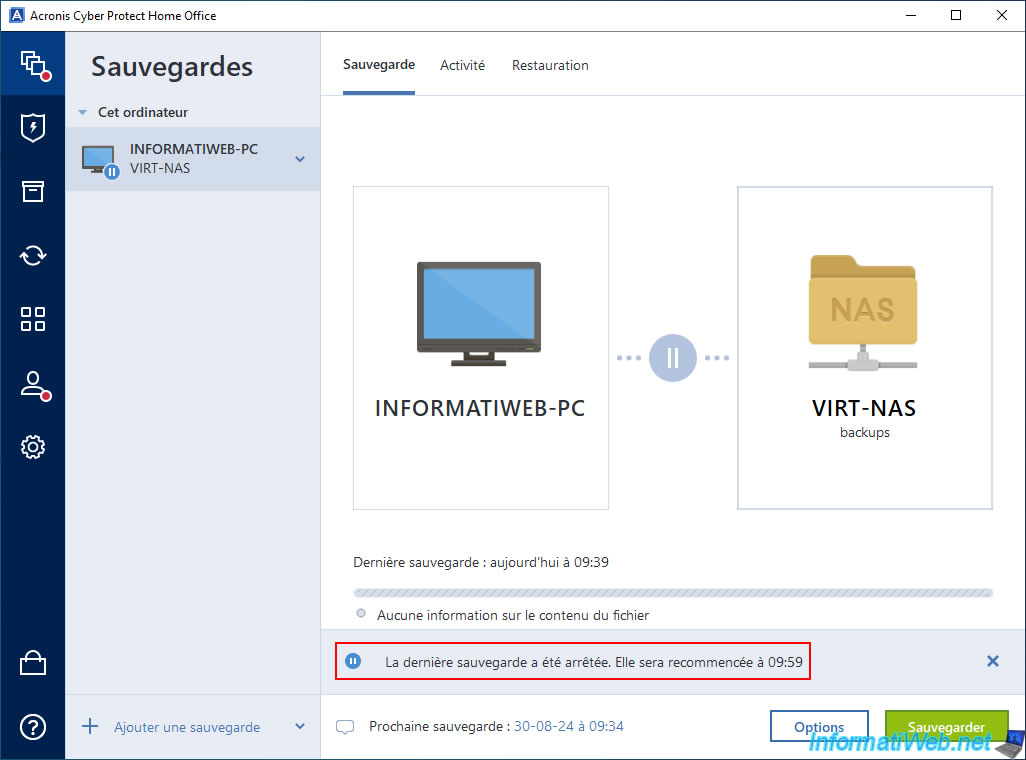
As usual, after restoring your computer via Acronis Cyber Protect Home Office (True Image), a new quick backup will be performed.
Hence the message "The last backup has been stopped. It will be restarted at ...".
5. Quick backup
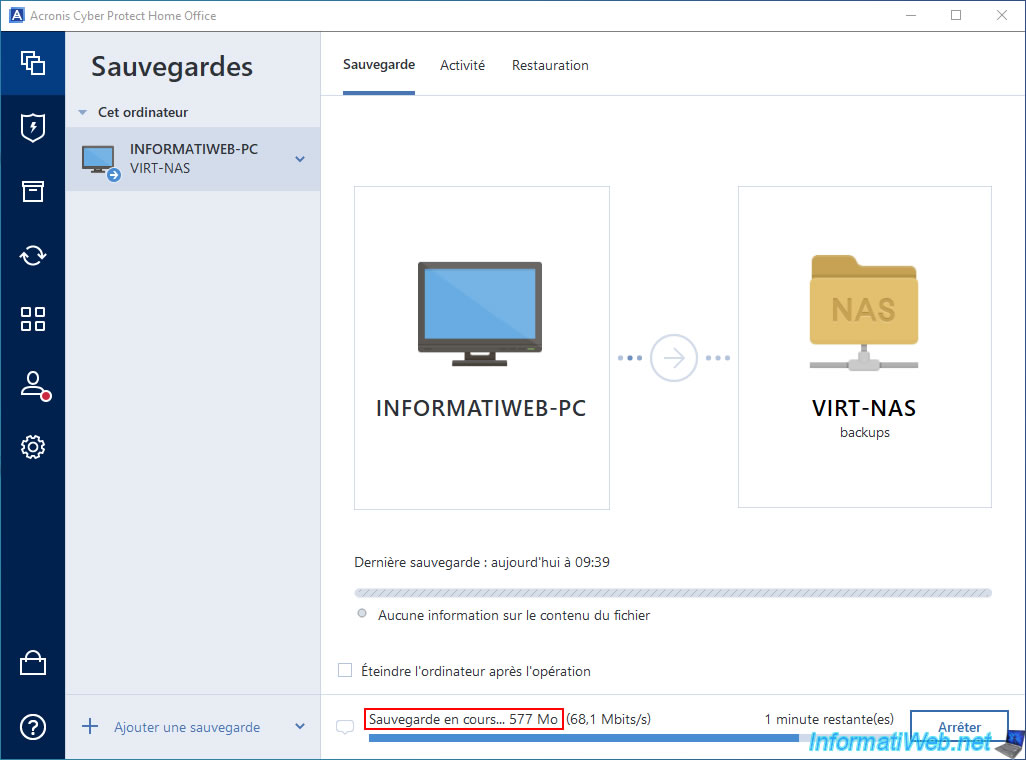
2 minutes later, quick backup will start.
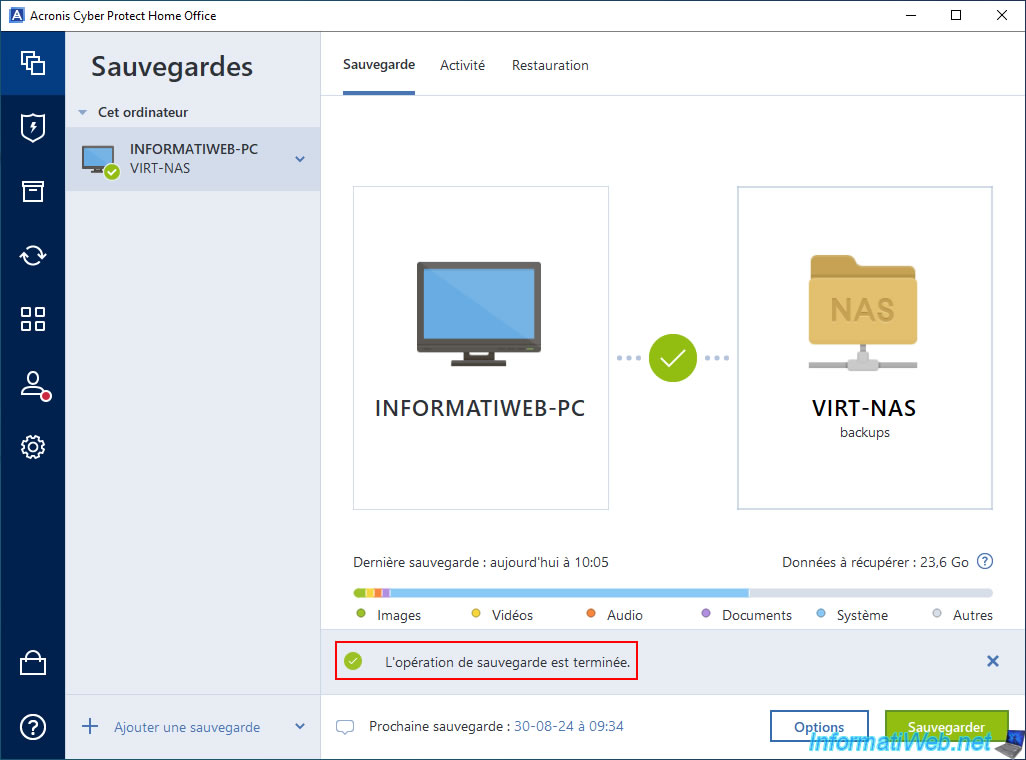
Quick auto backup is complete.
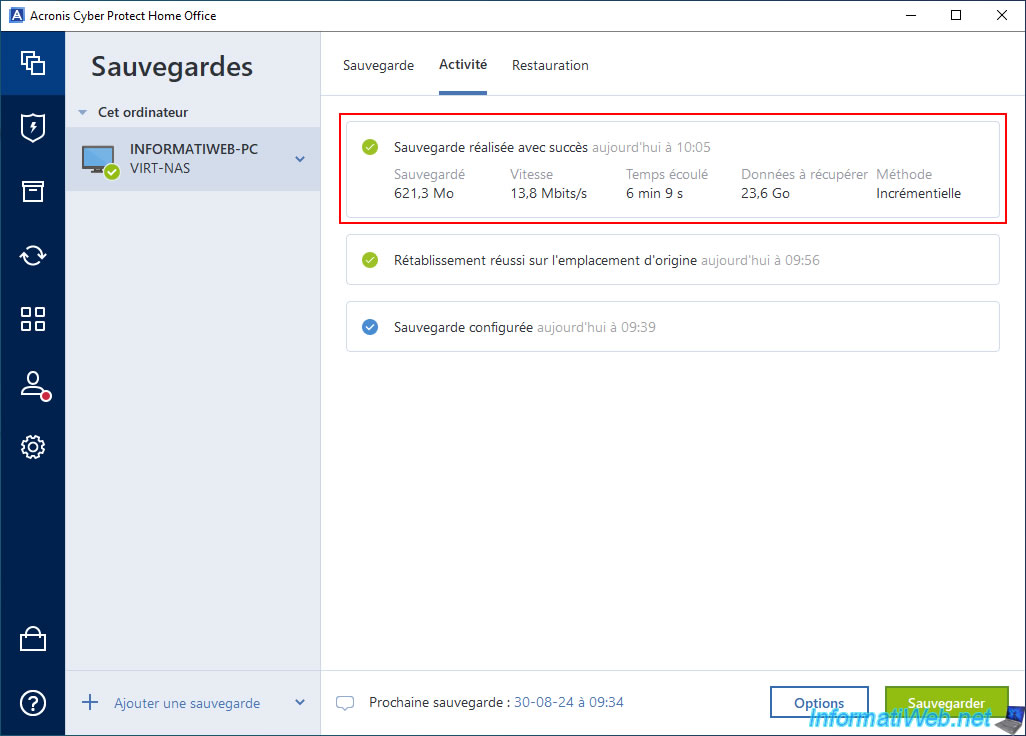
In the "Activity" tab, you will see that a new backup of type "Incremental" has been created.
In the "Restoration" tab, you will see a new version appear in the list.
If you look at the size and date of the TIBX file on your NAS, you will see that these will have changed.
Share this tutorial
To see also
-

Backup 10/13/2025
Acronis True Image - Active Protection (antivirus, vulnerabilities, ... scans)
-
Backup 6/9/2025
Acronis True Image - Backing up your PC to a FTP server
-

Backup 6/30/2025
Acronis True Image - Backup disks or partitions
-

Backup 4/6/2026
Acronis True Image - Rescue Media - Backing up your PC to an external hard drive
No comment