Download a backup from Acronis Cloud using Acronis Cloud Backup Download tool of Acronis True Image (Cyber Protect Home Office)
- Backup
- Acronis True Image, Acronis Cloud Backup DL
- 13 July 2026 at 13:12 UTC
-

- 2/2
4. Download your backup from Acronis Cloud via the tool: Acronis Cloud Backup Download
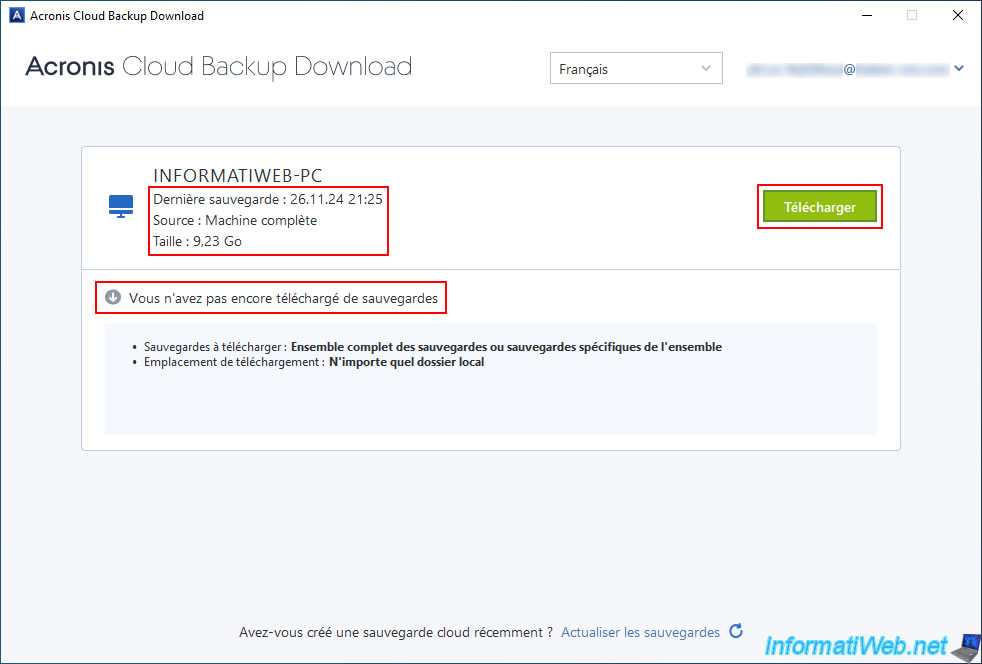
As you can see, in our case, the "Acronis Cloud Backup Download" tool detects the full backup of our computer "INFORMATIWEB-PC" stored on Acronis Cloud with a size of 9.23 GB.
This tool also tells us that we have not yet downloaded a backup for this computer.
To download it, simply click on the "Download" button (located to the right of this backup).
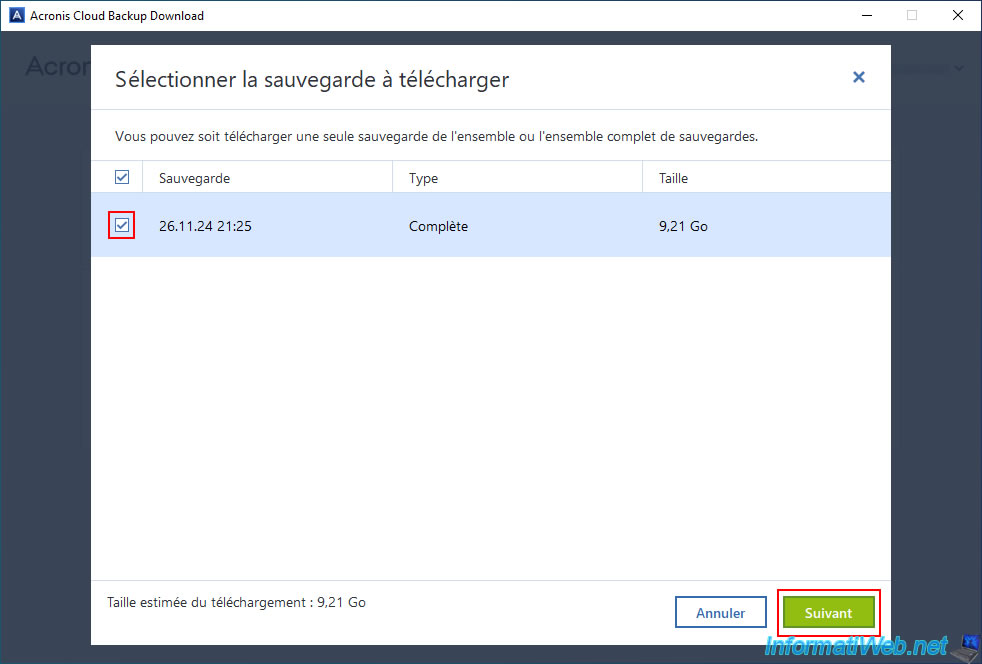
Select the backups to download for this backup configuration.
In our case, there is only one since this PC has only been backed up once.
Then, click "Next".
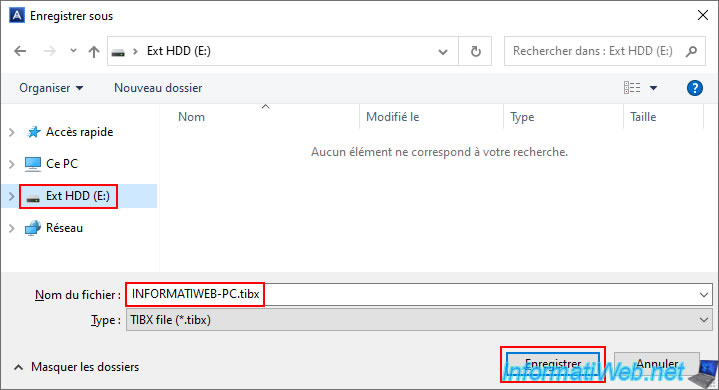
Select the local location where you want to store this backup and click "Save".
The backup file name is specified automatically.
In our case, we have stored this backup file "INFORMATIWEB-PC.tibx" on our external hard drive.
Please wait while this tool downloads your backup.
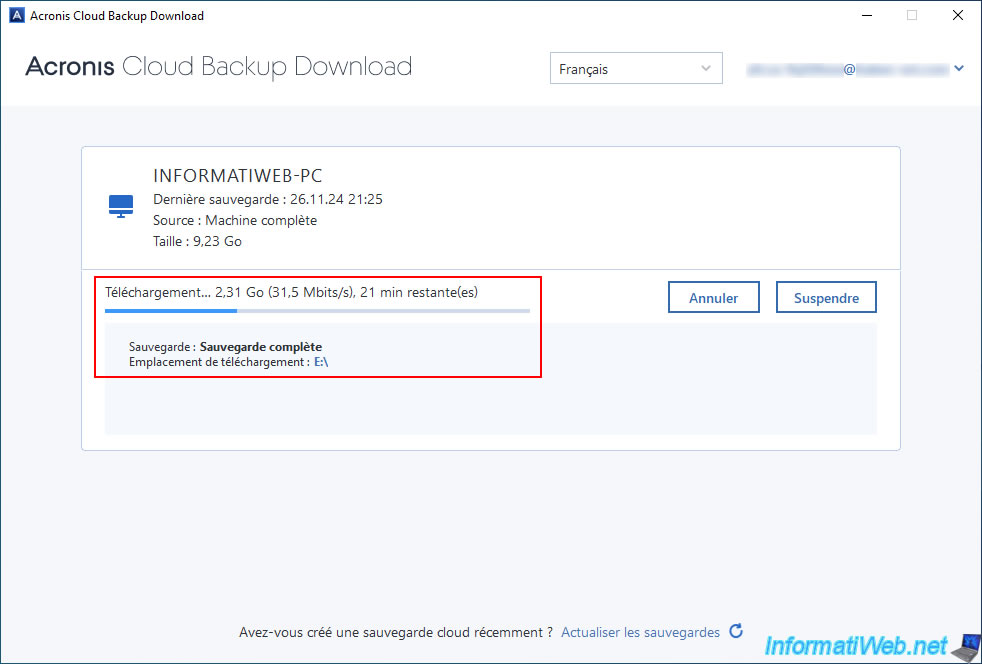
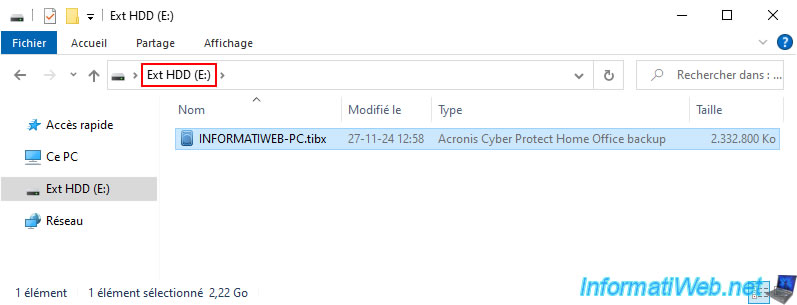
During download, the desired save file appears in the desired location.
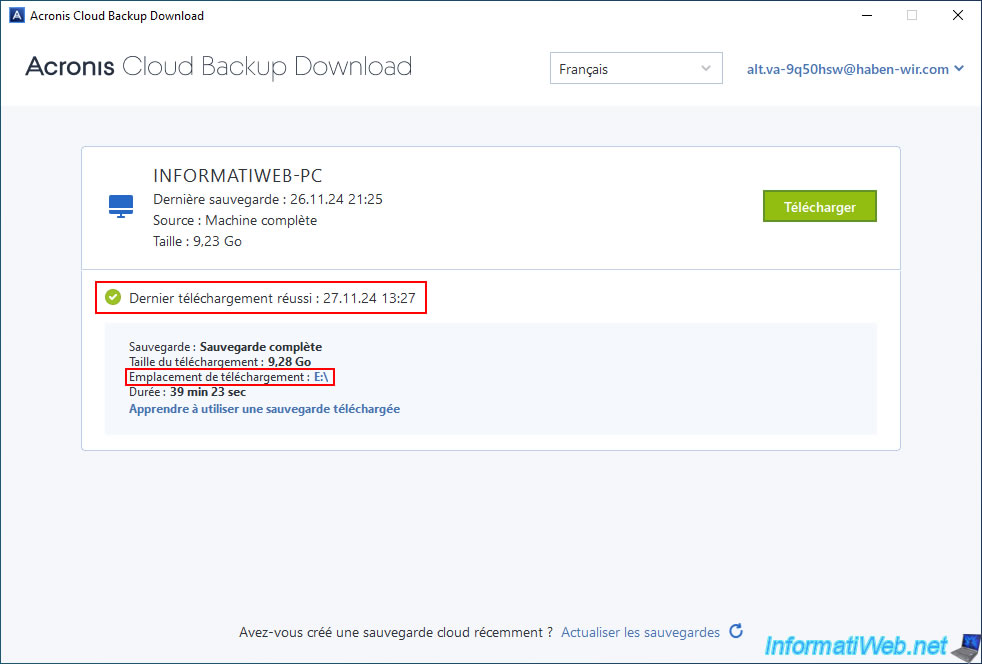
Once the download is complete, the message "Last download successful" will appear for this backup.
To view this backup file, click on the path displayed in blue in the "Download location" line.
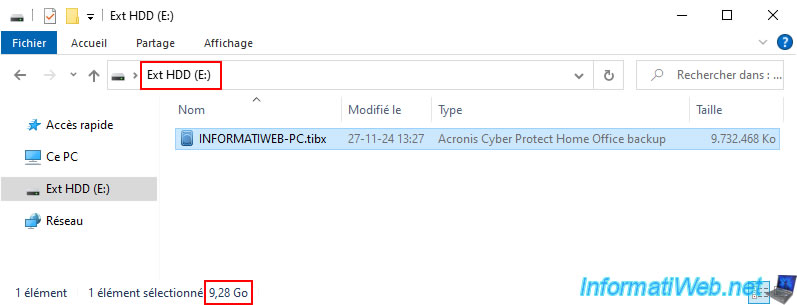
As expected, your backup file ".tibx" has been created in the desired location.
In our case, on our external hard drive.
5. Add an existing backup to Acronis Cyber Protect Home Office (True Image)
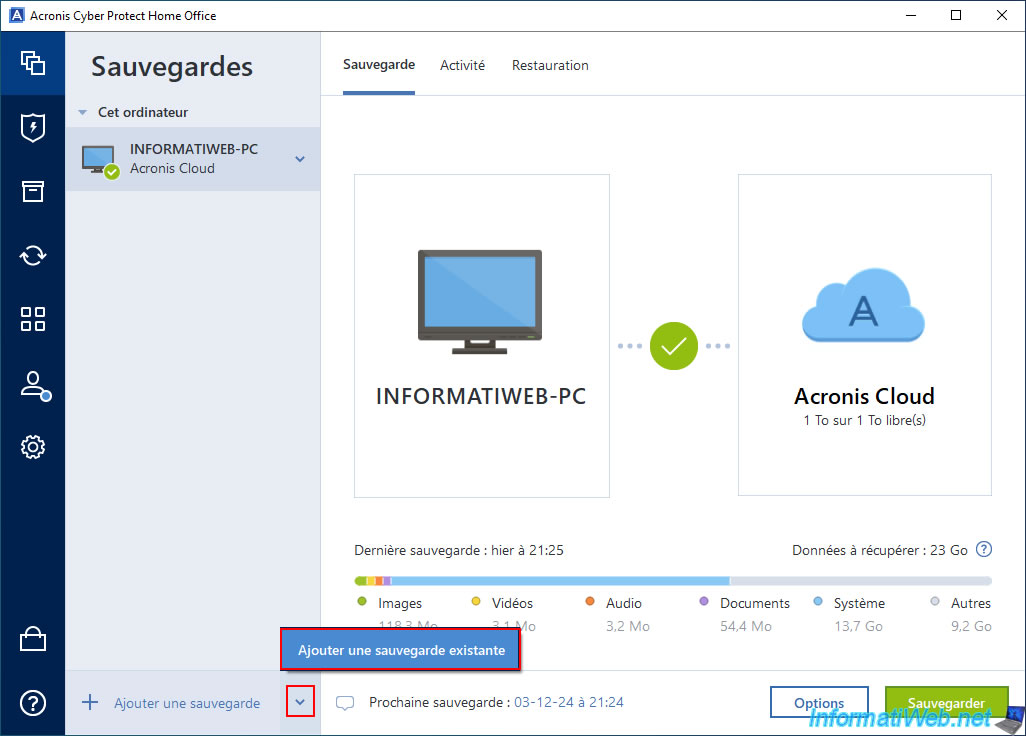
In the "Backup" section of Acronis Cyber Protect Home Office (True Image), click the arrow (located to the right of the "Add backup" option), and then click "Add existing backup".
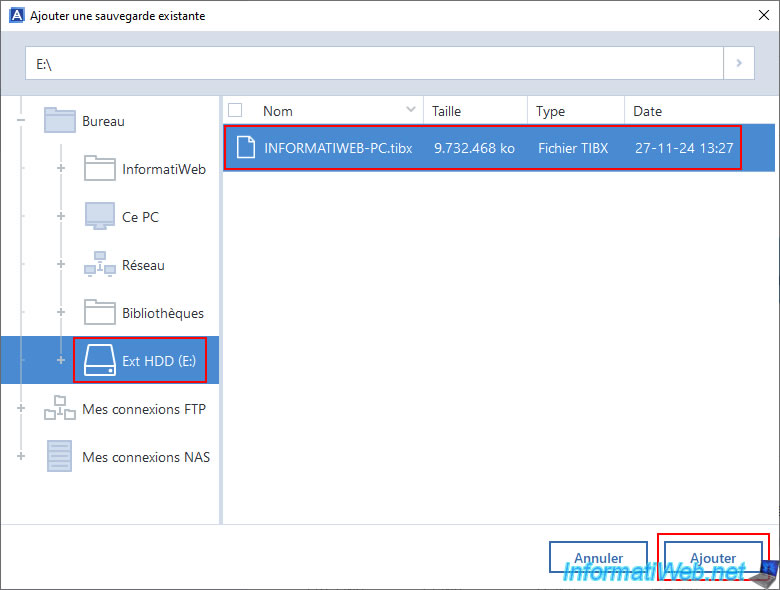
Select the previously downloaded ".tibx" backup file (in our case: INFORMATIWEB-PC.tibx) and click "Add".
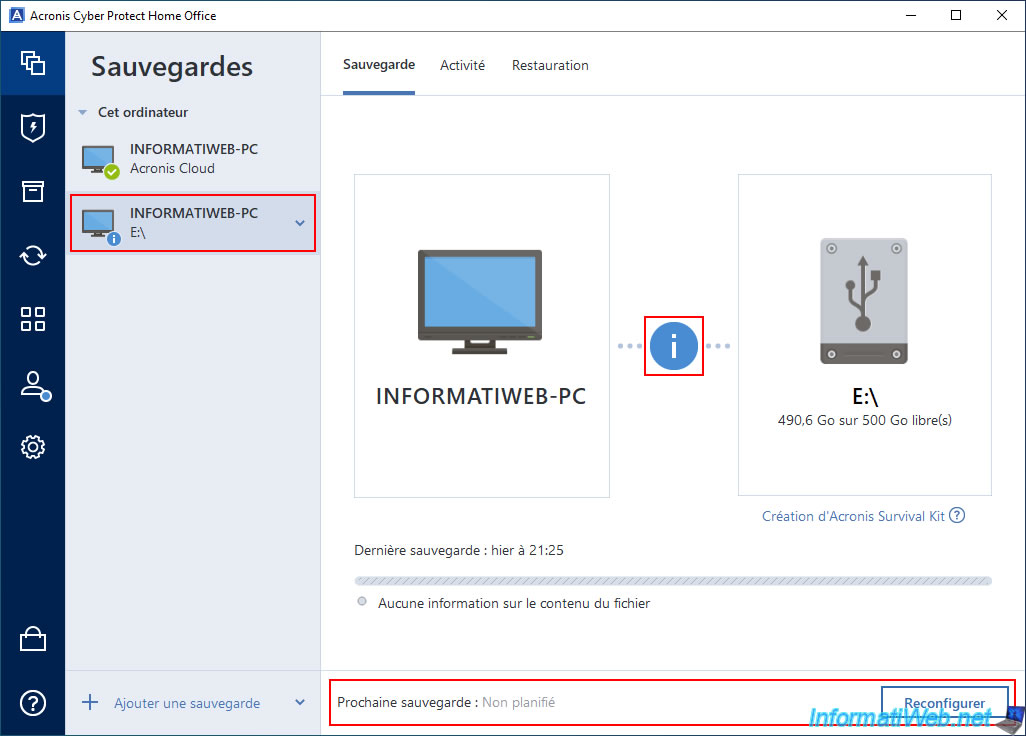
Your local backup appears.
However, an "i" with a blue circle appears and you can see that the options at the bottom of the page are different from the usual backups.
Indeed, the next backup is not scheduled and the only button that appears is a "Reconfigure" button (instead of "Backup" with a usual backup).
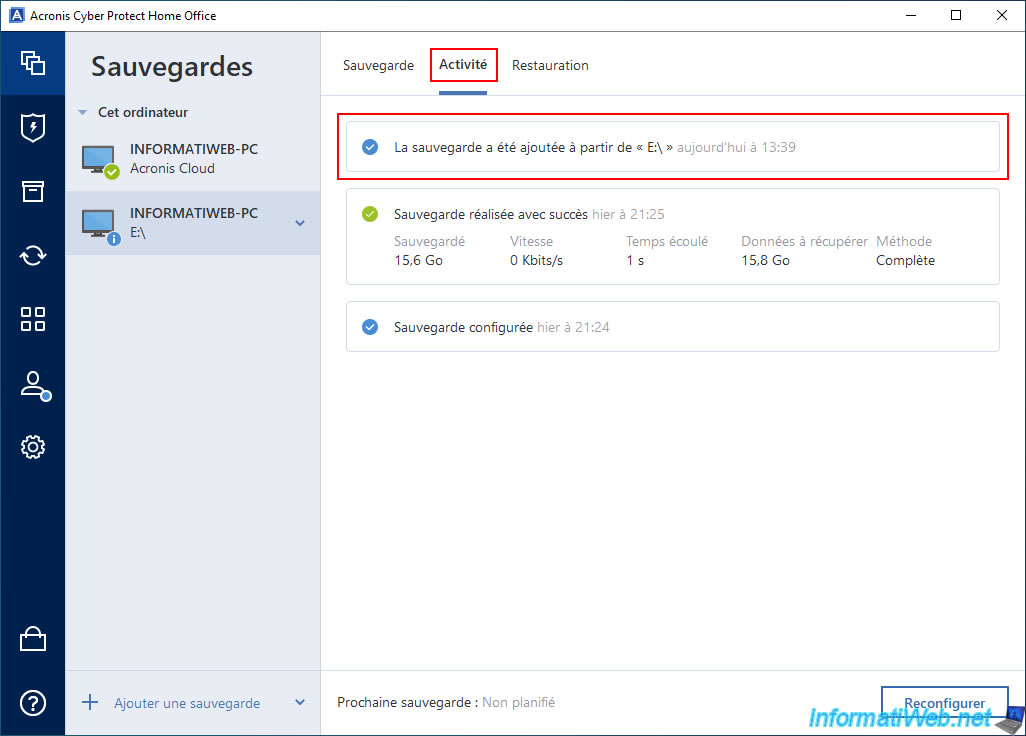
In the "Activity" tab of this backup, you will be able to see the message "The backup was added from E:\" appear.
6. Reconfigure added backup
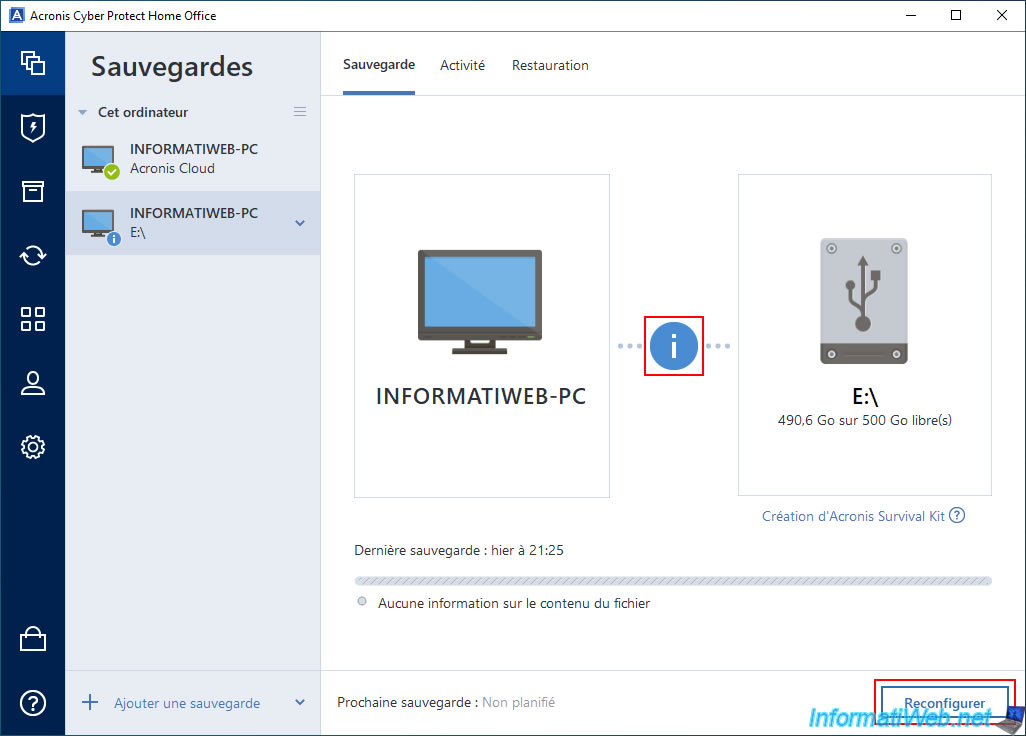
To benefit from the usual features of a local backup, including scheduling the next backup, you just need to click on the "Reconfigure" button (visible at the bottom right of the window).
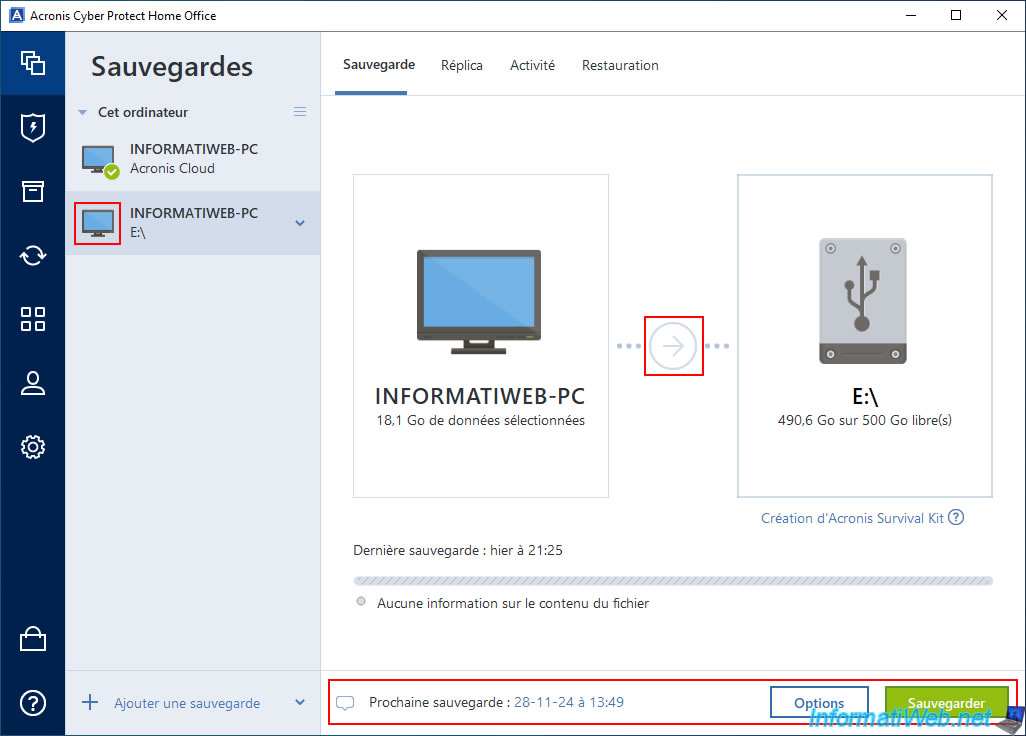
Now, the usual options reappear at the bottom of the window and an arrow has appeared in the center instead of the "i" in a blue circle.
As you can see, a schedule for this backup has been automatically configured.
It's up to you to click on the "Options" button to modify this backup configuration if necessary.
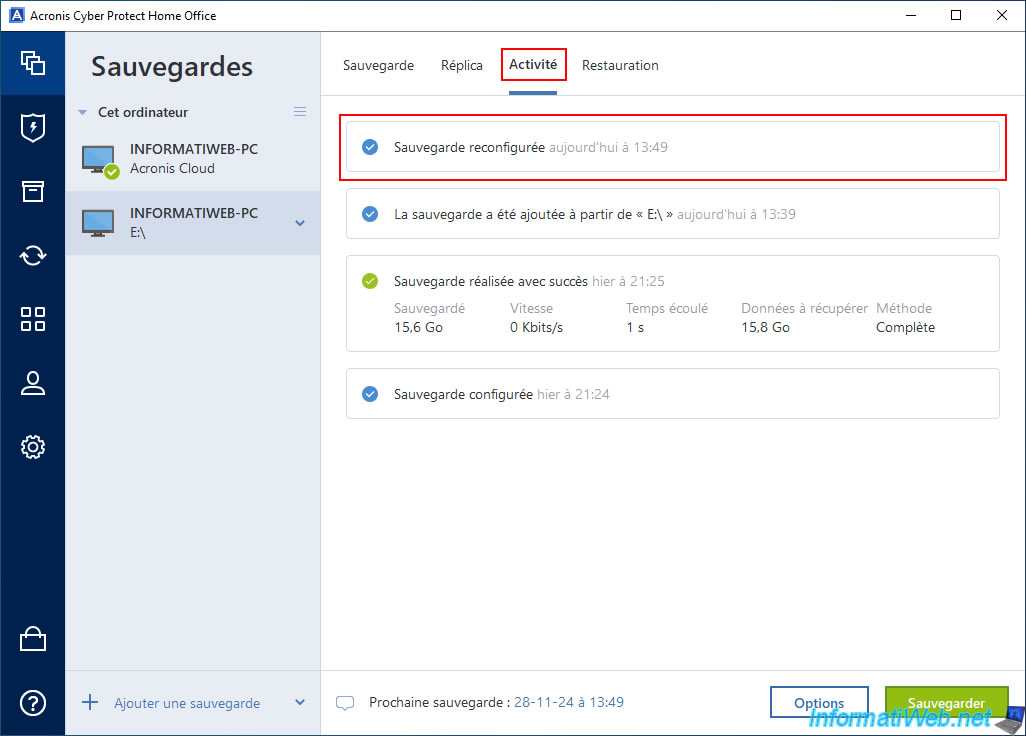
In the "Activity" tab, you will see that the message "Backup reconfigured" has been added.
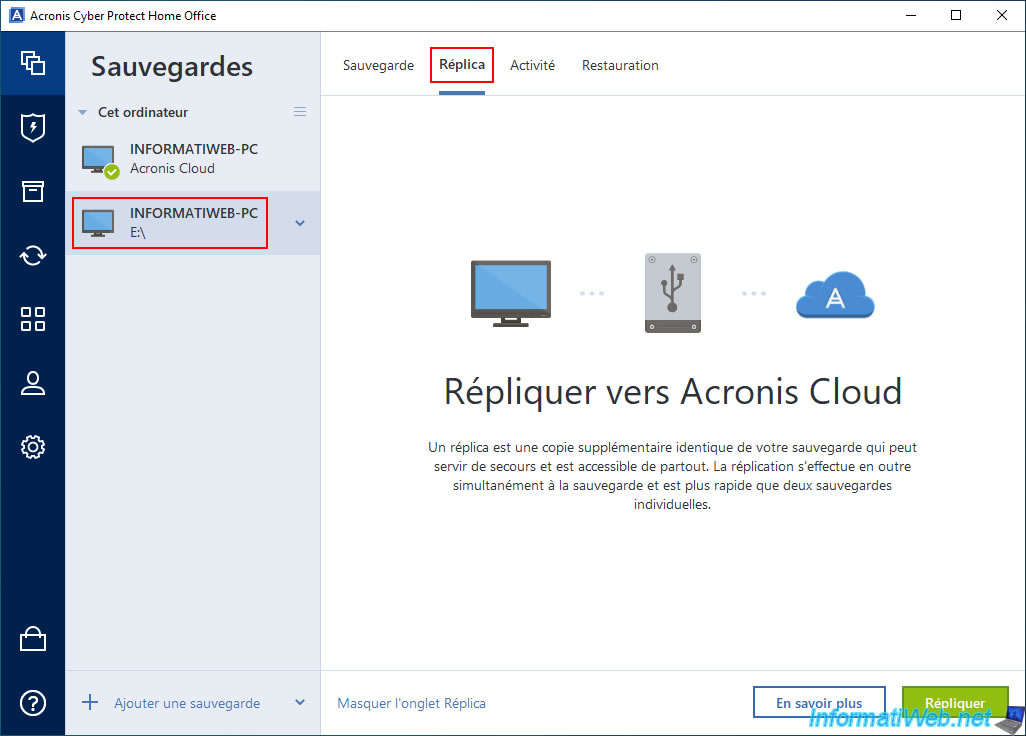
As expected, you can replicate this local backup to the Cloud if you wish by going to the "Replica" tab of this local backup.
However, the reverse (Cloud to local) is not possible, hence the use of the "Acronis Cloud Backup Download" tool to recover a local backup from a Cloud backup.
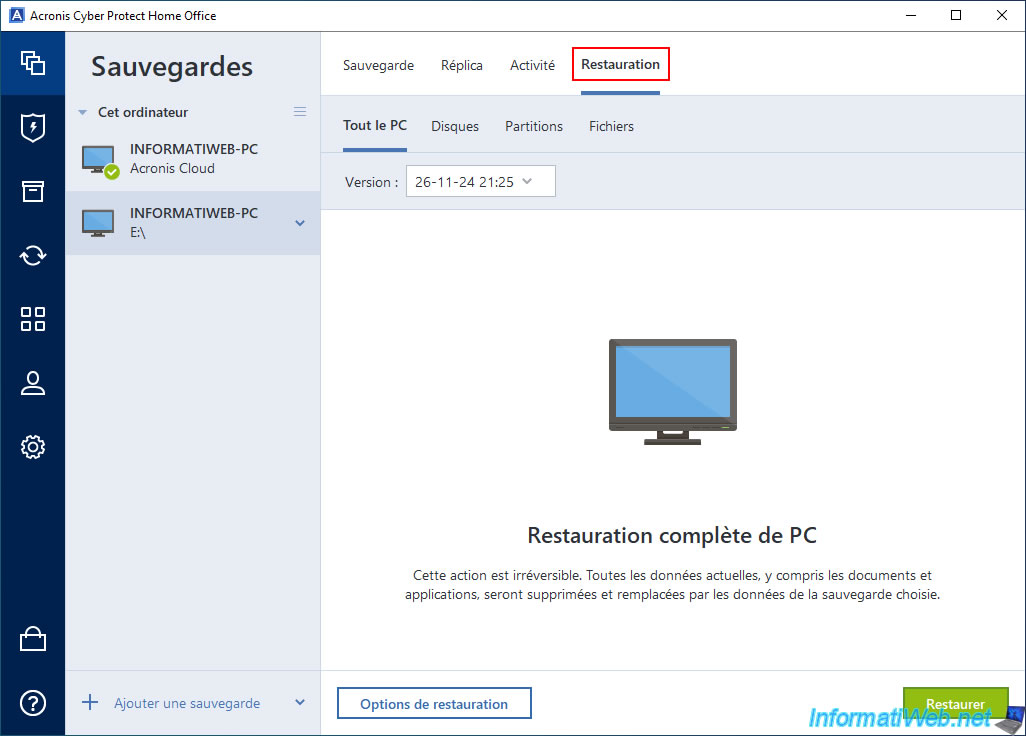
In the "Restore" tab, you will have access to all the usual restore options as if this backup had been created via Acronis Cyber Protect Home Office (True Image).
7. Restore your PC from the backup downloaded from the Cloud
As mentioned before, restoring from a local backup is faster and more stable than restoring from a cloud backup.
So, to restore your computer from this local backup:
- just go to the "Restore" tab of this local backup.
- choose what you want to restore. In our case: Entire PC.
- select the desired version of this local backup.
- click on the "Restore" button to start restoring your computer from this backup.
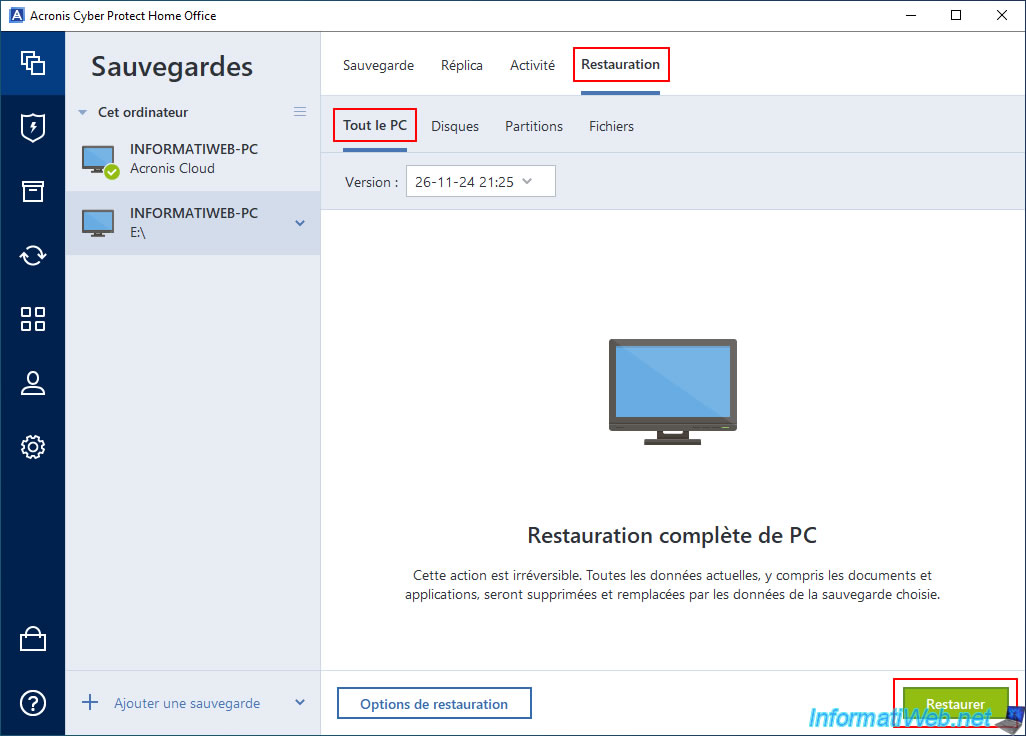
To fully restore your PC, a restart will be necessary.
Click "Restart".
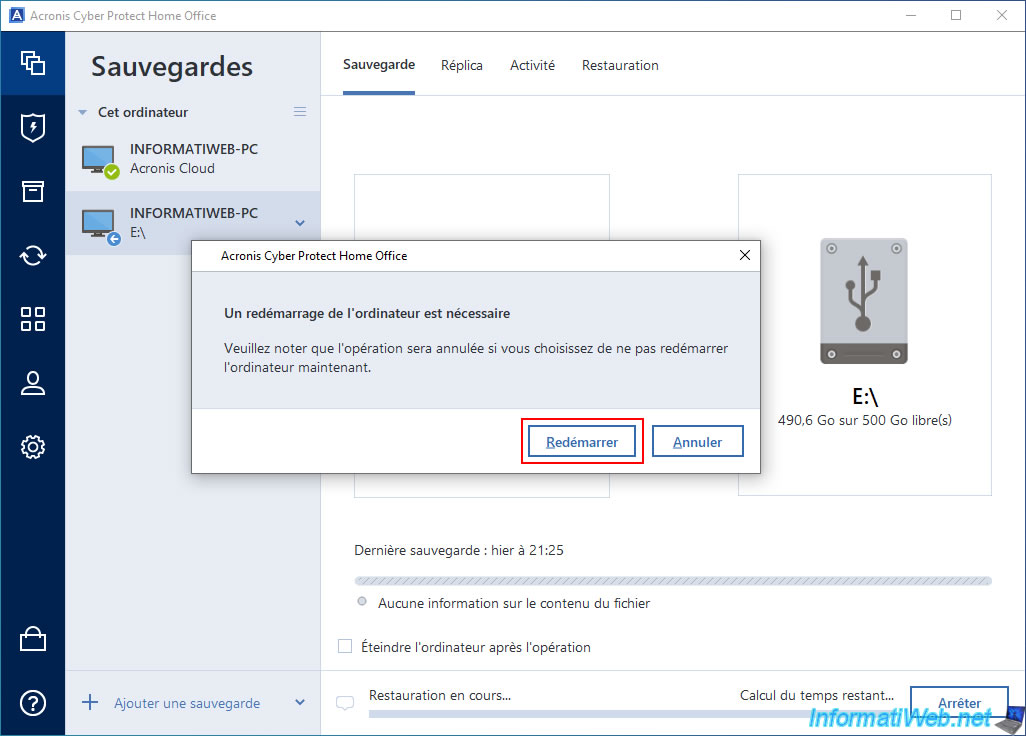
Please wait while your computer restarts.

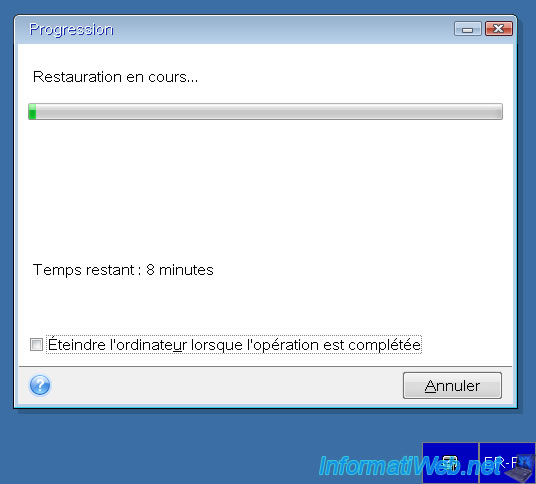
Your computer will reboot into the Acronis recovery environment and the message "Restoring" will appear while your computer is being restored.
When the restoration is complete, your computer will automatically reboot into Windows.
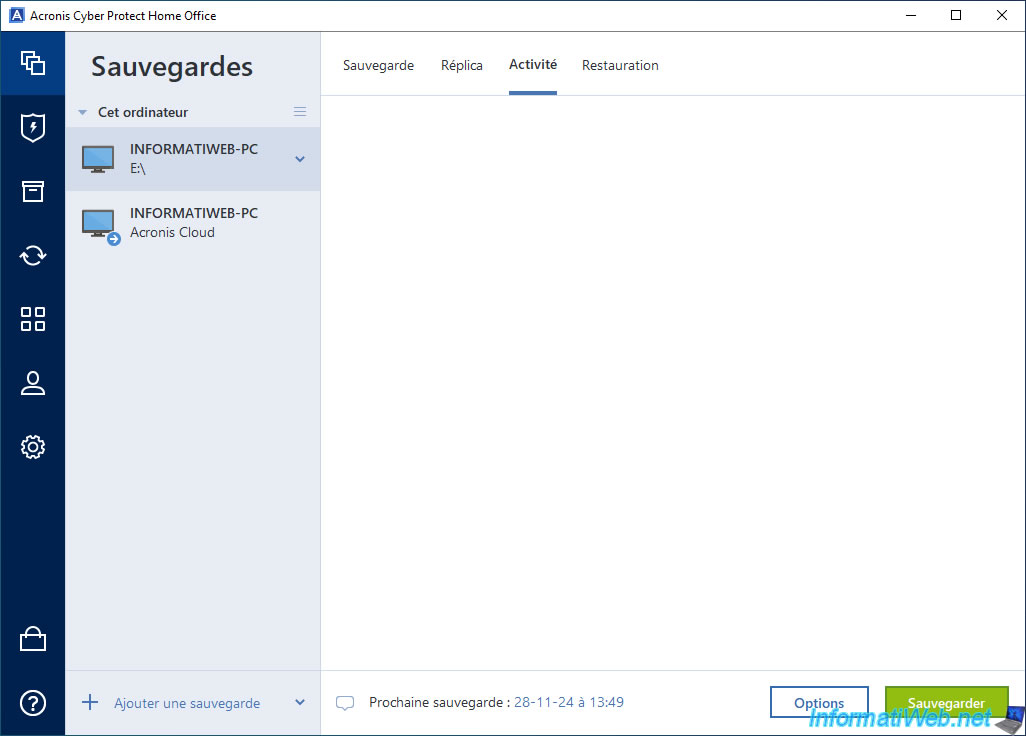
Once the restore is complete, nothing will appear in the activity of this local backup.
Share this tutorial
To see also
-
Backup 9/8/2025
Acronis True Image - Clean up local smartphone backups
-
Backup 12/15/2025
Acronis True Image - Clone a disk (automatic mode)
-
Backup 12/22/2025
Acronis True Image - Clone a disk (manual mode)
-
Backup 3/23/2026
Acronis True Image - Rescue Media - Clone a disk
No comment