Virtualize a physical PC to VMware ESXi (P2V) using Acronis True Image (Cyber Protect Home Office) and Acronis Universal Restore
- Backup
- Acronis True Image, Acronis Universal Restore
- 21 September 2026 at 13:05 UTC
-

- 8/8
10. Install VMware ESXi drivers (VMware Tools) in your virtual machine
Now that the old drivers have been uninstalled in your VM, you need to install the VMware drivers in it.
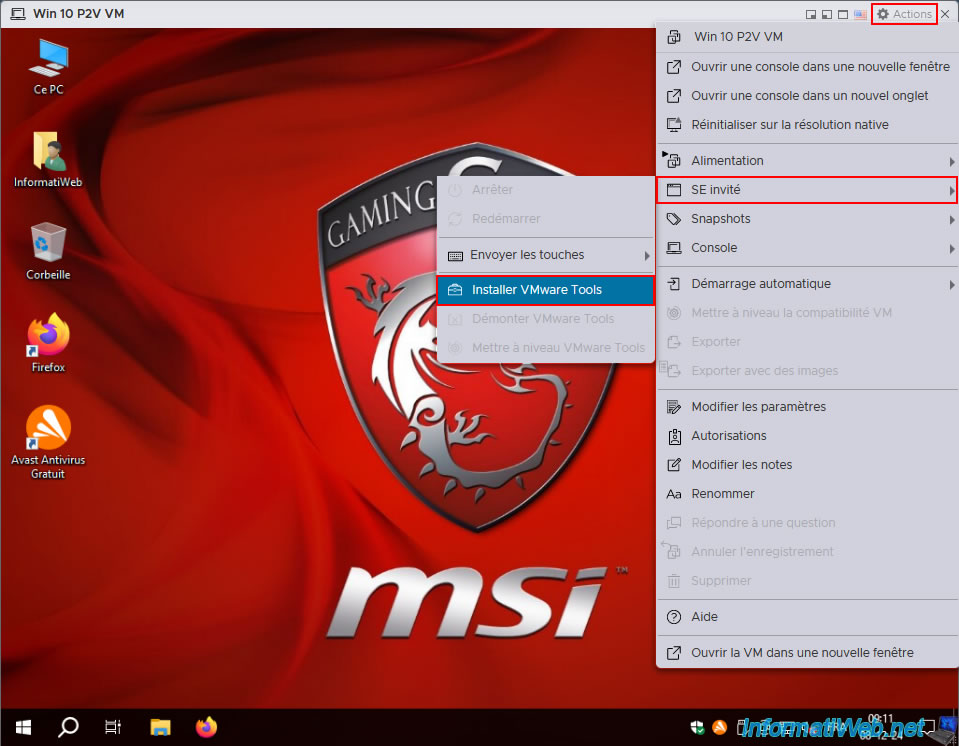
To do this, click on: Actions -> Guest OS -> Install VMware Tools.
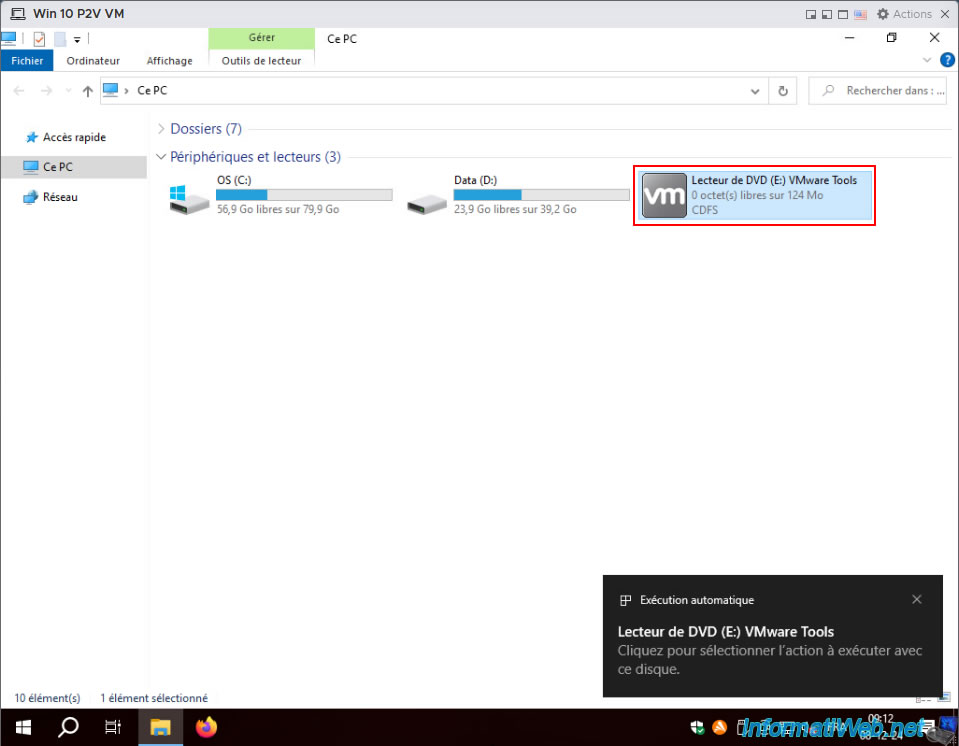
Next, open file explorer and double-click on your DVD drive.
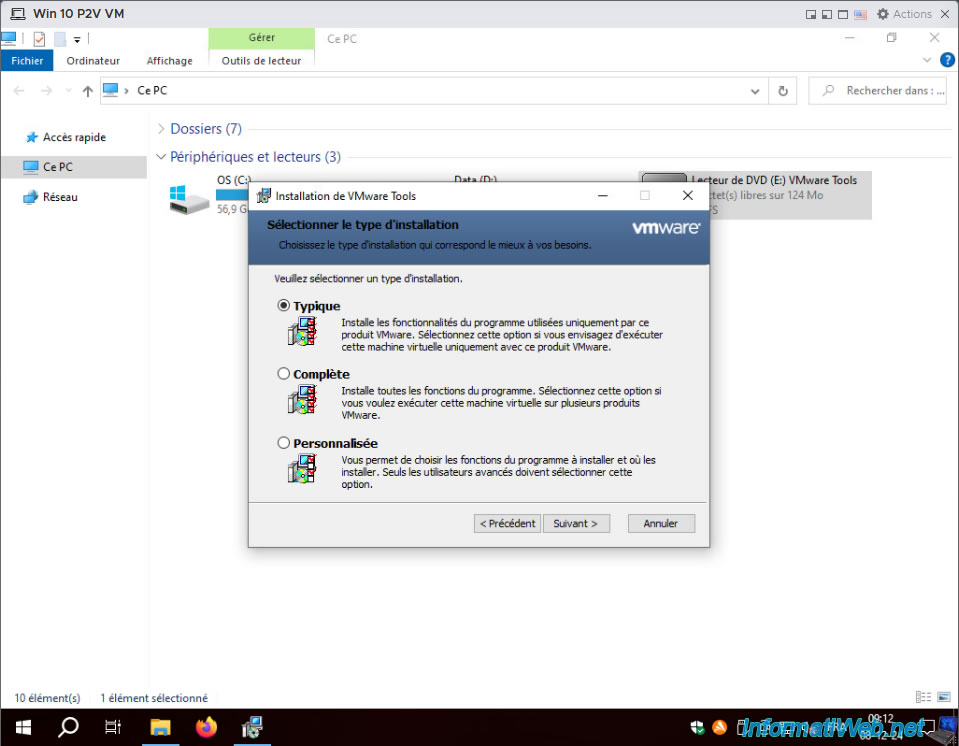
Perform a "Typical" installation as usual.
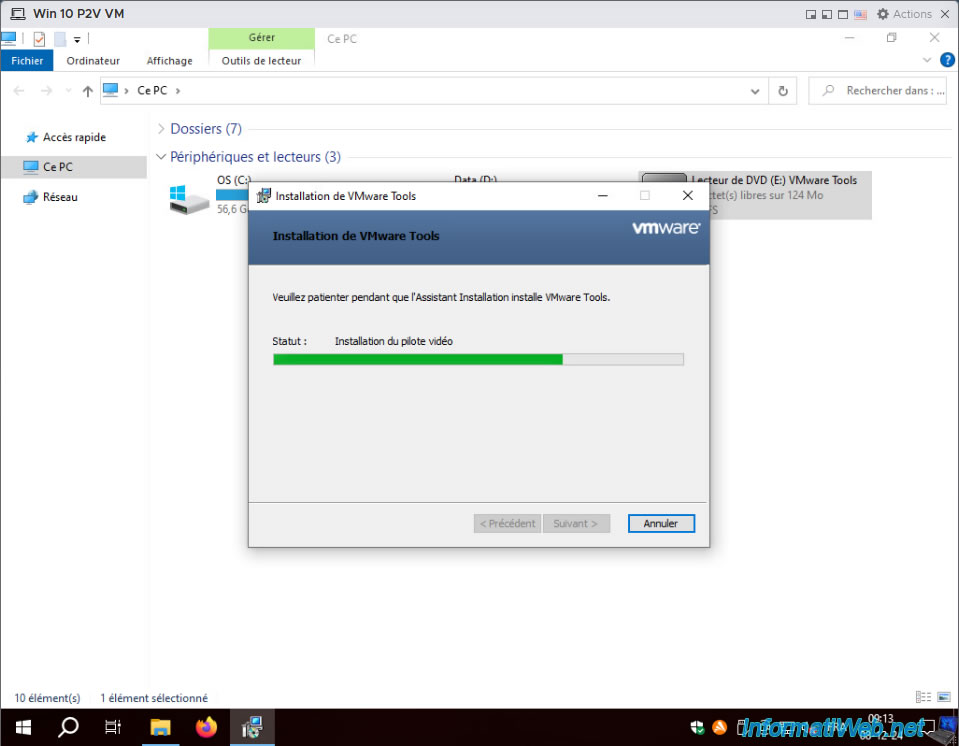
Please wait while the various drivers for your VM are installed.
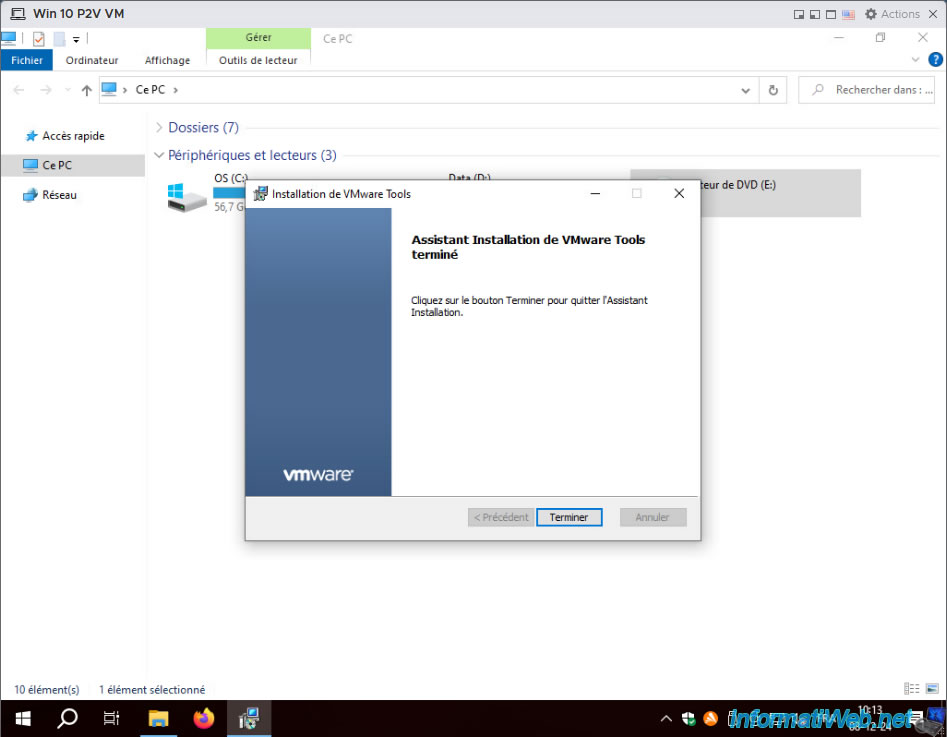
Once the VMware Tools installation is complete, click "Finish".
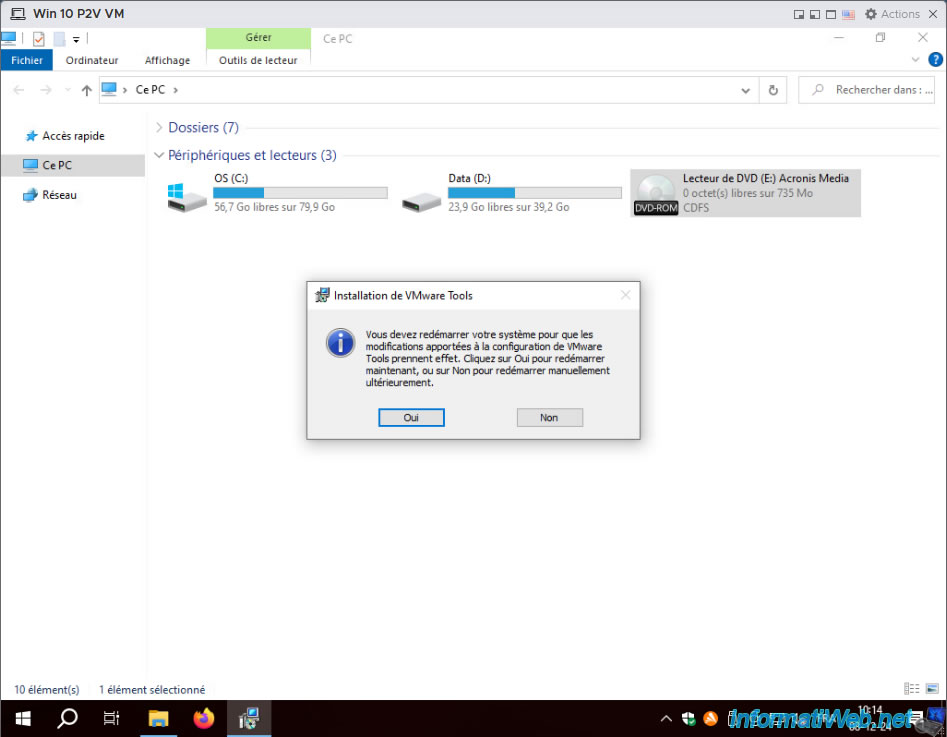
Then, click "Yes" to restart your VM.
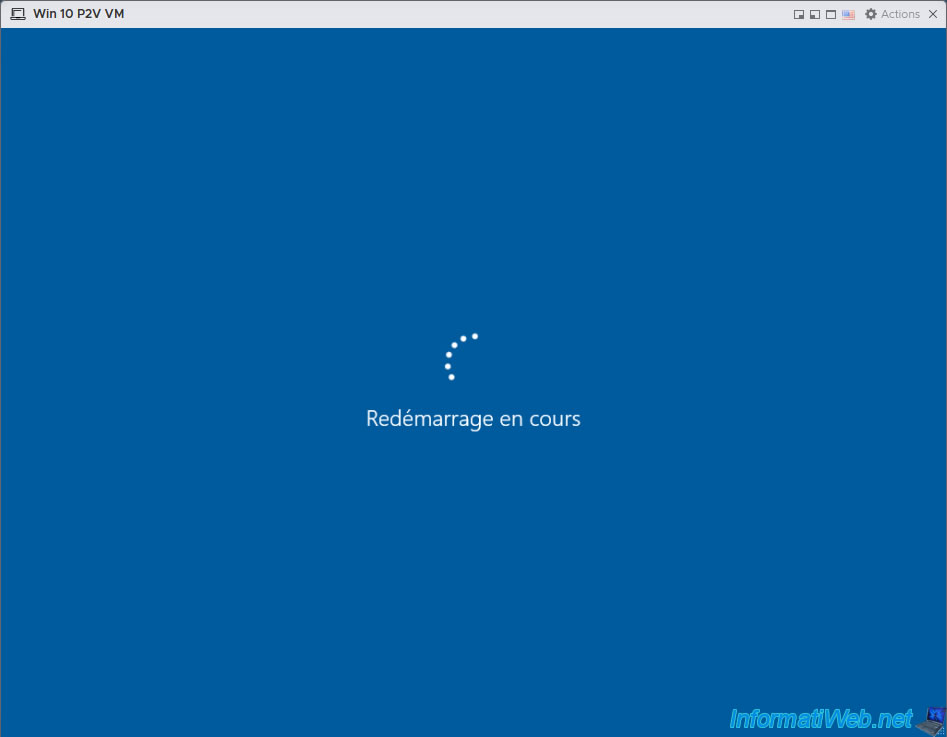
Your VM restarts.
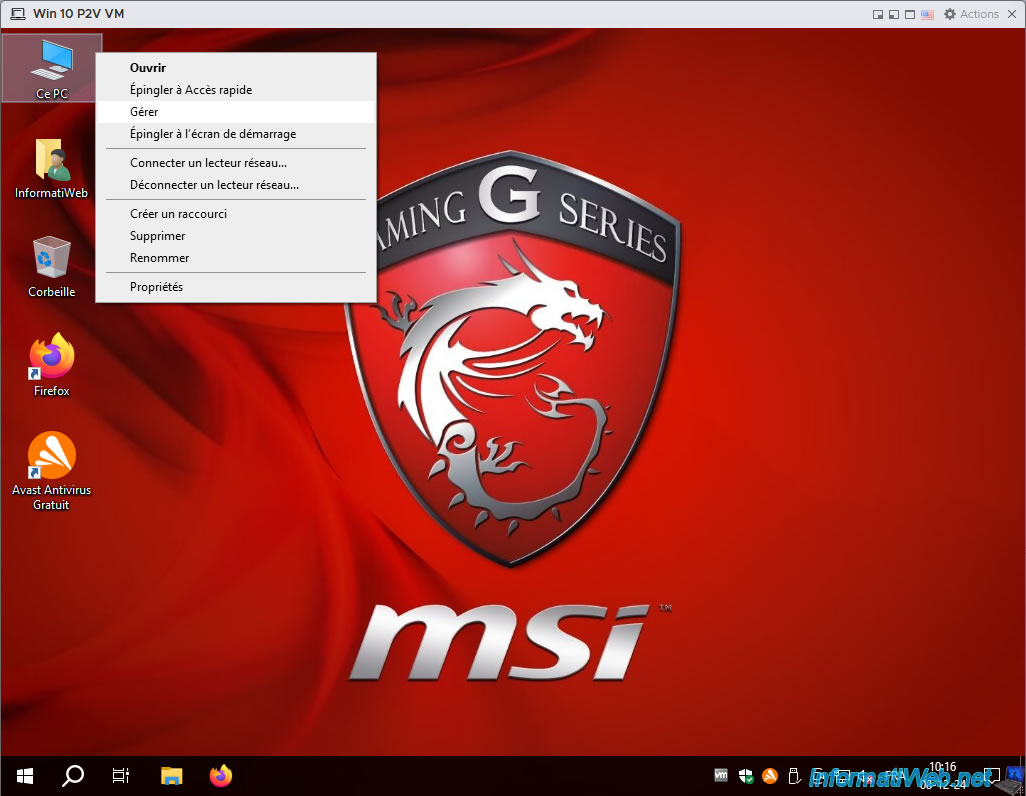
After restarting your VM, right click "Manage" on "This PC".
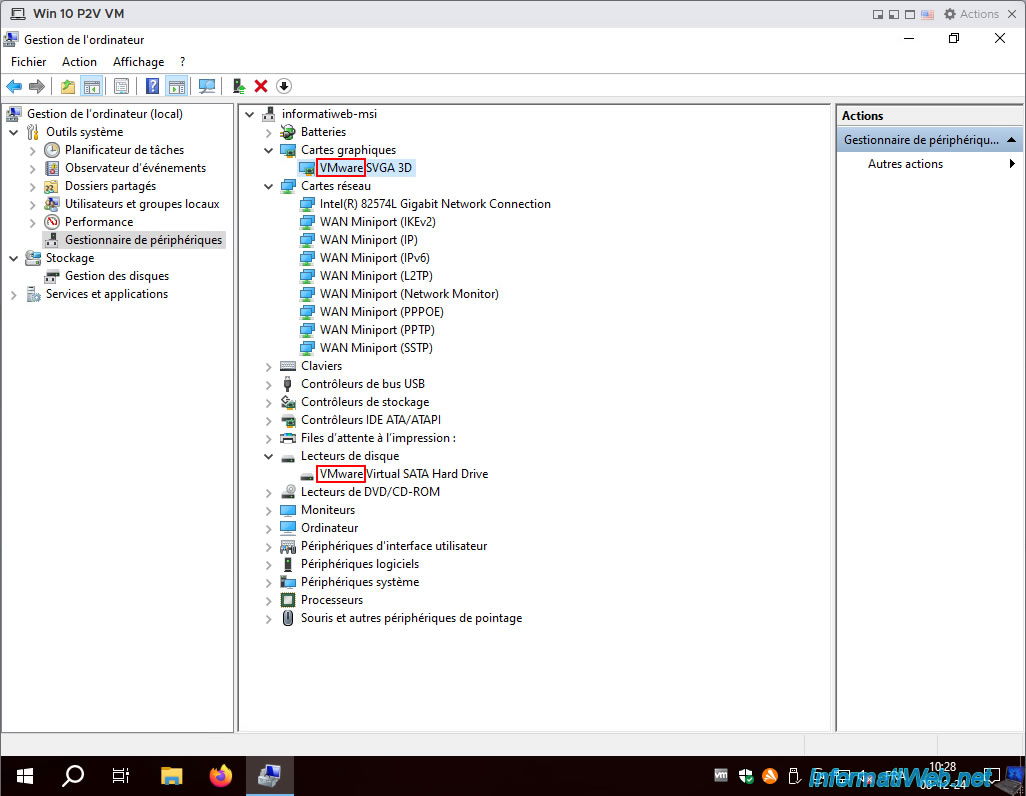
In Device Manager, you will see that it is now VMware's virtual hardware that is being used.
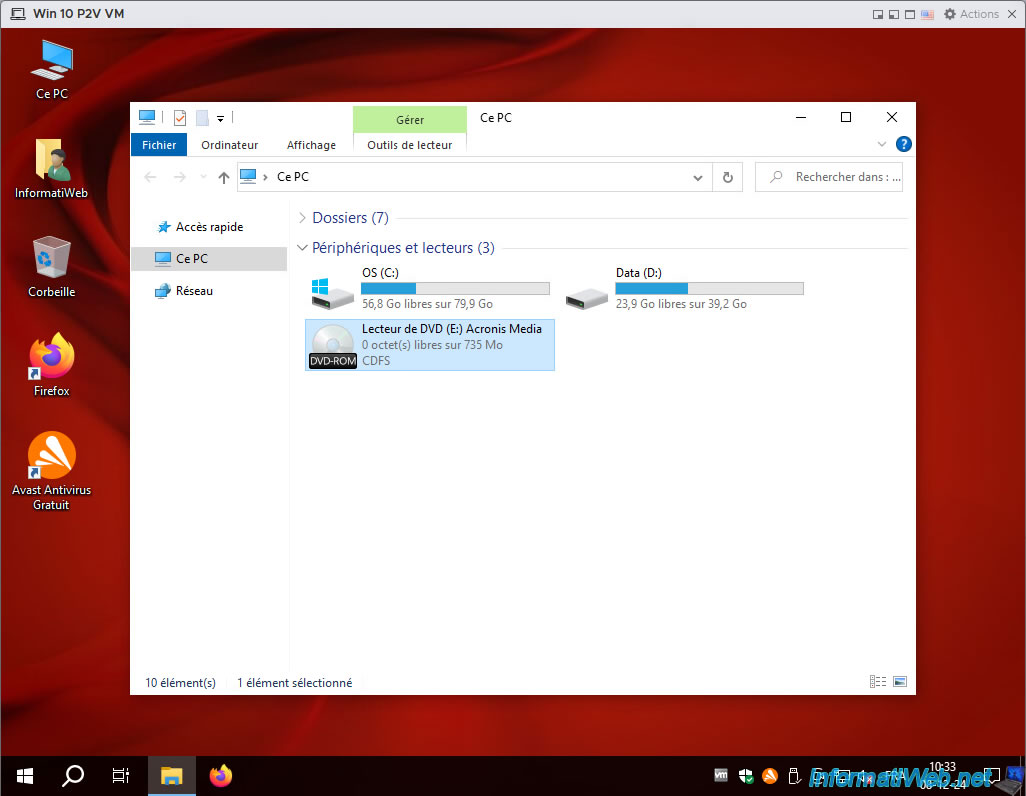
For your VM's DVD drive, you will notice that there is always an Acronis CD in it.
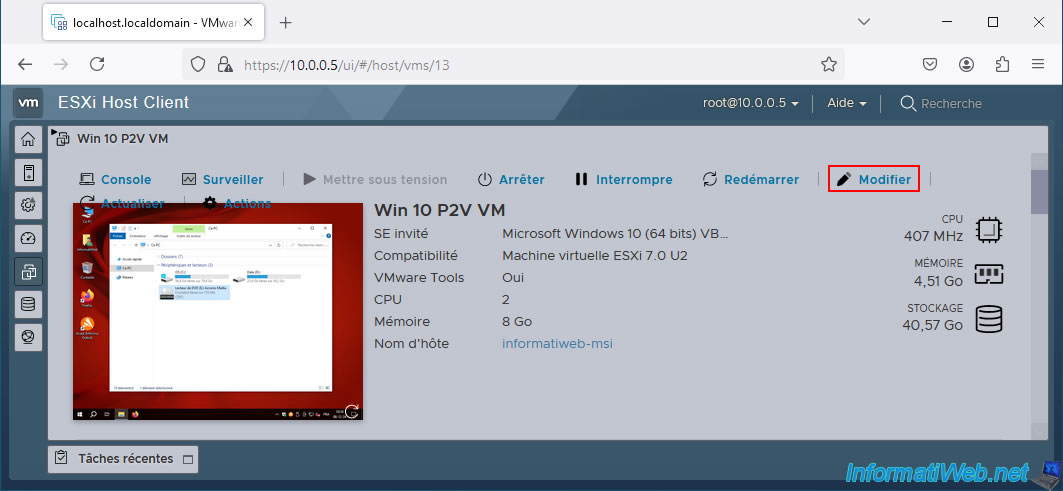
To actually remove it, the best thing to do is to modify your VM configuration from the VMware ESXi interface.
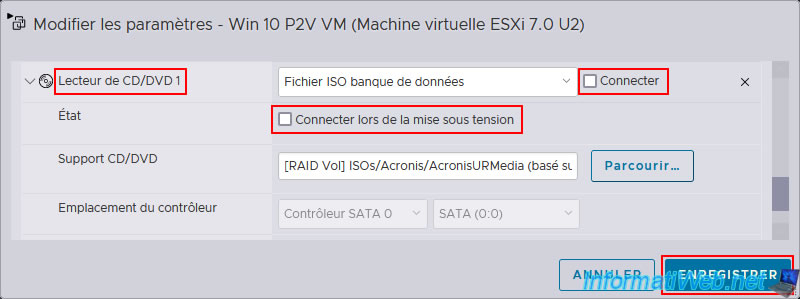
In the "CD/DVD Drive 1" section, uncheck the 2 boxes ("Connect" and "Connect on power on"), then click "Save".
Your VM configuration has been successfully modified.
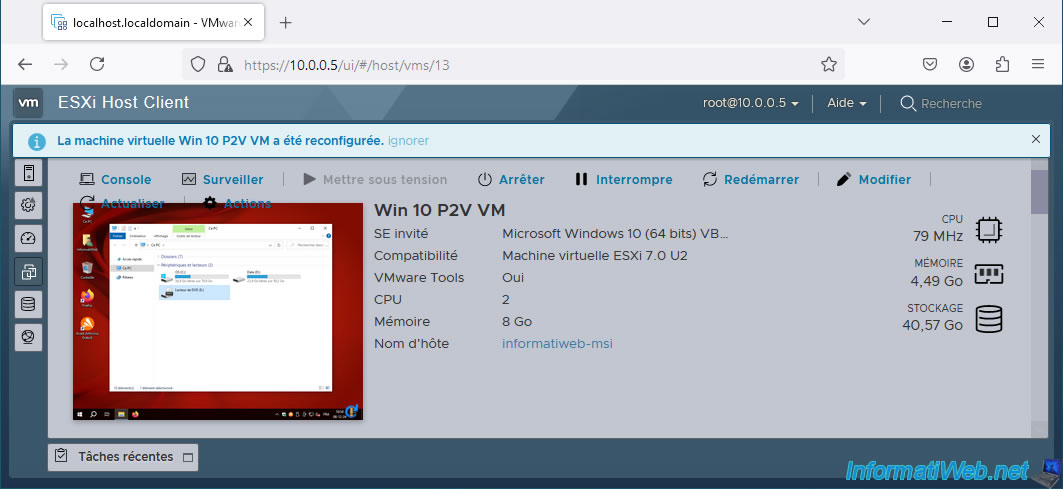
As expected, the Acronis CD has been removed from your VM's DVD drive.
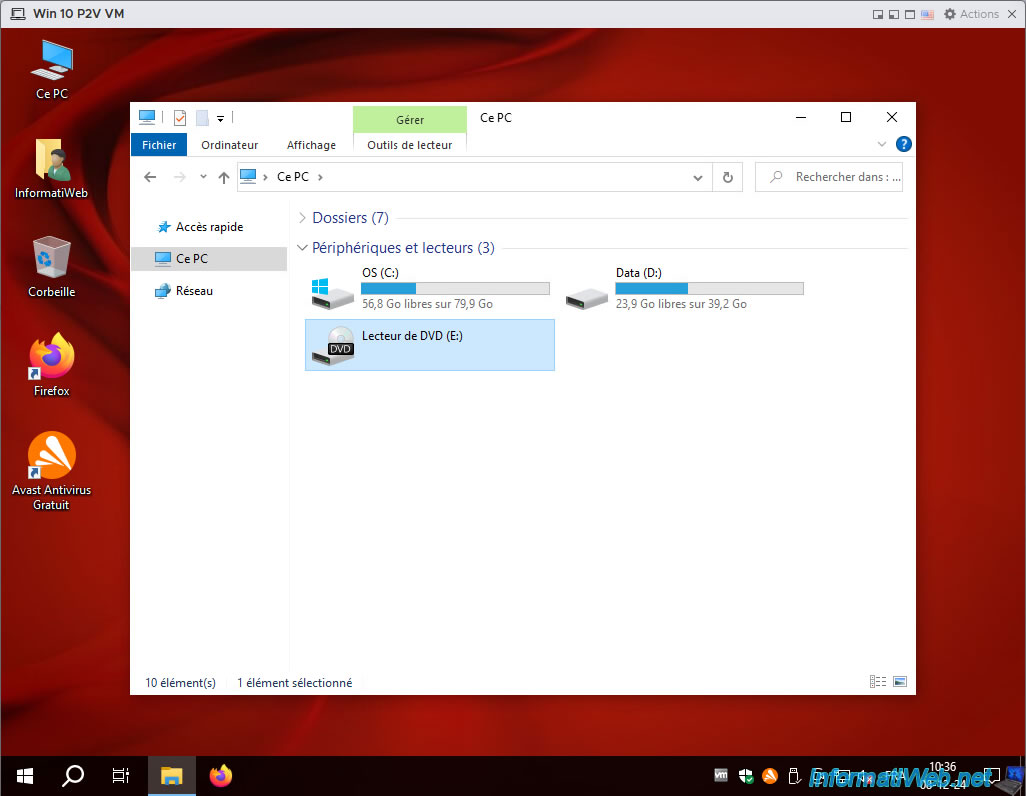
11. Virtual machine working on VMware ESXi and corresponding to the virtualized physical PC
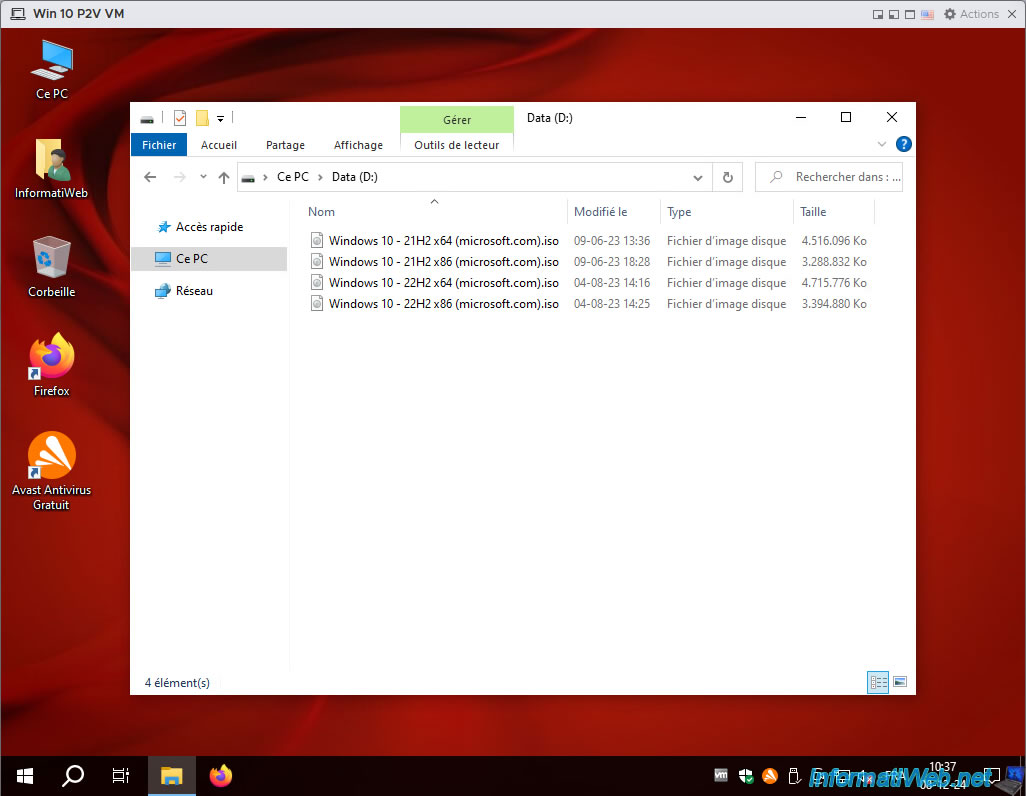
As expected, the disk partitions of the virtualized physical PC have been copied to your VM.
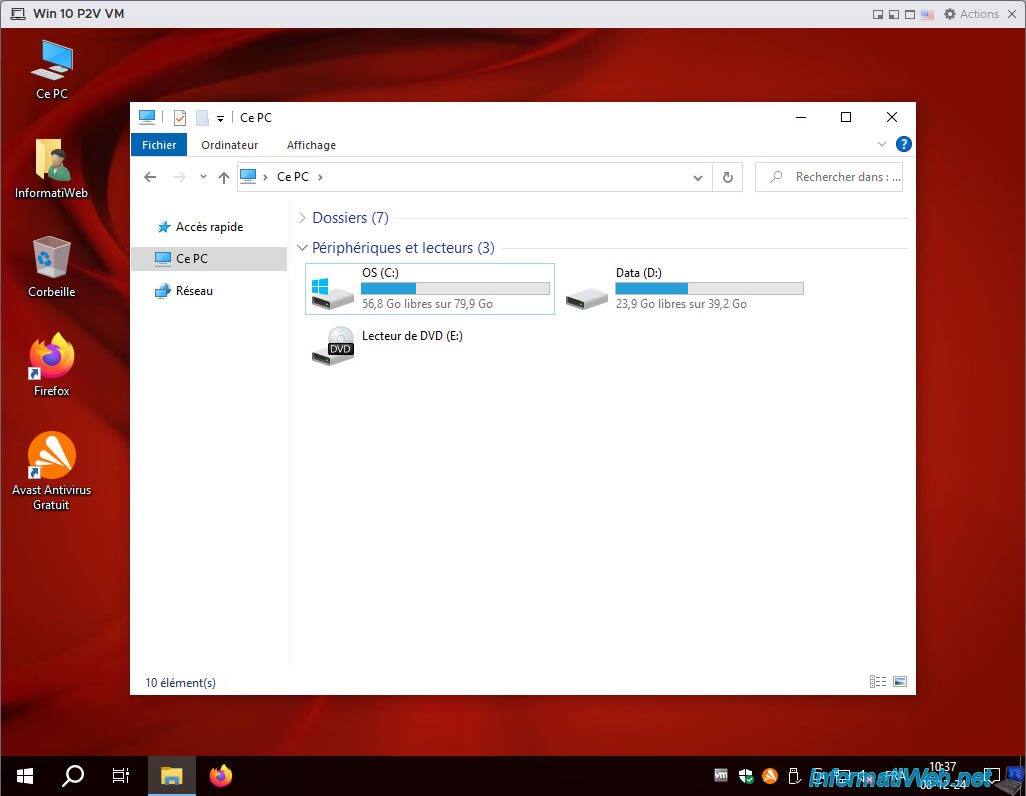
In the "C" partition, you can permanently delete the previously created "vmware-drivers" folder, as you will no longer need it.
To do this, select this "vmware-drivers" folder and press the "SHIFT + Del" keys.
Then, confirm the permanent deletion of this folder by clicking "Yes".
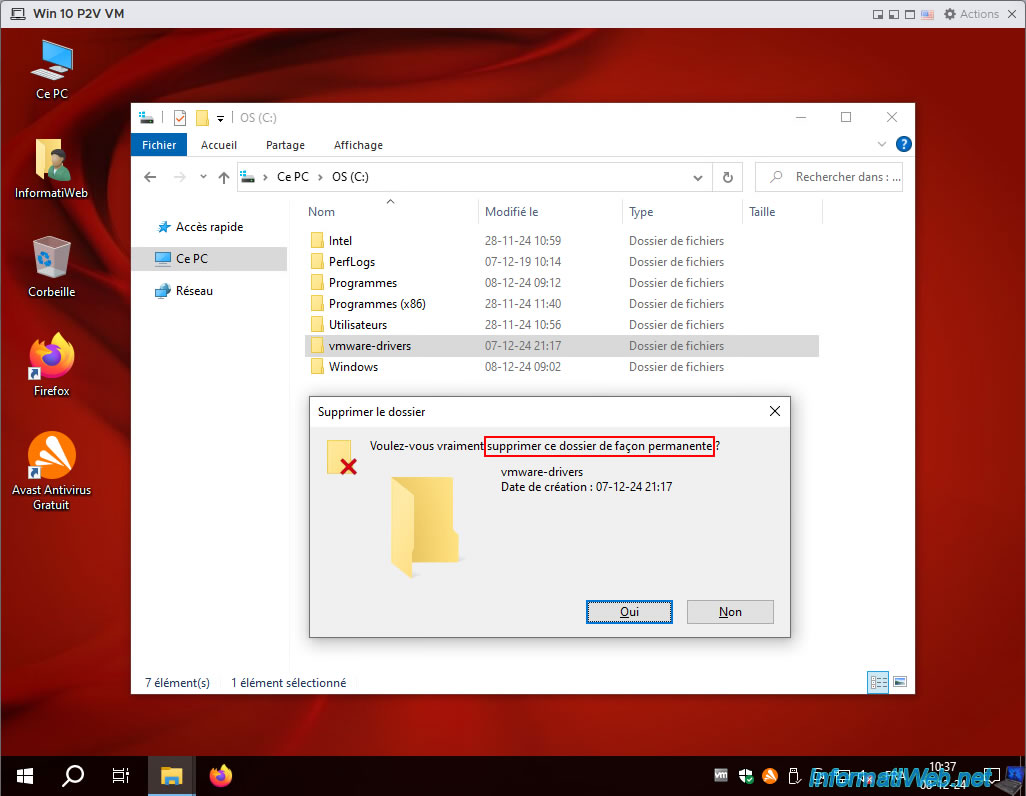
In the other partition, you will see that the data has been copied successfully.
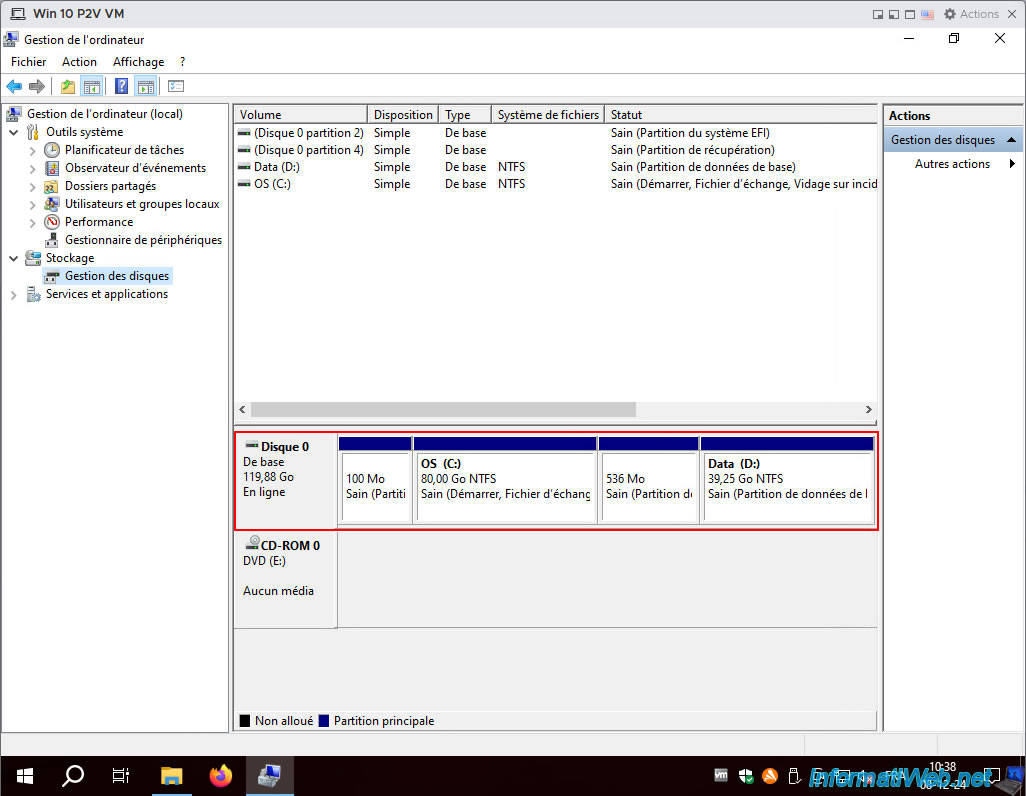
If you open the "Computer Management" console (via a right click "Manage" on "This PC"), you will see that all the partitions of the hard disk of your physical PC have been copied to the virtual hard disk of your VM.
Share this tutorial
To see also
-

Backup 6/12/2025
Acronis True Image - Delete an FTP connection
-

Backup 10/5/2026
Acronis True Image - OEM version (free) of Western Digital
-
Backup 1/26/2026
Acronis True Image - Rescue Media - Create media (Win PE version)
-
Backup 1/5/2026
Acronis True Image - Rescue Media - Create media easily (in ISO format)
No comment