- Backup
- Acronis True Image, Acronis Universal Restore
- 25 May 2026 at 14:13 UTC
-

- 1/2
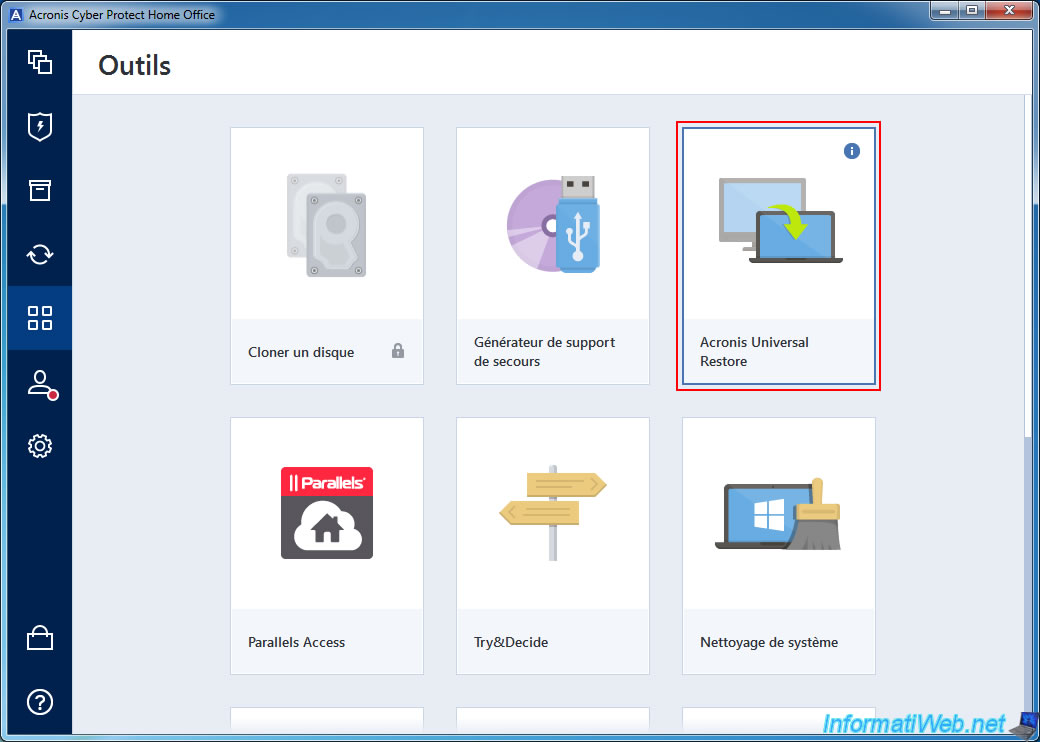
From the "Tools" section of Acronis Cyber Protect Home Office (True Image), you will be able to create a bootable "Acronis Universal Restore" media based on Windows PE.
However, if you are still on Windows 7, your bootable "Acronis Universal Restore" media will be based on an older version of Windows PE (namely: Windows PE 3.0), because you will need to use the Automated Installation Kit (AIK) intended for Windows 7 (as you will see in detail in this tutorial).
- Download and install the Automated Installation Kit (AIK) to get Windows PE 3.0
- Create Acronis Universal Restore media based on Windows PE (Preinstallation Environment) 3.0
- Boot to your Acronis Universal Restore bootable media (WinPE 3.0 based)
1. Download and install the Automated Installation Kit (AIK) to get Windows PE 3.0
To start, go to the "Tools" section of Acronis Cyber Protect Home Office (True Image) and try to launch the "Acronis Universal Restore" tool.
The first time you try to launch it, Acronis Cyber Protect Home Office (True Image) will warn you that this tool is not installed by default and it will ask you to download and install it for free on your computer.
If necessary, refer to the step of "1. Download and install Acronis Universal Restore" of our tutorial on creating and using a Universal Restore media for the installation of this Acronis tool.
Then, click on this tool again to launch it.
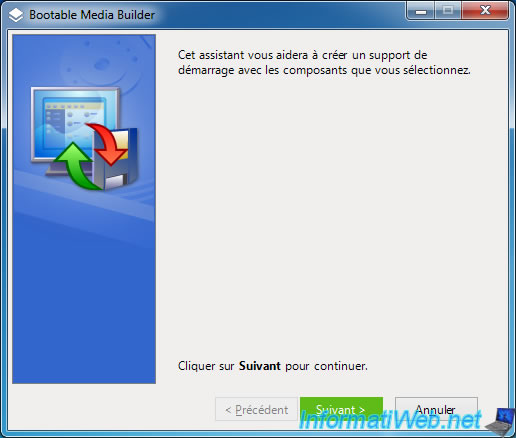
The "Bootable Media Builder" program will appear.
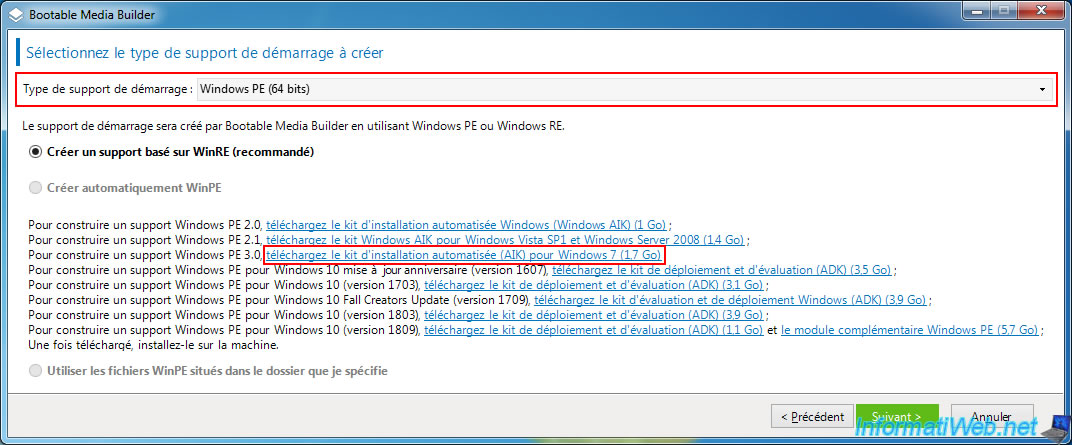
Select "Windows PE" or "Windows PE (64-bit)" depending on the architecture (x86/x64) of your Windows 7 installation.
As you can see, by default, the "Automatically create WinPE" option you need is grayed out by default, as it requires the installation of the Automated Installation Kit (AIK) on Windows 7.
Click on the link (boxed in red on the image below) to download it from Microsoft's site.
As you can see, by default this kit will be downloaded in English from the Microsoft website: KB3AIK_EN.iso.
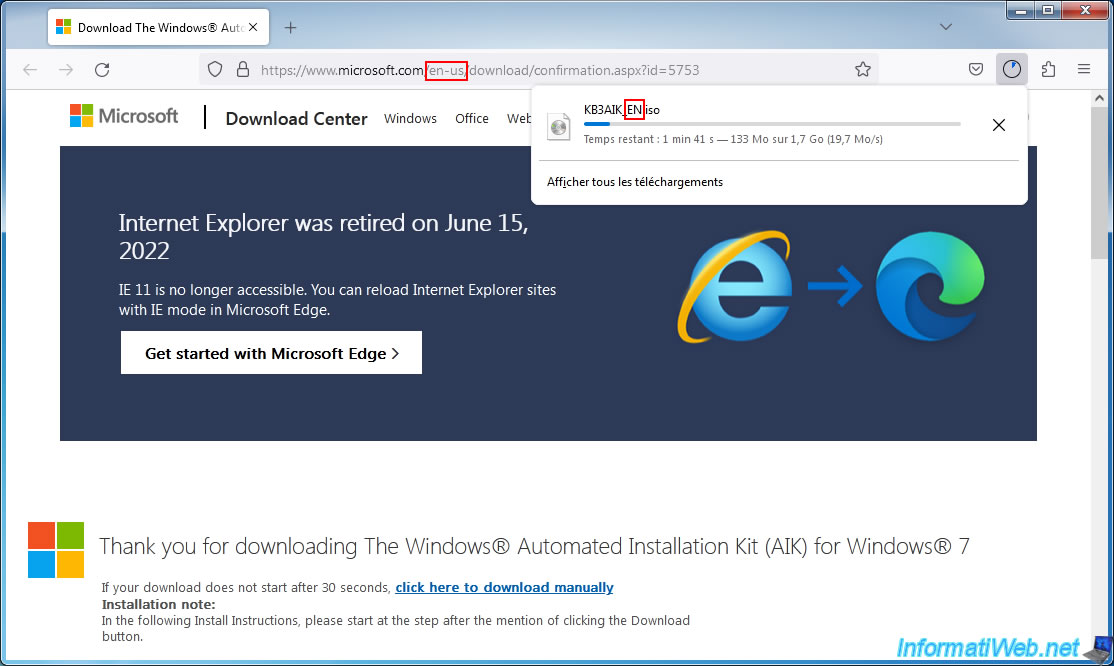
To download this "Windows AIK" kit in French, simply replace the language "en-us" with "fr-fr" in the address visible in your web browser.
As expected, your web browser will now download the French version of this kit: KB3AIK_FR.iso.
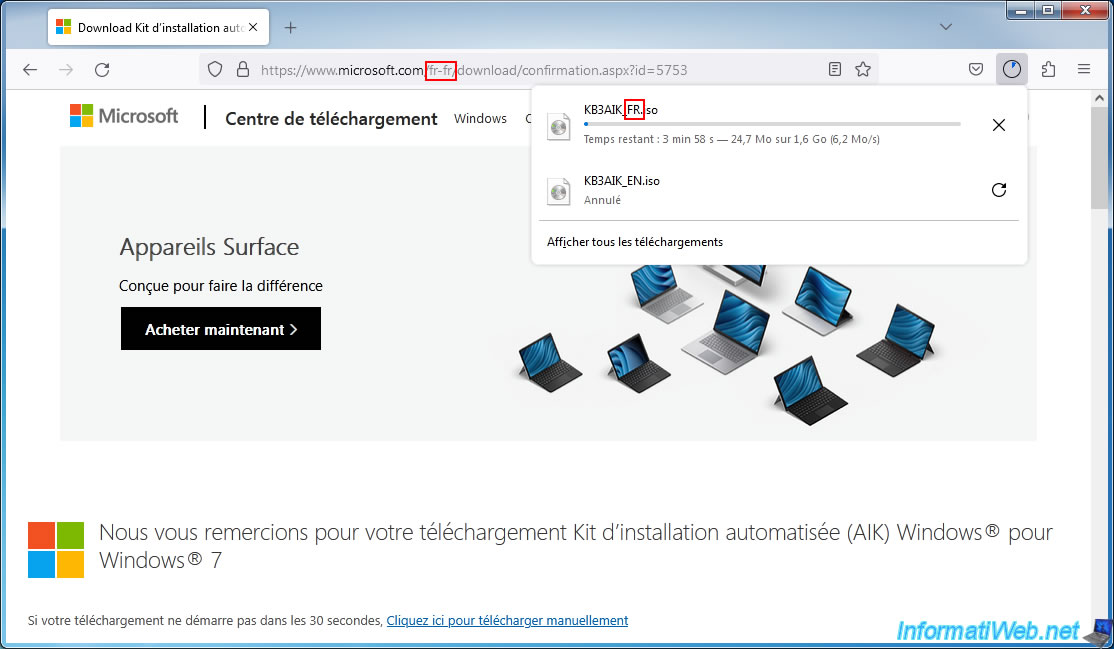
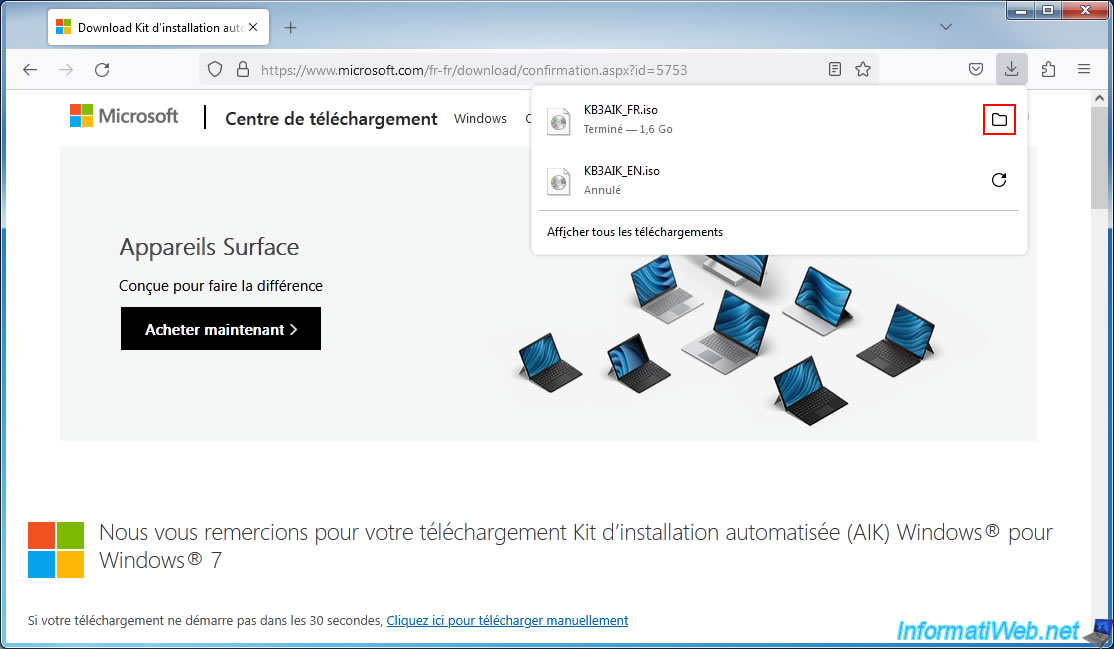
Once this file "KB3AIK_FR.iso" is downloaded, go to the folder containing this file and burn it to a DVD.
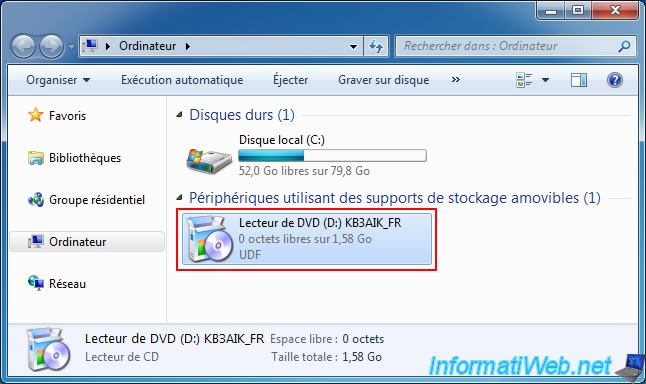
Then, insert this DVD into your CD/DVD drive and double click on it.
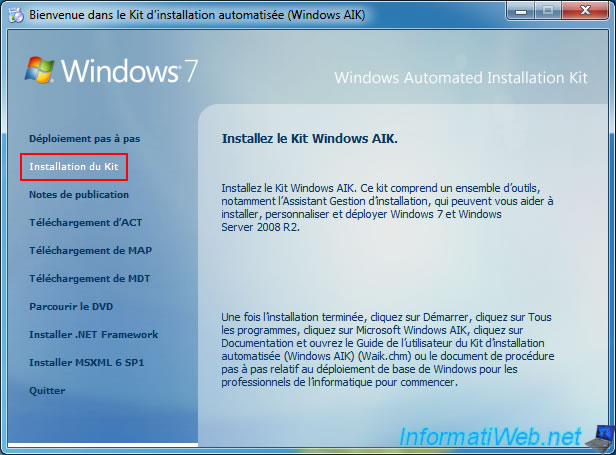
In the "Welcome to the Windows Automated Installation Kit (AIK)" window that appears, go to the "Kit Installation" section and click "Install Windows AIK".
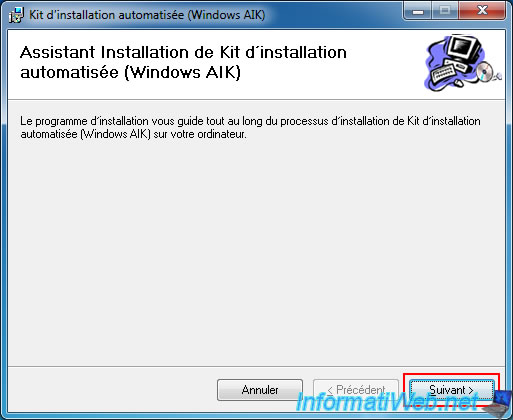
In the "Windows Automated Installation Kit (AIK)" window that appears, click "Next" each time (without changing the default settings).
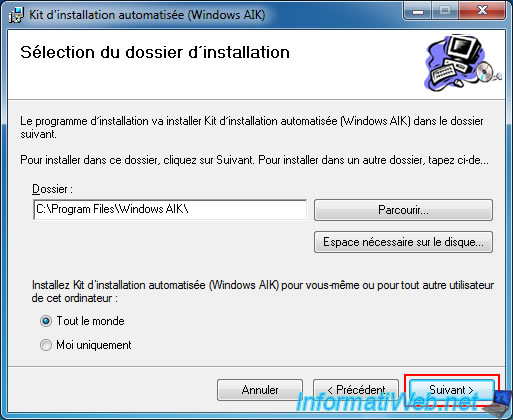
Leave the default installation folder and click "Next".
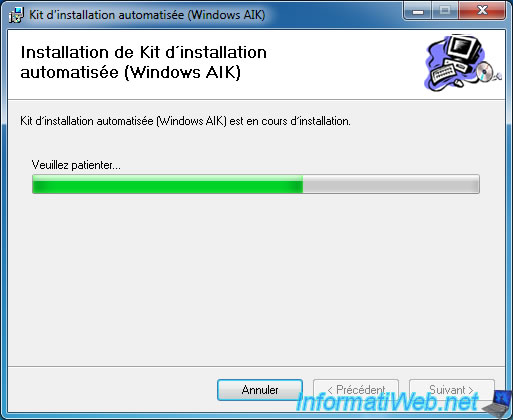
Please wait while the Windows Automated Installation Kit (Windows AIK) for Windows 7 is installed.
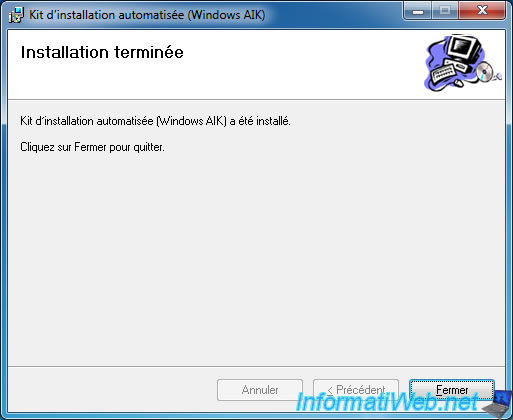
Once the installation of this Windows Automated Installation Kit (Windows AIK) is complete, click "Close".
Share this tutorial
To see also
-
Backup 8/11/2025
Acronis True Image - Create Acronis Survival Kit media
-

Backup 8/17/2026
Acronis True Image - Generate a report of your system
-

Backup 9/7/2026
Acronis True Image - P2V - Virtualize a physical PC to VirtualBox
-
Backup 1/12/2026
Acronis True Image - Rescue Media - Create media easily (bootable USB key)
You must be logged in to post a comment