- Backup
- Acronis True Image, Acronis Universal Restore
- 04 May 2026 at 13:20 UTC
-

- 1/4
In the Acronis Cyber Protect Home Office (True Image) tools, you will find the "Acronis Universal Restore" tool that allows you to back up a computer disk and restore it to the hard drive of a new computer with different hardware.
In fact, normally, moving a hard drive (containing your operating system) from one computer to another is not possible, because the operating system installed on it will no longer boot (since the hardware is different from one PC to another and the drivers are therefore not the same).
Fortunately, with Acronis Universal Restore, you can avoid this problem.
Important : the advantage of creating an Acronis Universal Restore media using the "Linux-based" type is that you will be able to access Acronis Cyber Protect Home Office (True Image) and Acronis Universal Restore via a single Acronis bootable media.
Which will not be the case if you try to create it based on Win RE or Win PE. In this case, you will only have access to Acronis Universal Restore and you will need another Acronis bootable media to perform the backup and restore of your computer.
- Download and install Acronis Universal Restore
- Create Acronis Universal Restore media (in ISO format)
- Source PC hardware
- Backup source PC via Acronis bootable media
- Restore to the destination PC via Acronis bootable media
- Apply Acronis Universal Restore on the destination PC
- Uninstall old drivers for the source PC
- Install the drivers for the new PC
- Destination PC hardware
- Options available on Acronis UR bootable media (Linux-based)
1. Download and install Acronis Universal Restore
To be able to use the "Acronis Universal Restore" tool visible in Acronis Cyber Protect Home Office (True Image), you must first download and install this tool from the Acronis website.
Indeed, it weighs about 500 MB and is not installed by default.
To do this, simply go to the "Tools" section of Acronis Cyber Protect Home Office (True Image) and click on the "Acronis Universal Restore" tool.
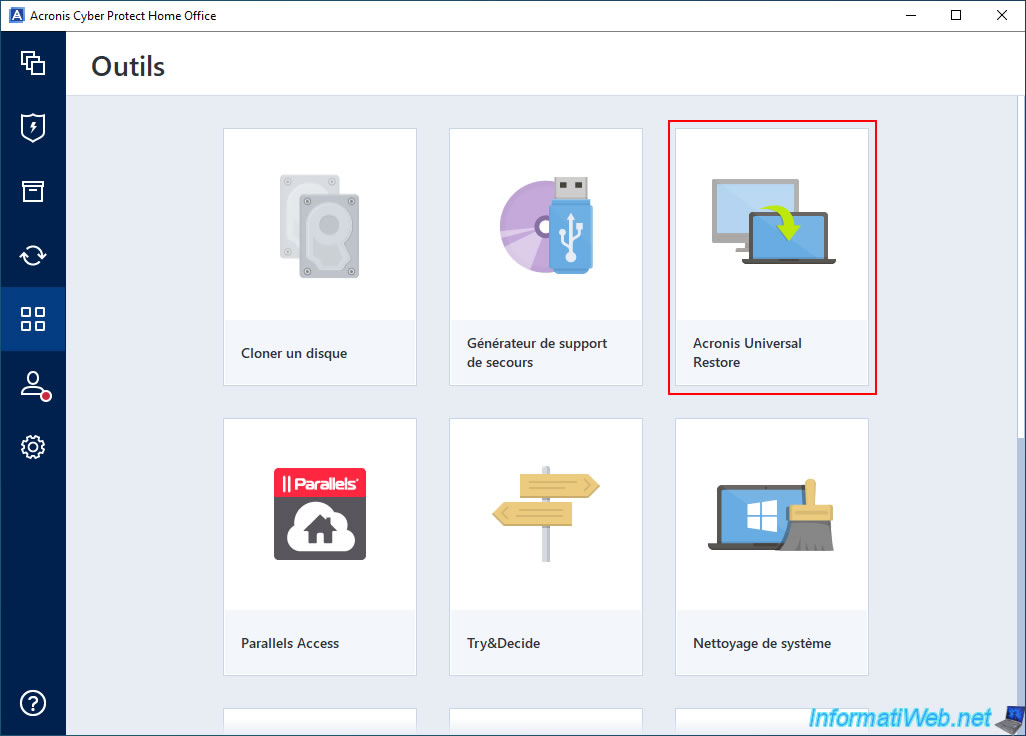
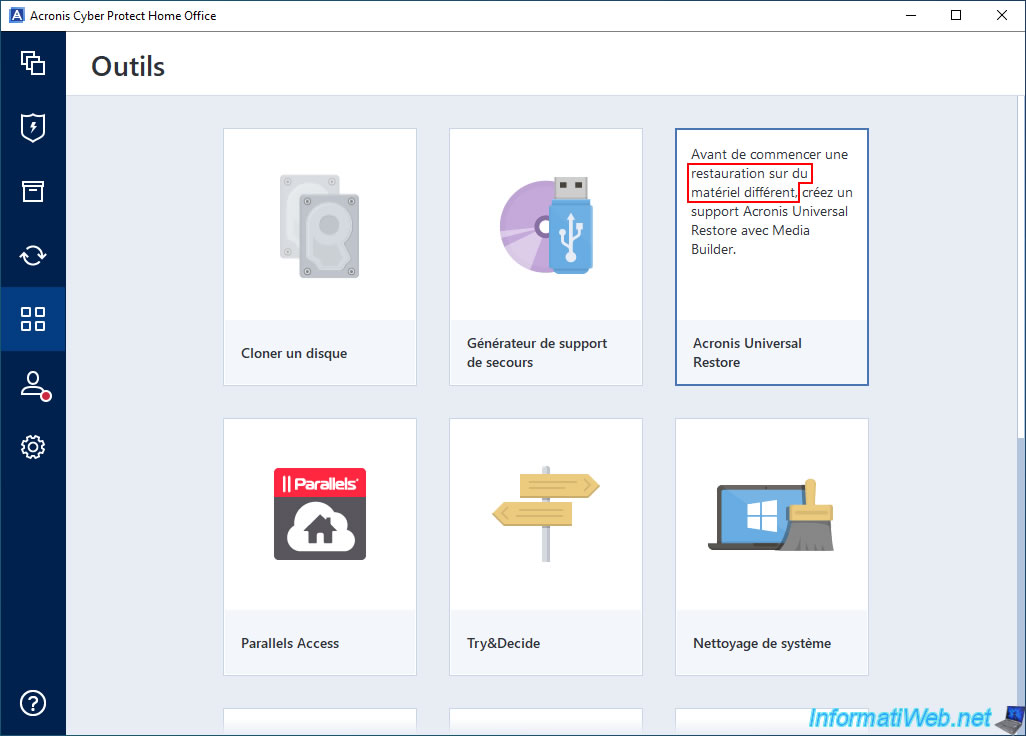
By hovering over the small "i" of this "Acronis Universal Restore" tool, you will see that it allows you to create an "Acronis Universal Restore" media with "Media Builder" which allows you to restore a backup to different hardware.
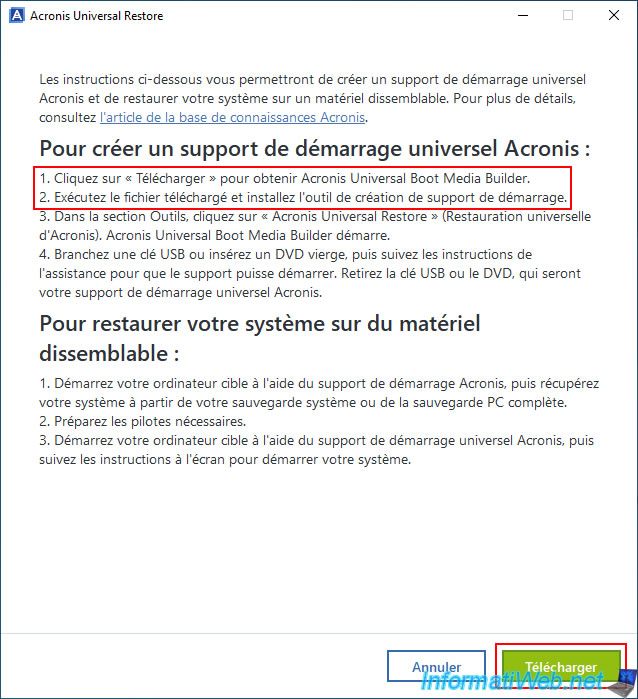
Since "Acronis Universal Restore" is not installed by default, Acronis Cyber Protect Home Office (True Image) will ask you to download it by clicking the "Download" button (located at the bottom of the window).
Then, simply run the downloaded file to install the bootable media creation tool (Acronis Universal Boot Media Builder).
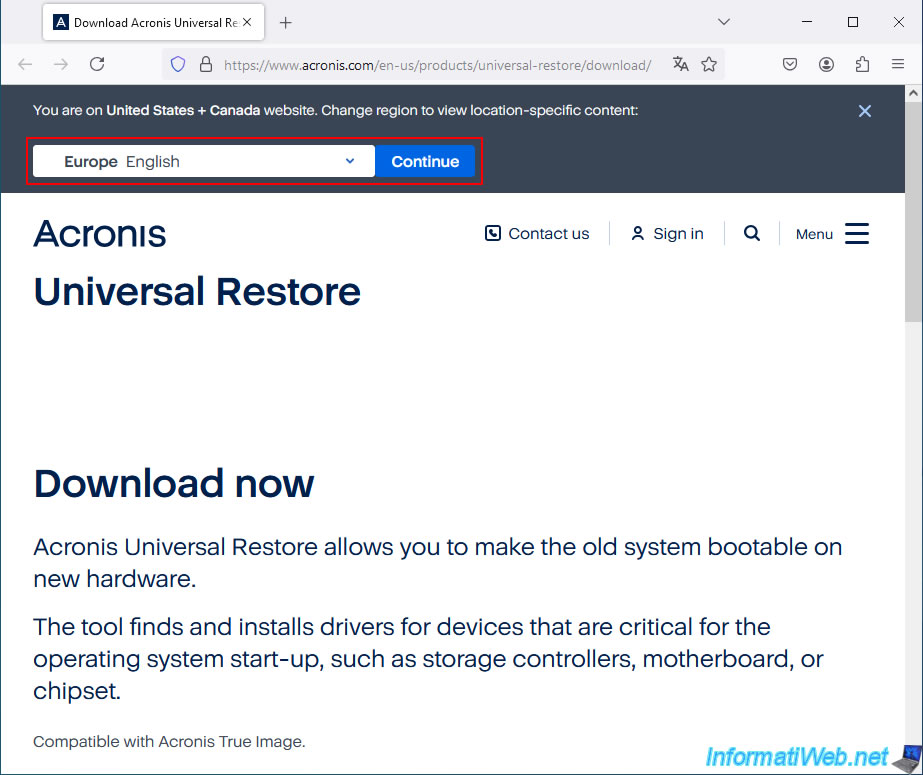
By default, you will arrive at the Acronis Universal Restore download page in English.
If necessary, change the language of this page via the list at the top of the page.
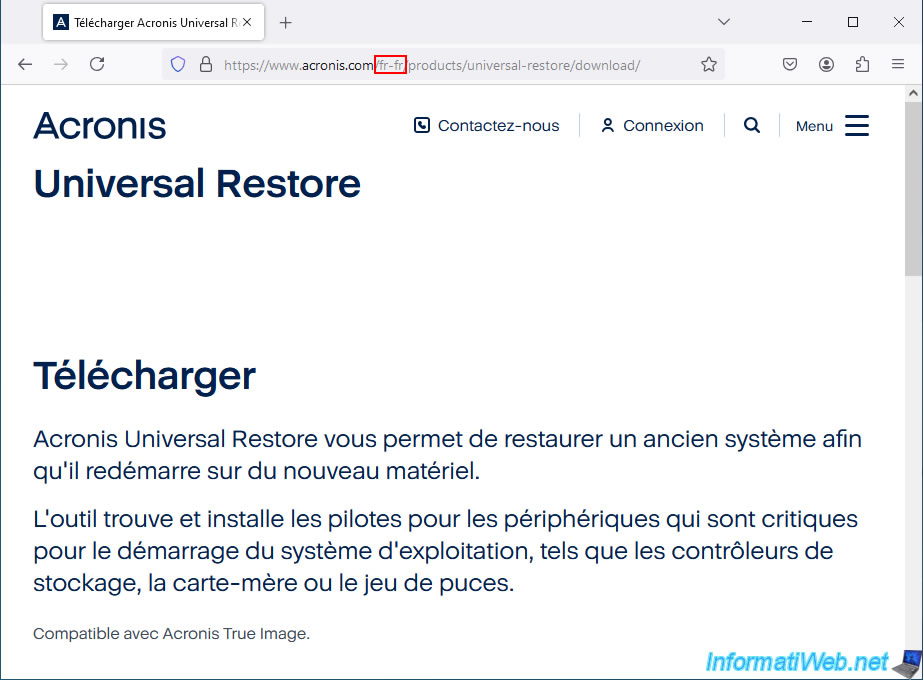
In our case, we now see the page in French.
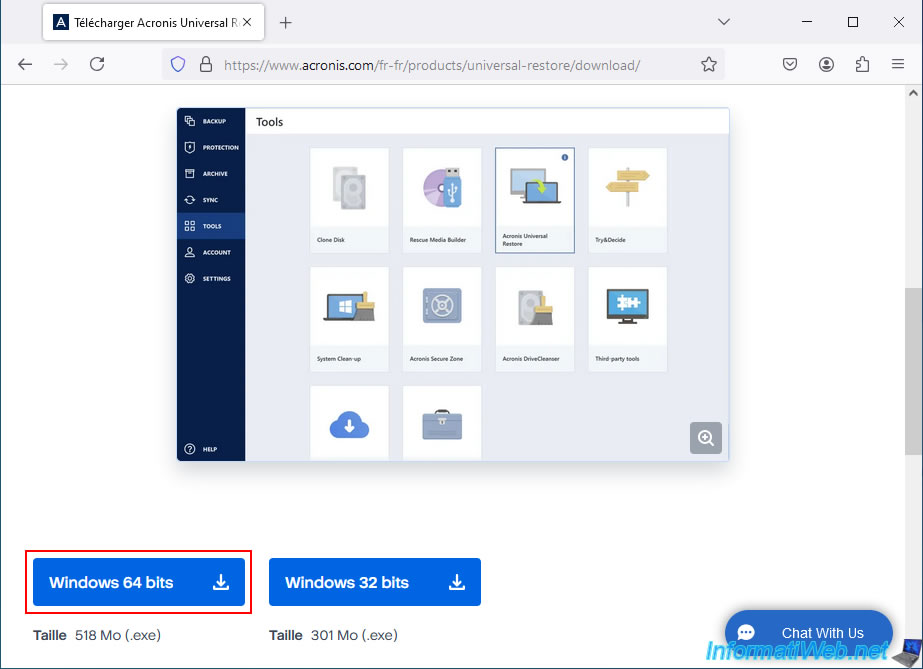
A little further down, you will find 2 download buttons for Windows.
In our case, we used the 64-bit version since we have a 64-bit version of Windows 10.
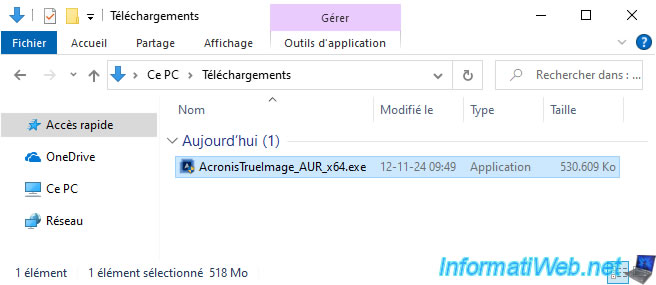
Please wait while the file "AcronisTrueImage_AUR_x64.exe" is downloaded.
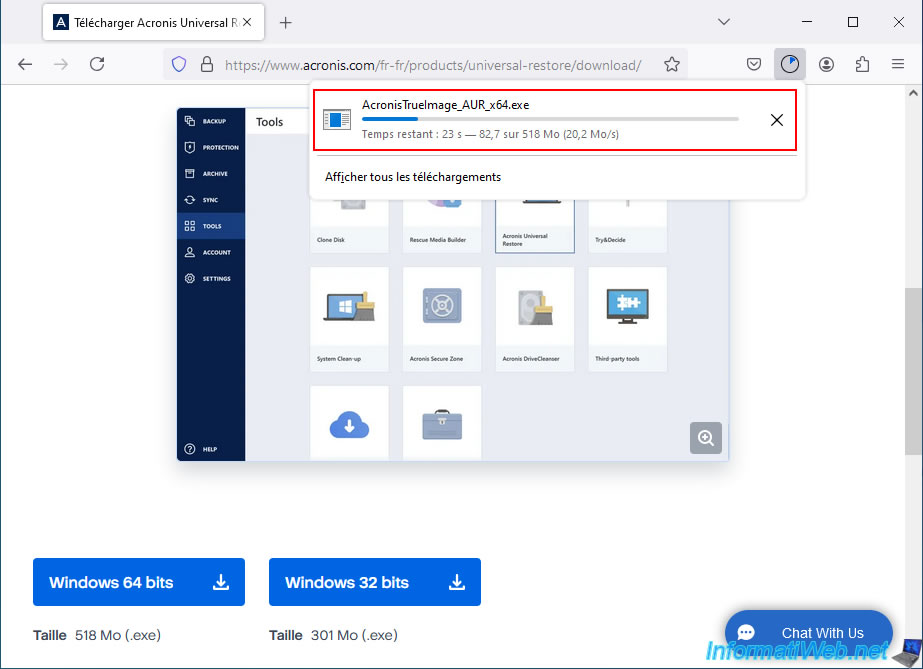
Once this file "AcronisTrueImage_AUR_x64.exe" is downloaded, launch it.
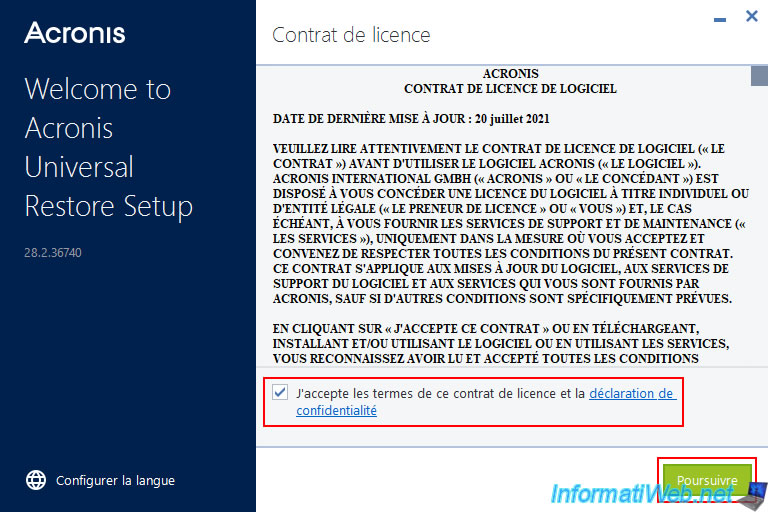
Accept the Acronis license agreement and click "Continue".
Please wait while the Acronis Universal Restore installation files are extracted.
Then, wait while Acronis Universal Restore is installed.
Once Acronis Universal Restore installation is complete, click "Close".
2. Create Acronis Universal Restore media (in ISO format)
Now that Acronis Universal Restore is installed on your computer, try to launch this "Acronis Universal Restore" tool again.

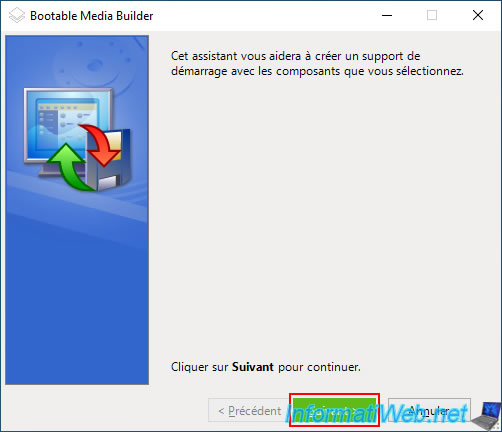
The "Bootable Media Builder" program appears.
By default, you can see that the "Bootable Media Builder" program allows you to create a bootable media that will be Linux-based, but whose representations of your disks and others will be like on Windows.
In short, the bootable media will work under Linux, but you will have the impression of being on Windows.
The goal is to simplify the process of creating your "Universal Restore" bootable media.
Indeed, if you want to create a "Windows" type bootable media, then downloading and installing Microsoft tools (notably Windows PE) would be necessary.
Leave the option "Bootable media type: Default (Linux-based media)" selected and simply click "Next".

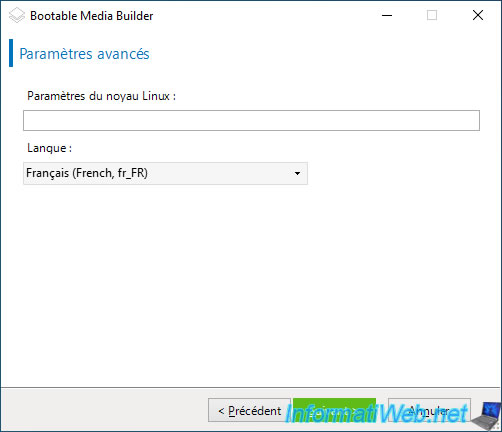
Skip the optional Linx kernel settings step and simply select your language from the list provided (if needed).
Then, click "Next".
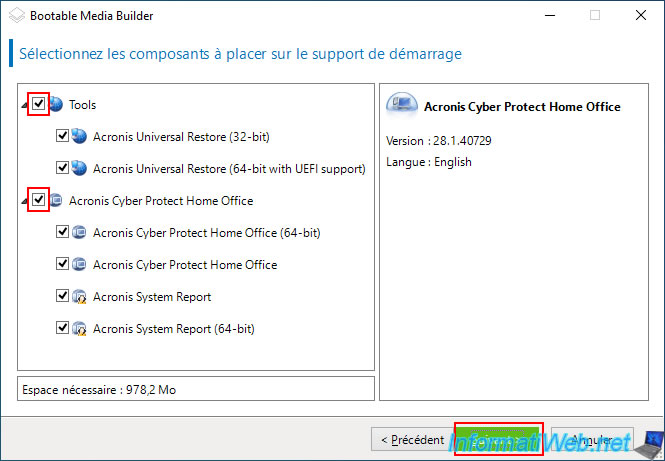
Check the "Tools" and "Acronis Cyber Protect Home Office" boxes outlined in red below to include all the tools on the bootable media that will be created.
Note: you will need Acronis Cyber Protect Home Office to back up and restore your backup, then Acronis Universal Restore so that the restored backup on the new PC can allow you to boot your operating system despite the change of hardware from one PC to another.
However, the "Acronis System Report" tool (available in 32-bit and 64-bit) will not be of use to you.
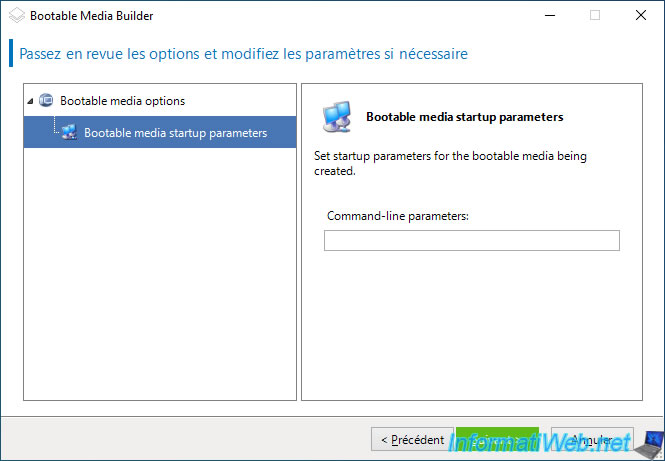
Skip the "Bootable media startup parameters" step.
This is only used to fix compatibility issues in rare cases.
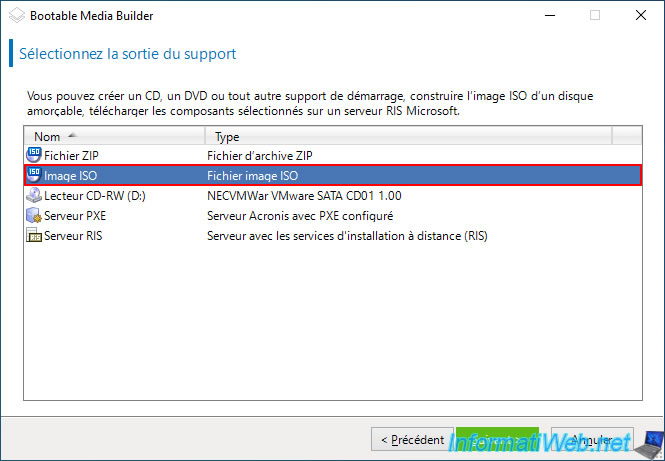
Select "ISO Image" for the media output, as this will allow you to burn your bootable media very easily with your favorite burning software.
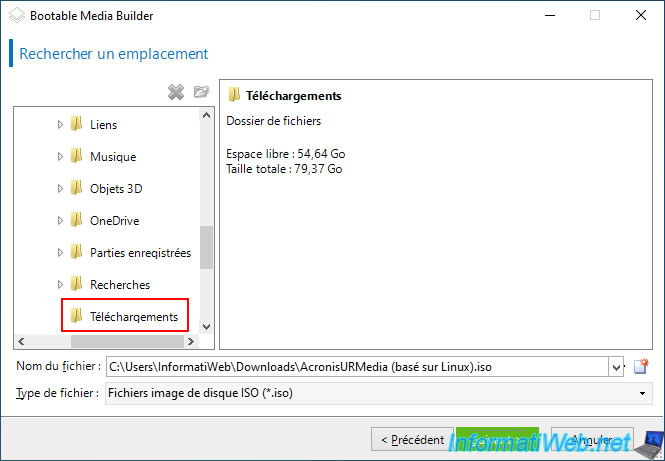
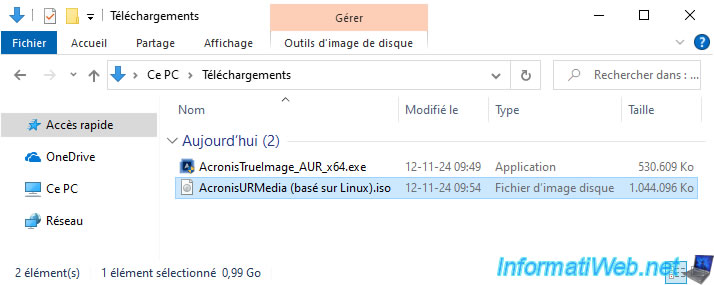
Select the folder where you want to store this ISO file and specify a name under which to save it.
For example: AcronisURMedia (Linux-based).iso.
If needed, you can add Windows drivers for Universal Restore to use.

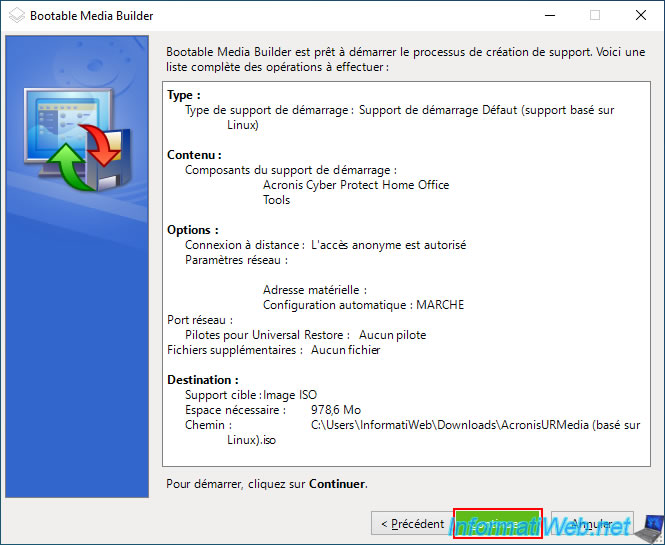
Finally, click the "Continue" button to create your "Acronis Universal Restore" bootable media.
Please wait while the ISO file is created.
Plain Text
Building the ISO image...

Once the ISO image is created, you will see the "Bootable media was created successfully" message.
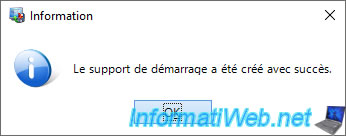
All you need to do now is burn this ISO image to a DVD.
Share this tutorial
To see also
-

Backup 12/8/2025
Acronis True Image - Acronis Cloud presentation
-
Backup 6/23/2025
Acronis True Image - Backing up your PC to Acronis Cloud (encrypted backup)
-
Backup 6/30/2025
Acronis True Image - Backup disks or partitions
-
Backup 7/24/2025
Acronis True Image - Create differential backups
You must be logged in to post a comment