Create and use Universal Restore bootable media with Acronis True Image (Cyber Protect Home Office)
- Backup
- Acronis True Image, Acronis Universal Restore
- 04 May 2026 at 13:20 UTC
-

- 4/4
7. Uninstall old drivers for the source PC
Since the hardware has changed, it is recommended to uninstall the drivers from this new PC that you had installed when you were still on the source PC.
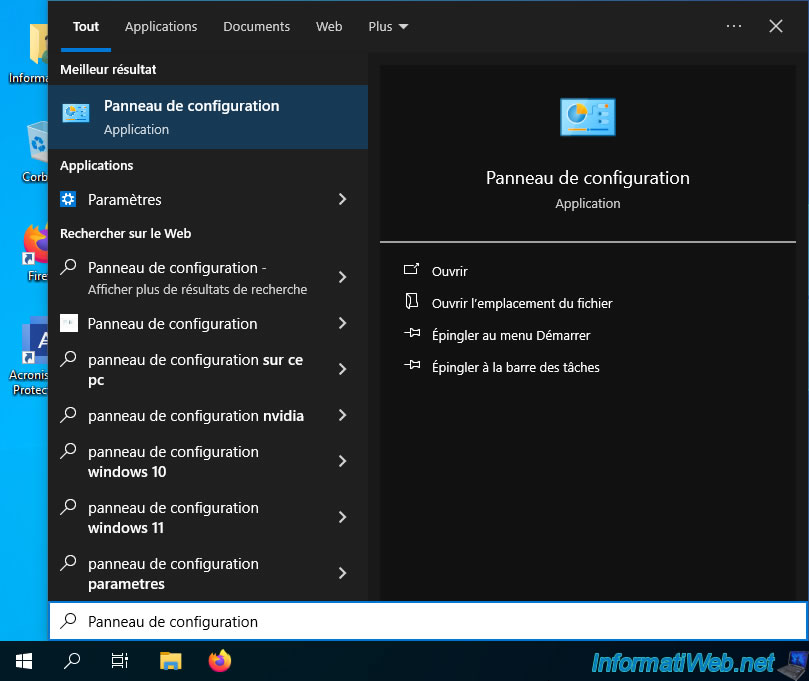
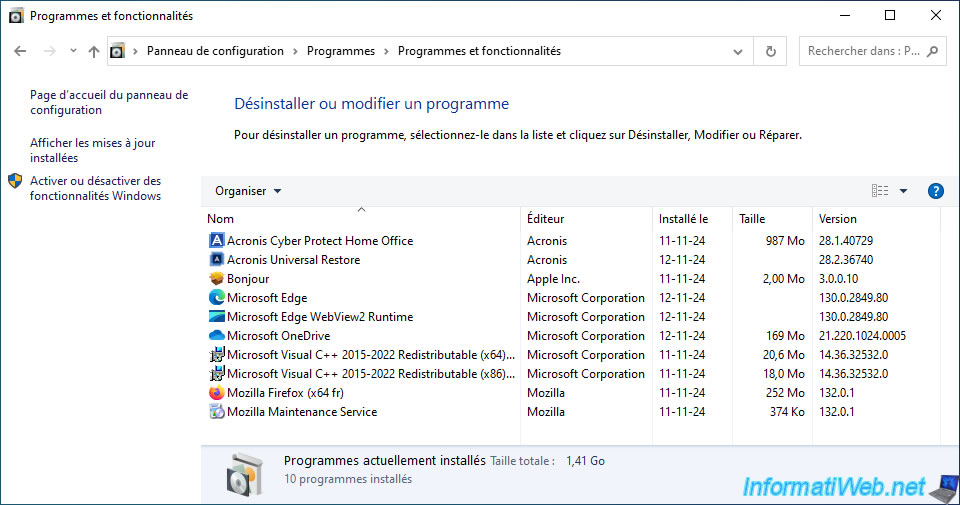
To do this, open the Windows Control Panel.
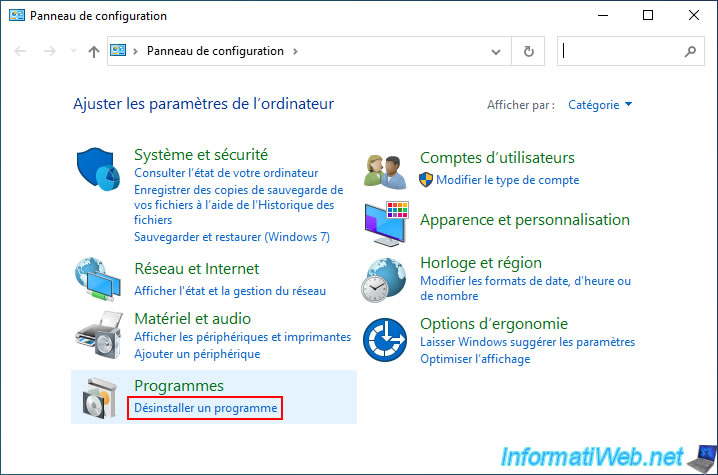
Click on "Uninstall a program".
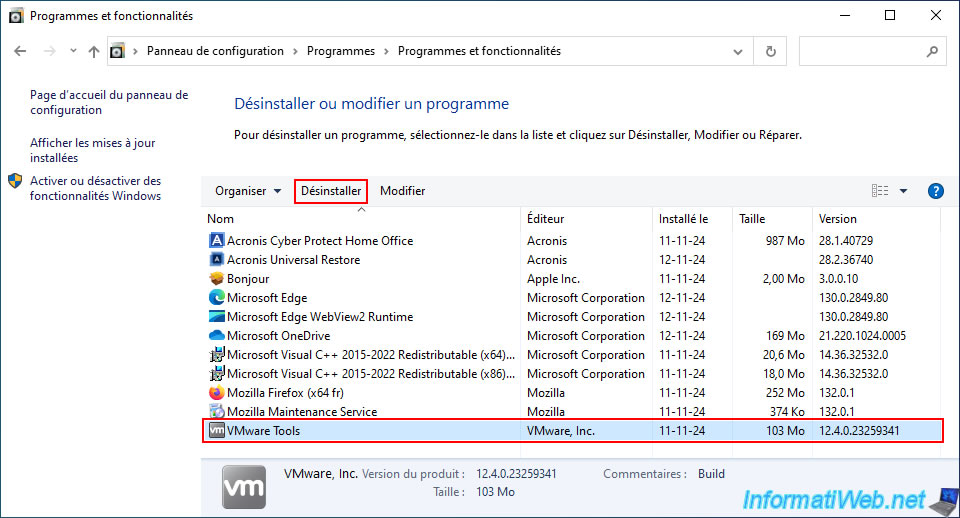
Uninstall all drivers that concern your old PC.
In our case, the program "VMware Tools".
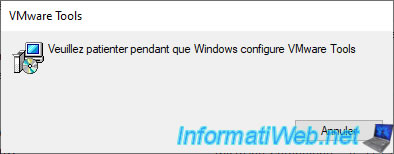
Please wait while these are uninstalled.
Once all old drivers are uninstalled, restart your computer at least once to apply the changes and avoid a pending Windows restart from blocking you when you try to install the drivers for your new PC (which you are currently on).
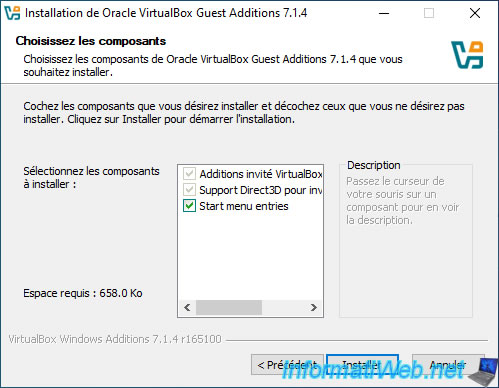
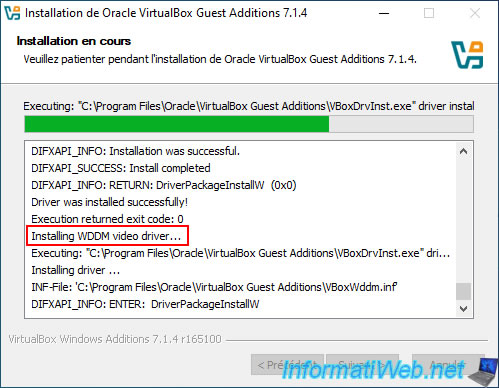
8. Install the drivers for the new PC
Now that the old drivers are uninstalled, you can install the drivers for your new PC.
In our case, these are the VirtualBox Guest Additions since we are doing this tutorial with virtual machines.
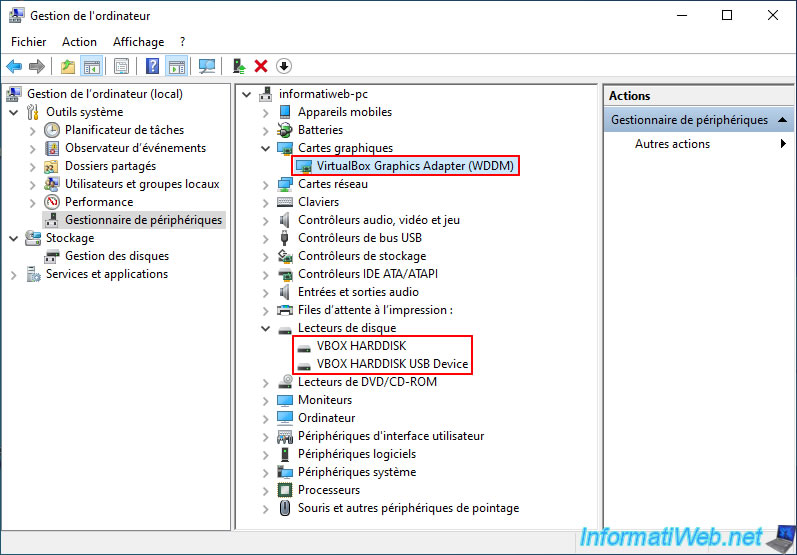
As expected, VirtualBox drivers are installed.
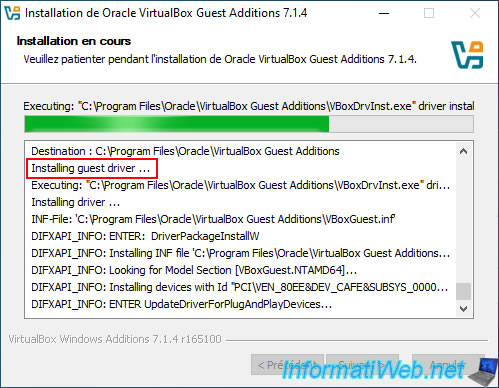
Especially the VirtualBox graphics driver.
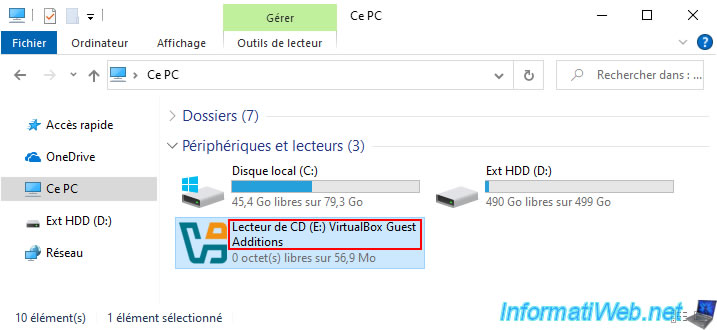
9. Destination PC hardware
Just for your information, here is the hardware of the destination PC.
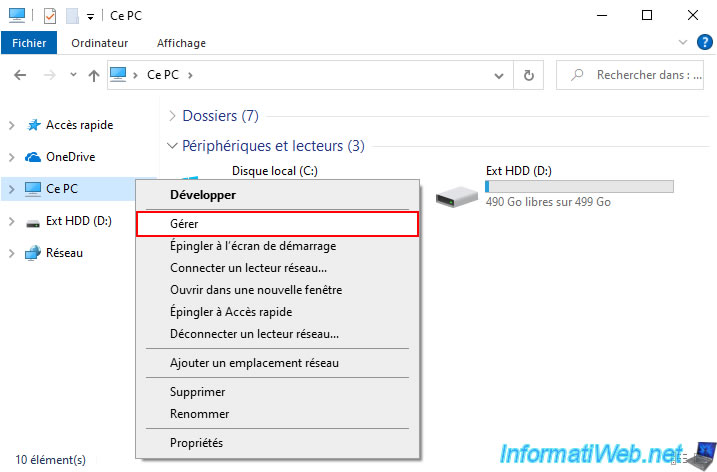
As you can see, the hardware of this PC has changed quite a bit (compared to the source PC seen in step 3 of this tutorial).
10. Options available on Acronis UR bootable media (Linux-based)
When you create Acronis UR bootable media (Linux-based), you can access different options from the Acronis Universal Restore toolbar.
10.1. Actions available on Acronis UR bootable media (Linux-based)
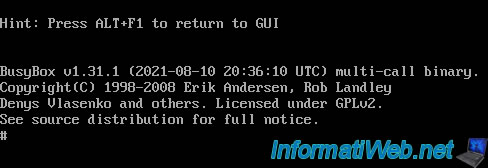
When using Acronis UR bootable media (Linux based), you can access the Linux Shell (if desired) by clicking "Actions -> Launch Shell".
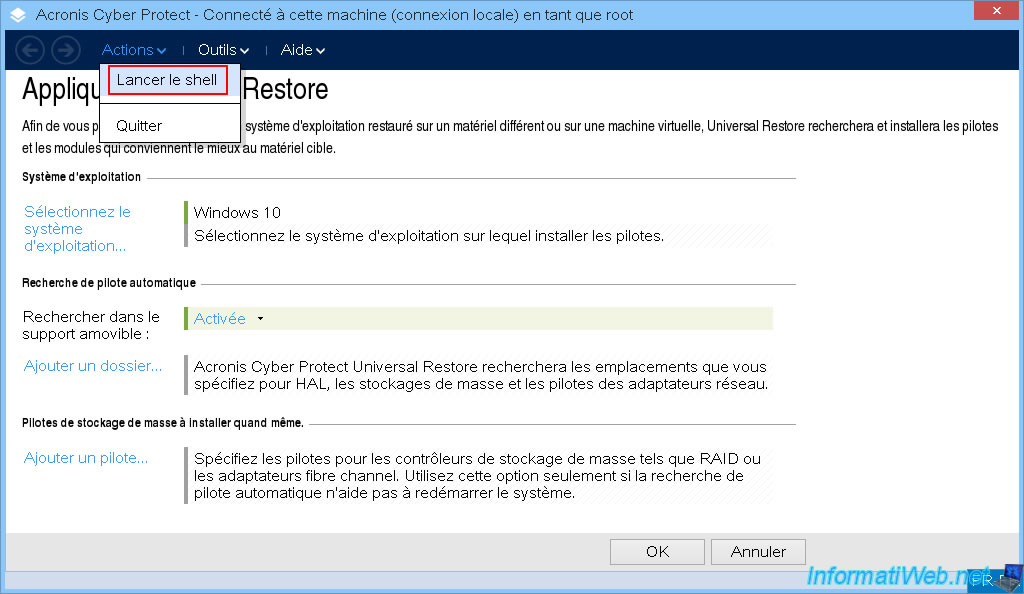
The Linux Shell will appear.
Plain Text
BusyBox v1.31.1 (2021-08-10 20:36:10 UTC) multi-call binary.
Copyright (C) 1998-2008 Erik Andersen, Rob Landley
...
#
As shown at the top of the screen, to then return to the Acronis Universal Restore graphical interface, you will simply need to press the "ALT+F1" keys.
Plain Text
Hint: Press ALT+F1 to return to GUI
10.2. Tools available on Acronis UR bootable media (Linux-based)
In Acronis Universal Restore, volumes (partitions) can be represented as in Linux or Windows (your choice) even if your Acronis bootable media is Linux-based.
To do this, click "Tools -> Change volume representation".
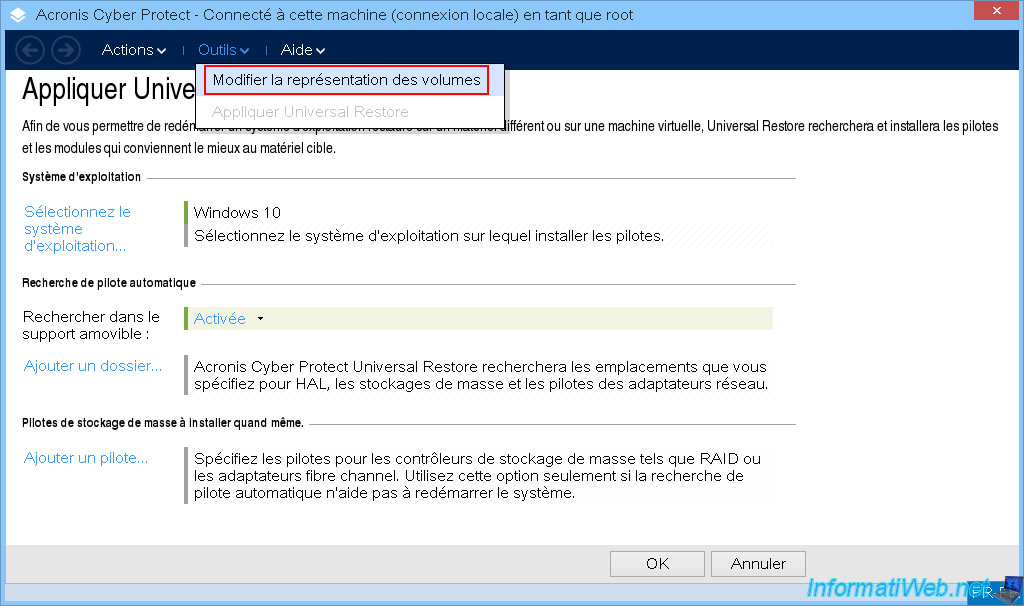
As you can see, you have the choice between:
- Representation on Linux.
- Representation on Windows.

10.3. Help available on Acronis UR bootable media (Linux-based)
In the "Help" menu, you will be able to collect a lot of system information, which can be useful when contacting Acronis support so that they have all the necessary information to help you in case of a problem.
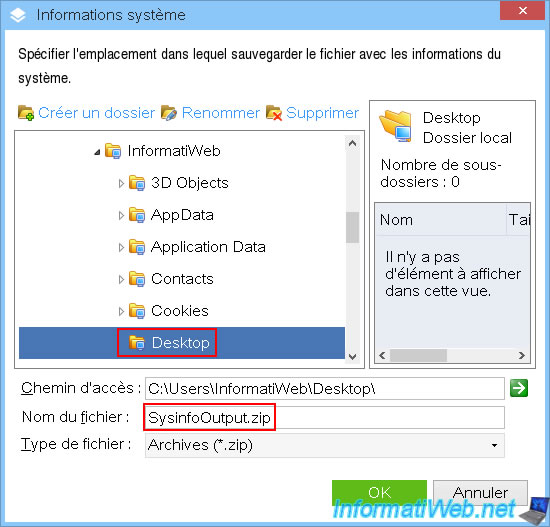
To do this, click on "Help -> Collect system information from ''[your computer name]''".

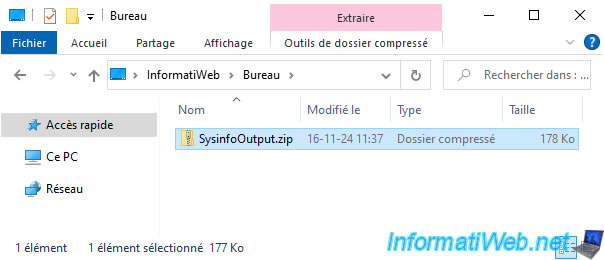
In the "System Information" window that appears, select the destination folder where a "SysinfoOutput.zip" file will be created.
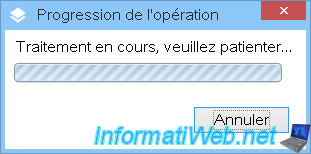
Please wait while this file is created.
Then, restart your computer and retrieve this file "SysinfoOutput.zip" from the location selected previously to send it to the Acronis support who will have requested it.
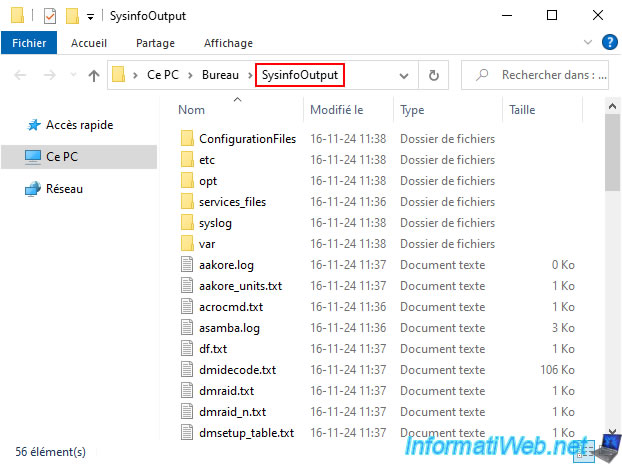
Here's a quick overview of what's inside.
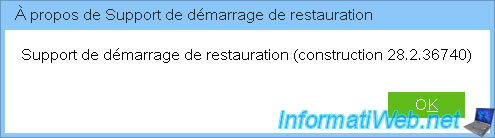
If you go to the "Help -> About" menu of this Acronis bootable media, you will be able to see its version.
Share this tutorial
To see also
-
Backup 10/20/2025
Acronis True Image - Archive your files locally
-
Backup 4/6/2026
Acronis True Image - Rescue Media - Backing up your PC to an external hard drive
-
Backup 2/16/2026
Acronis True Image - Rescue Media - Create media (Win PE version) on Win 7
-

Backup 6/29/2026
Acronis True Image - Third-party tools
No comment