- Backup
- Acronis Backup, Acronis True Image
- 26 September 2012 at 17:44 UTC
-

- 1/3
To restore a machine on any equipment, such as when changing motherboard, you must use the functionality of Acronis "Universal Restore". This functionality is available natively in "Acronis Backup & Recovery" (if you have the license "Universal Restore") and "True Image Plus Pack" which is a component installed in addition to "True Image" and which is currently graft.
In 2 cases, you will need two licenses :
- Either "Acronis Backup & Recovery" and "Universal Restore"
- Either "Acronis True Image" and "True Image Plus Pack" (no longer existe because it's integrated in True Image)
For this tutorial we will use "Acronis Backup & Recovery" for "Universal Restore" is already built there.
Acronis Backup & Recovery solution provides backup disks and files as well as disaster recovery for your desktop or laptop. This solution is designed to meet the needs of small businesses with limited IT department and where centralized management is not required.
Note : If you want to test this tutorial with a virtualization solution such as VMware, VirtualBox, Virtual PC, ... ; simply for example to save the hard disk drive (HDD) in a VirtualBox virtual machine and restore on a VMware virtual machine. The virtual hardware is different depending on the virtualization solution used, it will simulate a hardware change and therefore motherboard. This is also why there is an OVF format that avoids the problem of compatibility.
- Installation of "Acronis Backup & Recovery"
- Creation of the Backup / Restore Live CD
- Hard disk backup of PC 1
- Restoration on the PC 2 (to simulate a hardware change)
- Applying Universal Restore
1. Installation of "Acronis Backup & Recovery"
Download the trial version of Acronis Backup & Recovery and run the downloaded exe file. (The file name looks like this : ABRxx.xS_trial_fr-FR.exe)
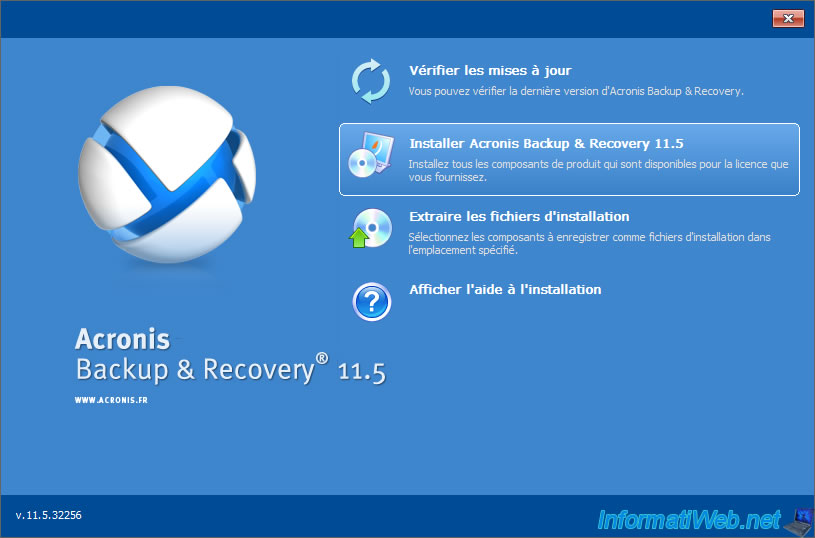
If you're running Windows Vista / 7, accept the UAC (user control) warning. Then click "Install Acronis Backup & Recovery xx.x".
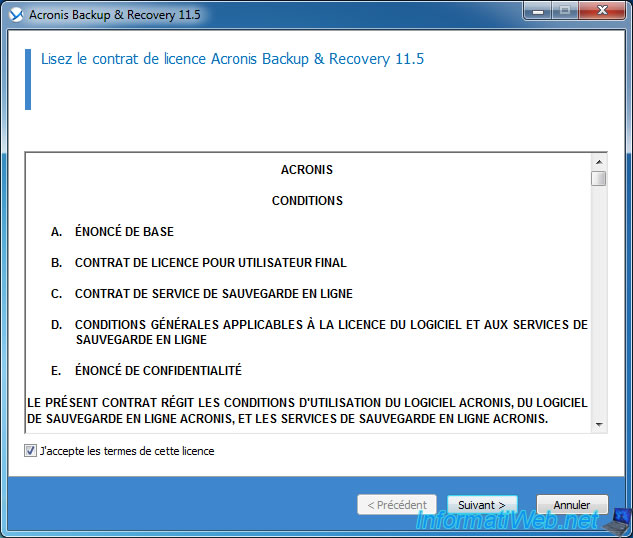
Check the "I agree..." box and click "Next".
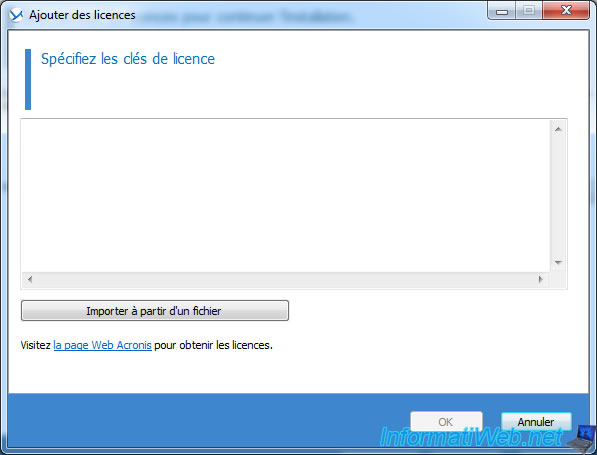
Enter your serial numbers ("Acronis Backup & Recovery" and "Universal Restore").
If the serial numbers entered are valid, the number is greater than 0. If this is not the case, it may be that your serial number is not valid for the new version or vice versa ...
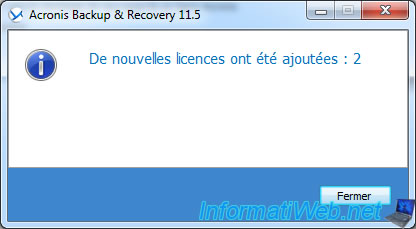
Once licenses added, the boxes will be checked accordingly and you can use the license if there are several possible.
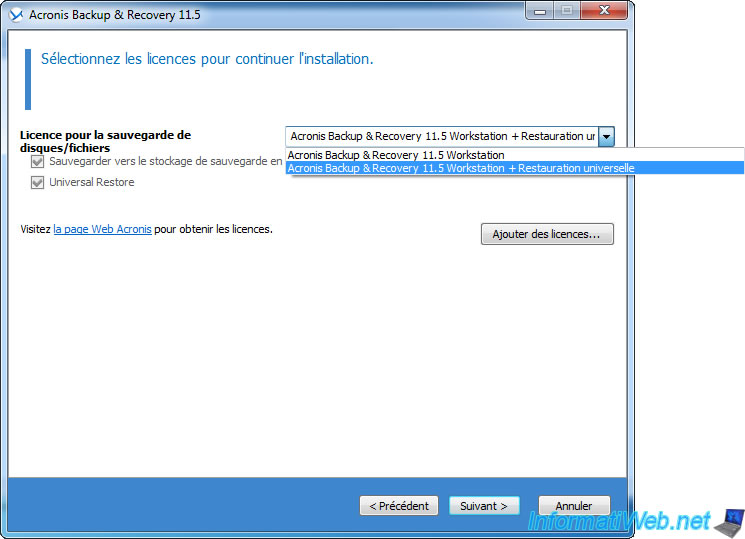
Leave the default installation folder.
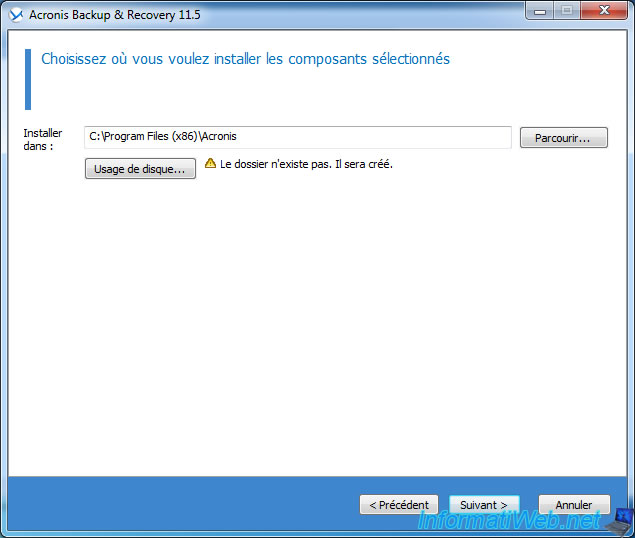
Leave the box "Create new account" selected.
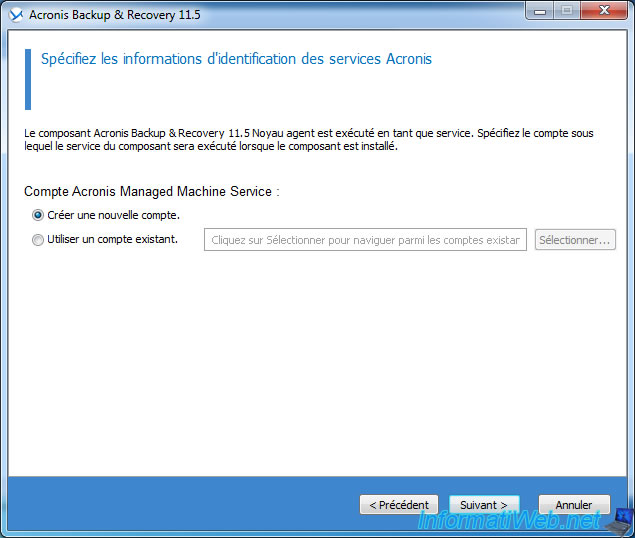
Select "Yes, I want to participate in CEP" to allow Acronis to improve their software.
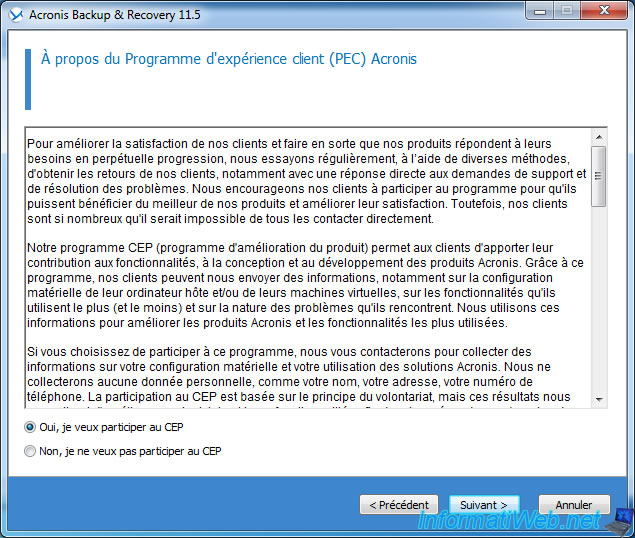
The wizard displays a summary of the configuration to install.
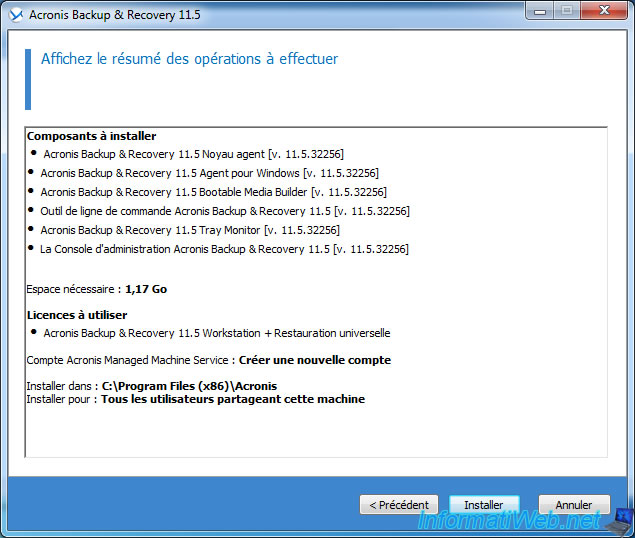
This list may be slightly different depending on the version, the licenses you have added or not ...
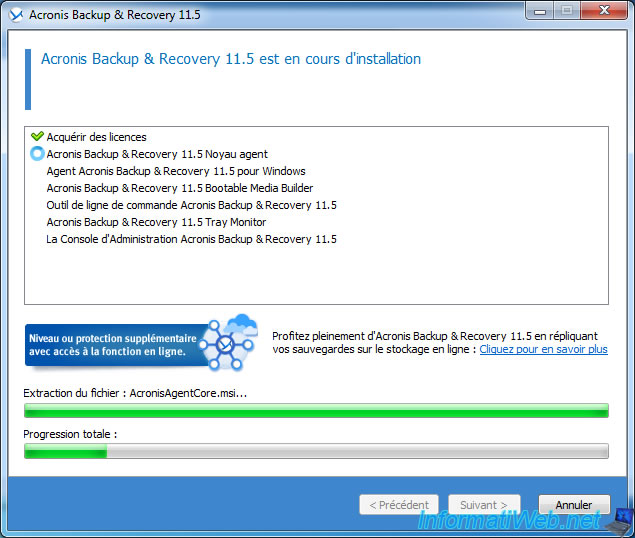
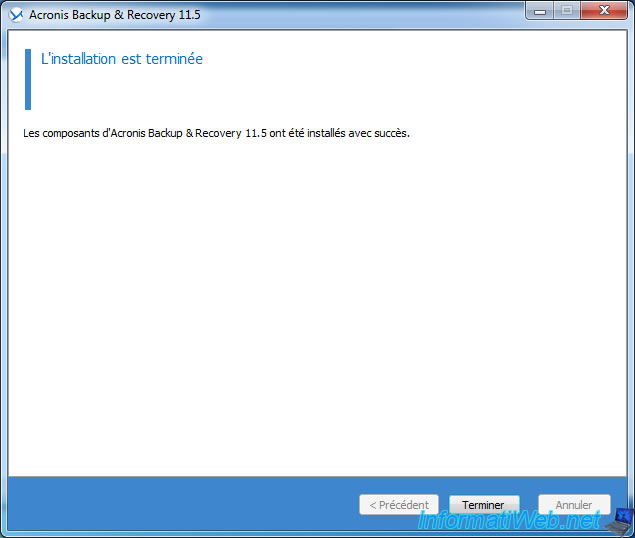
Once the installation is complete, click "Finish".
2. Creation of the Backup / Restore Live CD
First start the program.
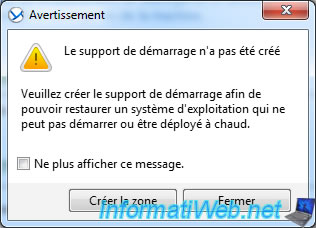
When the program starts, it will warn you that the bootable media was not created. We'll now create it. To do this click on "Create Zone".
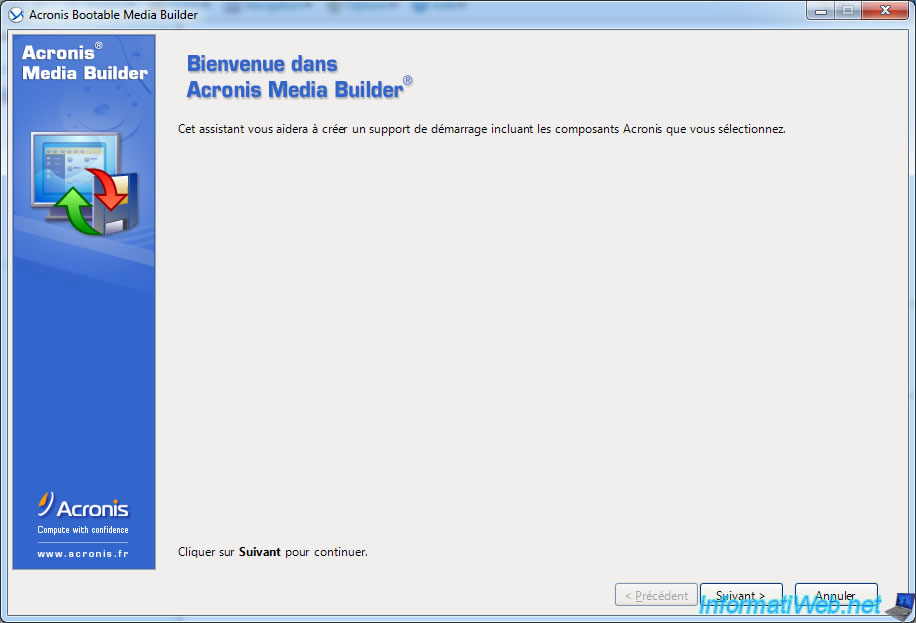
Acronis Media Builder launches. If you have a license for this software, you can download the iso that we created from your Acronis account. Otherwise use this utility to create yourself.
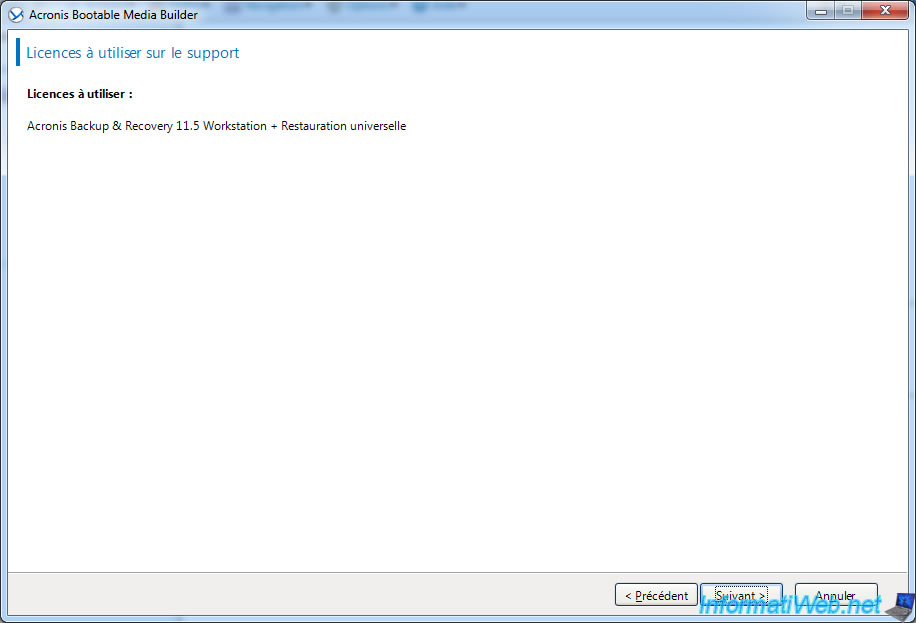
The wizard shows you the license to be used.
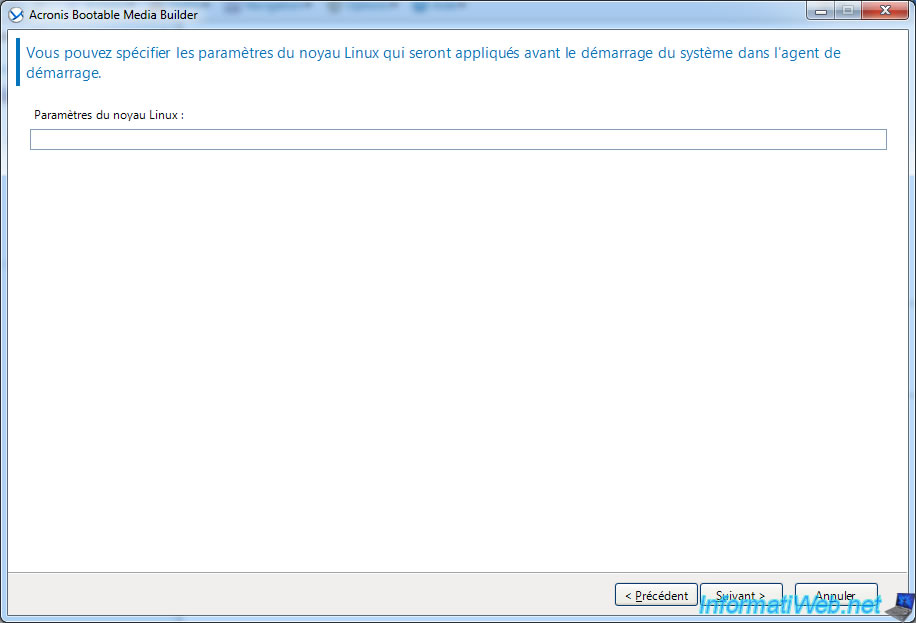
Let "Display Windows" if you are more familiar with Windows rather than Linux. This is also generally the case.
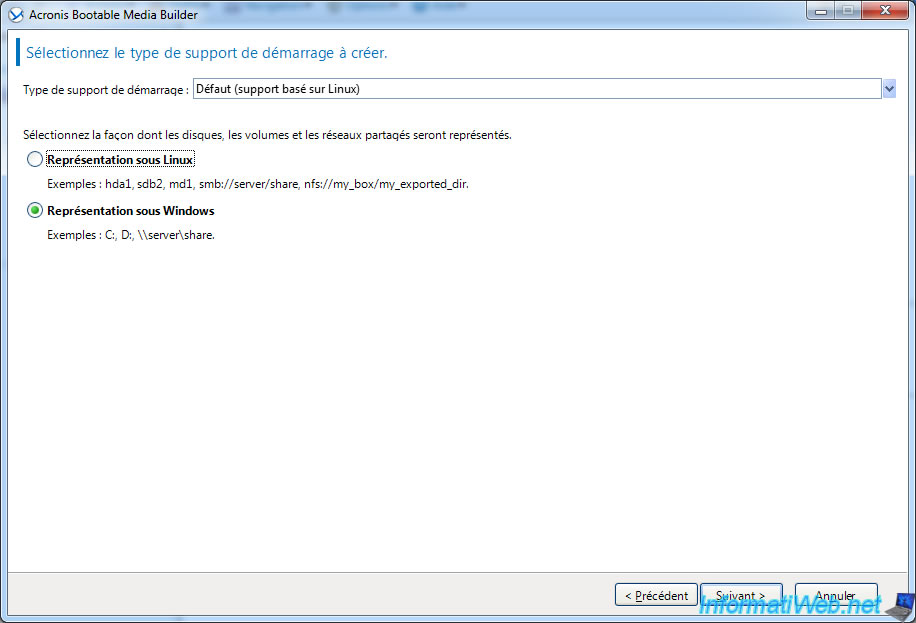
Leave the box blank if you do not know what to put.
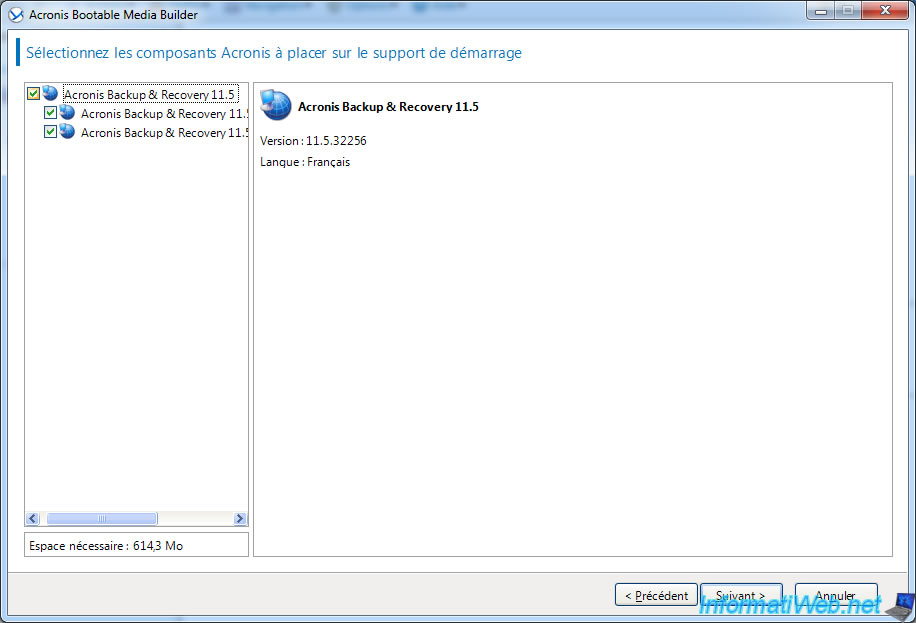
Select Components "Acronis" to insert into the Live CD. By default the first check box and click "Next".
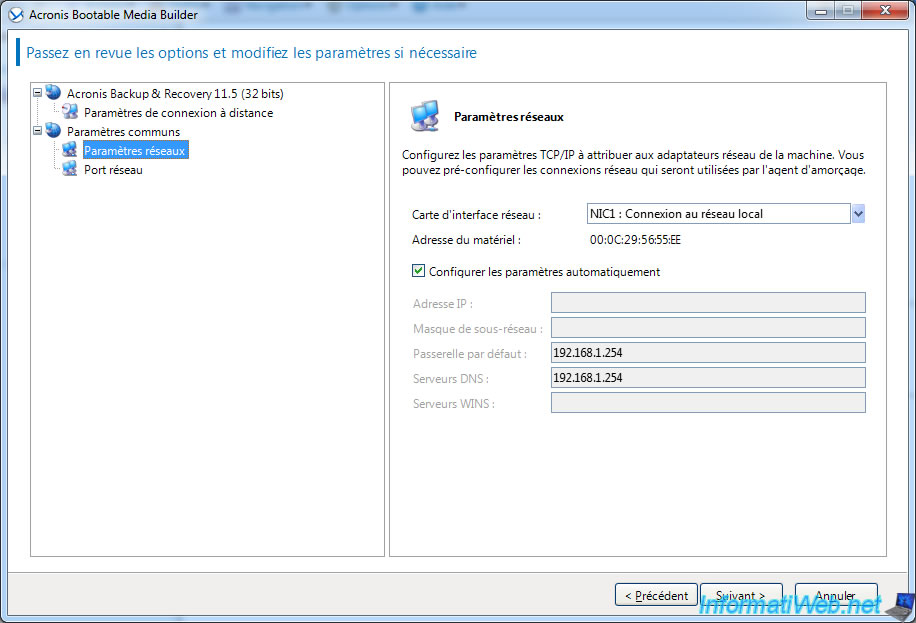
You can specify some networks settings remote connections parameter, network connection settings (static or dynamic IP).
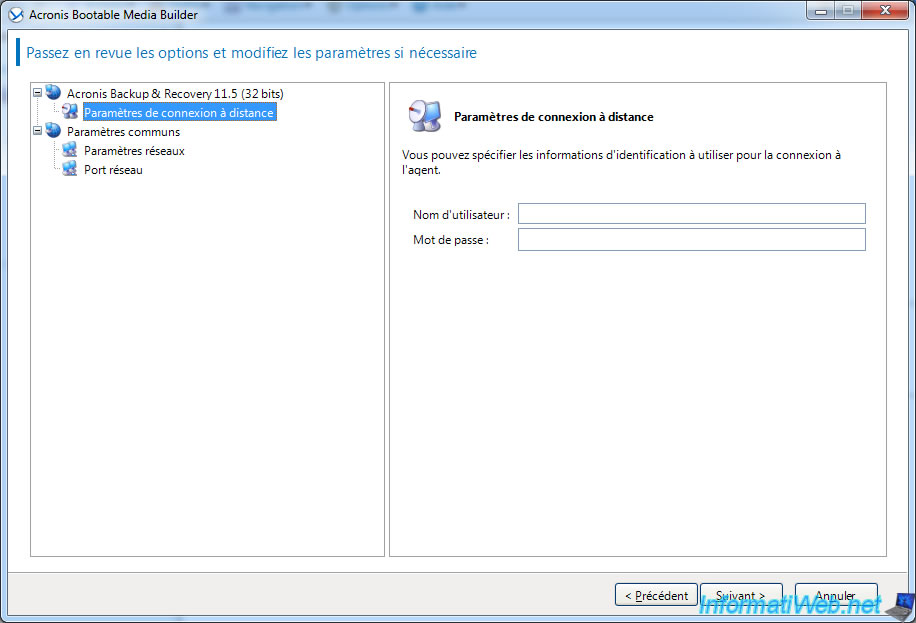
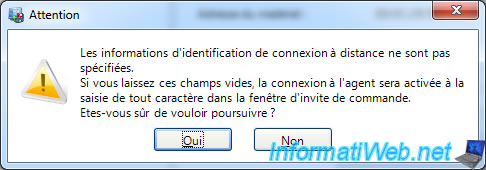
If you have not set the credentials login information remotely, the wizard will display a warning. Ignore it by clicking "Yes".
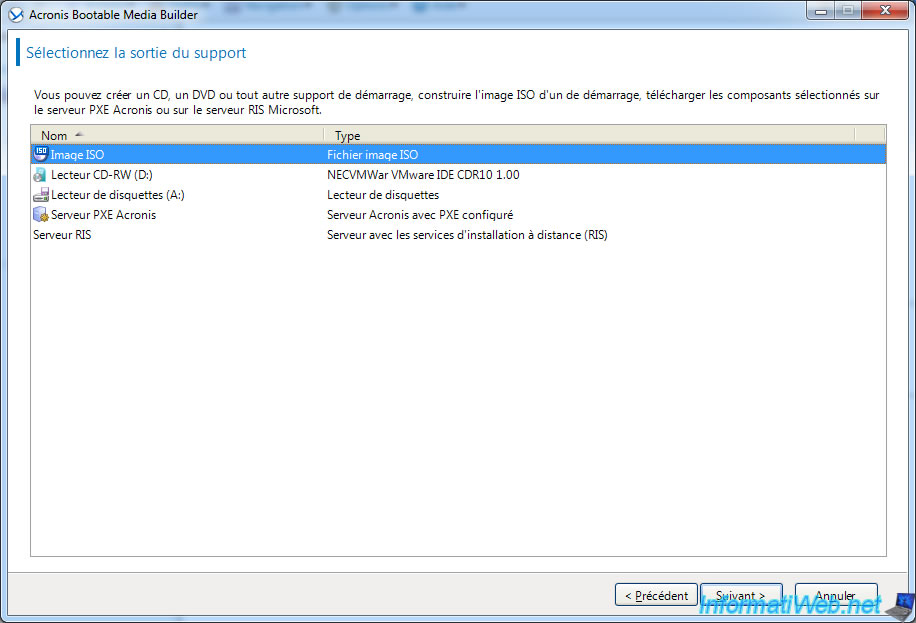
Select the type of media you want to create :
- ISO : A CD / DVD image that contains all the data to burn to a CD / DVD as the boot sector is a hidden part of a CD. It can also be used in a virtual drive like Daemon Tools or in a VMware virtual machine, VirtualBox, ...
- CD-RW : Grave data directly to a CD that you will put in your player before you click "Next".
- Start the software from a diskette drive. The floppy image only be used to start it because the data size exceeds the maximum size of a floppy disk.
- Acronis PXE Server : To start the recovery program from the network from a client computer with a PXE-enabled network card.
- RIS Server : Similar to Acronis PXE Server.
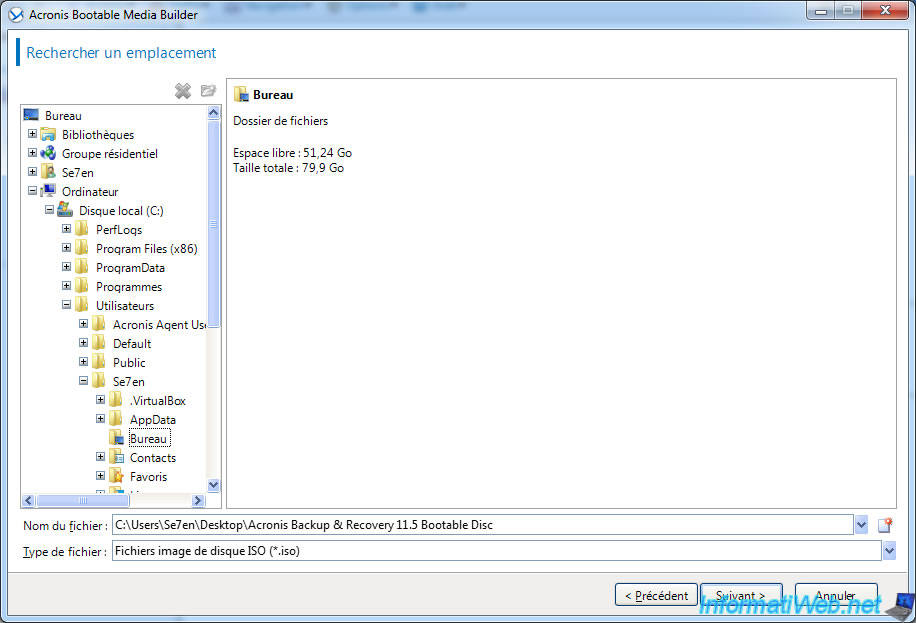
If you selected "ISO image" as the previous image, the wizard will ask you where to save the ISO file. Specify a file name and a folder where séléectionnez save in collonne right.
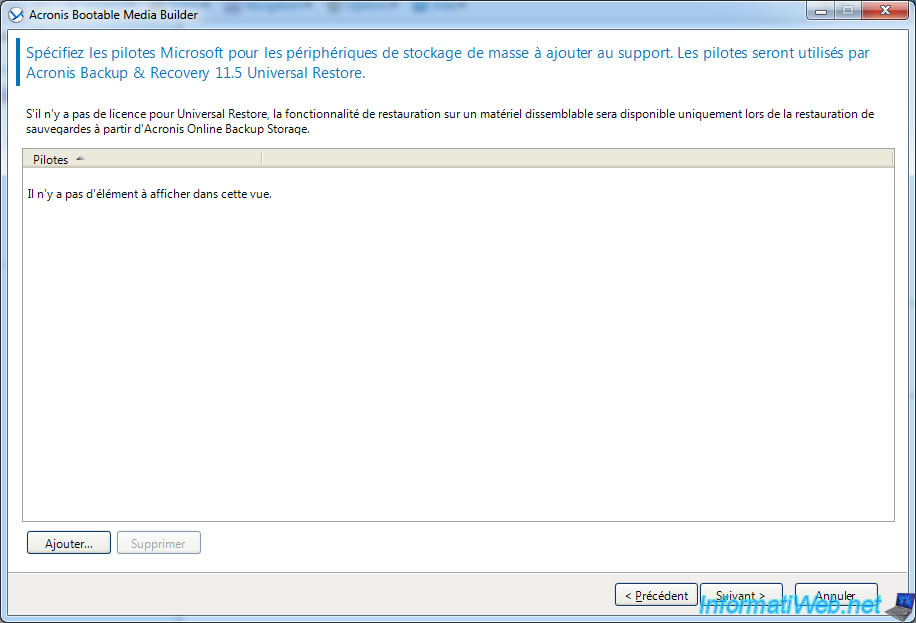
You can add drivers to support some mass storage devices such as SCSI, RAID, ... This is optional.
The wizard displays a summary of the configuration of the media to create.
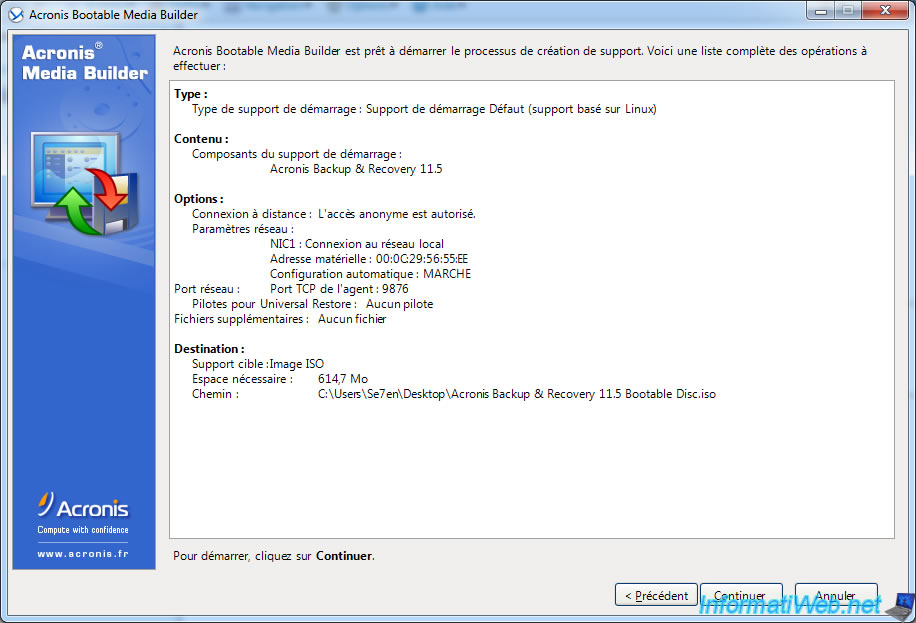

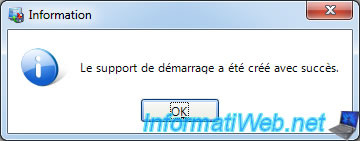
The wizard creates the ISO image.
Share this tutorial
To see also
-
Backup 7/7/2025
Acronis True Image - Backup files or folders
-
Backup 8/18/2025
Acronis True Image - Replicate backups to Acronis Cloud
-
Backup 8/21/2025
Acronis True Image - Replicate encrypted backups to Acronis Cloud
-
Backup 2/2/2026
Acronis True Image - Rescue Media - Create media (Win PE version) on Win 8.1
You must be logged in to post a comment