- Backup
- Acronis True Image
- 06 April 2026 at 08:49 UTC
-


With Acronis rescue media that you can create with Acronis Cyber Protect Home Office (True Image), you can back up and restore your computer even if it no longer starts.
- Boot to Acronis rescue media
- Back up your computer from Acronis rescue media
- Restore your computer from Acronis rescue media
- History of operations carried out
1. Boot to Acronis rescue media
To begin, configure your motherboard's BIOS/UEFI firmware boot order to boot to your CD/DVD drive first.
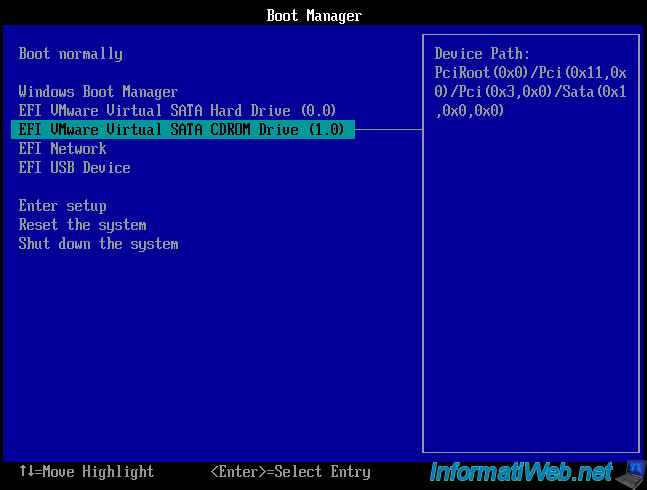
When the message "Press any key to boot from CD or DVD" appears, press Enter to boot from your Acronis rescue media.

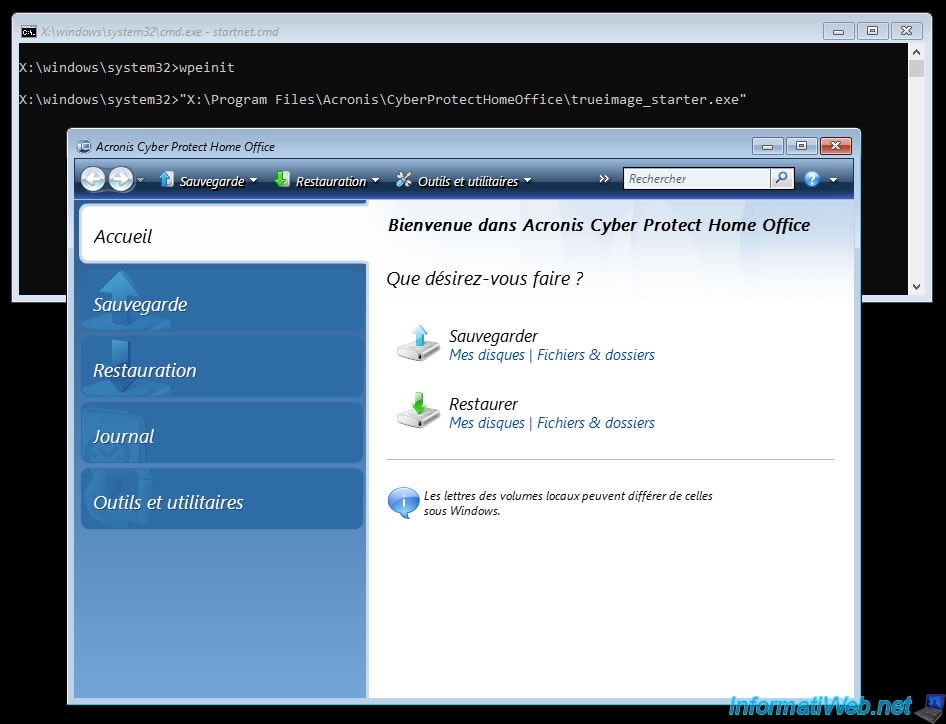
Then, the Windows logo will appear.
![]()
The "Acronis Cyber Protect Home Office (True Image)" tool will appear.
2. Back up your computer from Acronis rescue media
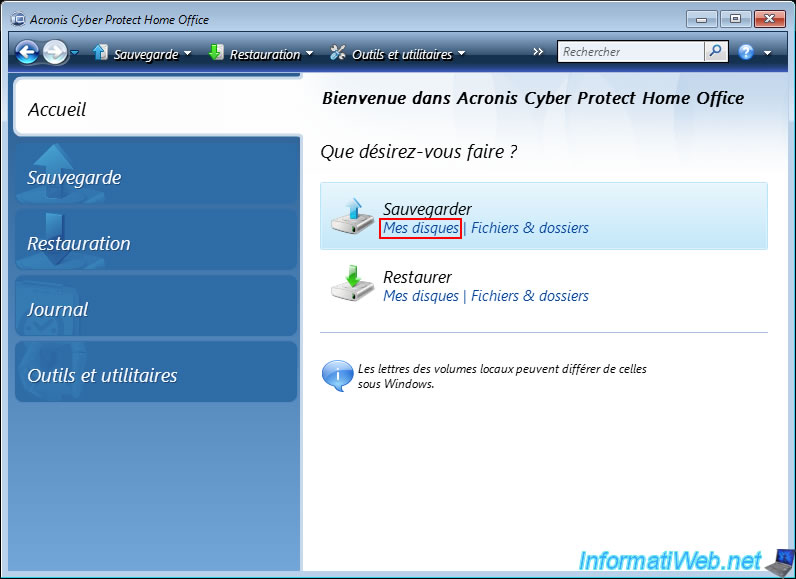
To back up your computer from this Acronis rescue media, click on the "My Disks" link (present under the "Backup" option).
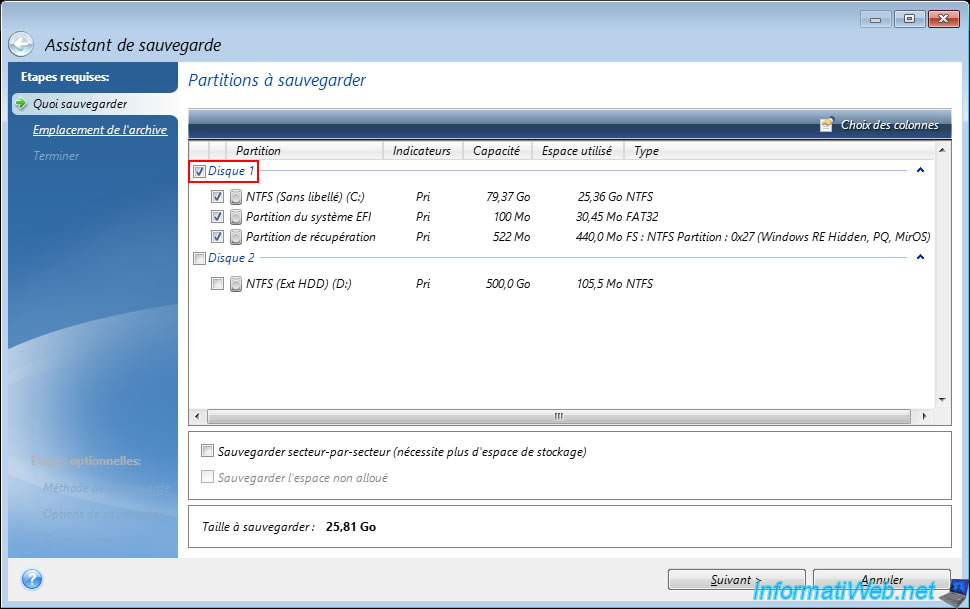
Check the box of the disk to backup.
In our case, our local disk 1.
Then, select the "Create a new backup archive" option and click the "Browse" button.
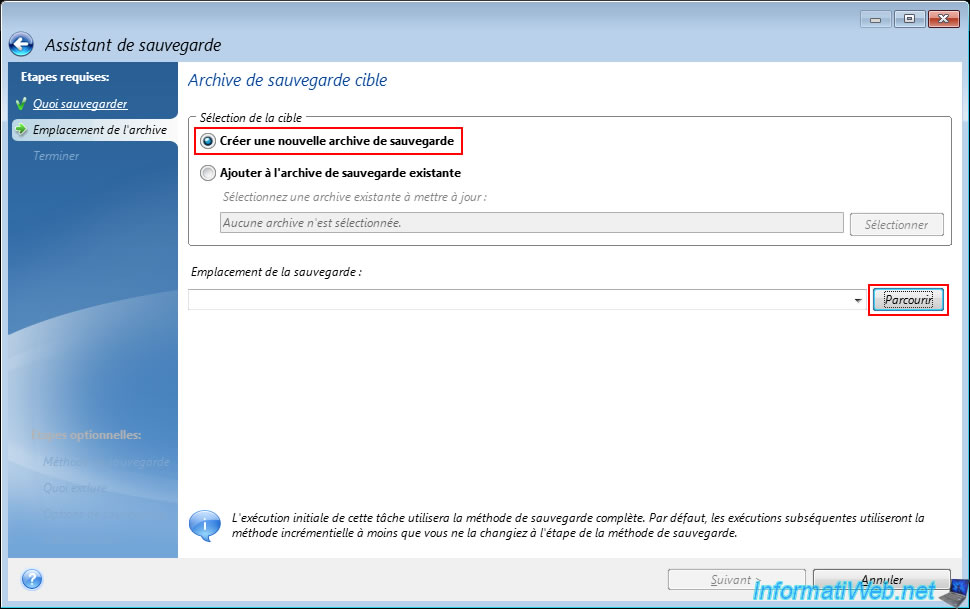
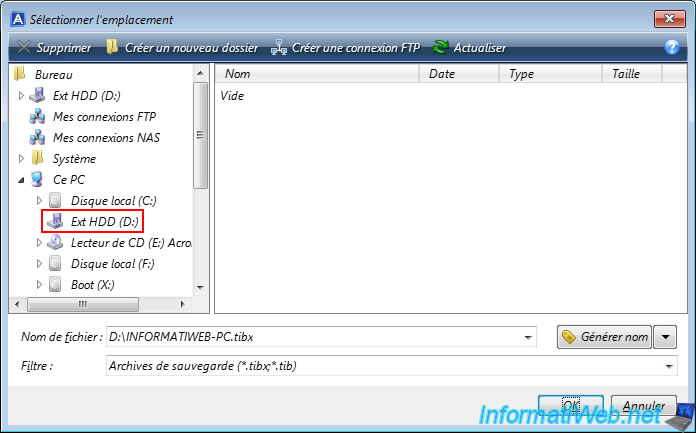
Select the location where you want to store your backup file.
In our case: our external hard drive "Ext HDD (D:)".
Then, indicate a file name with the extension ".tibx".
In our case "INFORMATIWEB-PC.tibx".
The path to the ".tibx" backup file that will be created appears in the "Backup Location" box.
Click "Next".

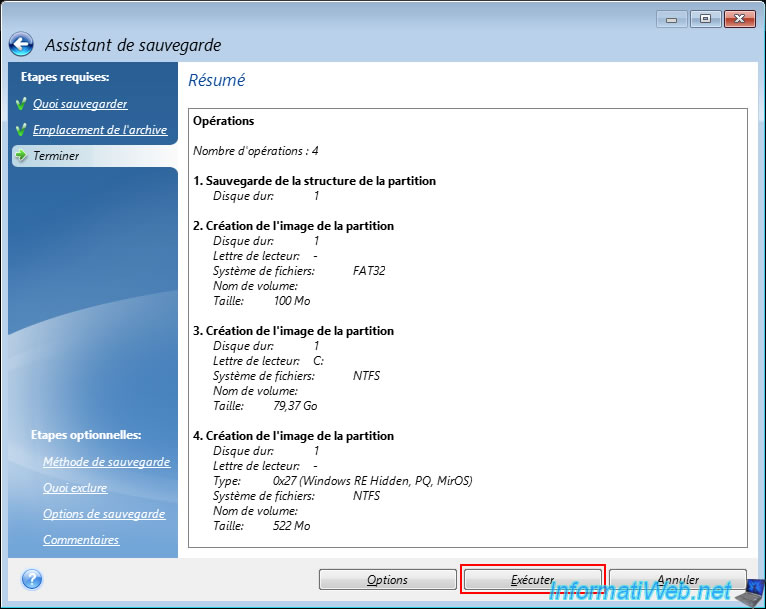
A summary of the backup operation appears.
Click "Run".
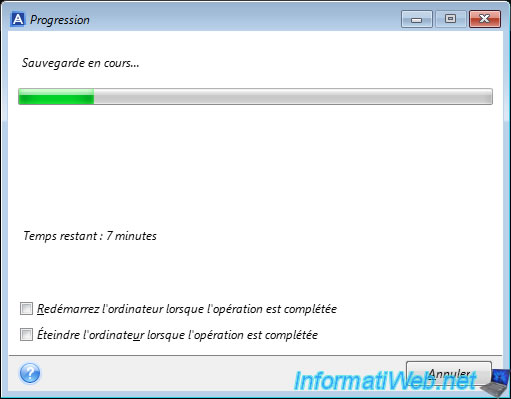
Please wait while the disk is being saved.
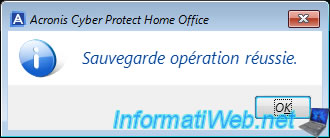
Once the backup is complete, you will see the message "Backup operation successful".
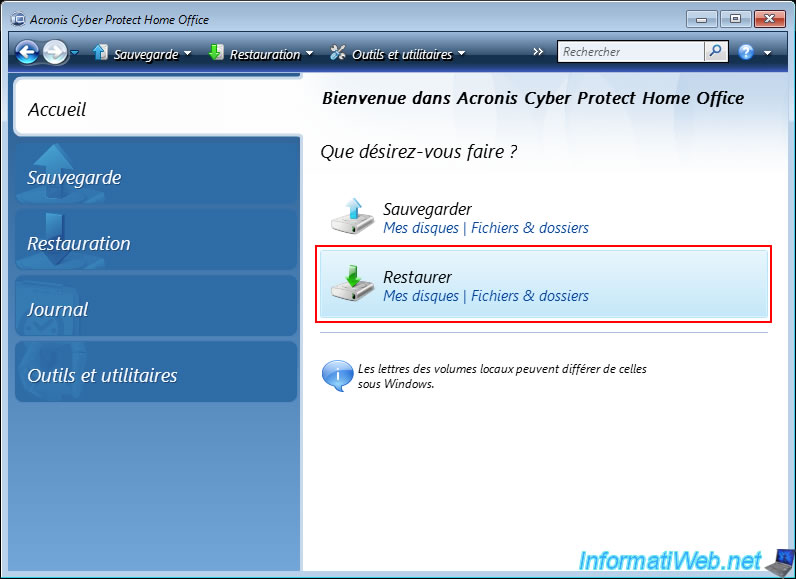
3. Restore your computer from Acronis rescue media
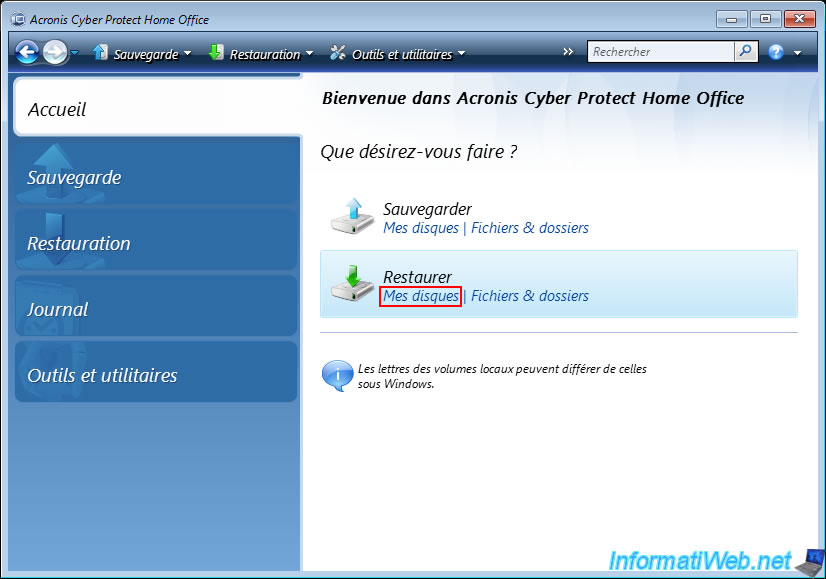
To restore your computer from this Acronis rescue media, click the "Restore" option.
At the bottom of the window, the backups available in your case may be automatically detected and displayed in the "Disk Backups" tab.
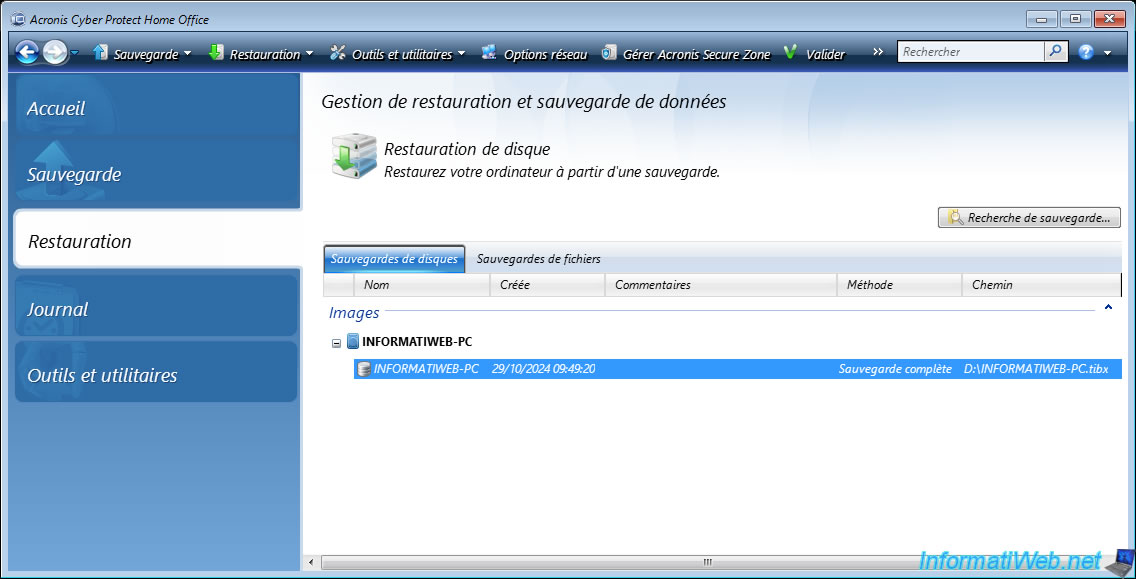
If not, then click on the "My Disks" link of the "Restore" option.
Then, select the displayed backup from the list or click "Browse" to manually select the ".tibx" file to use if needed.

In the "Select Location" window that appears, select the location of your backup on the left (in our case, our external hard drive "Ext HDD (D:)"), then select the desired backup file on the right (in our case: INFORMATIWEB-PC.tibx).
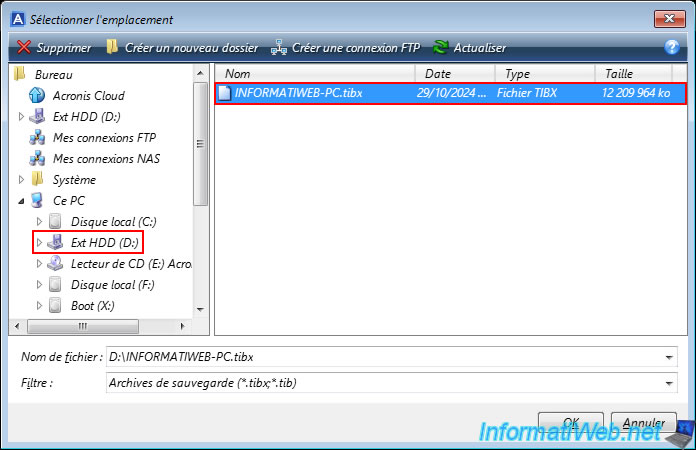
Once you have selected the desired backup file, click "Next".

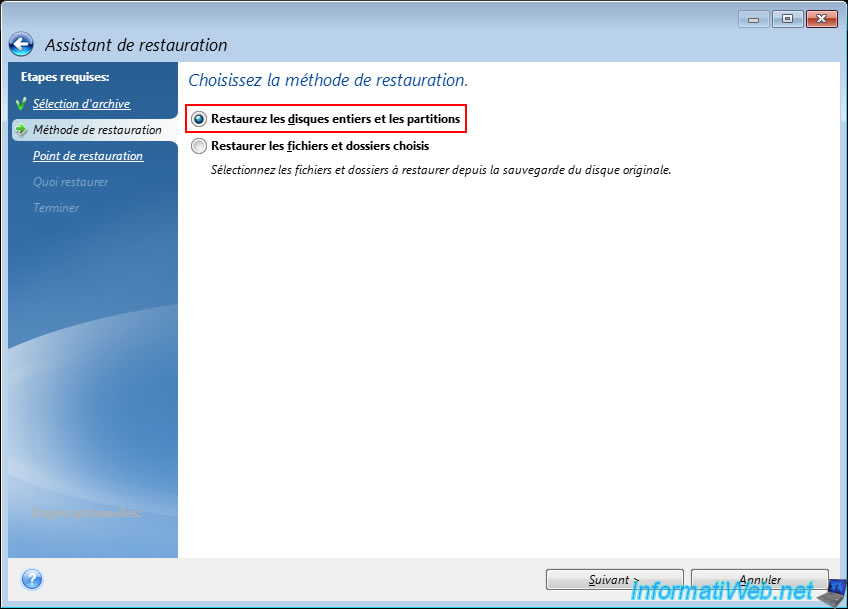
Select the restore method "Restore entire disks and partitions".
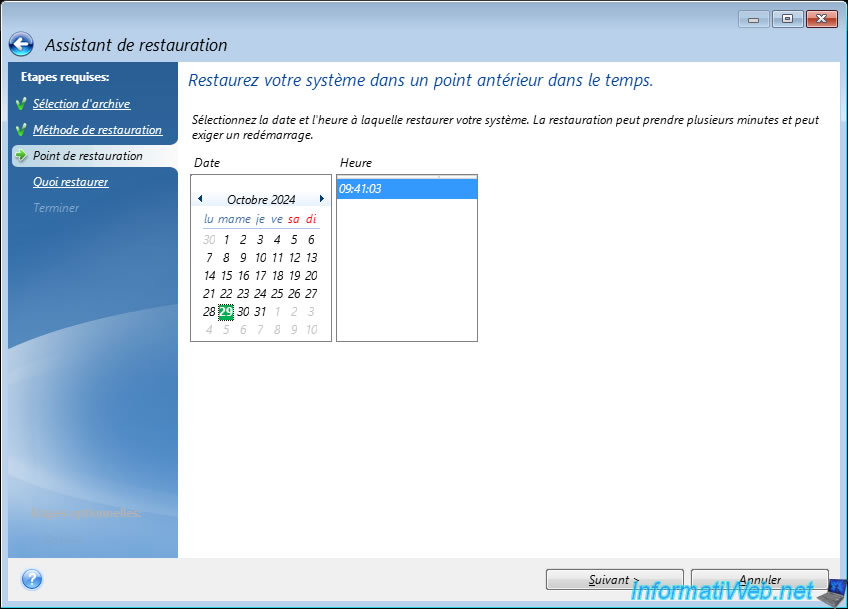
Select the date and time to restore your computer.
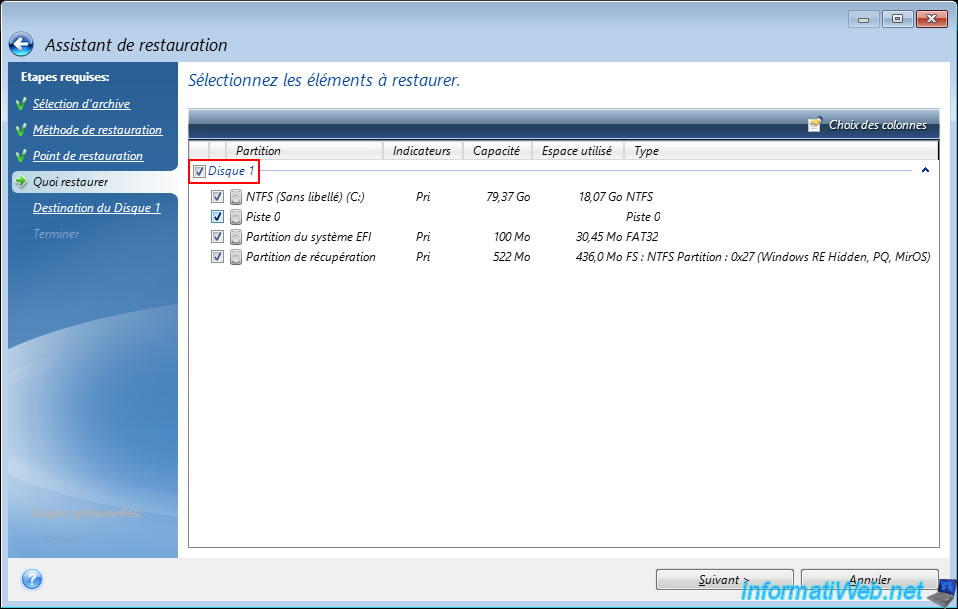
Select the disk (contained in the previously selected backup) to restore.
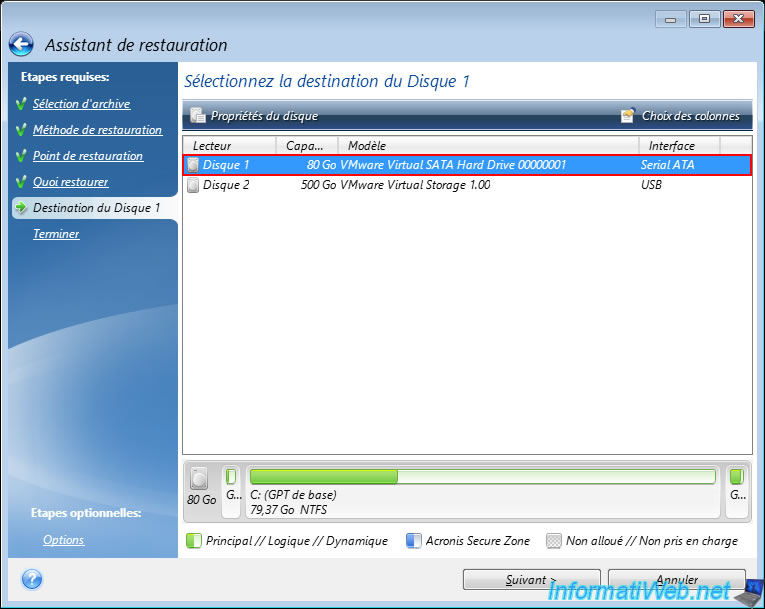
Select the destination disk (present in your computer) on which to restore disk 1 of the backup.
In our case, our 80 GB disk.
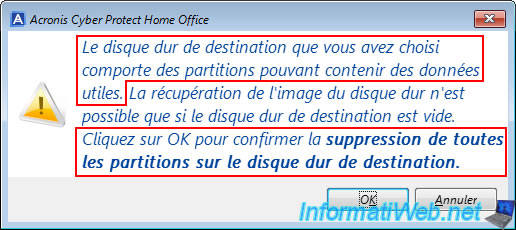
Acronis Cyber Protect Home Office (True Image) warns you that the desired destination disk already contains partitions and therefore the partitions on your computer disk will be deleted.
Then, the backup will be restored to this disk.
Click OK.
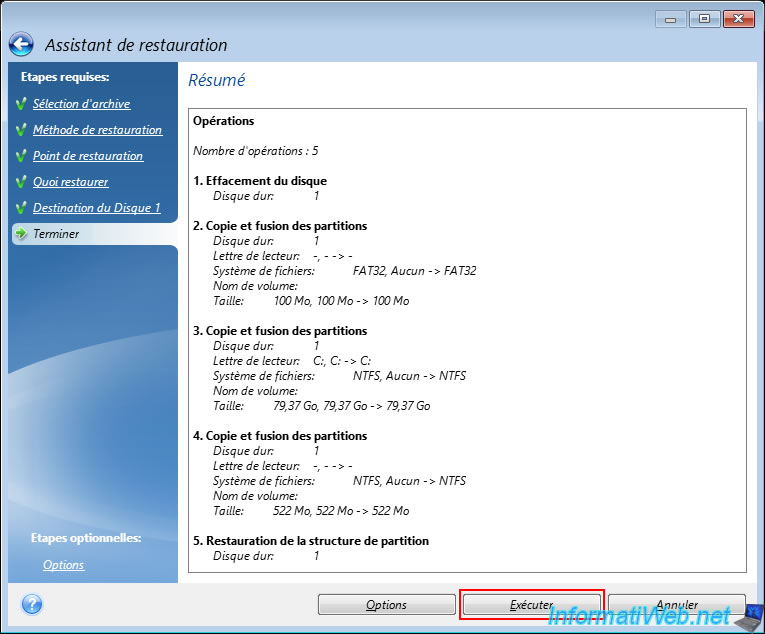
A summary of the restore operation appears.
Click "Run".
Please wait while the backup is restored.

Once the restore is complete, the message "Restore operation successful" will appear.

4. History of operations carried out
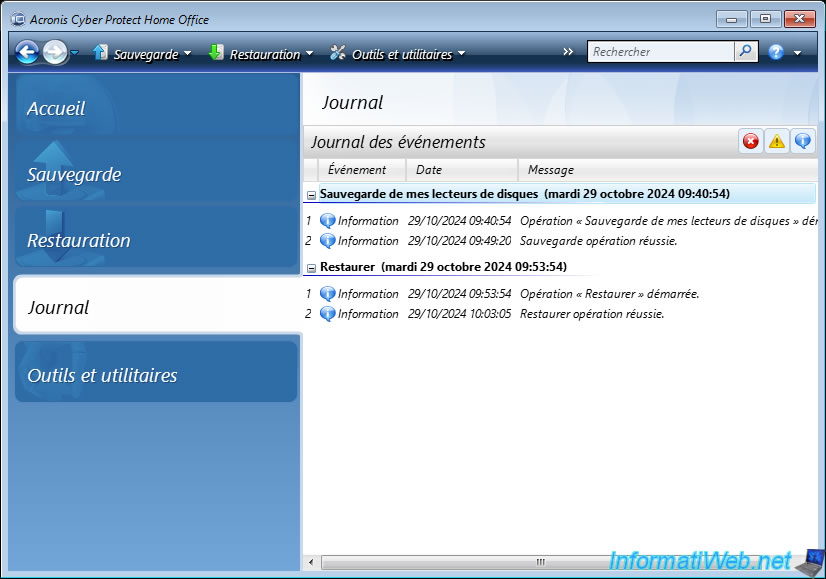
To see the history of events (information, warnings and errors) that have occurred, go to the "Log" tab.
In our case, we can see the backup and restore that we have performed (without rebooting in between).
Warning : this is only possible if you have not turned off or rebooted your computer after the operations performed with this Acronis rescue media.
Share this tutorial
To see also
-
Backup 6/19/2025
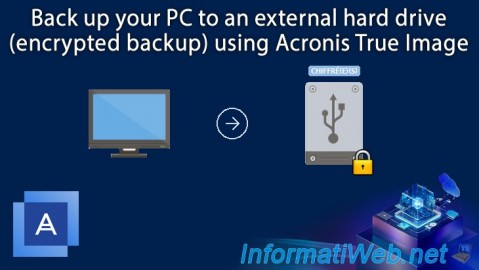
Acronis True Image - Backing up your PC to an external hard drive (encrypted backup)
-
Backup 11/13/2025
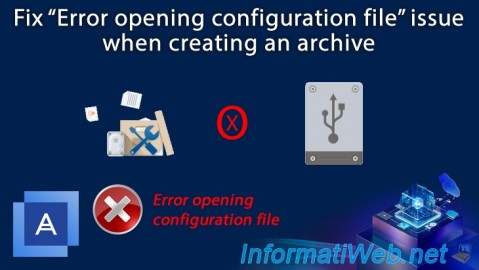
Acronis True Image - Fix archiving issue: Error opening configuration file
-
Backup 3/16/2026
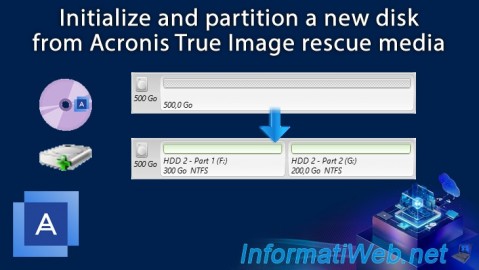
Acronis True Image - Rescue Media - Partition a new disk
-
Backup 5/25/2026
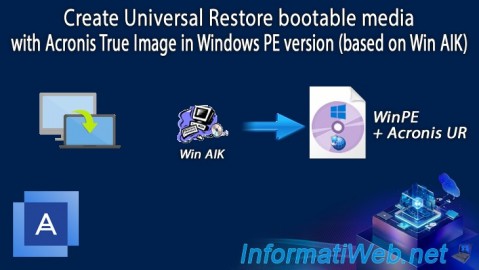
Acronis True Image - Universal Restore Media - Create media (Win PE version based on Win AIK)
You must be logged in to post a comment