- Backup
- Acronis True Image
- 23 March 2026 at 15:03 UTC
-

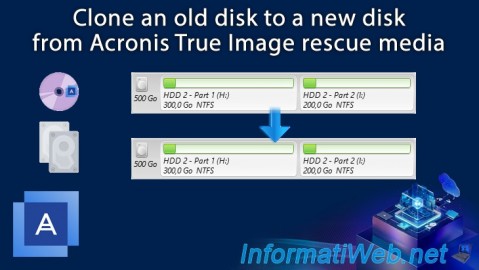
From your Acronis rescue media created via Acronis Cyber Protect Home Office (True Image), you can easily clone one disk to another.
This can be very interesting to switch from a hard disk to an SSD (to speed up the startup of Windows and your programs) or to easily replace a defective hard disk with a new one.
- Source hard drive to clone
- Clone a disk from its Acronis rescue media
- View partitions created from your Acronis rescue media
- View partitions created from Windows disk management
1. Source hard drive to clone
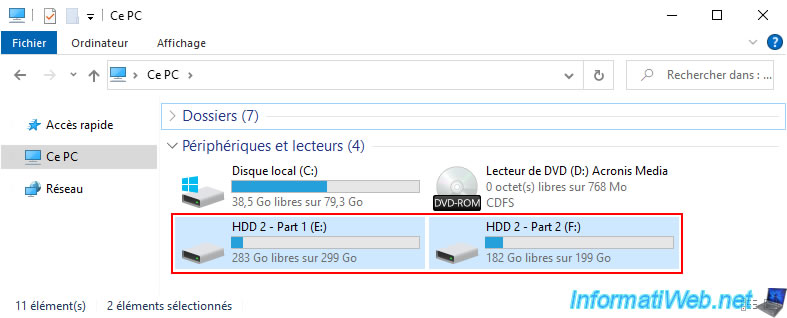
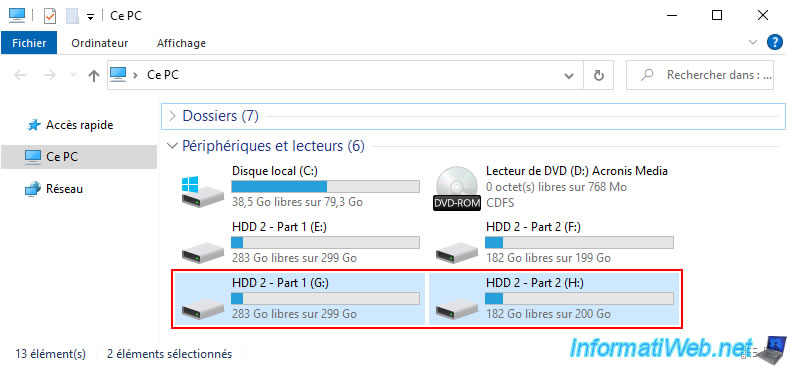
In our case, we have a hard drive with 2 partitions (visible via Windows file explorer).
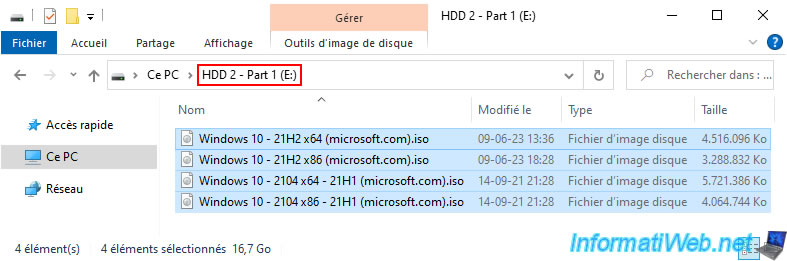
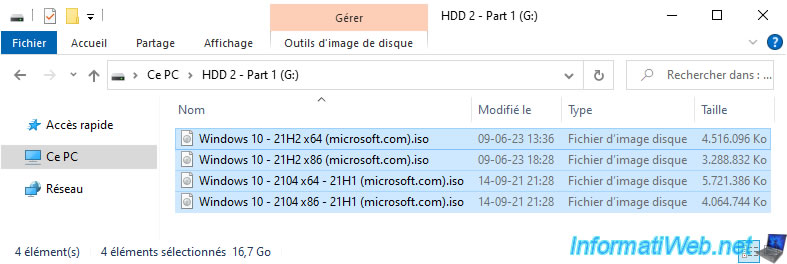
Here is the content of the 1st partition of this disk to clone.
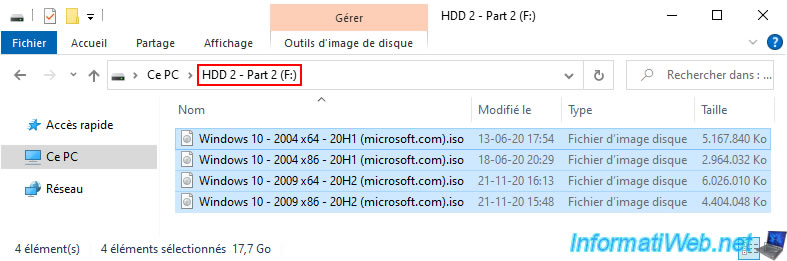
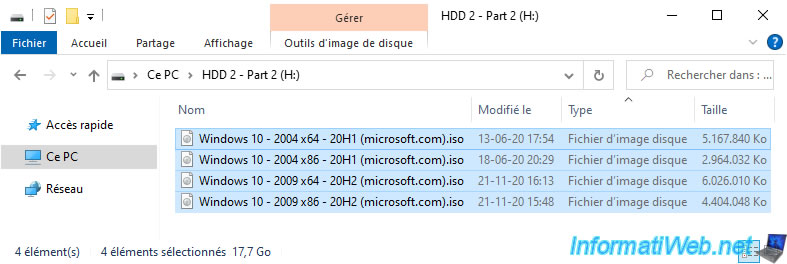
And the 2nd partition of this same disk.
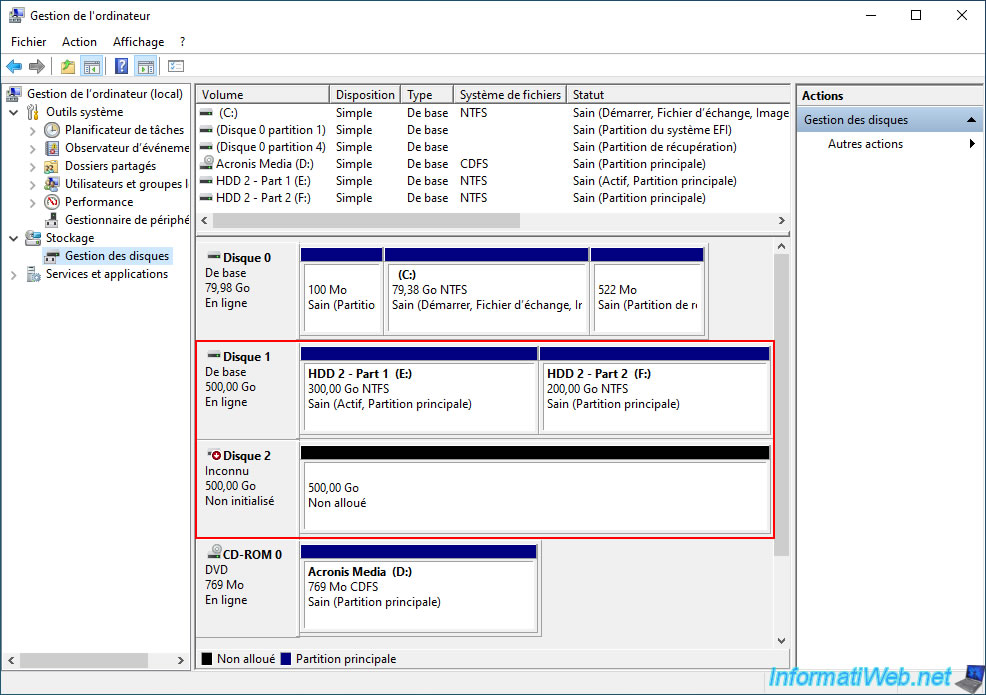
As you can see in the image below, we have 2 x 500GB hard drives in our case:
- disk 1 has 2 partitions (with data visible above).
- disk 2 is empty and not initialized yet, because it is new.
As you may have understood, we will clone disk 1 to disk 2.
2. Clone a disk from its Acronis rescue media
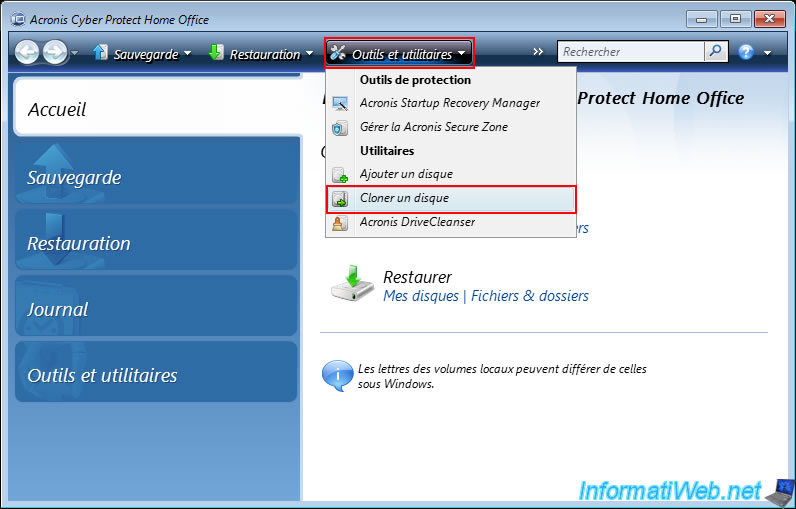
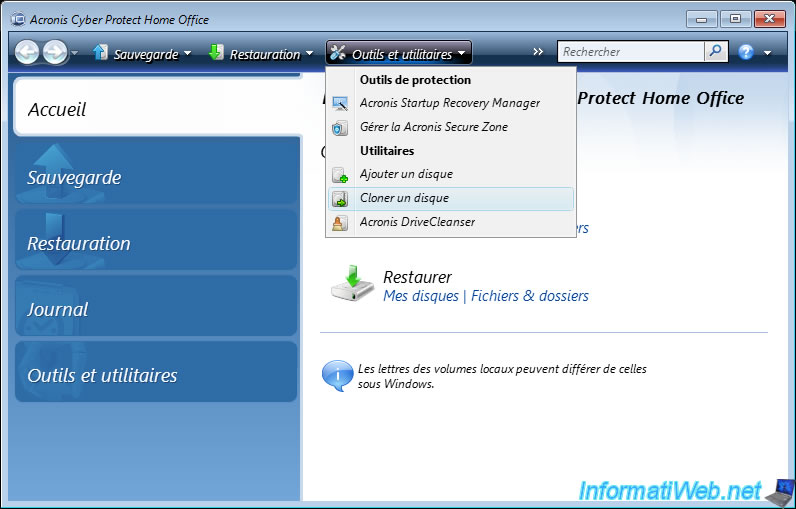
To clone a disk from your Acronis rescue media, click "Tools and Utilities -> Clone Disk" on the toolbar.
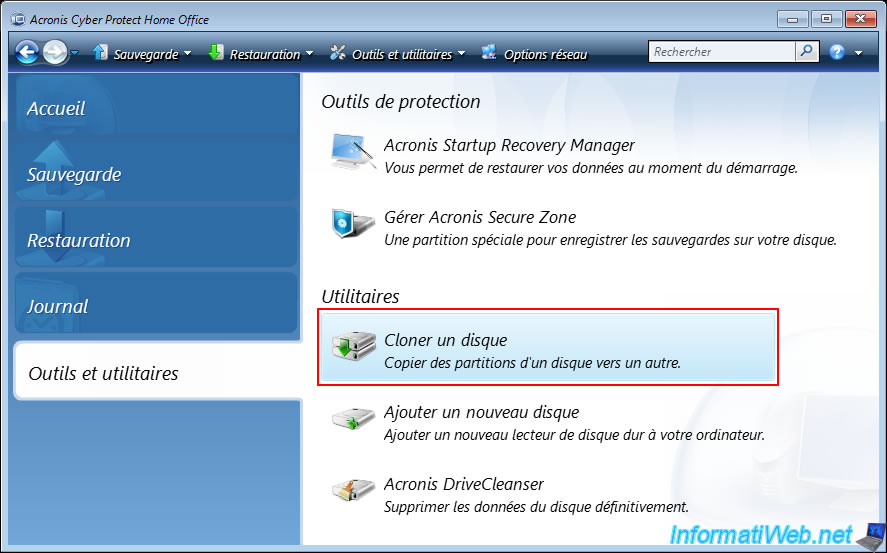
Or go to the "Tools and Utilities" section and click on the "Clone Disk" utility.
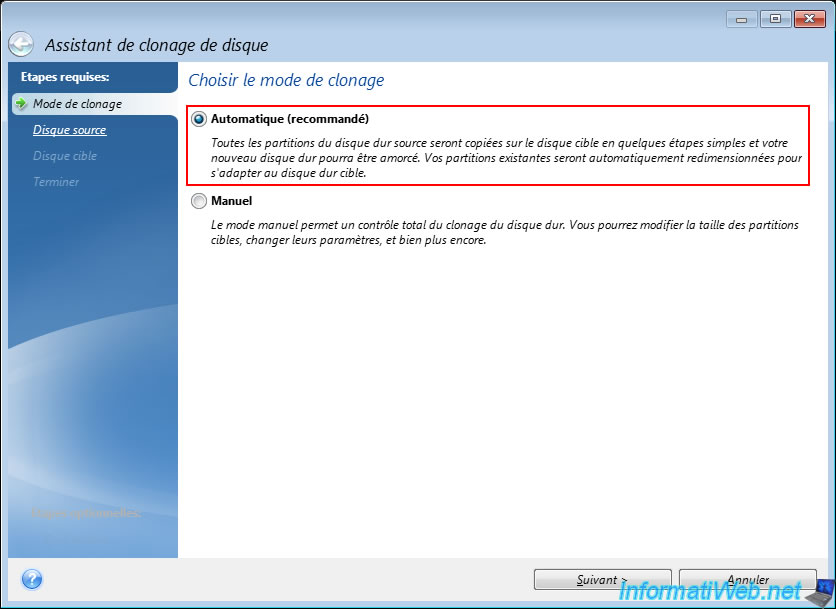
In the "Disk Clone Wizard" window that appears, select "Automatic (recommended)" as the cloning mode.
This way, cloning will be easy to configure and partitions will be automatically resized proportionally if needed (if the capacity of the destination disk is different from that of the source disk).
Note: for the "Manual" cloning mode, refer to the explanations in our tutorial "Acronis True Image - Clone a disk (manual mode)" since the tool used is exactly the same.
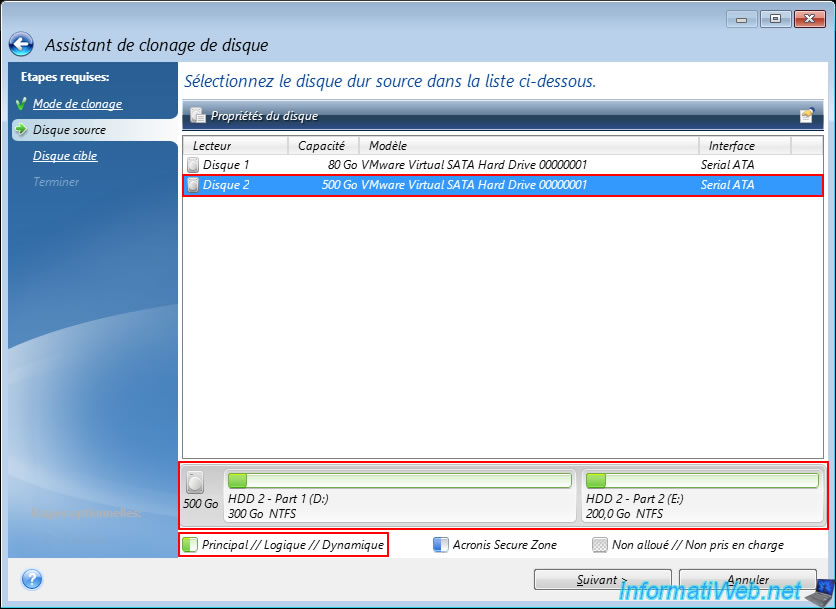
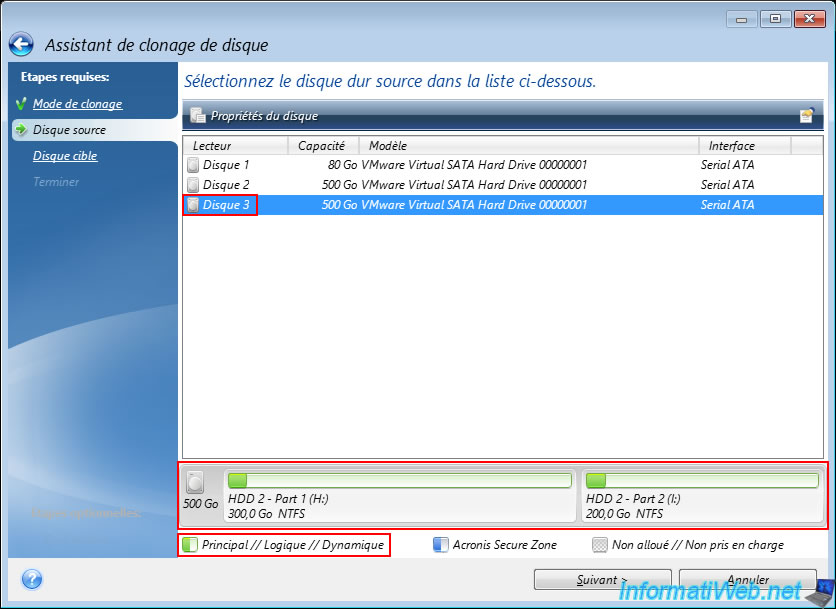
Select the source disk to clone.
In our case, our 500 GB disk 2 with 2 partitions.
Note: blank or uninitialized disks are not displayed in this list.
Hence the fact that our 2nd 500 GB disk which is blank (because it is new) does not appear here.
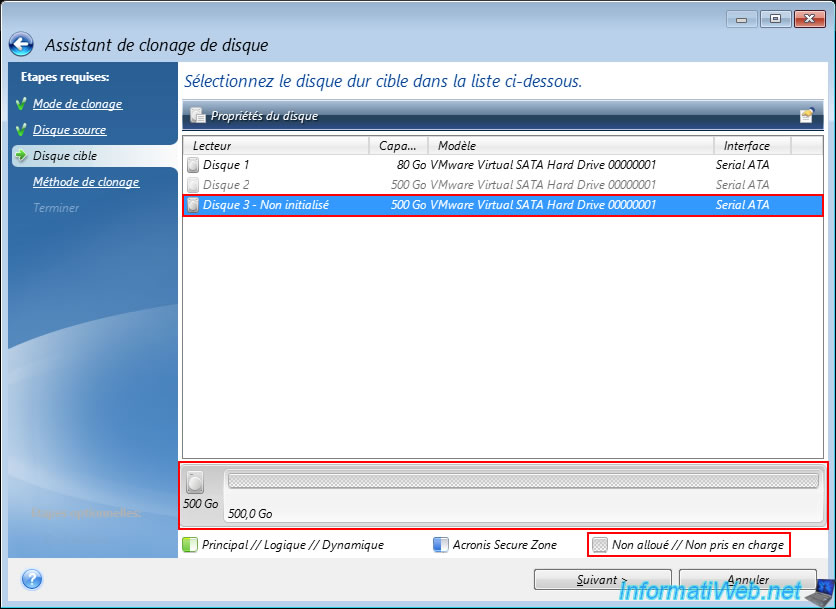
Select the target disk to which the data from the source disk will be copied.
In our case, our uninitialized 500 GB disk 3 which therefore contains only unallocated (unpartitioned) disk space.
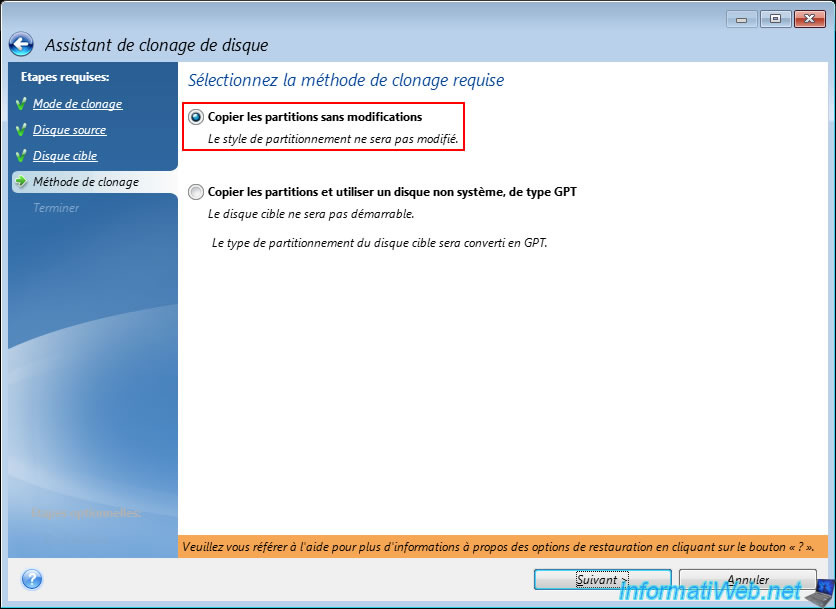
Select the "Copy partitions without modifications" cloning method to keep the same partition table.
Warning : it is essential to keep the partition table type (MBR or GPT) if the disk to be copied contains one or more operating systems.
Indeed, GPT is used for booting in UEFI mode and MBR is used for booting in Legacy BIOS mode.
If you change the partition table type when you clone a disk containing an operating system, it will no longer boot, because the boot files on the hard disk will no longer match the partition table type used on this disk.
Note: the "Copy partitions and use a non-system disk, of type GPT" option will almost never be useful to you.
The only reason would be cloning a disk with a capacity less than 2TB used only for data storage to a new disk with a capacity greater than 2TB (which requires switching to a GPT partition table instead of an MBR which is limited to 2TB).
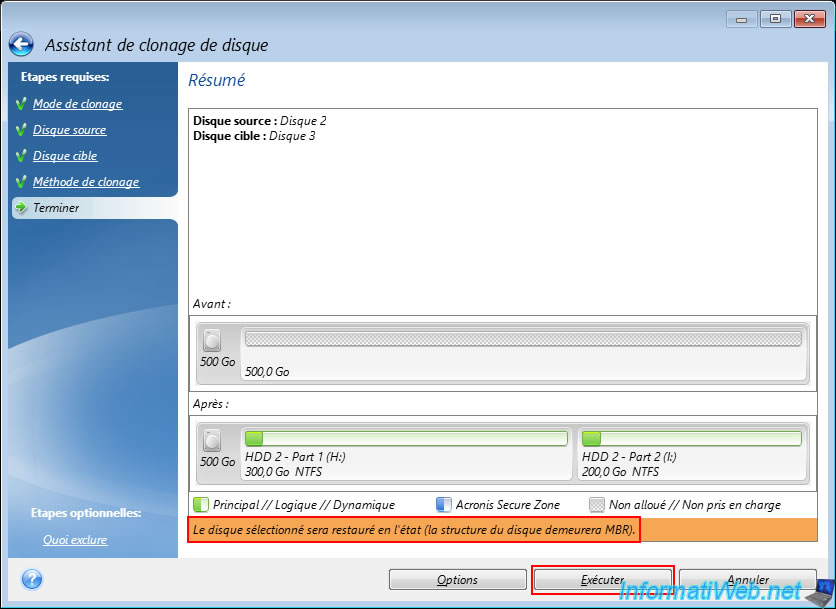
Acronis shows you a summary of the cloning operation.
As expected, in our case, our new 500 GB disk is empty at the moment and will therefore contain 2 partitions (copied from the source disk).
Since we selected the "Copy partitions without changes" option in the previous step, Acronis tells us "The selected disk will be restored as is (the disk structure will remain MBR)" in an orange rectangle.
Click "Run".
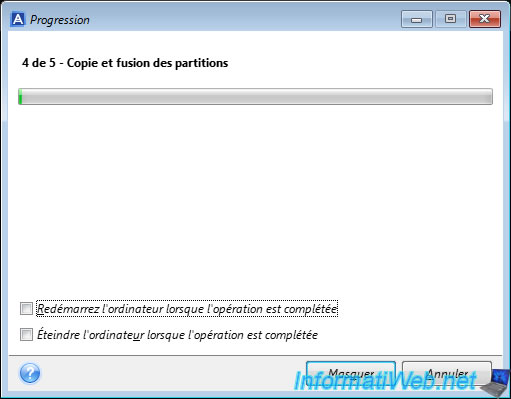
Please wait while the partitions and their data are copied to your new disk.
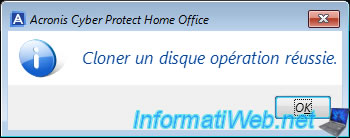
Once the copying of your partitions to your new disk is complete, you will see the message "Clone disk operation successful".
3. View partitions created from your Acronis rescue media
To see the partitions copied to your new disk, go back to the menu: Tools and Utilities -> Clone Disk.
Leave the "Automatic" option selected in the 1st step of the wizard, then simply select your new disk in the 1st list that appears.
As you can see at the bottom of the window, your partitions and their data (symbolized by the dark green rectangles on your partitions) have been copied to your new disk.
If you select your source disk, you will see the exact same partitions appear.

4. View partitions created from Windows disk management
Restart your computer and open the file explorer.
If you go to "This PC", you will see your partitions appear in duplicate and you can easily see that the used space and the free space on them are identical on the 2 disks.
By the way, here is the content copied onto the 1st partition of our new disk.
Same for the 2nd partition of this new disk.
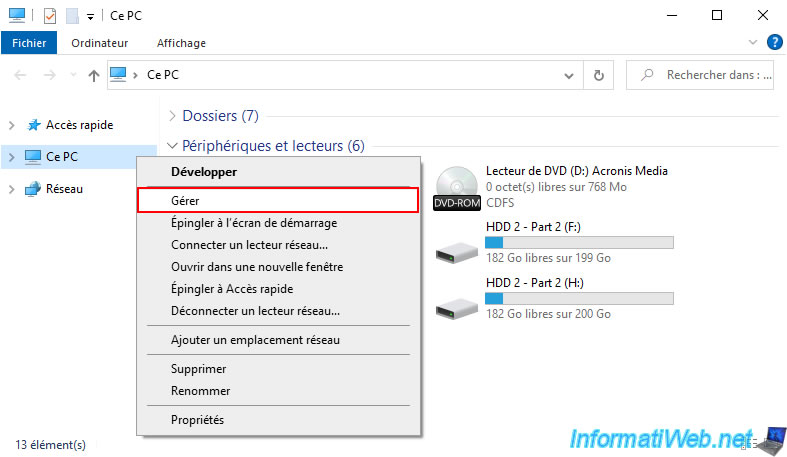
To see exactly how your disks are partitioned, right-click "Manage" on "This PC".
Going into the "Disk Management" section, you can see that our 2 500GB drives are partitioned exactly the same.

Share this tutorial
To see also
-
Backup 11/10/2025
Acronis True Image - Archive your files on Acronis Cloud (encrypted archive)
-
Backup 6/23/2025
Acronis True Image - Backing up your PC to Acronis Cloud (encrypted backup)
-
Backup 7/31/2025
Acronis True Image - Create backups (single version)
-
Backup 2/2/2026
Acronis True Image - Rescue Media - Create media (Win PE version) on Win 8.1
You must be logged in to post a comment