Upgrade Windows 10 to newer version of Win 10 with VHD/VHDX multiboot (native boot)
- MultiBoot
- Windows 10
- 29 July 2024 at 17:55 UTC
-

- 3/5
5. Start the virtual machine from your VHDX virtual hard disk
Once your virtual machine is configured, double click on its name to open it or select it and click on: Connect.
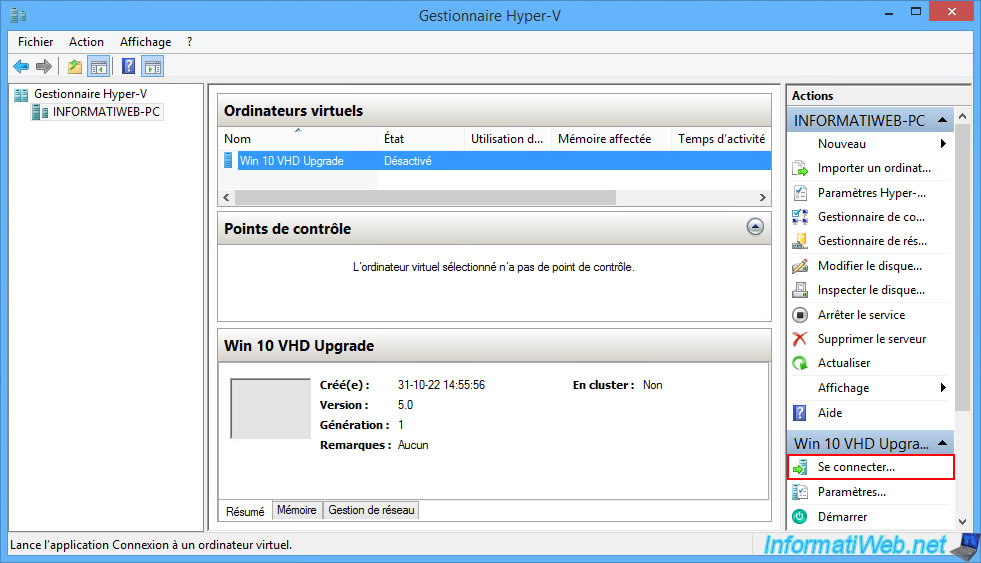
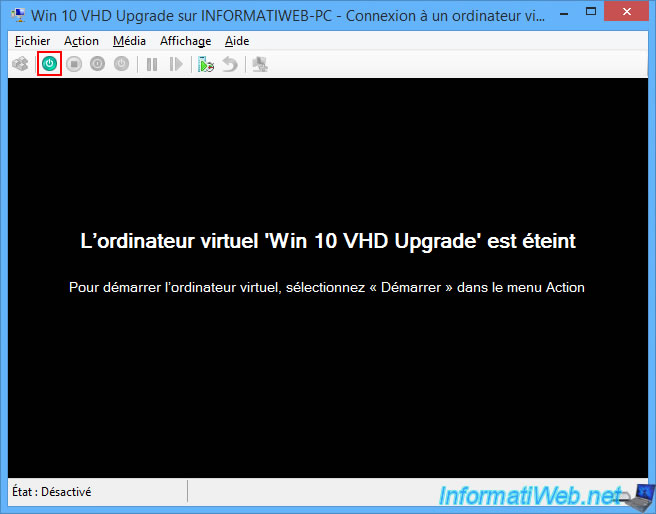
Start your "Windows 10 VHD Upgrade" virtual machine.
The Windows 10 Setup Wizard will appear.
This is because at the moment your virtual machine is not able to boot on your VHDX virtual hard disk because the boot files are not there.
Which is normal, since in the native boot case, you created the boot files and added the boot entries to the system partition of your physical hard drive.
In order for your virtual machine to boot into your Windows 10 installation, you will first need to create the necessary boot files on the VHDX virtual hard disk.
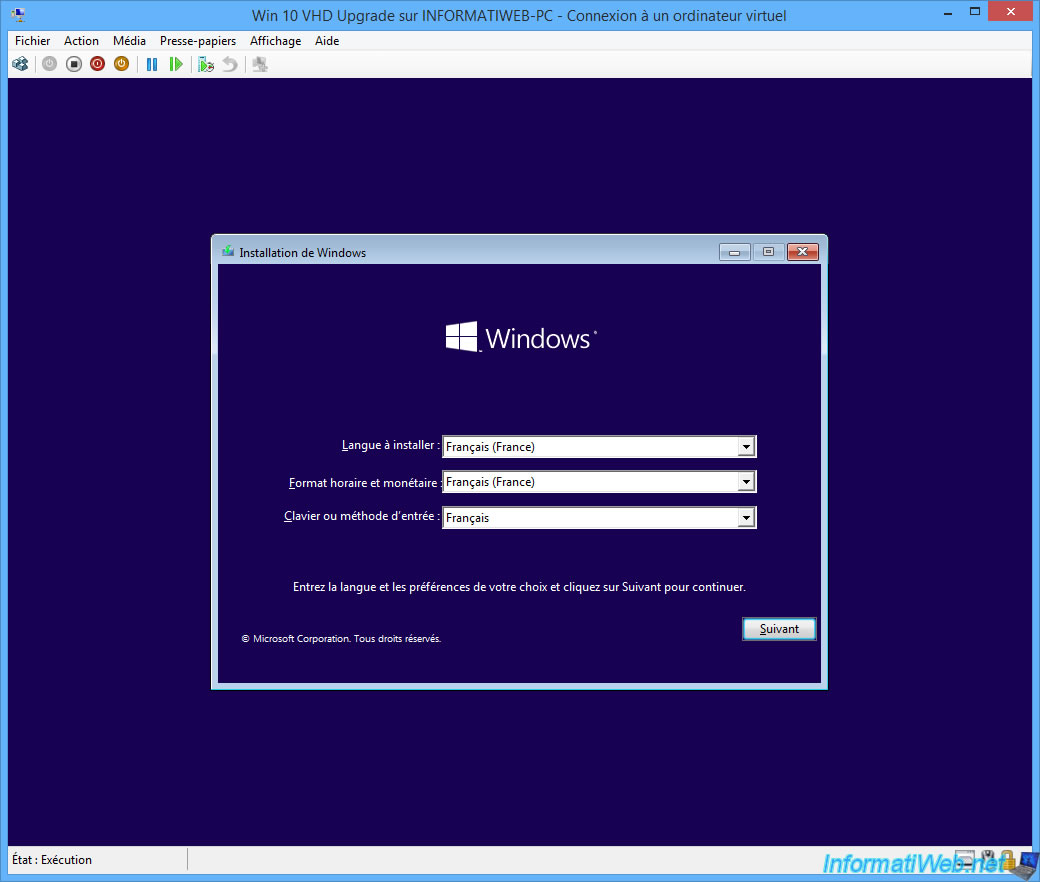
To do this, press the "SHIFT + F10" keys to bring up a command prompt (cmd.exe).
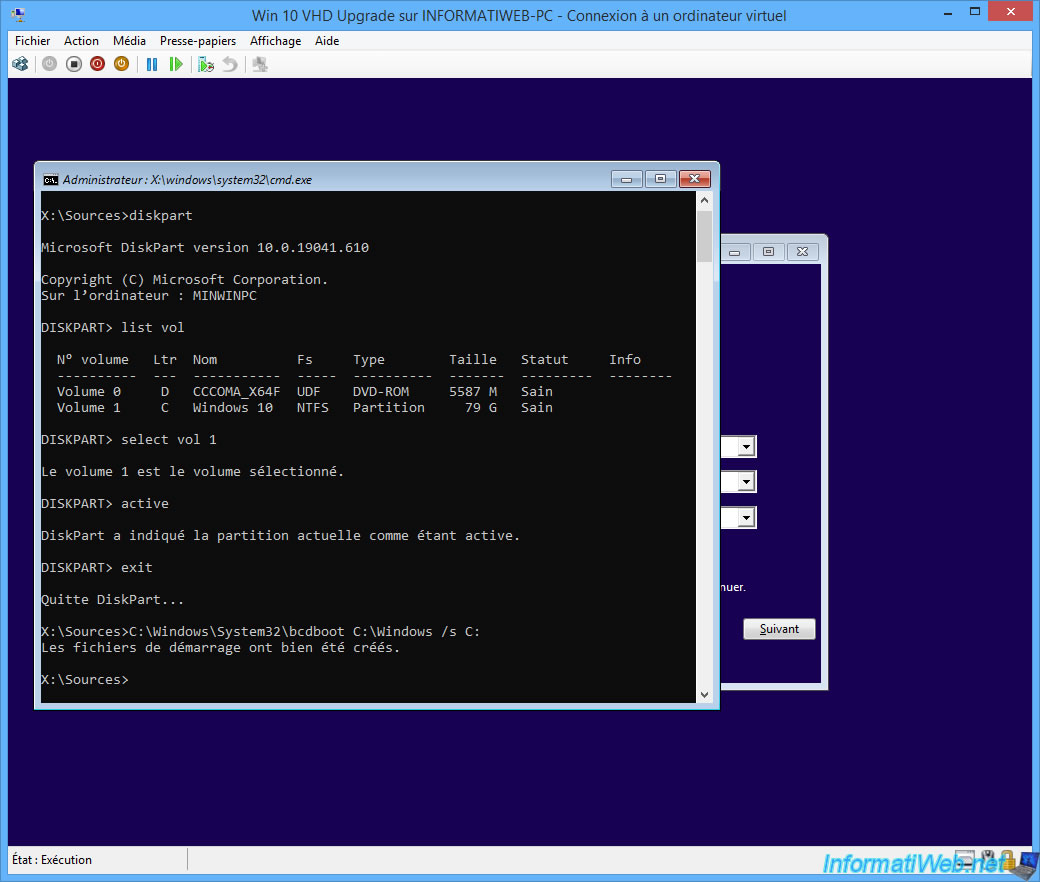
In this command prompt that appears, launch DiskPart.
Batch
diskpart
List the volumes available on this virtual machine.
Batch
list vol
Locate the letter assigned to the "Windows 10 (VHD)" partition.
If you had followed our VHD multiboot tutorial, the Windows 10 virtual hard disk should be around 80 GB in size.
In other words, in our case, it is volume 1.
Plain Text
  Volume ###  Ltr  Label        Fs     Type        Size     Status     Info
  ----------  ---  -----------  -----  ----------  -------  ---------  --------
  Volume 0     D   CCCOMA_X64F  UDF    DVD-ROM     5587 M   Healthy
  Volume 1     C   Windows 10   NTFS   Partition     39 G   Healthy
Select the volume whose number you have just located via the command above.
Batch
select vol 1
Plain Text
Volume 1 is the selected volume.
Warning : only if your VHDX virtual hard disk uses an MBR partition table, you will need to mark this partition as active for your virtual machine to find your Windows 10 installation and to be able to boot on it.
For the GPT partition table, there is nothing to do.
Batch
active
Quit DiskPart.
Batch
exit
Finally, create the boot files using the command below.
Important : the letter "C" used in this command refers to your Windows 10 installation on this VHDX virtual hard disk.
Batch
C:\Windows\System32\bcdboot C:\Windows /s C:
Plain Text
Boot files successfully created.
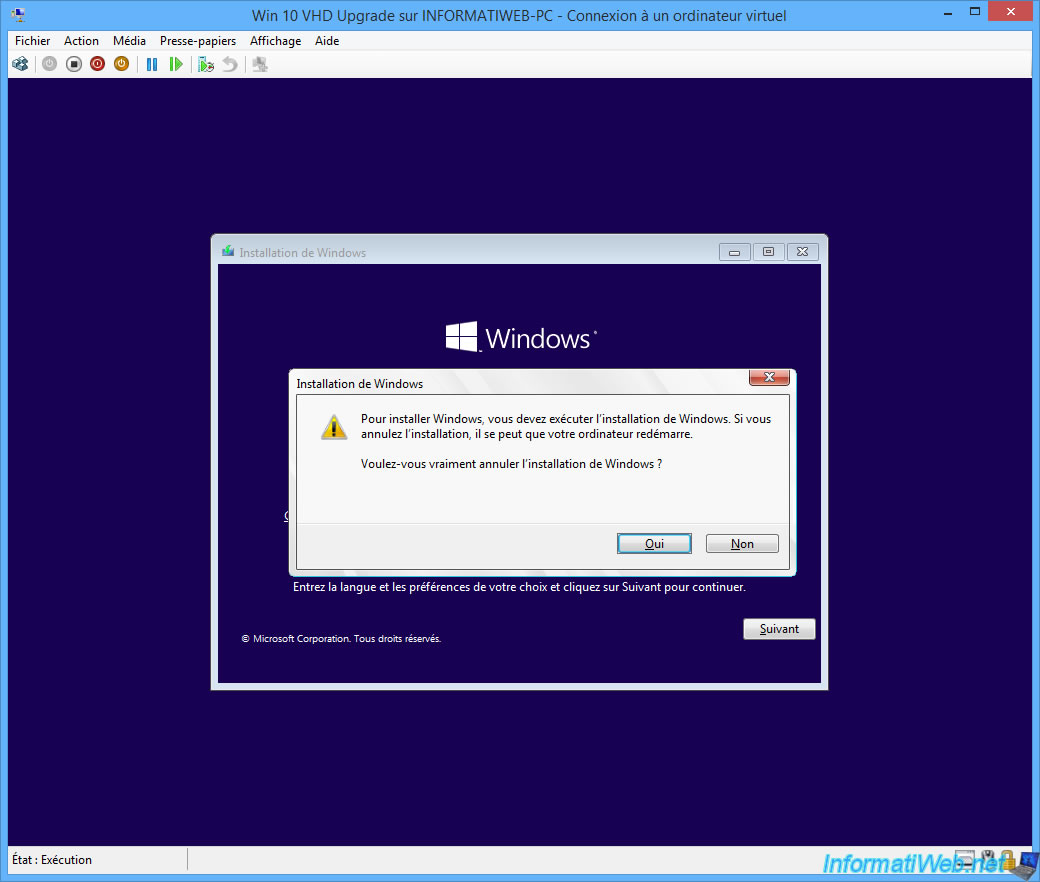
Now, close the command prompt, as well as the Windows installation wizard.
Confirm closing the Windows Setup Wizard and your virtual machine will restart automatically.
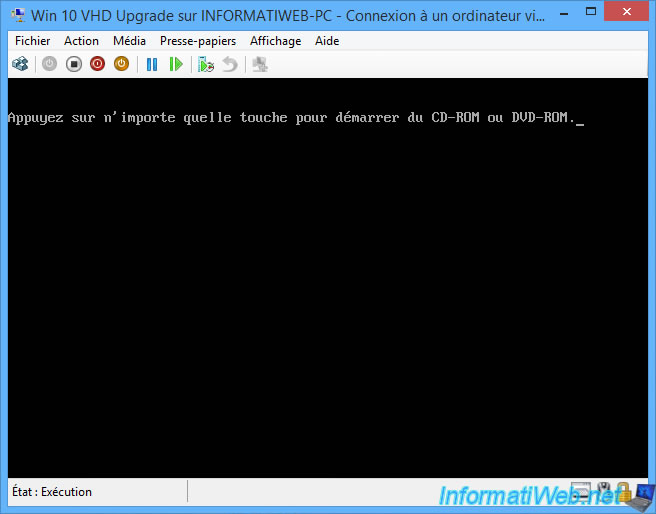
Warning : do nothing when this message is displayed.
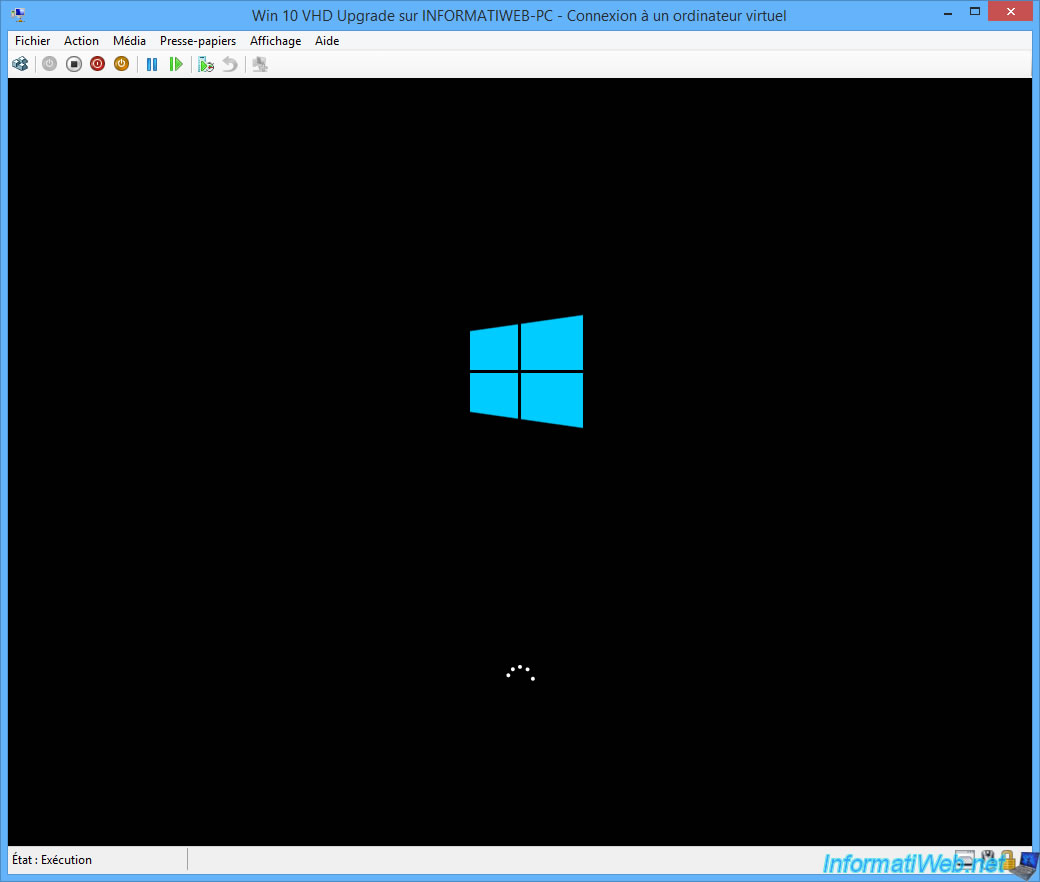
Your virtual machine starts on your installation of Windows 10.
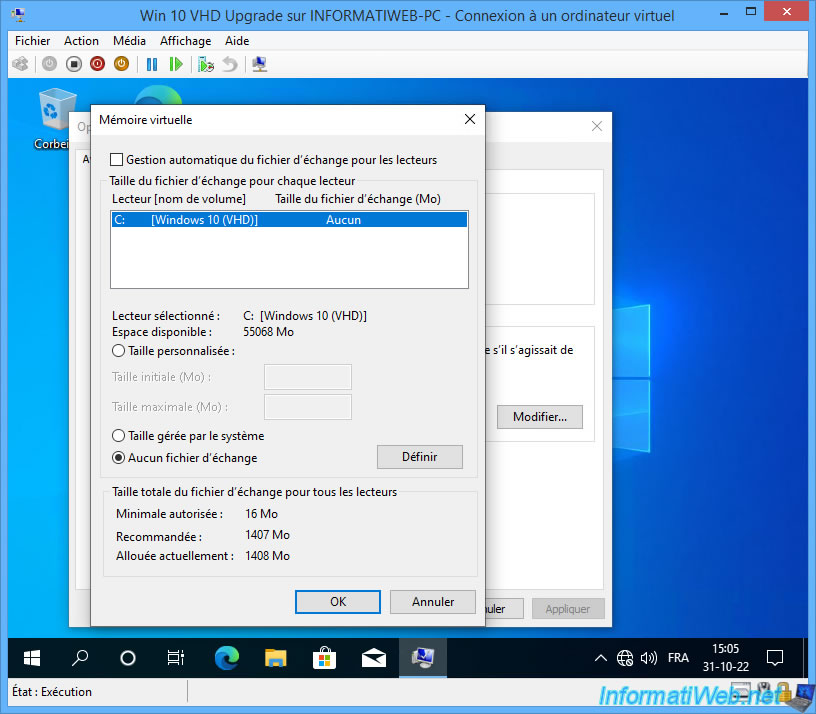
At login, you will see a message about the creation of a temporary swap file.
Don't worry, this problem is temporary and will disappear when you restart your physical computer on this VHDX virtual hard disk.
Plain Text
Windows created a temporary paging file on your computer because of a problem that occur with your paging file configuration...

Click on: Change.
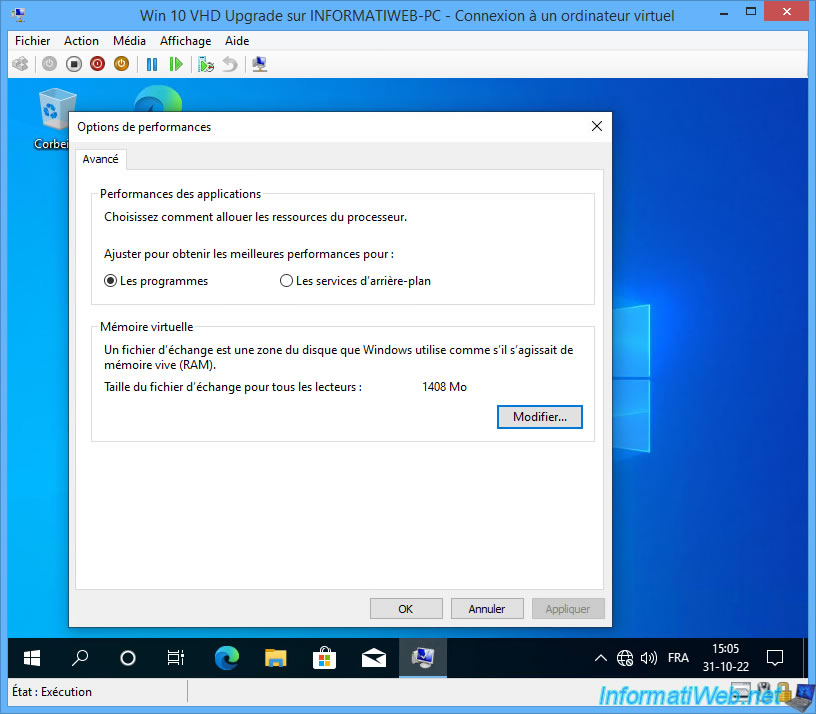
In our tutorial about VHDX multiboot with Windows 8.1 and 10, we configured Windows 10 to store the swap file on the "Main" partition of the physical hard drive.
In this virtual machine, this "Main" partition does not exist. Hence this error.
However, the problem will be solved automatically when you boot into Windows 10 through your physical computer and not through this virtual computer.
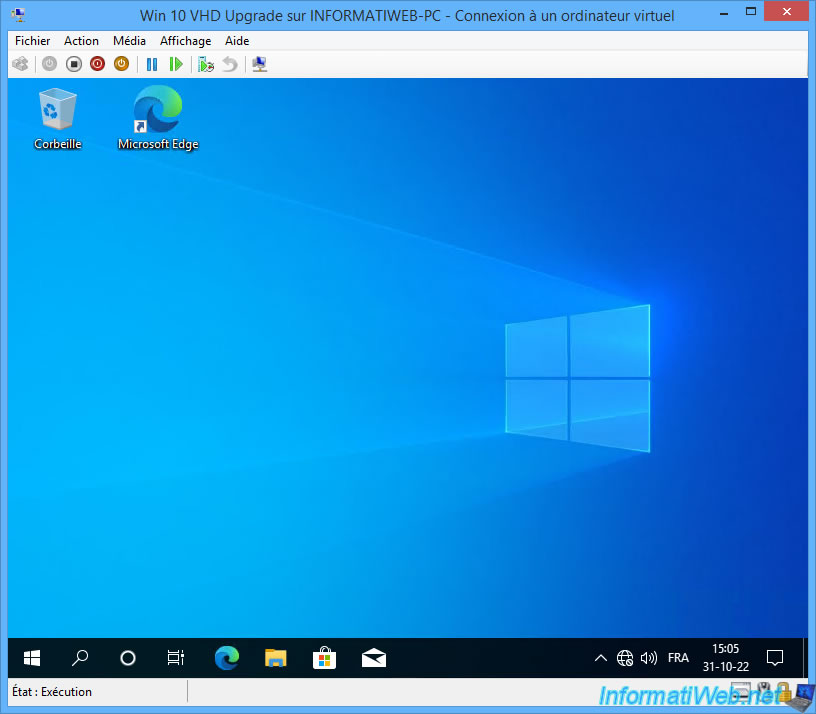
You are on Windows 10.
Share this tutorial
To see also
-
Windows 5/20/2016
Control a computer remotely (Win 7 to 11)
-

Windows 3/22/2022
Upgrade from Windows 10 to Windows 11 (not compatible hardware / official method)
-
Windows 8/15/2022
Windows 10 - Create a mobile hotspot (Wi-Fi)
-
Windows 12/11/2023
Windows 10 / 11 - Share encrypted data with EFS
No comment