Upgrade Windows 10 to newer version of Win 10 with VHD/VHDX multiboot (native boot)
- MultiBoot
- Windows 10
- 29 July 2024 at 17:55 UTC
-

- 4/5
6. Windows 10 upgrade from virtual machine
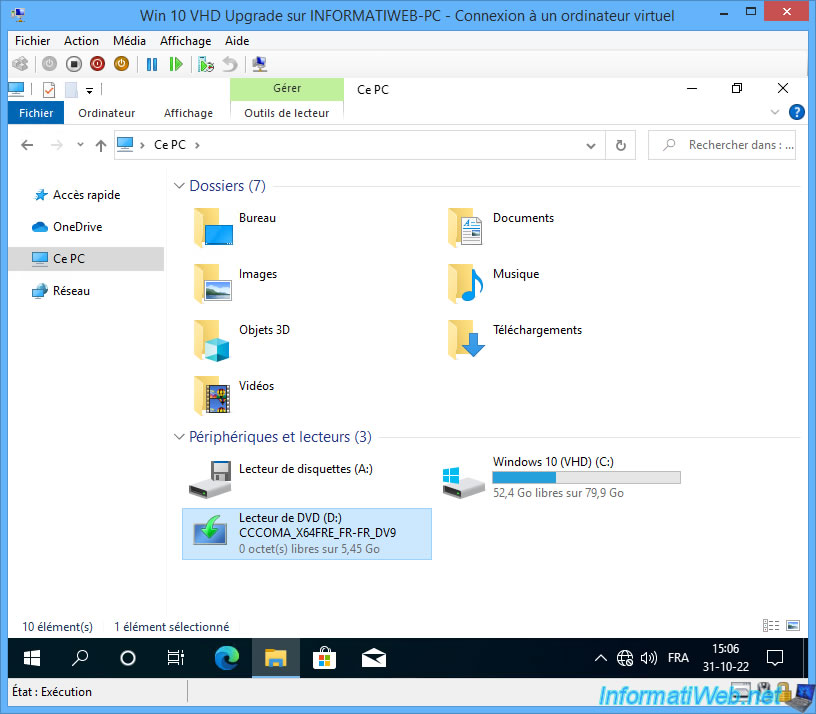
Open File Explorer and double click on your DVD drive.
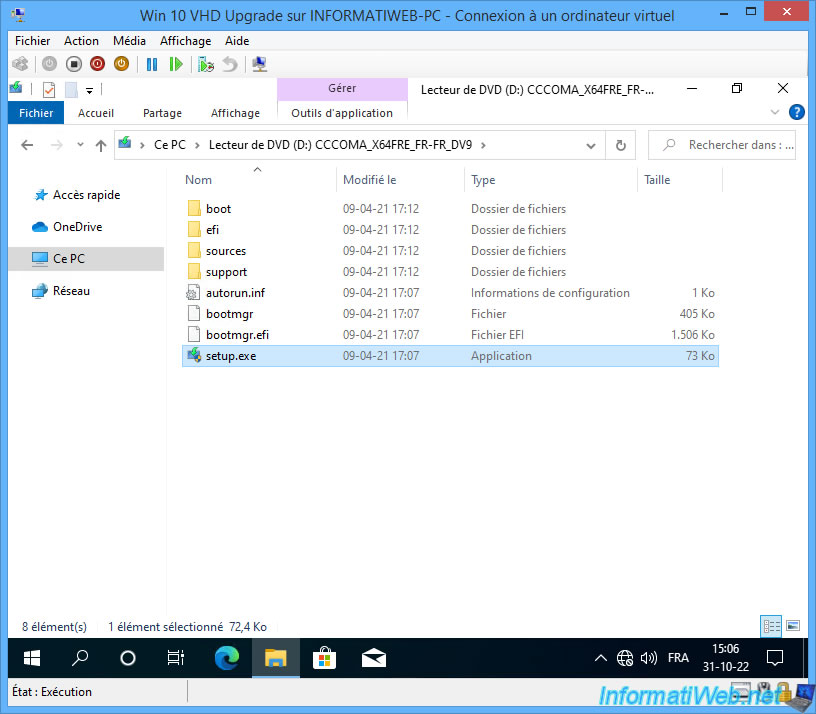
If necessary, double click on the "setup.exe" file which is in this Windows 10 installation DVD.
Click "Yes" when the "User Account Control" window appears.

The message "Preparing" appears.

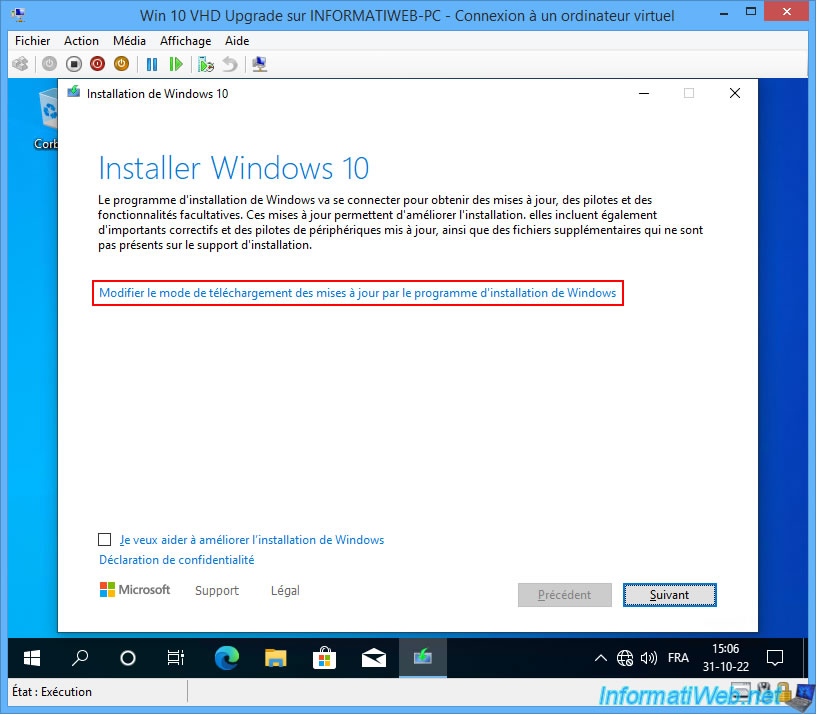
In the Windows 10 installation wizard that appears, click on the "Change how Windows Setup downloads updates" link.
Note: if you want to know more about the Windows 10 upgrade process, refer to our "Upgrade Windows 10 to newer version of Win 10 (from DVD)" tutorial.
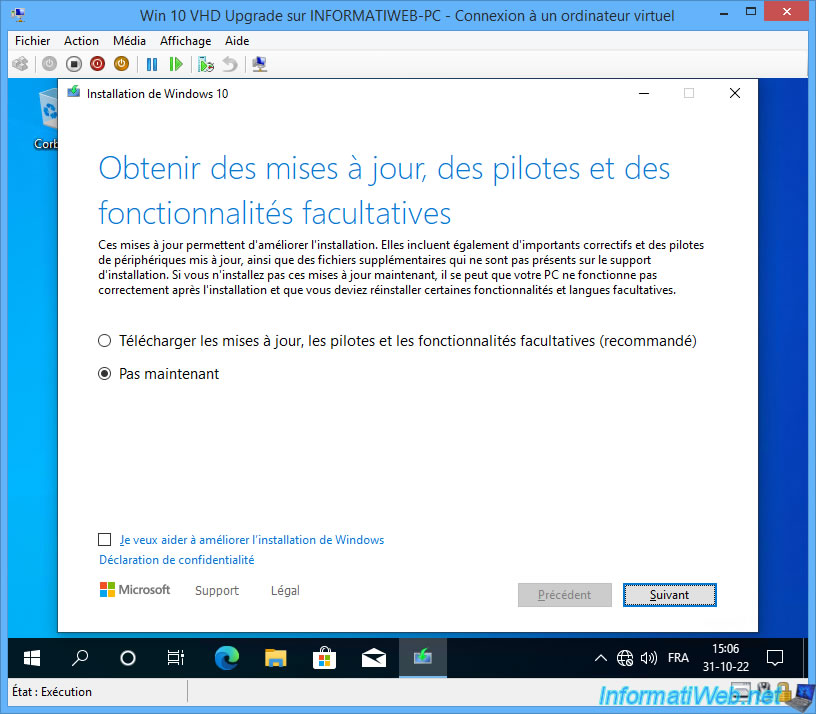
Select "Not now" to prevent Windows 10 from trying to download drivers from the Internet (which is not available on your virtual machine) and click Next.
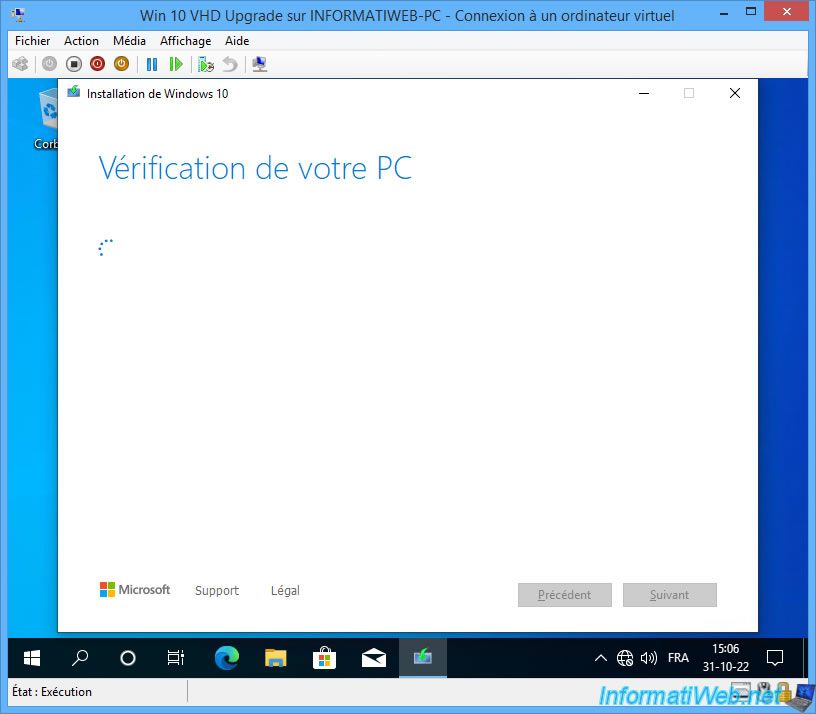
Your PC is checked.
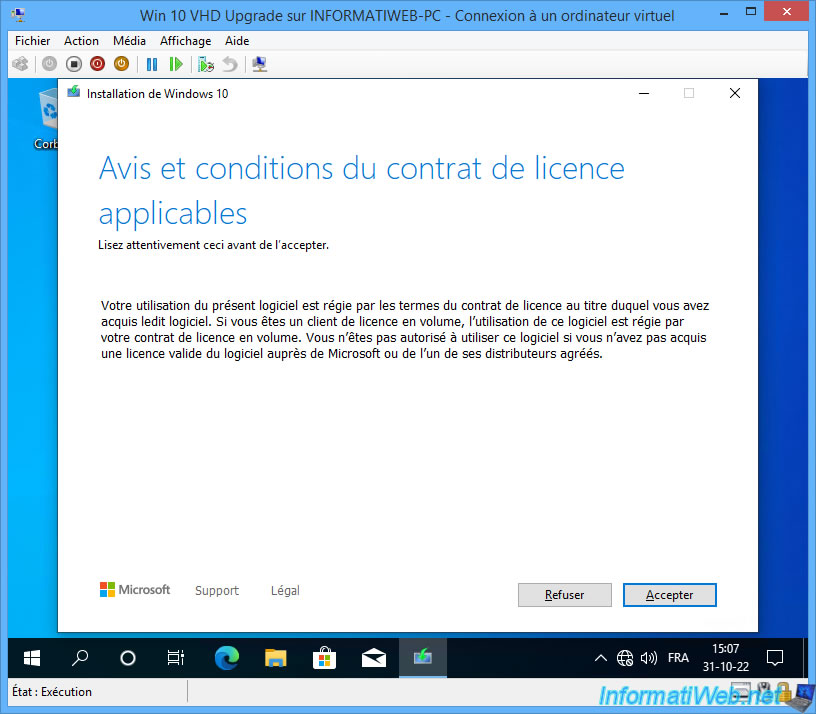
Accept the Windows 10 License Agreement.
Normally, Windows 10 Upgrade Assistant will let you keep your personal files and apps.
But, there is a special case where it does not work by default.
In this case, this will be displayed.
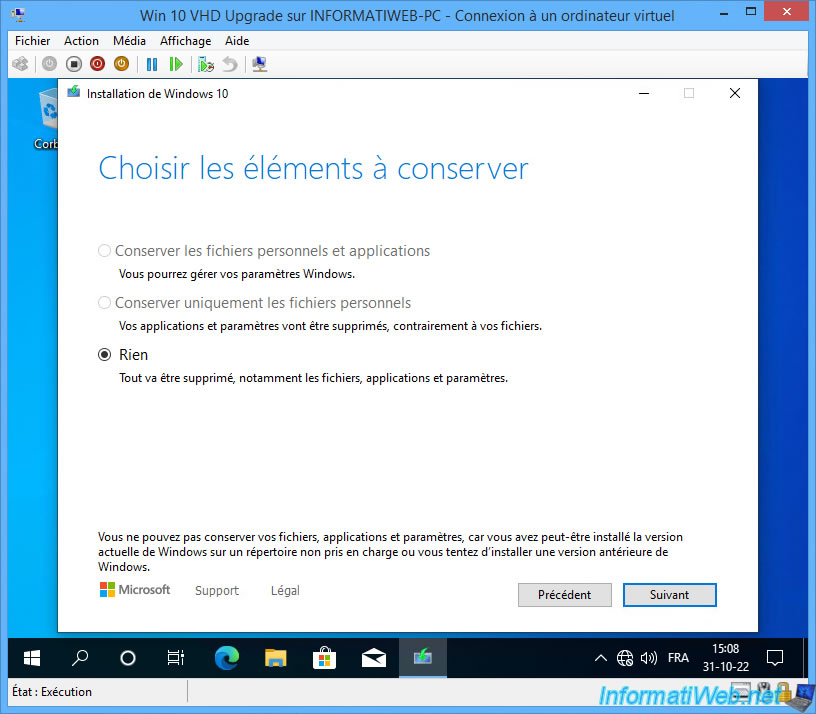
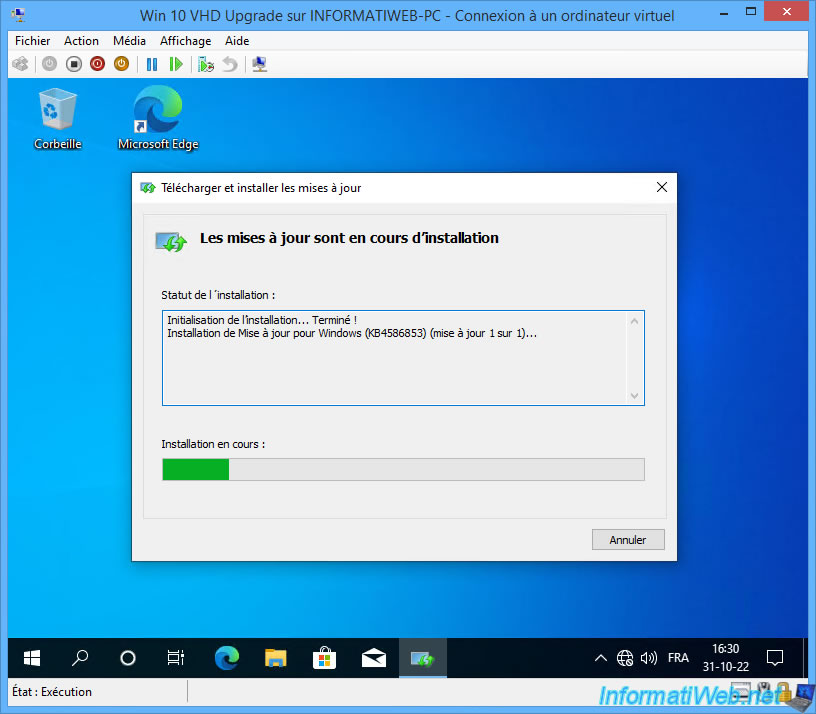
To fix this issue, you just need to download update KB4586853 for your current version of Windows 10 and install it.
Note: to transfer the downloaded "windows10.0-kb4586853-xXX_...msu" file:
- turn off the virtual machine.
- right click "Mount" on your "win10.vhdx" file
- transfer the file to a location where you have sufficient rights.
For example, the "Users\Public\Documents" folder. - once the file has been transferred, right click "Eject" on the "Windows 10 (VHD)" partition present on your physical computer
- start your virtual machine
- all you have to do is launch the transferred ".msu" file.
Once the update is installed, you will need to restart your virtual machine.
More information on this problem in our tutorial: Upgrade Windows 10 - Fix v20H1 to v20H2 issue.
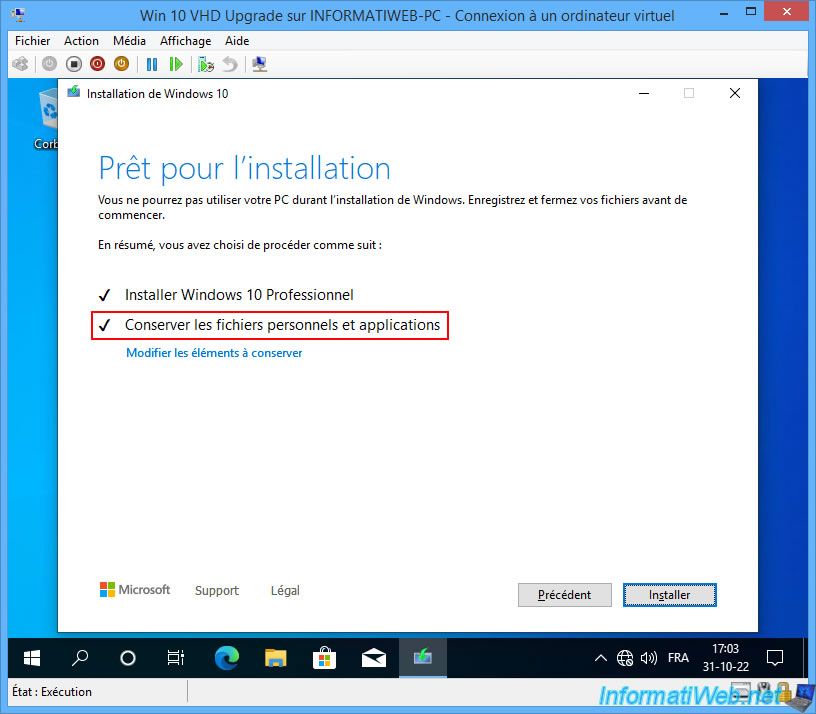
Relaunch the installation wizard from the Windows 10 installation DVD and this time, the "Ready to install" step will appear with the messages:
- Install Windows 10 Pro.
- Keep personal files and apps.
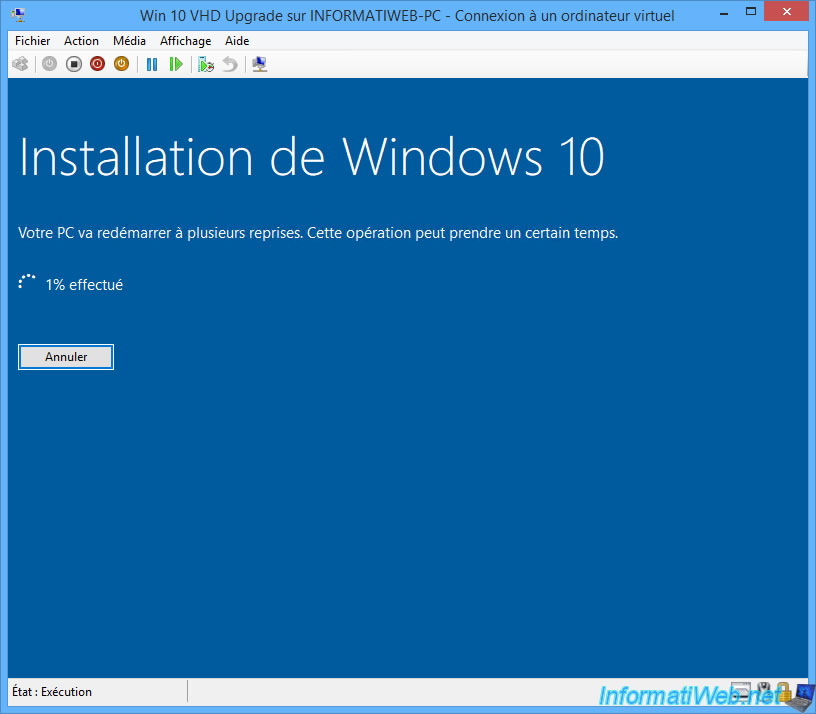
Windows 10 upgrade starts in full screen.
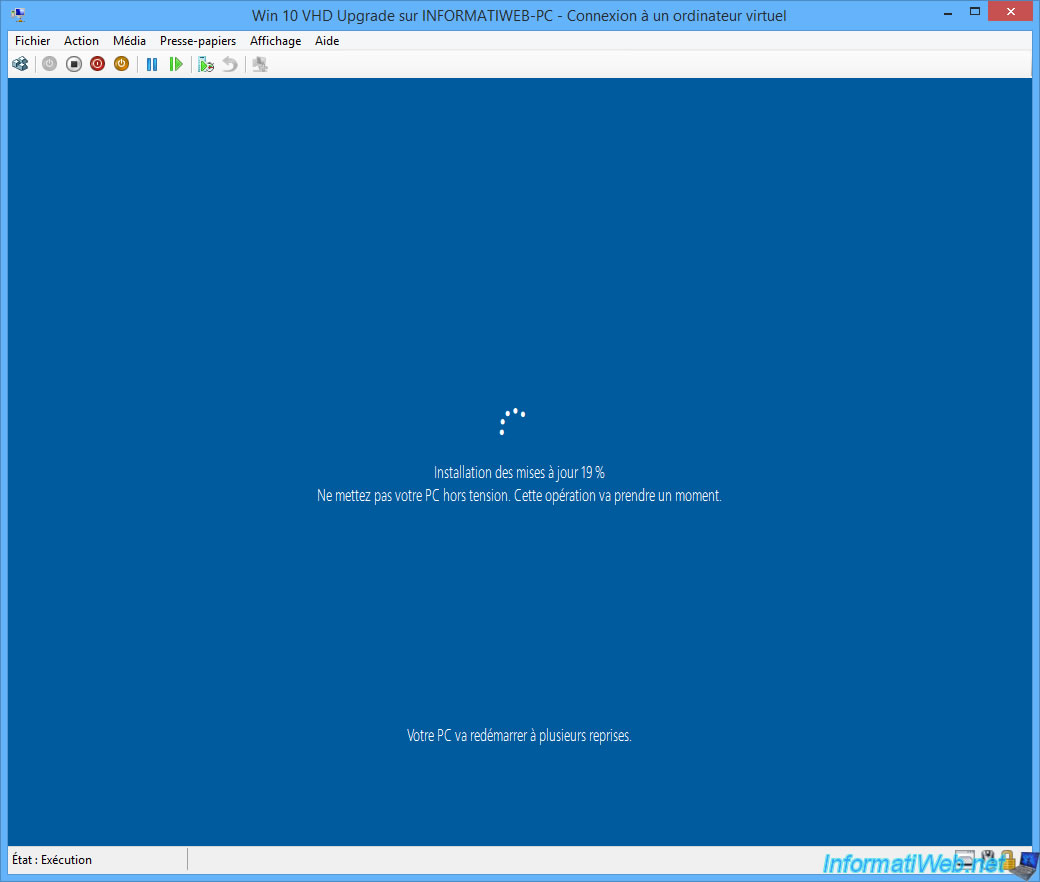
The upgrade continues after a 1st reboot.
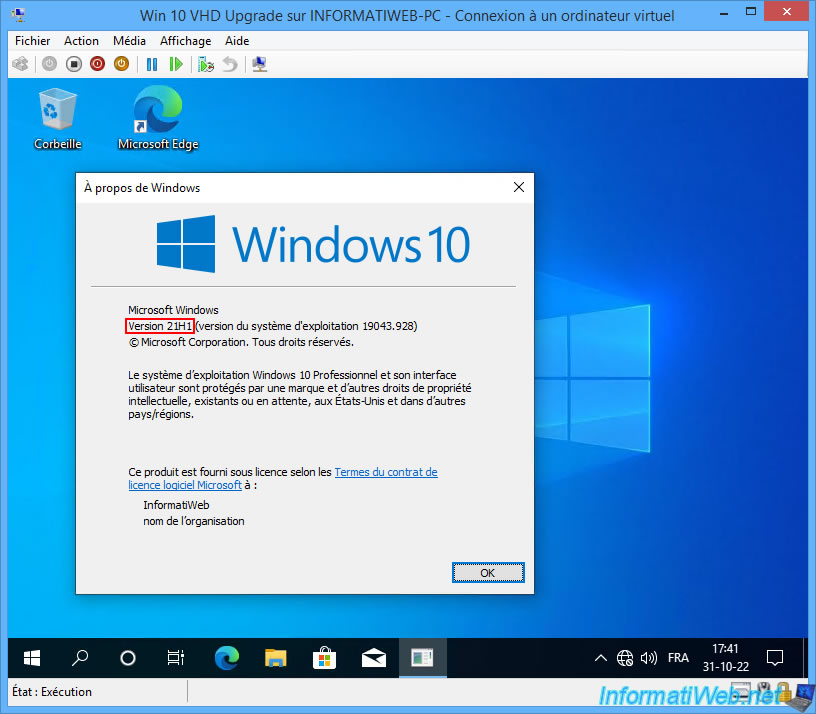
When the upgrade is complete, launch the "winver.exe" program.
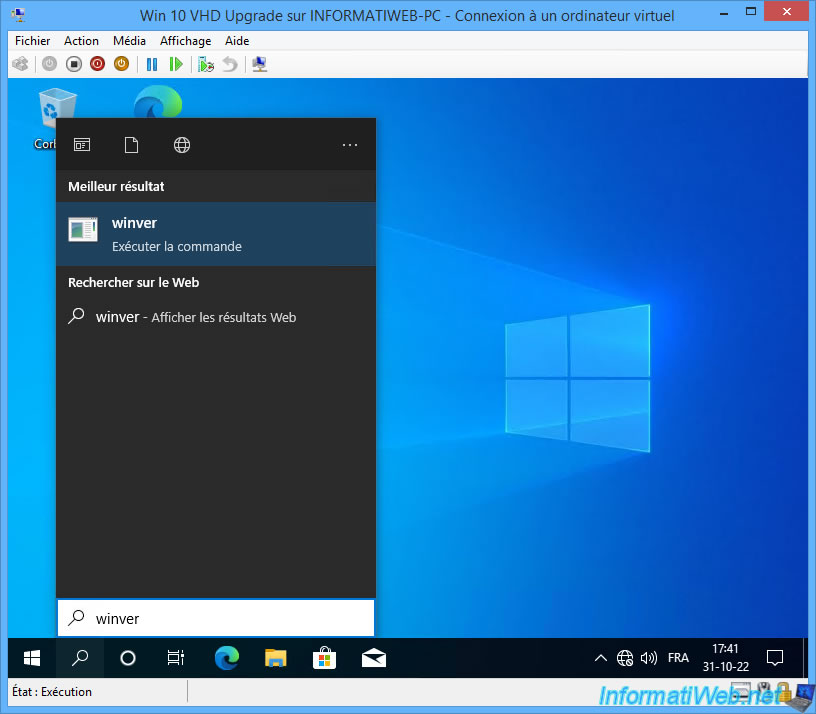
As you can see, we are now at version 21H1.
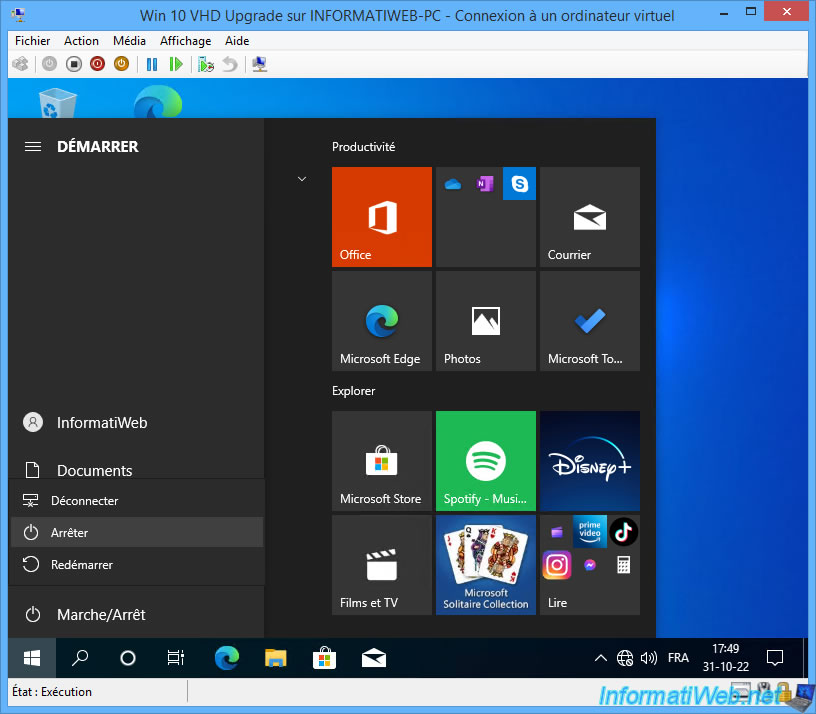
Now that your virtual machine has been upgraded, shut down your virtual machine.
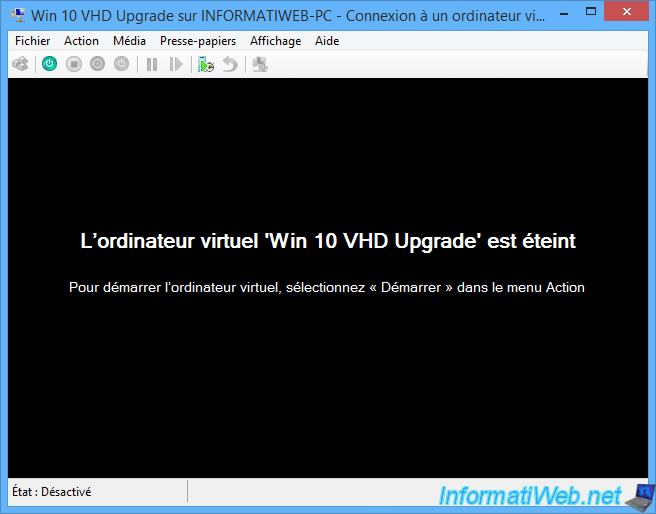
Your virtual machine is powered off.
Share this tutorial
To see also
-
Windows 9/4/2023
Upgrade Windows 10 - Fix v20H1 / v20H2 to 21H1 issue
-
Windows 2/3/2025
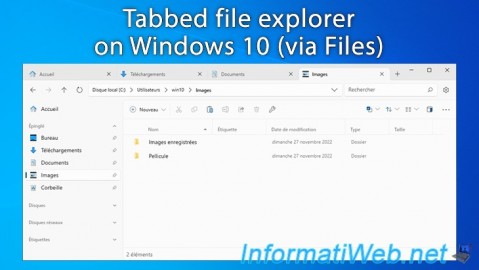
Windows 10 - Tabbed file explorer (via Files)
-

Virtualization 2/26/2024
Windows 10 / 11 - Deploy a VM on Hyper-V from the gallery
-
Windows 4/29/2016
Windows 8 / 8.1 / 10 / 11 - Startup repair
No comment