VHD/VHDX multiboot (native boot) with Windows 10 and Windows 11
- MultiBoot
- Windows 10, Windows 11
- 01 July 2024 at 13:14 UTC
-

- 4/7
6.3. Install drivers for your computer on Windows 10
Install your computer's drivers for Windows 10.
Note: in our case, we are performing this tutorial in a virtual machine. Hence the installation of the program below for the drivers.
6.4. Rename Windows 10 boot option
If you want, you can rename the boot option for Windows 10 that will appear in the boot menu when your computer starts.
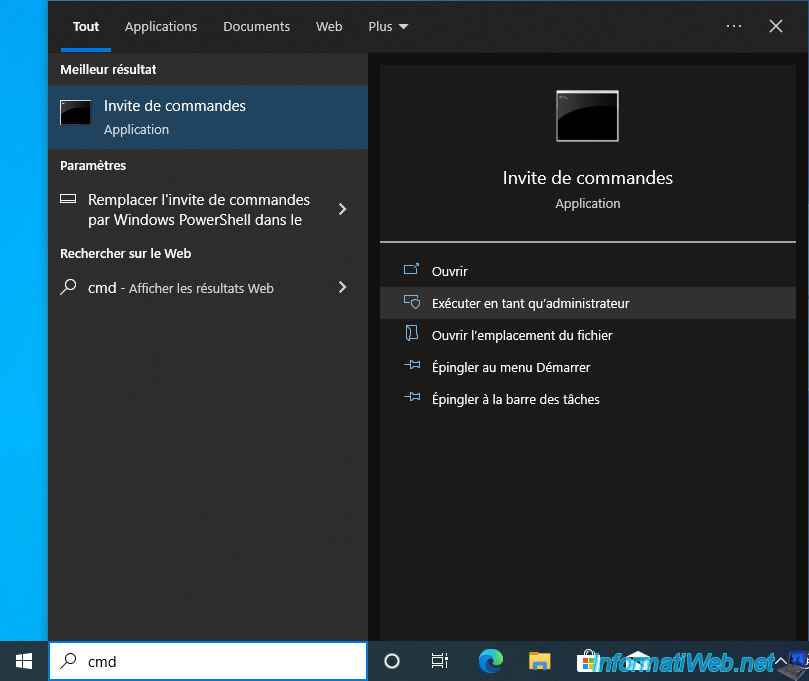
To do this, open a command prompt as an administrator.
Note: the boot menu only appears if there are at least 2 Windows installations on your computer.
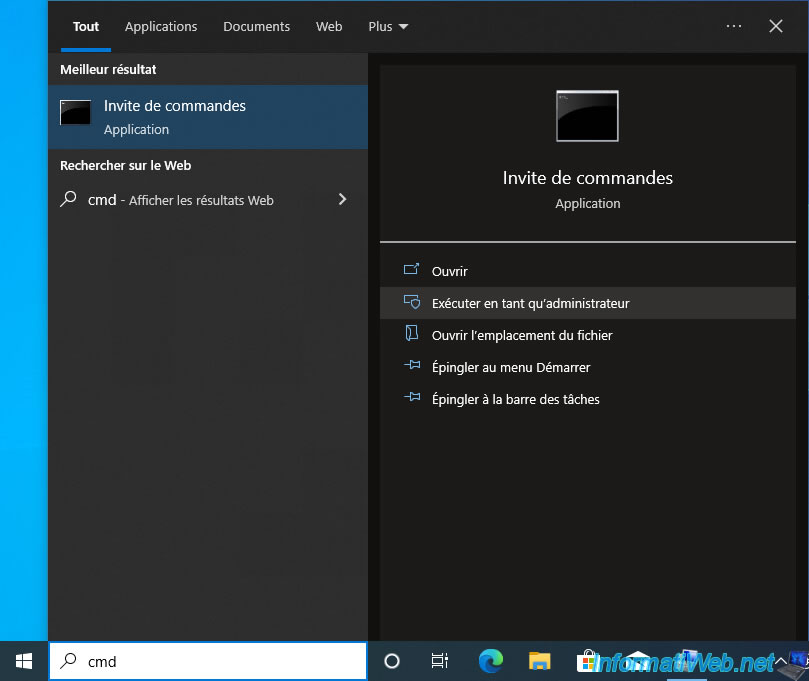
In the command prompt that appears, type the command:
Batch
bcdedit /set {current} description "Windows 10 (VHD)"
Plain Text
The operation completed successfully.
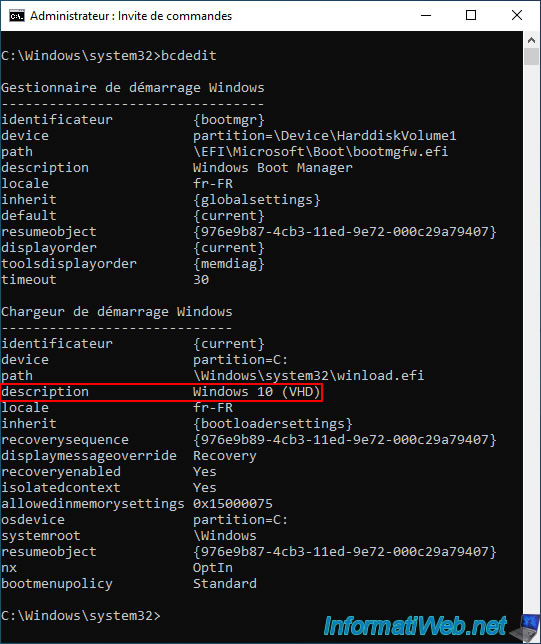
Then, you can verify that the Windows 10 boot option description has changed by typing:
Batch
bcdedit
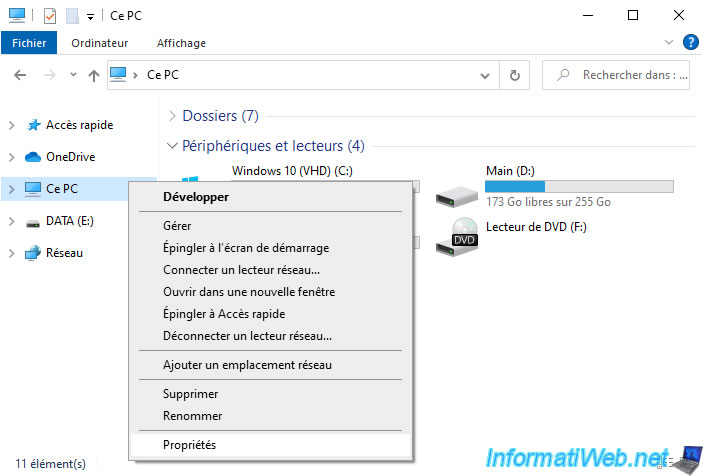
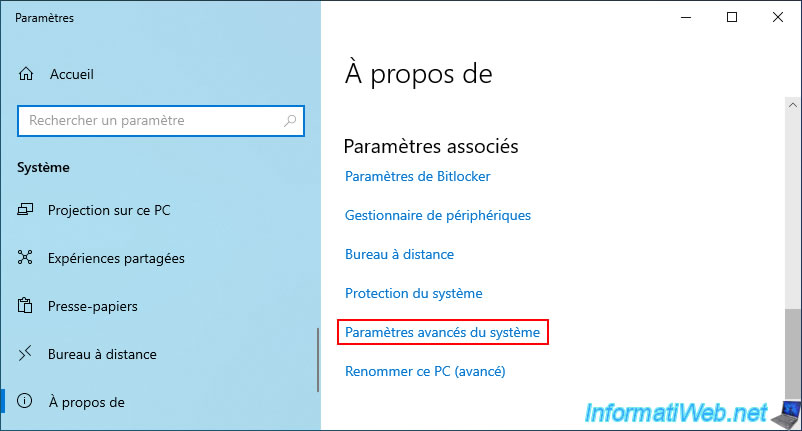
You can also check this change from the Windows 10 GUI, by opening File Explorer, then right-clicking "Properties" on "This PC".
In the "Settings" window that appears, scroll down to the bottom and click on the "Advanced system settings" link.
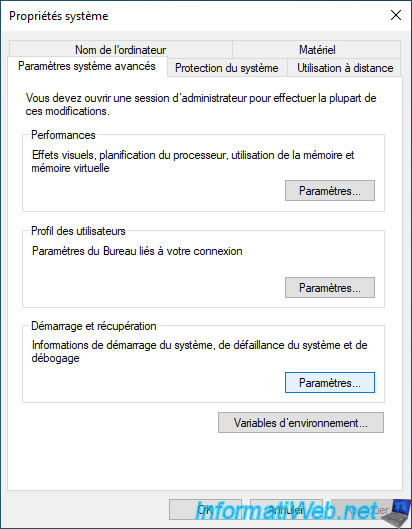
In the Windows 10 "System Properties" window that appears, click on the "Settings" button in the "Startup and Recovery" section.
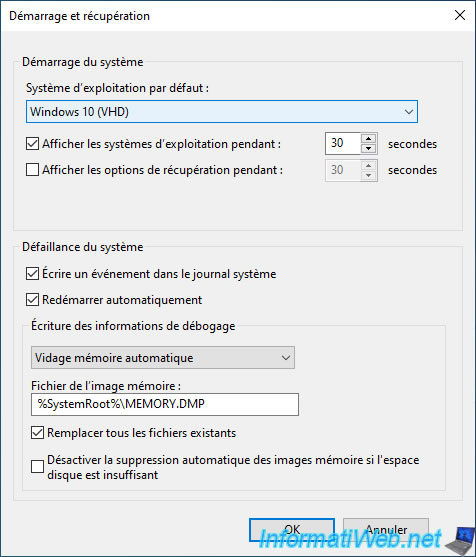
As you can see, Windows 10 boot option has been renamed to "Windows 10 (VHD)".
At the moment there is only one boot option in this list.
7. Create a virtual hard disk for Windows 11
Now that Windows 10 is installed and configured, you can create a 2nd VHDX virtual hard disk to install Windows 11 on.

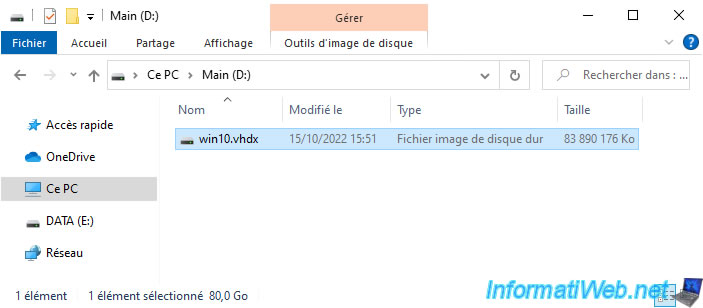
At the moment, the "Main (D:)" partition only contains a "win10.vhdx" file.
Launch a command prompt as an administrator.
In this command prompt, launch DiskPart.
Batch
diskpart
Create an 80 GB VHDX virtual hard disk again in fixed size.
Batch
create vdisk file=D:\win11.vhdx maximum=81920 type=fixed
Wait while it is created.
Plain Text
20 percent completed
Once created, this will display:
Plain Text
   100 percent completed

DiskPart a correctement créé le fichier de disque virtuel.
Attach the virtual hard disk.
Batch
attach vdisk
Create a primary partition on all space of this VHDX virtual hard disk.
Batch
create partition primary
Format this partition in NTFS (by default) and name it: Windows 11 (VHD).
Batch
format quick label="Windows 11 (VHD)"
Assign the letter "Z" to this partition.
Batch
assign letter=v
Quit DiskPart.
Batch
exit
In file explorer, you will see that a new "win11.vhdx" file has appeared in the root of your "Main (D:)" partition.

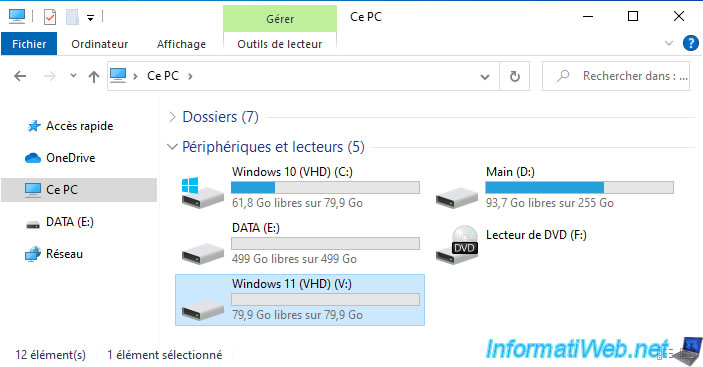
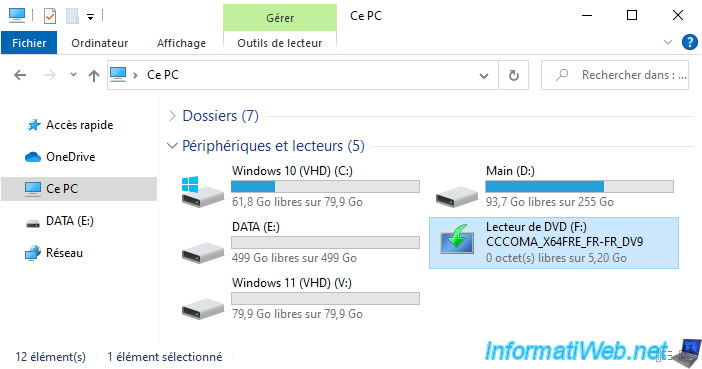
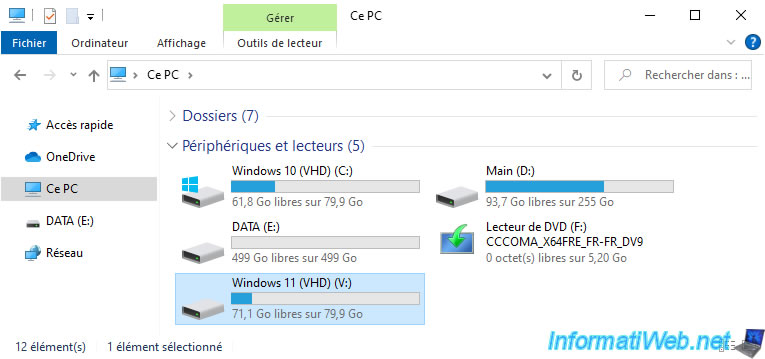
In "This PC", you will see that a new partition "Windows 11 (VHD) (V:)" has appeared.
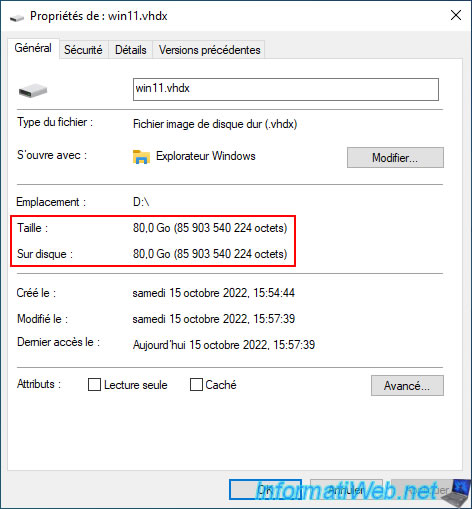
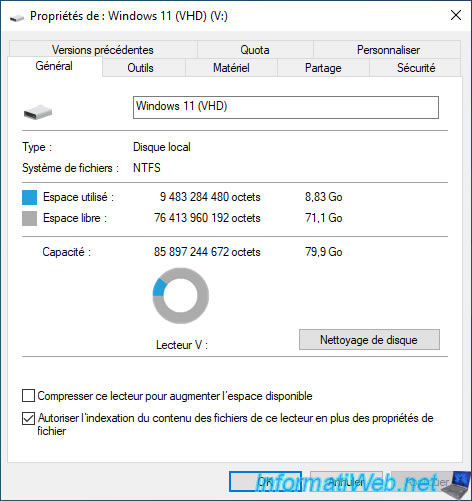
If you right-click "Properties" on your "win11.vhdx" file, you will see that it already takes up 80 GB of space.
Indeed, as explained previously, the space is preallocated when you create a VHDX virtual hard disk in fixed size.
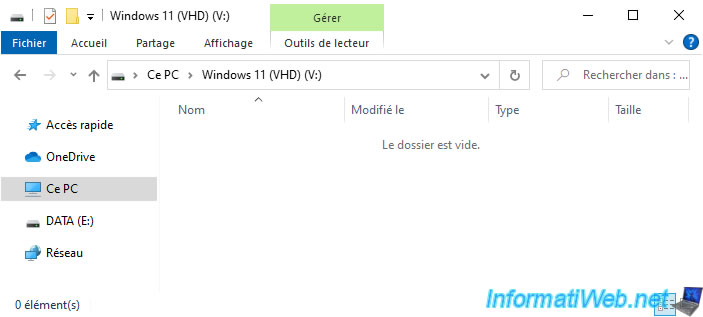
However, if you enter the "Windows 11 (VHD) (V:)" partition, you will see that it is empty.
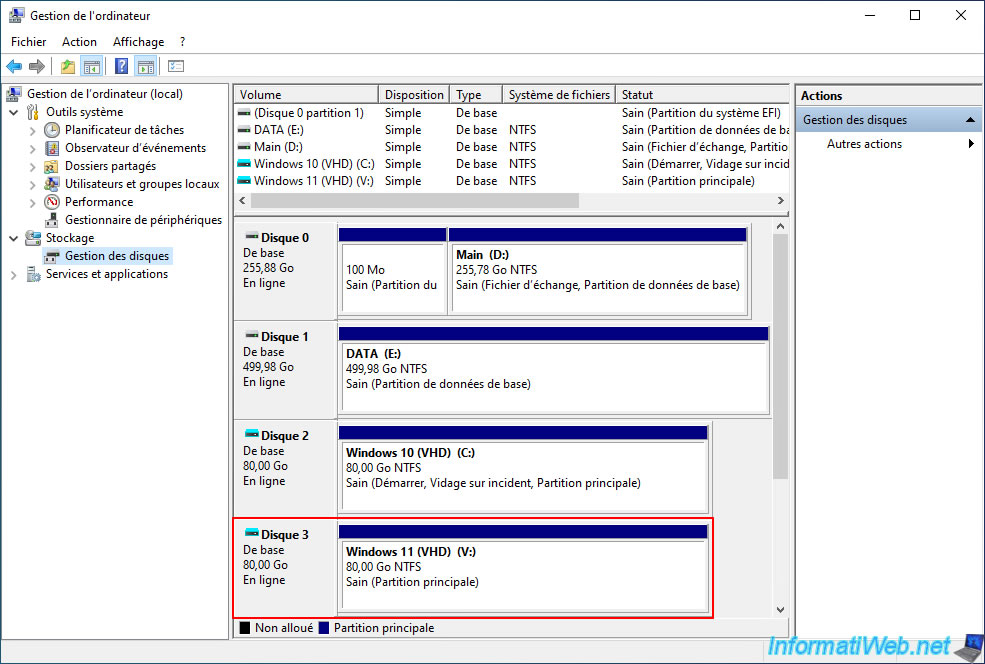
Right click "Manage" on "This PC".
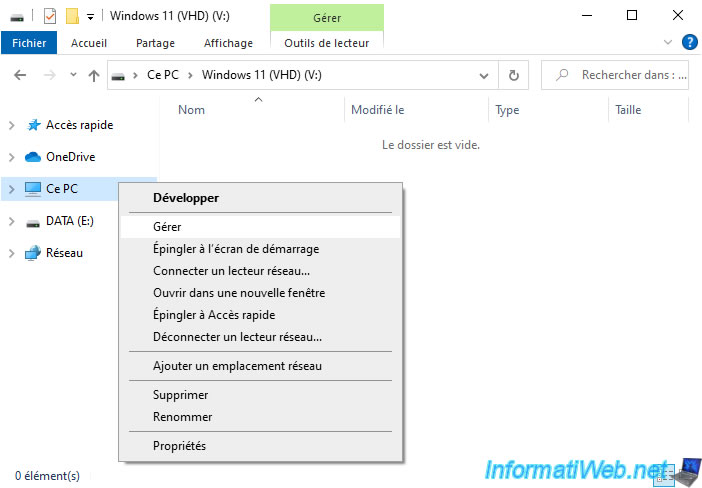
In Disk Management, you will again see your new VHDX virtual hard disk appear with a turquoise blue icon instead of gray.

8. Install Windows 11 on virtual hard drive
Now that the VHDX virtual hard disk for Windows 11 is created, insert the Windows 11 installation DVD into your CD/DVD drive.
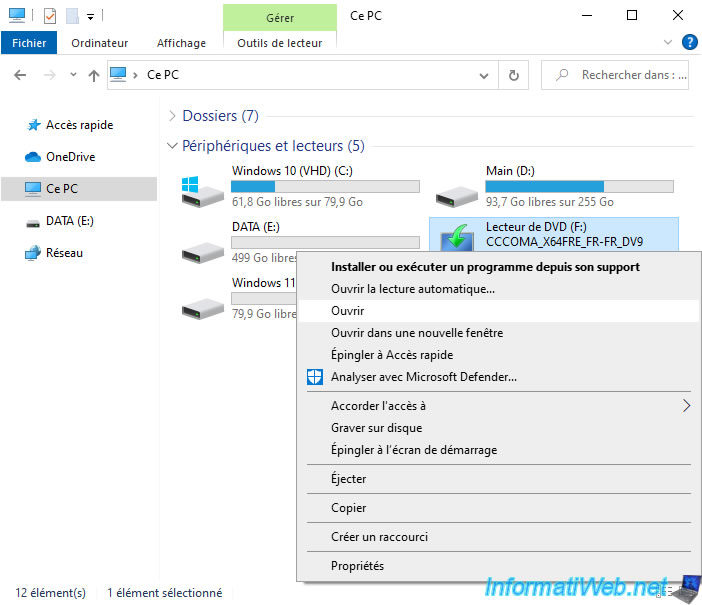
Right-click "Open" on it.
Go into the "sources" folder there.
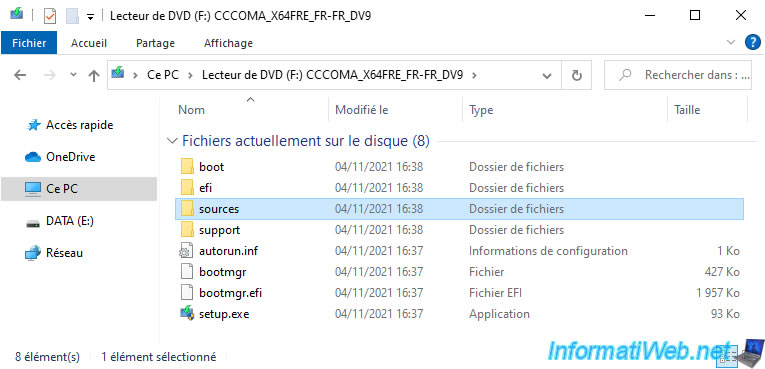
In this "sources" folder, you will find an "install.wim" file.
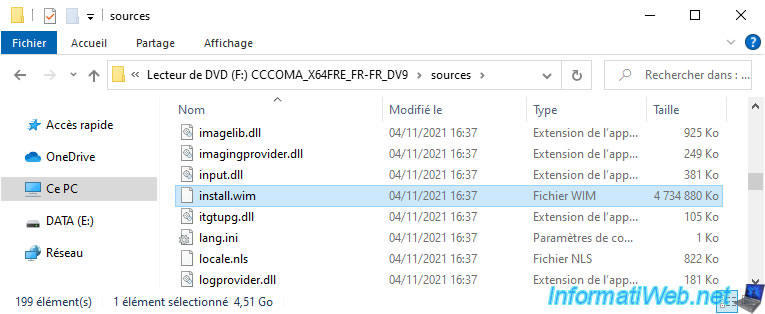
In the case of Windows 11, this "install.wim" file contains several images of Windows 11.
One image per edition.
To find out the index corresponding to the edition you want to install on your VHDX virtual hard disk, use the command:
Batch
Dism /Get-WimInfo /WimFile:F:\sources\install.wim
In the case of Windows 11, you will find in particular the most common editions:
Plain Text
Deployment Image Servicing and Management tool
Version : 10.0.19041.844

Details for image : F:\sources\install.wim

Index : 1
Nom : Windows 11 Home
Description : Windows 11 Home
Size : 15,953,011,037 bytes

***

Index : 6
Nom : Windows 11 Pro
Description : Windows 11 Pro
Size : 16,236,784,720 bytes

***
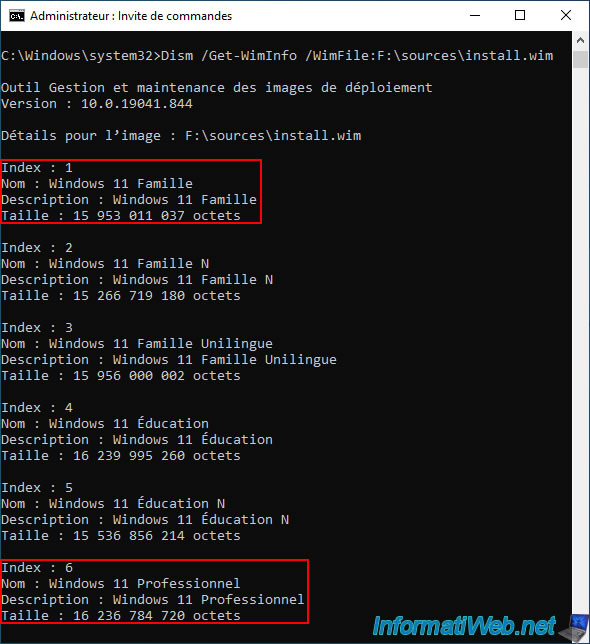
In our case, we will be installing Windows 11 Pro, so we indicate the index 6 in the command below.
Batch
Dism /Apply-Image /ImageFile:F:\sources\install.wim /Index:6 /ApplyDir:V:\
Wait while the desired image is applied to your VHDX virtual hard disk.
Plain Text
Deployment Image Servicing and Management tool
Version : 10.0.19041.844

Applying image
[======                     11.0%                          ]
Once the image is applied, this will be displayed:
Plain Text
Applying image
[==========================100.0%==========================]
The operation completed successfully.
As you can see, data has been created in your "Windows 11 (VHD) (V:)" partition.
As you can see, the folders created are identical to those of a standard installation of Windows 11.
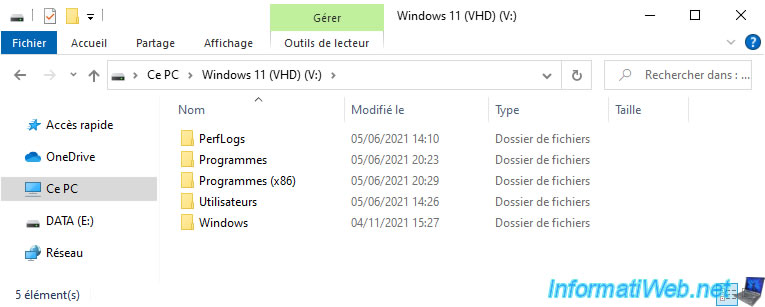
At the moment, about 9 GB is used on this partition.
In Disk Management, you will again see your VHDX virtual hard disk with a turquoise blue icon.
Share this tutorial
To see also
-
Windows 2/6/2025
Windows 10 - Change file explorer shortcuts
-
Windows 12/4/2023
Windows 10 / 11 - Create an EFS recovery agent
-
Windows 3/13/2023
Windows 10 / 11 - Disable Windows tracking systems (telemetry)
-
Windows 3/13/2025
Windows 11 / 10 / 8.1 / 8 - Create a storage space (software RAID)
No comment