- Virtualization
- 15 July 2018 at 10:26 UTC
-


As you probably know, to get the most out of VirtualBox and its features, you must first install VirtualBox Guest Additions.
Indeed, these guest additions are drivers that allow your virtual machine to function properly, as well as provide some additional features (such as VirtualBox file sharing, for example).
To install them on Windows, just insert the virtual CD of the guest additions and click Next several times.
But, when you want to install them under Linux, this is slightly complicated.
Before you begin, be aware that some Linux distributions already include some or all of the guest additions necessary for Linux to work properly under VirtualBox.
Nevertheless, as indicated in the VirtualBox documentation, they are often incomplete or out of date.
It's therefore recommended to install the latest version of these with the virtual CD that came with your version of VirtualBox.
Tutorial made with Ubuntu 18.04 x64 as guest OS and also tested with Ubuntu 22.04.1 x64 as guest OS.
First, as stated in the VirtualBox documentation, it's recommended that you create a snapshot of your Linux virtual machine before you install the guest additions.
Thus, in case of problem, you can restore your virtual machine to its previous state instead of having to completely reinstall Linux in your VM.
For this :
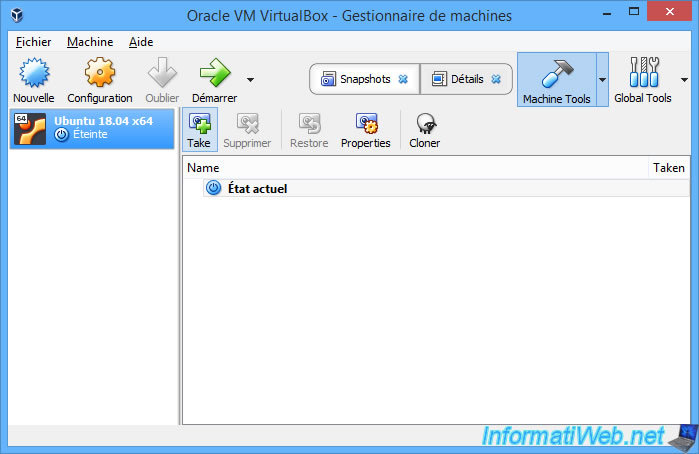
- turn off your virtual machine
- select it
- click on : Machine Tools -> Snapshots
- click on : Take
To learn more about this feature, refer to our tutorial "VirtualBox - Create snapshots of a virtual machine".
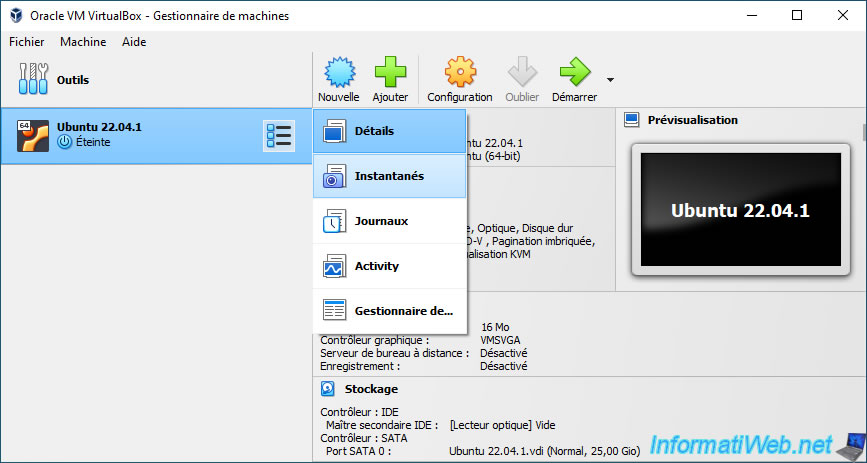
From VirtualBox 7, you will need to click on the menu icon of your Linux virtual machine and click on : Snapshots.
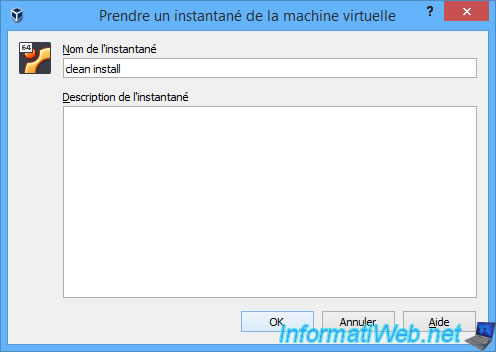
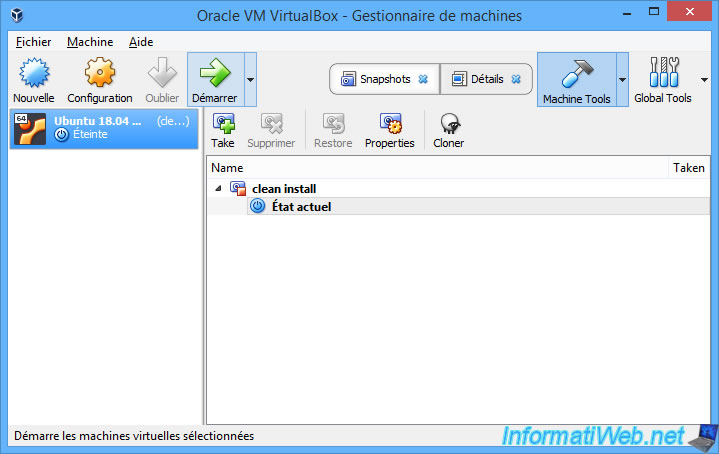
Specify "clean install" as the name (for example).
Then, start your virtual machine.
Since there are many Linux distributions (including the best known : Ubuntu, Debian, Cent OS and Red Hat), VirtualBox will first compile the guest additions to be compatible with your Linux distribution.
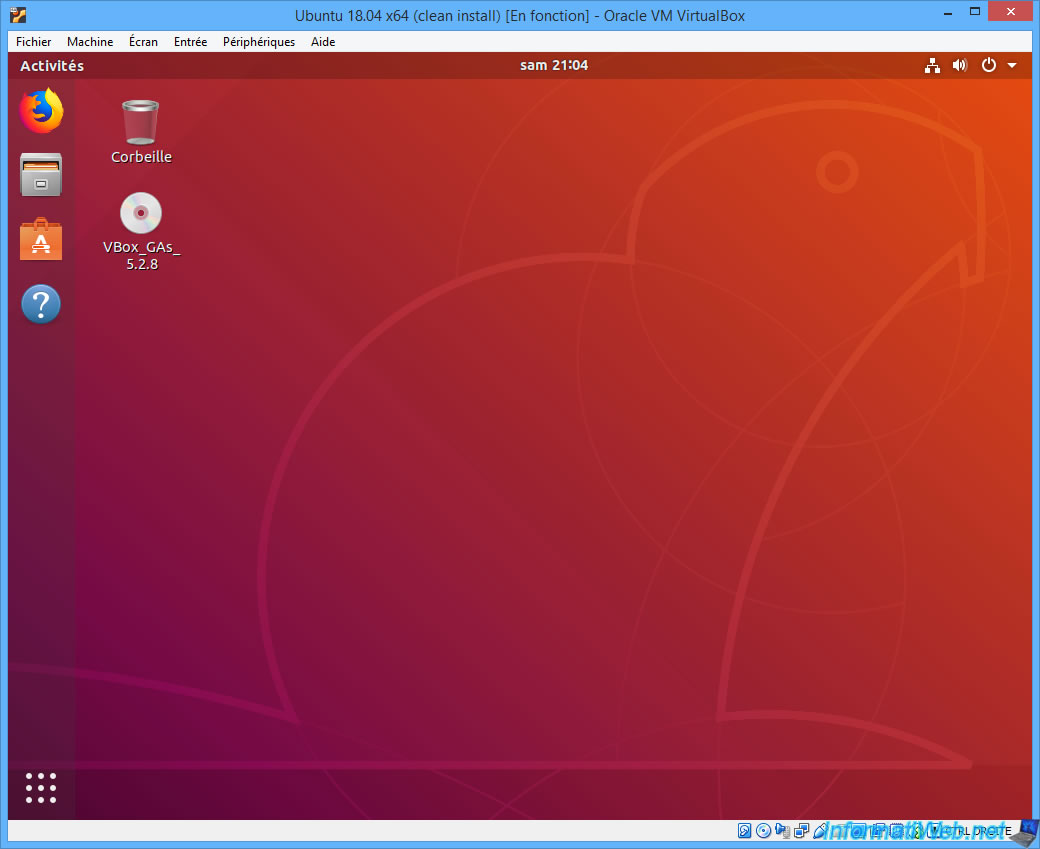
In our case : Ubuntu 18.04 in 64 bits (x64).
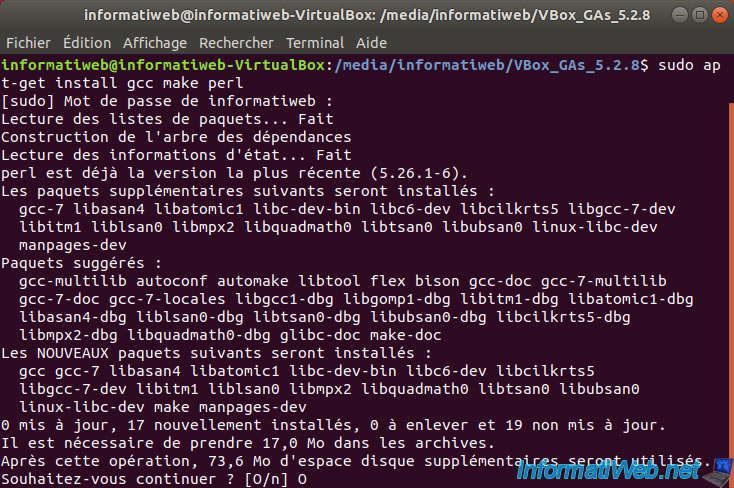
To be able to compile guest additions, the guest additions installer will need these packages : gcc, make and perl.
If not, you may see this message:
Plain Text
This system is currently not set up to build kernels modules
Please install the gcc make perl packages from your distribution.

To install them on Ubuntu or Debian, use this command :
Batch
sudo apt-get install gcc make perl
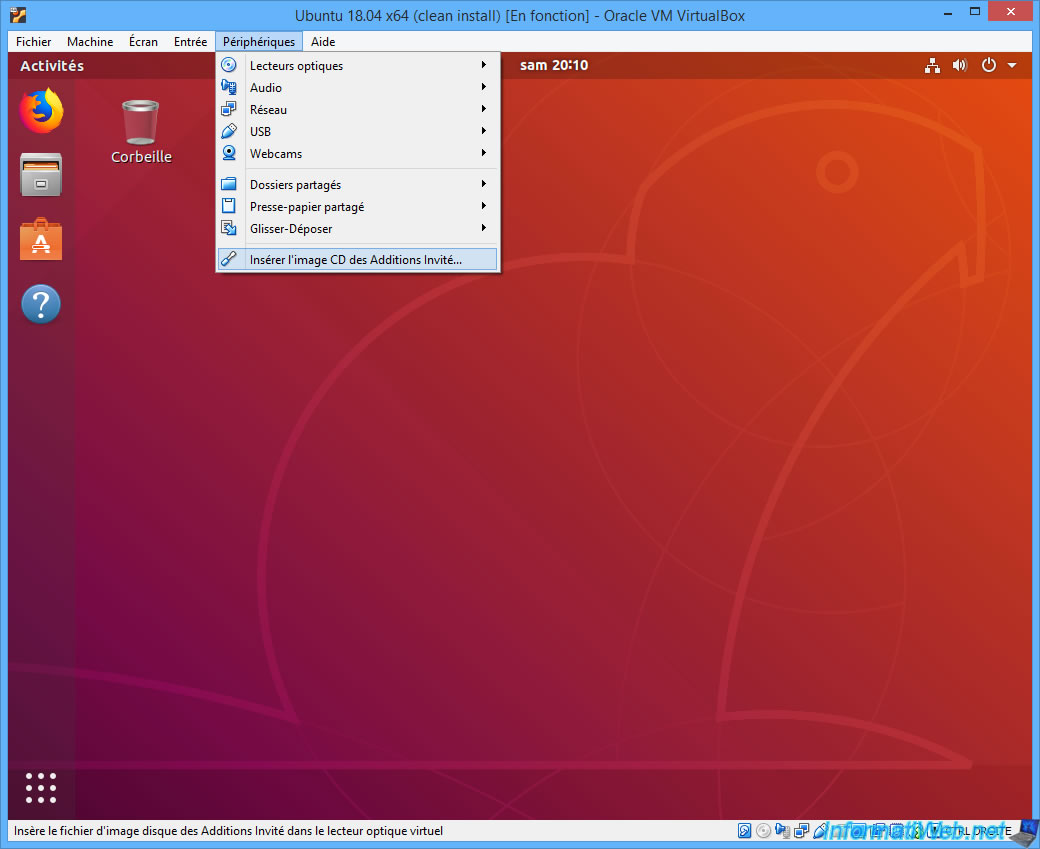
Once the installation of the required packages is complete, go to the Devices menu of VirtualBox and click on : Insert Guest Additions CD image.
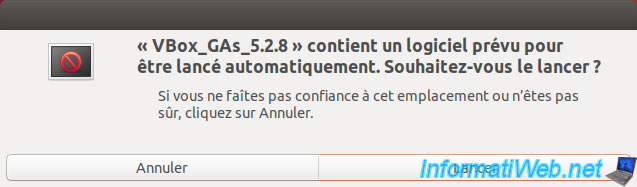
When the message "VBox_GAs_5.2.8 contains software intended to be automatically started. Would you like to run it?" appears, click Run.
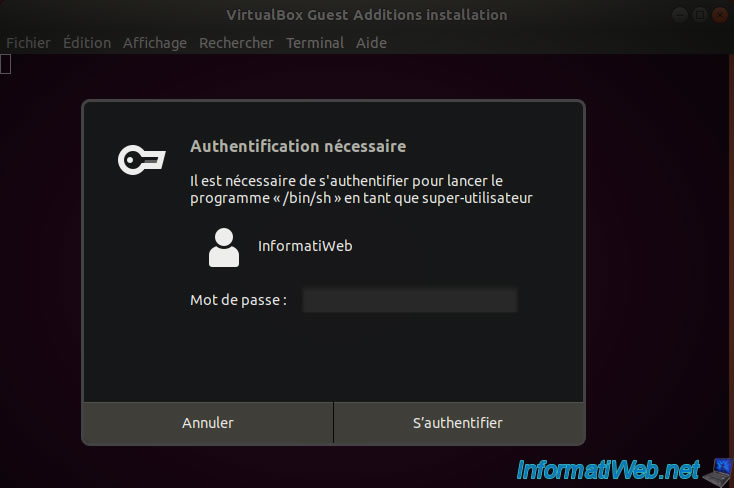
Enter your password and click : Authenticate.
If the VirtualBox Guest Additions installer doesn't launch automatically, open a terminal and gain root rights.
Bash
sudo su
Then, manually launch the program by typing the command below.
Note : "informatiweb" in the command below corresponds to the user currently logged into the virtual machine and "7.0.2" corresponds to our version of VirtualBox.
Bash
/media/informatiweb/VBox_GAs_7.0.2/VBox
Now, the "VirtualBox Guest Additions Installation" program is displayed and the compilation and installation of guest additions is done.
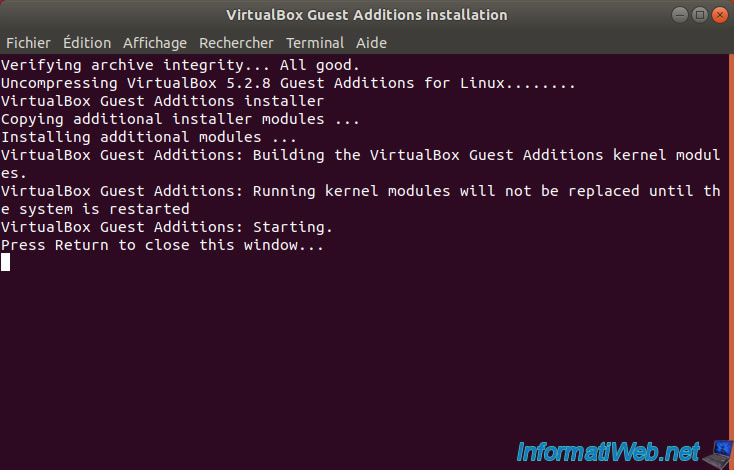
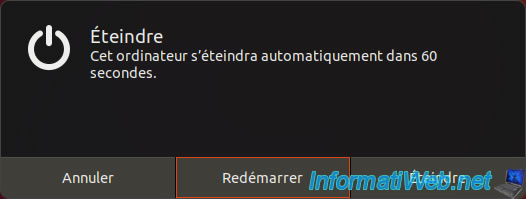
As mentioned before (Running kernel modules will not be replaced until the system is restarted), you will need to reboot your Linux virtual machine.
Now, guest additions are installed.
Share this tutorial
To see also
-

Virtualization 8/30/2019
Hyper-V - Coexistence with VirtualBox or VMware Workstation
-
Virtualization 8/25/2018
VirtualBox - Clone a virtual machine (VM)
-
Virtualization 7/22/2018
VirtualBox - Configure settings of your VMs
-

Virtualization 11/6/2020
VirtualBox - Connect an USB key to a VM
You must be logged in to post a comment