Manage your VirtualBox 6.1 / 6.0 / 5.2 virtual machines from a web browser (phpvirtualbox)
- Virtualization
- 13 October 2018 at 09:53 UTC
-

- 2/2
4. Settings
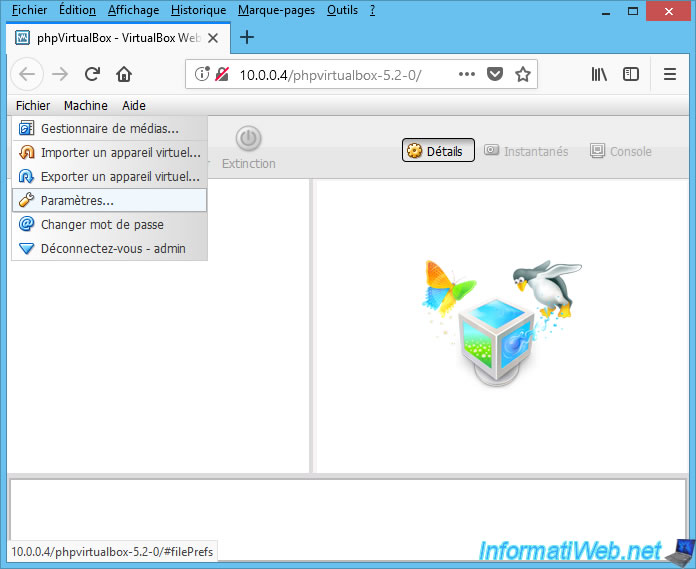
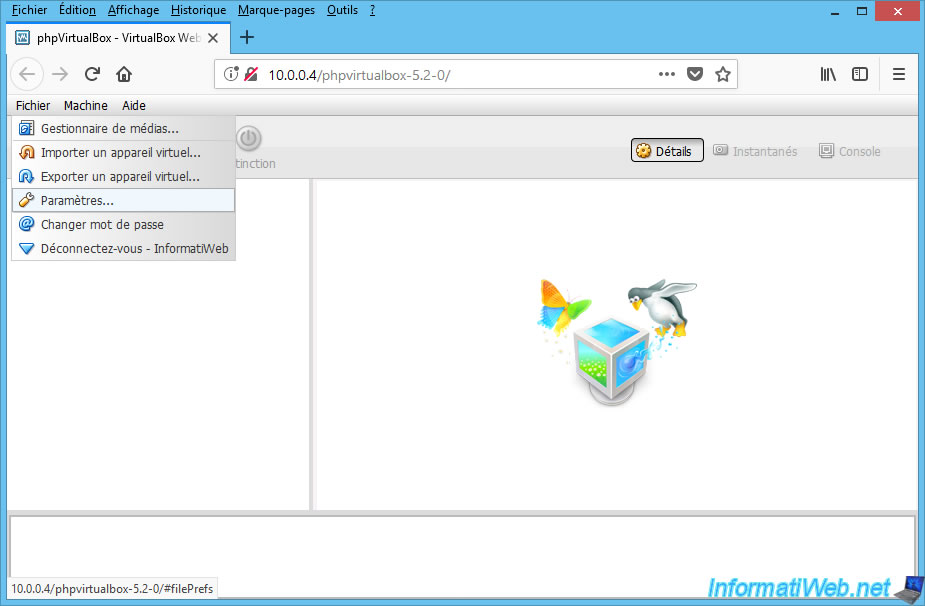
To access the settings of VirtualBox and phpvirtualbox, go to : File -> Preferences.
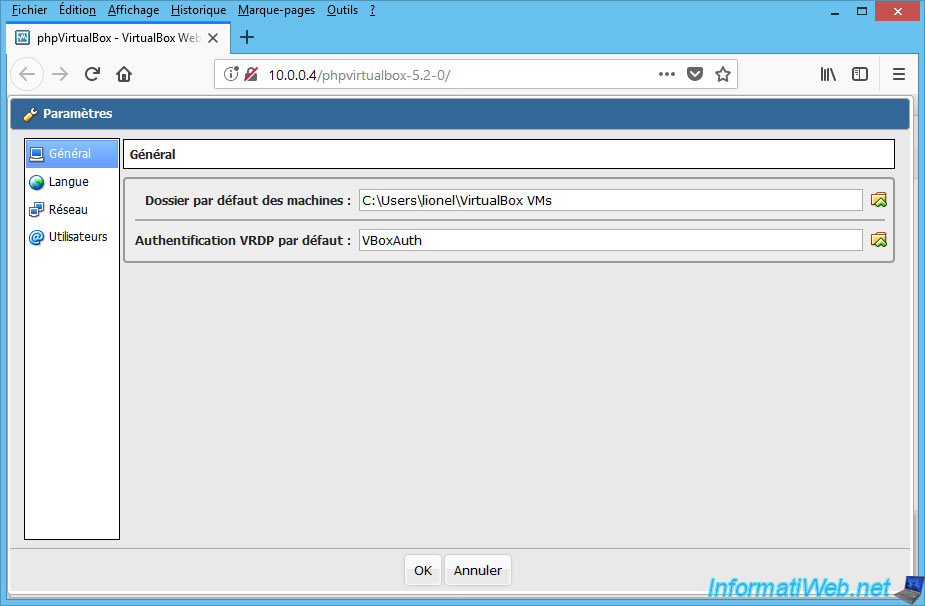
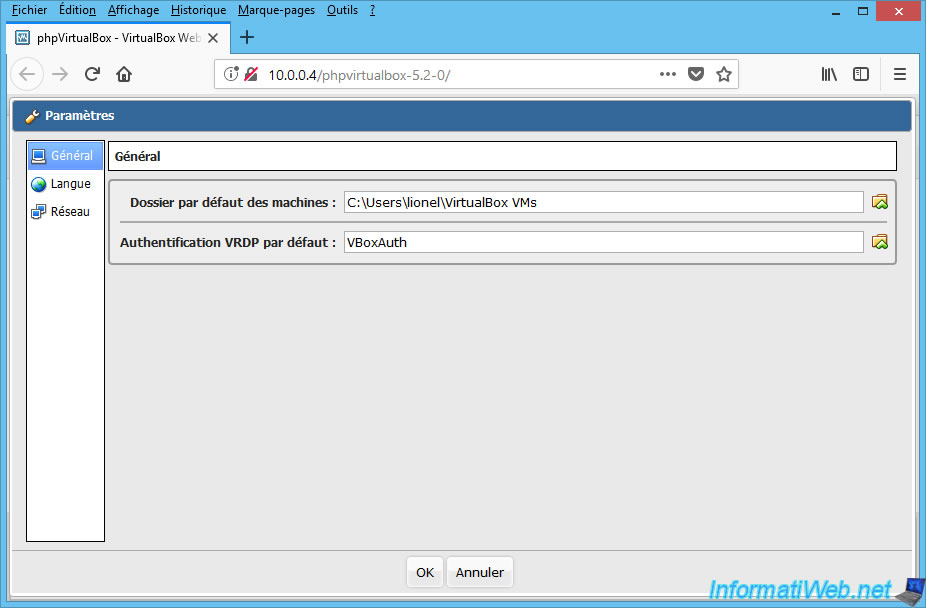
As you can see, you will have access to the general settings of VirtualBox.
But also to phpvirtualbox user management.
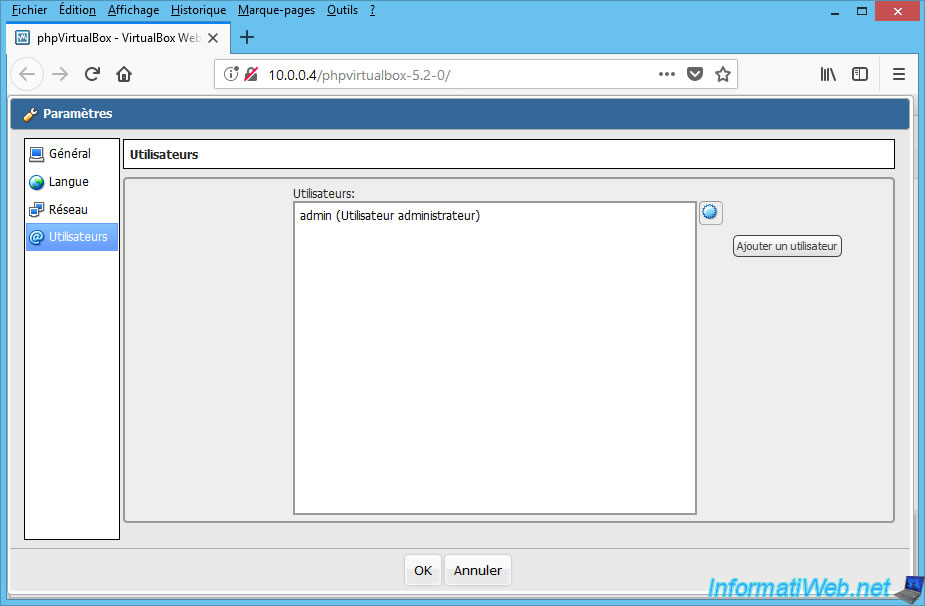
By default, you can manage phpvirtualbox users because you are using the administrator account.
But, if you create a new user, it will default to a standard user (unless you check the "Can administer users" box).

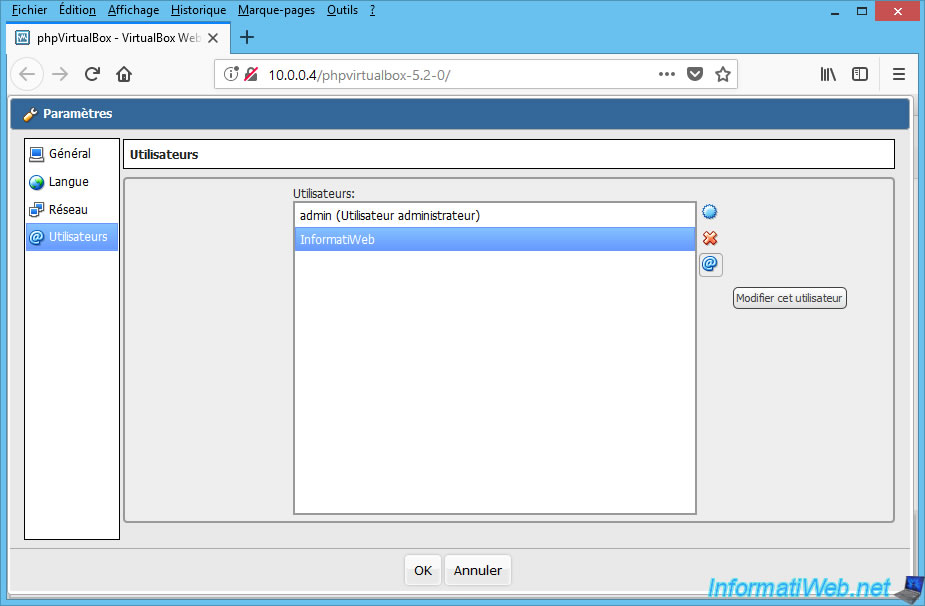
To edit a user, select it and click on the "@" icon on the right.
Disconnect from phpvirtualbox and reconnect with your new user.
Then, return to the preferences.
As you can see, our standard user doesn't have access to user management.
5. phpvirtualbox presentation
Now that phpvirtualbox is fully configured, here is a small presentation of this web interface.
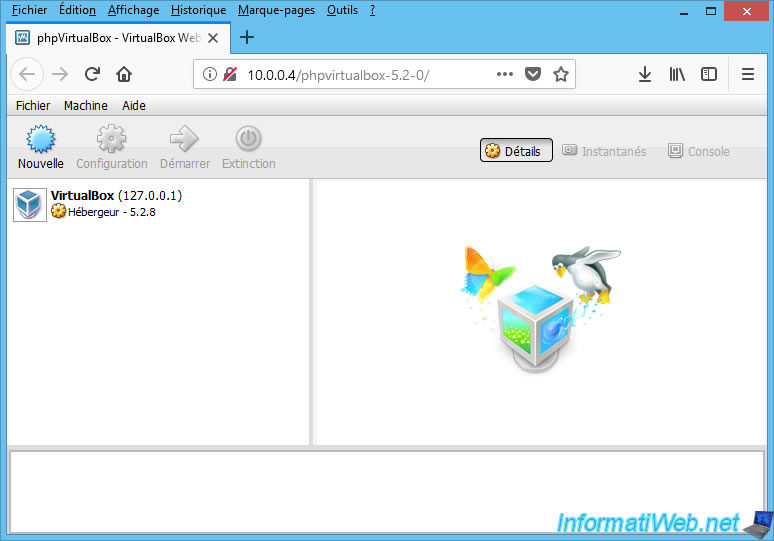
If you select the "VirtualBox - Host" machine, you will see information about the physical machine where VirtualBox is installed.
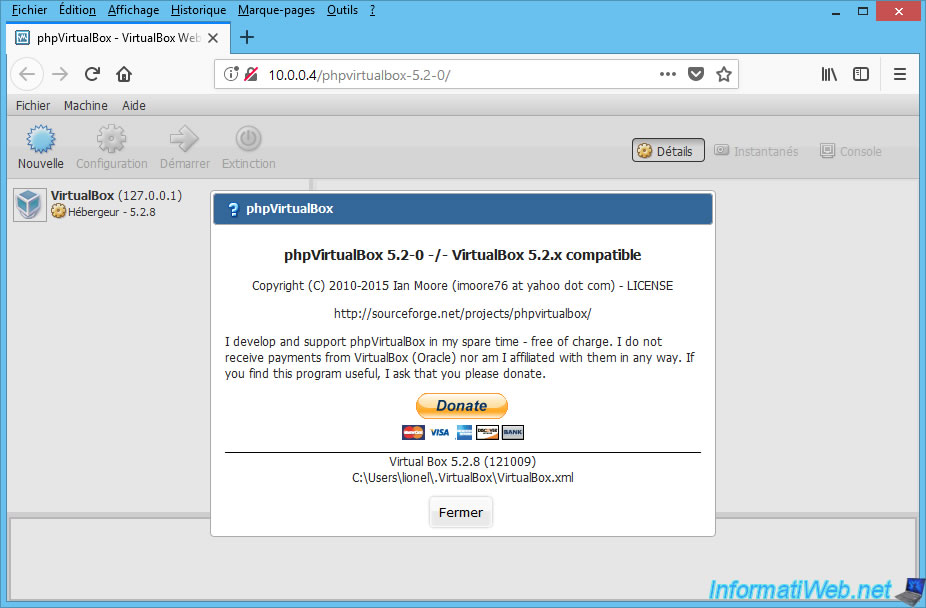
In the "Help" menu, you will be able to access phpvirtualbox information.
In our case, we see that we use phpVirtualBox 5.2-0 which is compatible with VirtualBox 5.2.x.
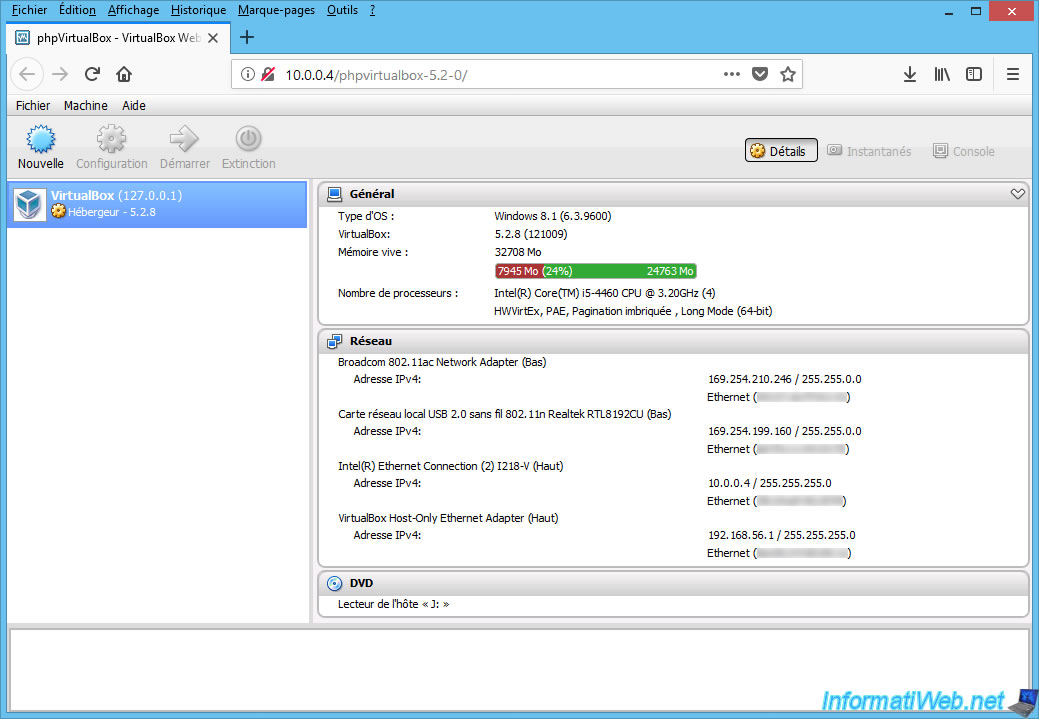
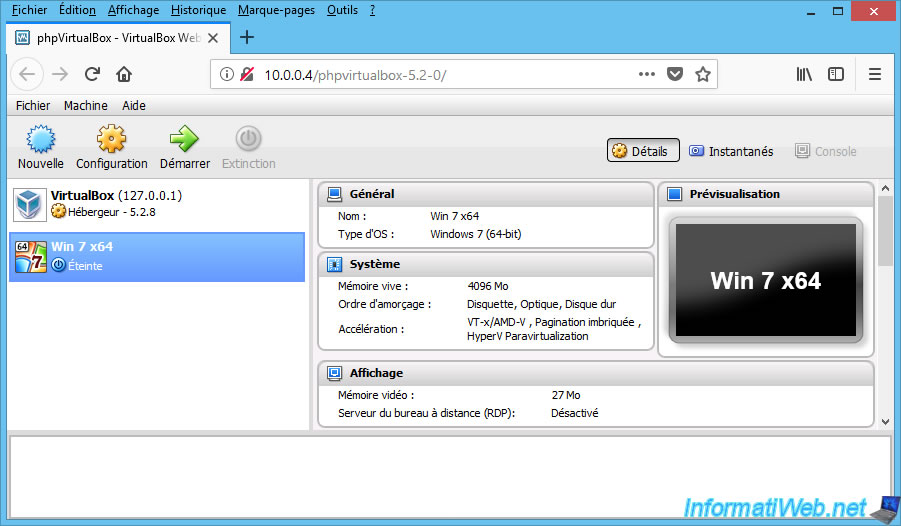
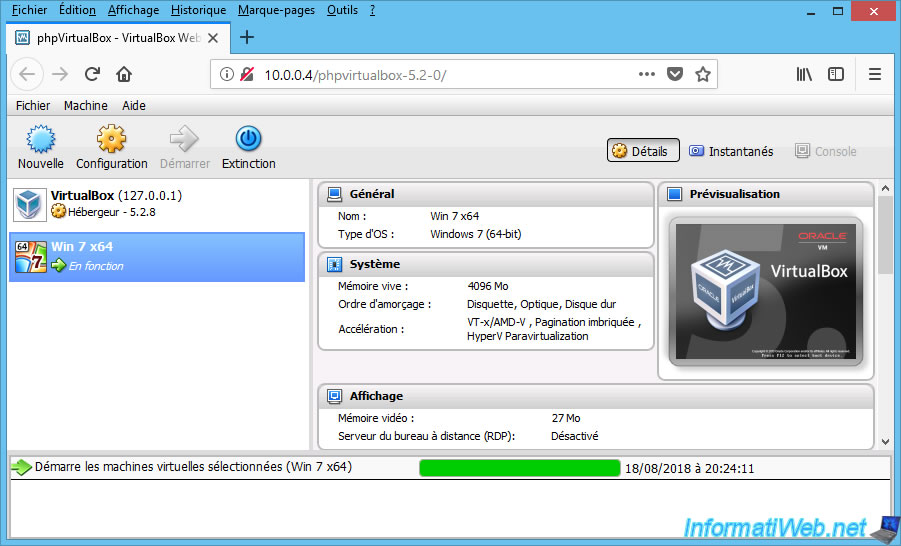
If you have already created virtual machines, simply select one to get information about it.
As you can see, the web interface is very realistic because it looks a lot like the normal version of VirtualBox.
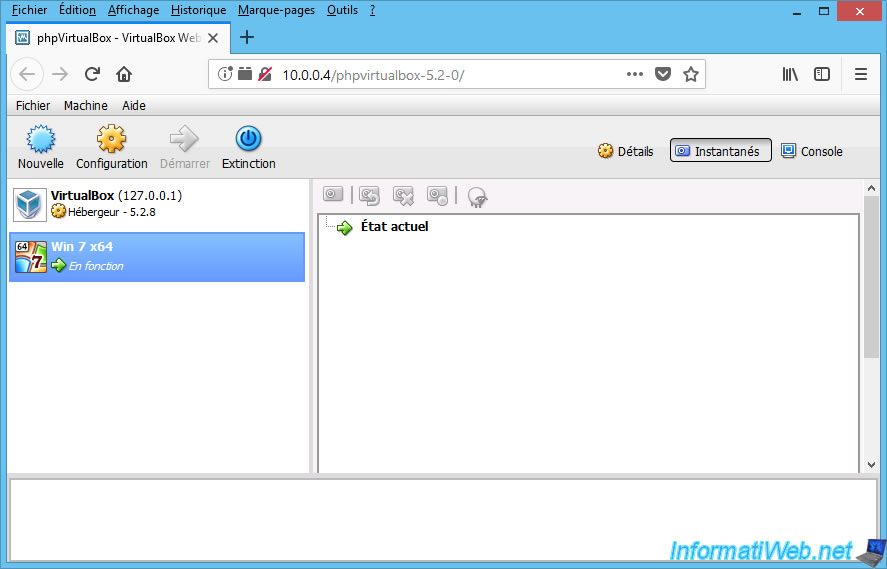
As in the VirtualBox program, you will also have access to the list of snapshots of your virtual machine.
You will be able to get an overview of your virtual machine.
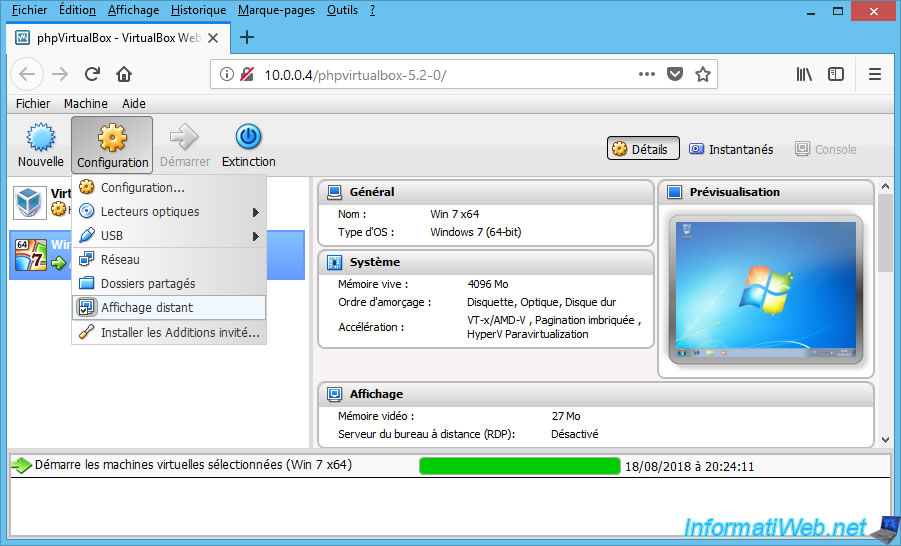
However, by default, the "Console" option may be grayed out.
If this is the case, select your virtual machine and click on the "Configuration" button.
Then, click on "Remote Display".
Warning : the "VirtualBox x.x.xx Oracle VM VirtualBox Extension Pack" extension pack corresponding to your version of VirtualBox must be installed for this "Remote Display" option (which depends on the VRDP protocol of VirtualBox) to be available.
Also, make sure your virtual machines are powered off before installing this VirtualBox extension pack.
Otherwise, this error will appear :
Plain Text
VirtualBox error: rc=0x80004005 VirtualBox Remote Desktop Extension is not available (0x80004005)
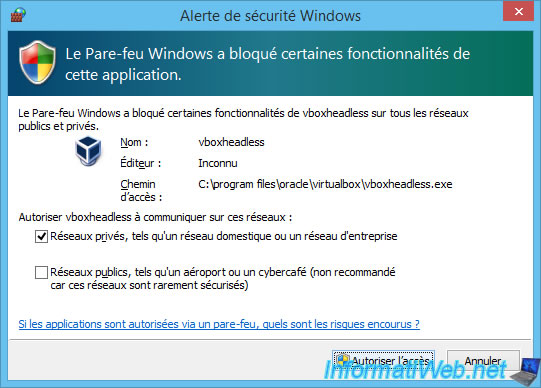
When you first enable this option, this will cause a security alert to ask you to allow this program in the Windows Firewall.
Click on "Allow access".
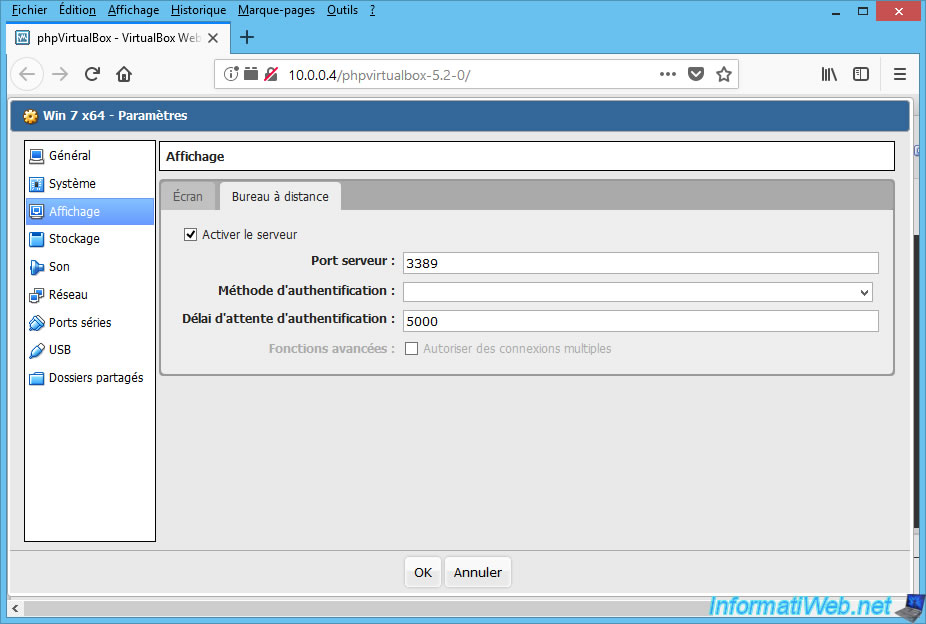
If you go into the settings of your virtual machine (via the "Configuration -> Configuration" option), you will see that the server for the remote desktop is enabled.
However, it will be disabled again when the virtual machine is shut down.
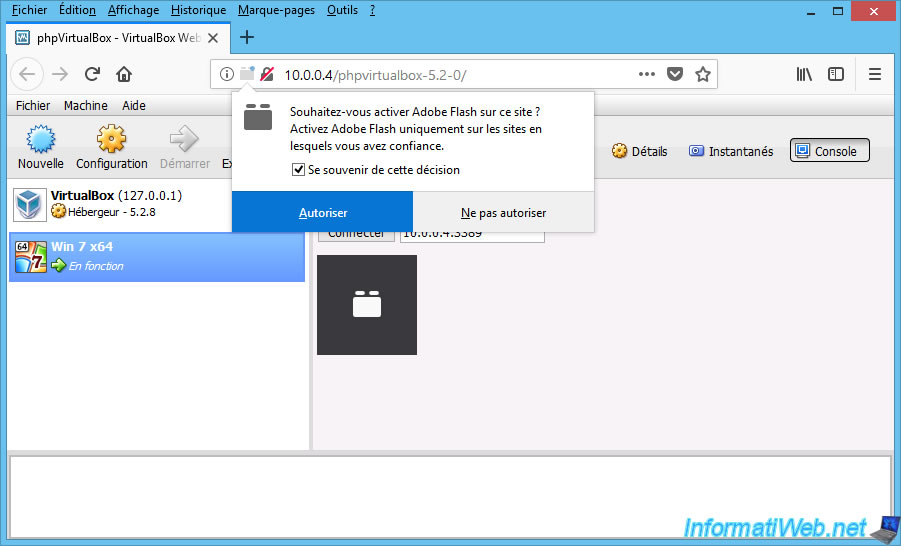
Although this project is still maintained, there remains a small drawback : the use of Adobe's Flash plugin.
Although this plugin is no longer used on the Internet.
In short, to access the console of your virtual machine, download the Adobe Flash Player plugin and install it.
Then, restart your web browser.
Once you have restarted your web browser, go back to the console.
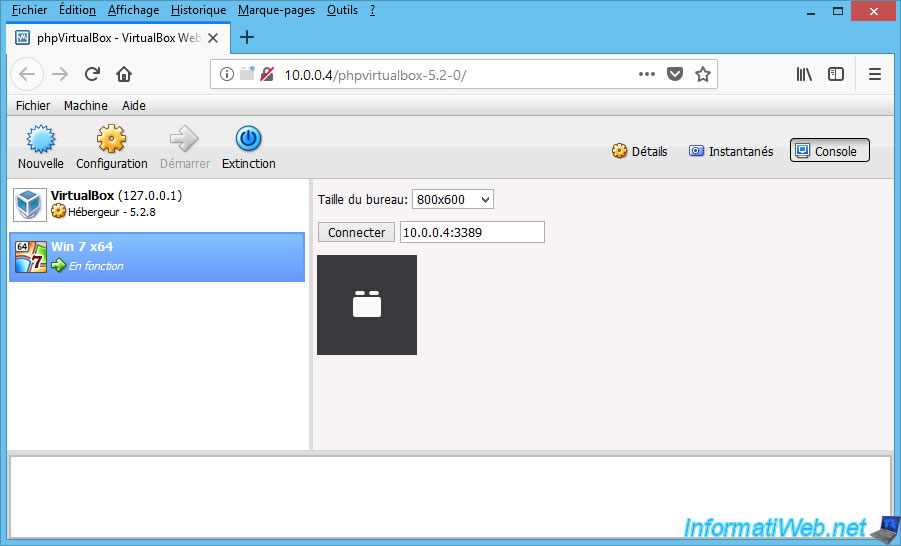
If you see an icon (as in the image below) in the square, click on it.
Note : this happens because the plugin is disabled by default by your web browser.
Check the "Remember this decision" box and click on "Allow".
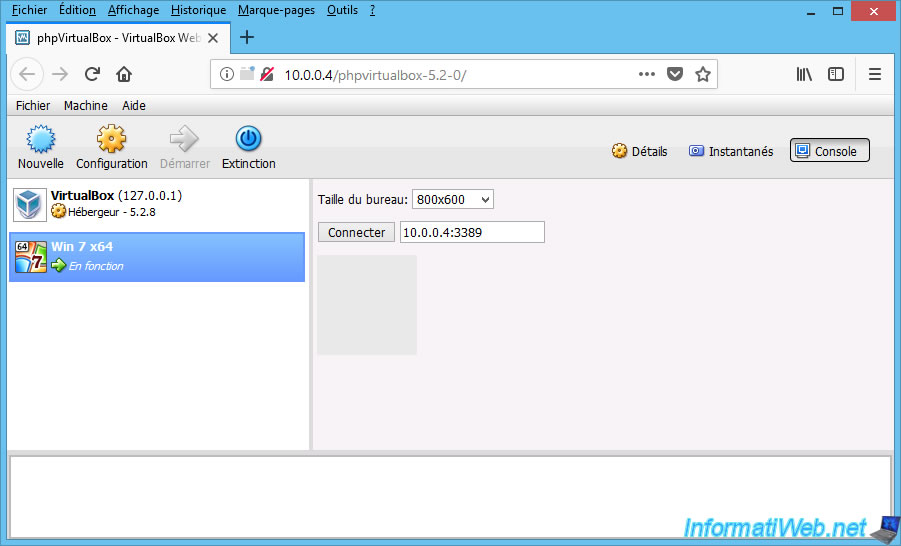
Now, click on "Connect".
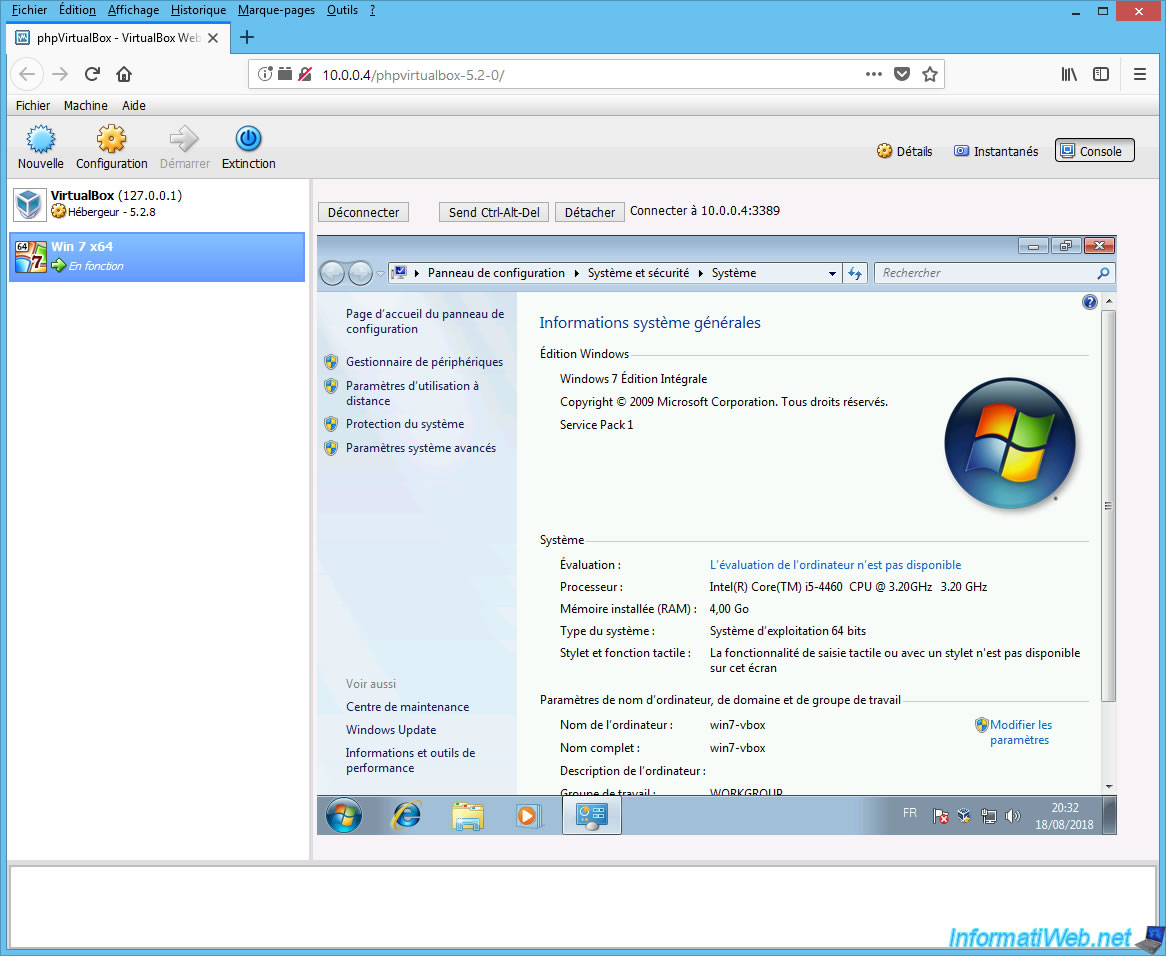
If all goes well, you will have remote access to the desktop of your virtual machine.
Note : to hide the "Oracle RDP Web Control" notification, just click once in the console.
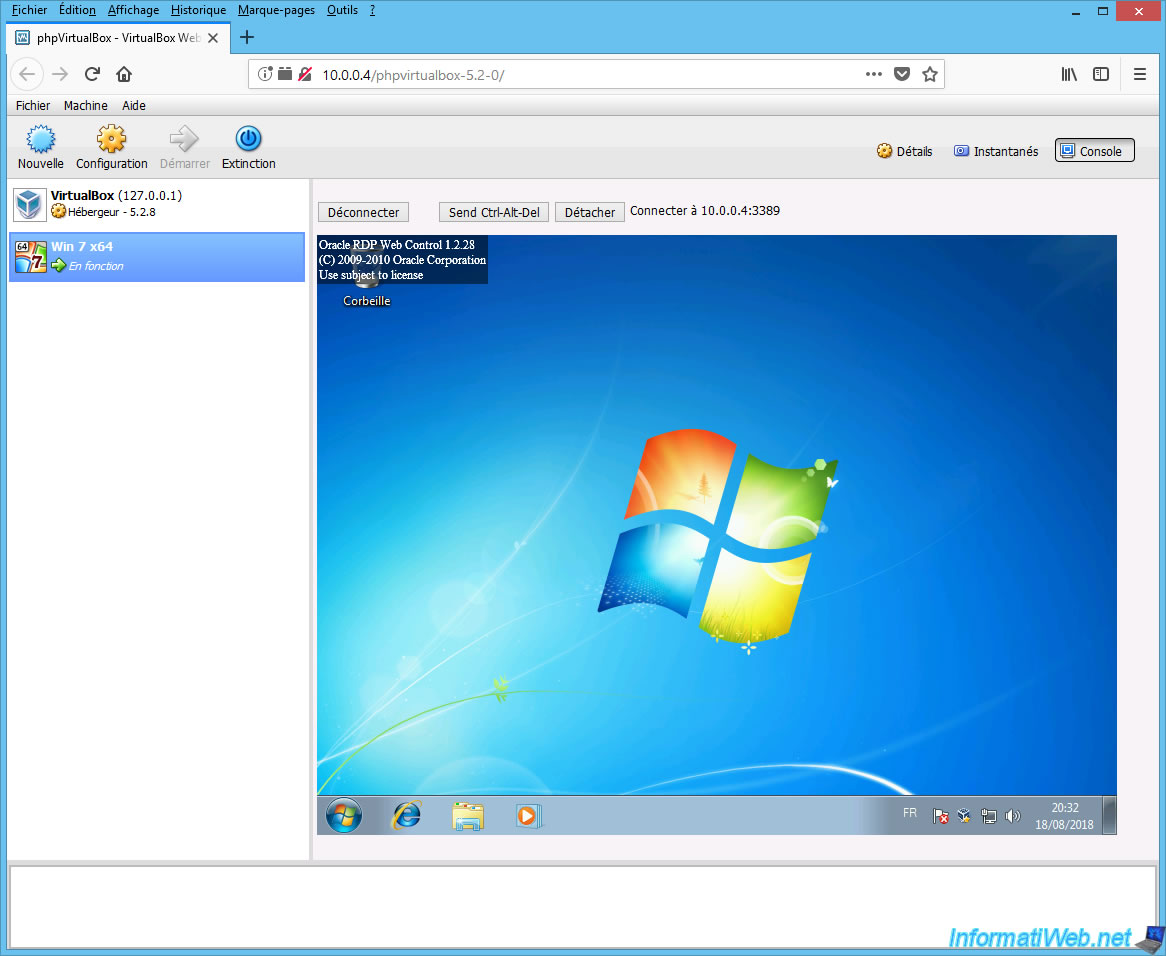
As you can see, I have access to my virtual machine remotely.
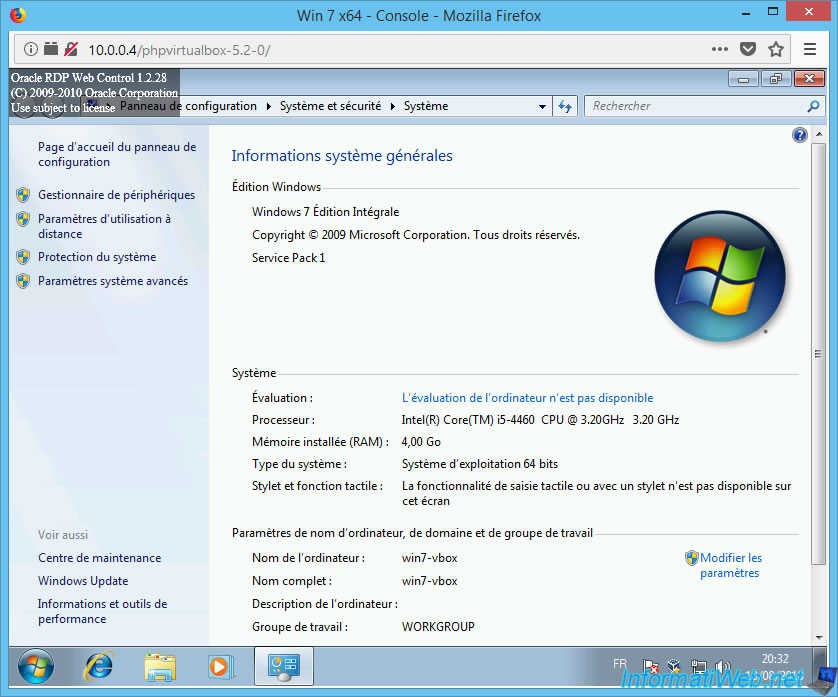
If you want to manage your virtual machine in a separate window, click "Detach".
In this case, the display will appear in another window.
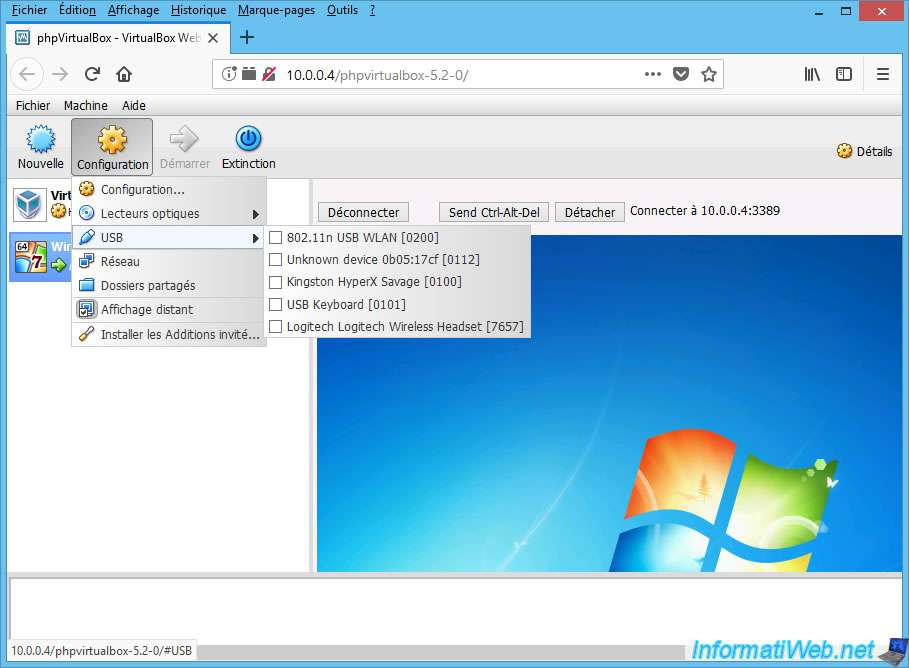
Since you do not have the menu bar with the options of your virtual machine, you can access it via the "Configuration" button.
As you can see, you will find the options to :
- change the disk in the virtual drive
- connect an USB device (for example our "Kingston HyperX Savage" USB key)
- install guest additions
- and more
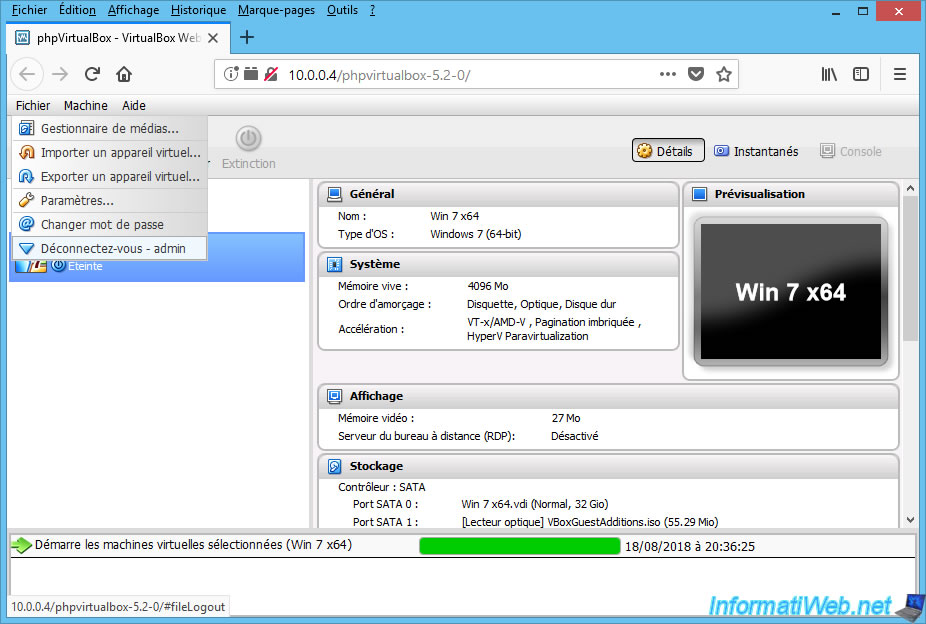
Once you're done, don't forget to log out of phpvirtualbox via the "File -> Log out" menu.
Share this tutorial
To see also
-

Virtualization 8/30/2019
Hyper-V - Coexistence with VirtualBox or VMware Workstation
-
Virtualization 8/25/2018
VirtualBox - Clone a virtual machine (VM)
-
Virtualization 7/22/2018
VirtualBox - Configure settings of your VMs
-

Virtualization 11/6/2020
VirtualBox - Connect an USB key to a VM
No comment