Upgrade your computer on Windows 8 or 8.1 to Windows 10 for free
- Windows
- Windows 8 / 8.1
- 05 September 2020 at 20:41 UTC
-

- 2/2
3. Upgrade Windows 8 or 8.1 to Windows 10 from Windows 10 installation DVD
If you have a Windows 10 installation DVD in the same architecture (x86/x64) as your current Windows 8 / 8.1 installation, you will be able to initiate the upgrade from that installation DVD.
To do this, insert it into your CD/DVD drive and double-click on it.
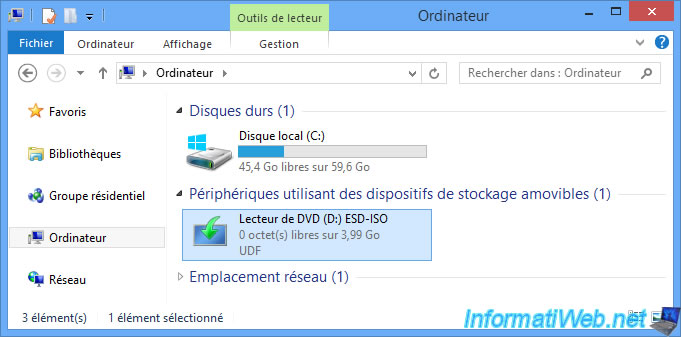
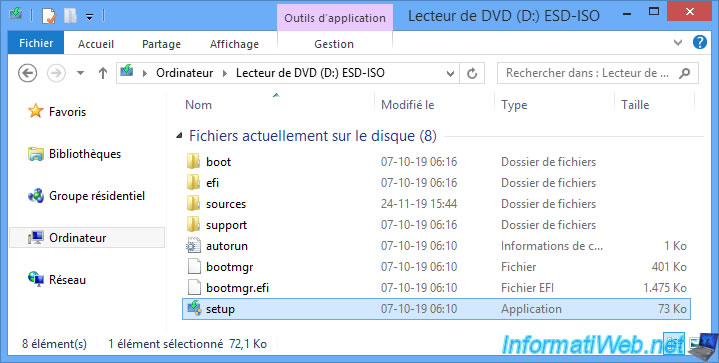
If the installation program doesn't start automatically, enter this DVD and launch the "setup.exe" file which is there.
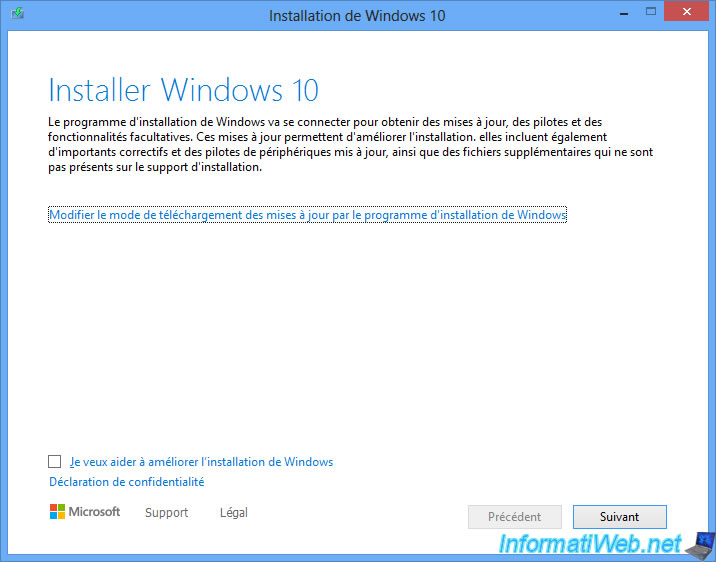
When using a Windows 10 installation DVD to upgrade, you have the option to choose whether you want to automatically download updates during the upgrade or not.
To do this, click on the link : Change how the Windows installer downloads updates.
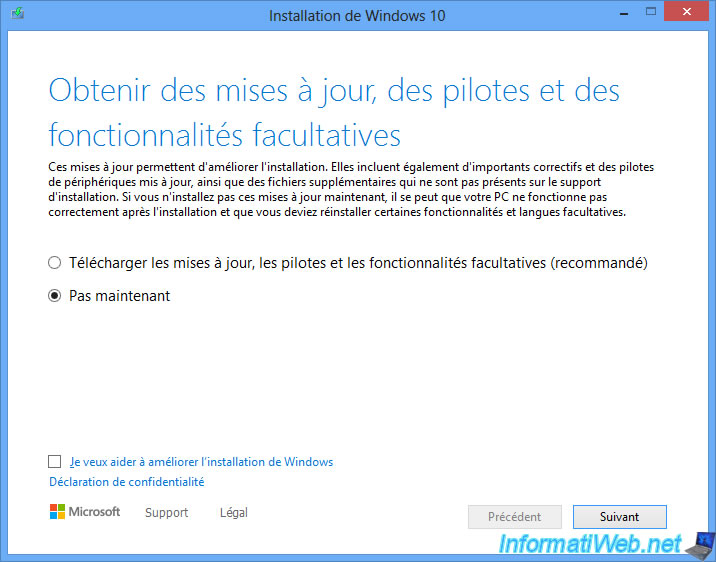
If you clicked on the link mentioned above, the "Get updates, drivers and optional features" step will appear.
Choose whether you want to download them or not and click Next.
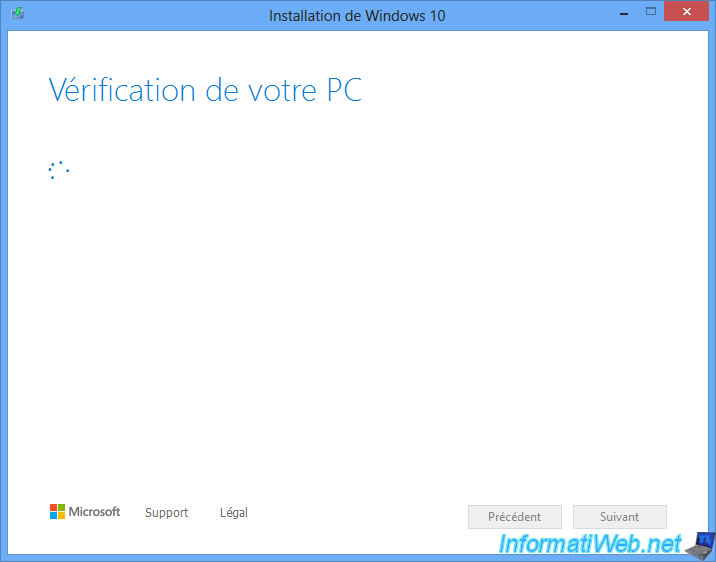
Your PC will be checked.
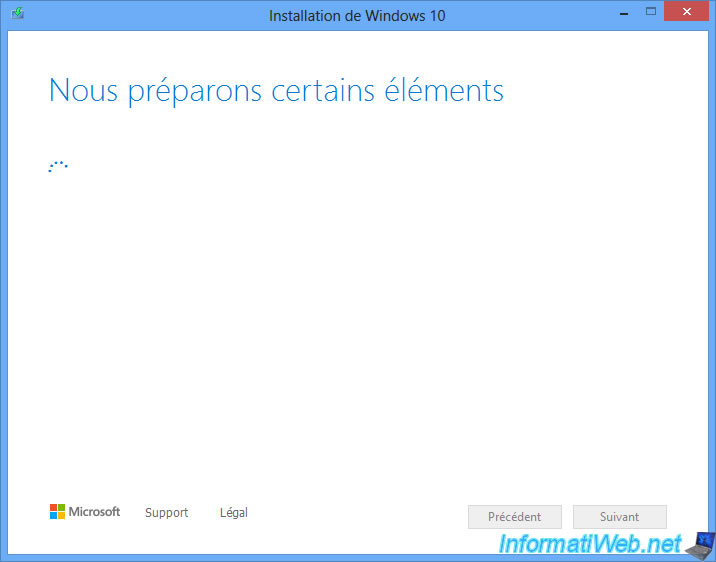
The message "We are preparing some items" will then appear.
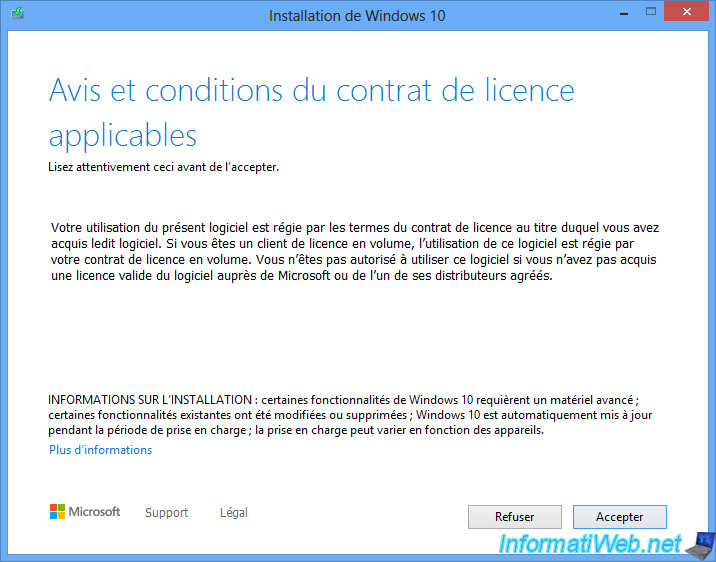
Accept the Windows 10 license agreement.
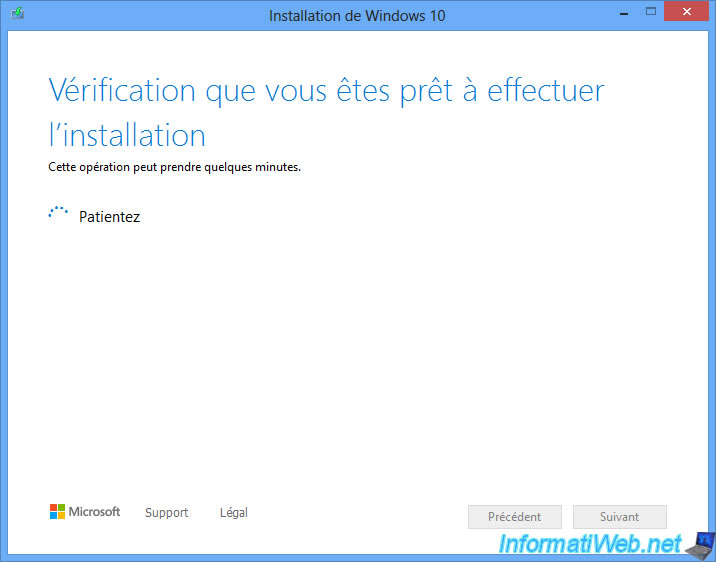
A second check will take place.
Which edition of Windows 10 will be installed depends on which edition of Windows 8 / 8.1 you currently own.
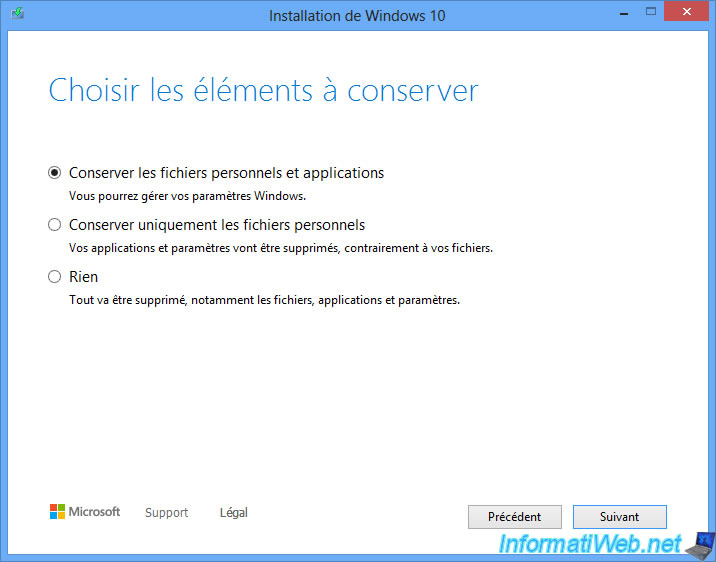
To change the choice regarding whether or not to keep personal files and installed applications, click on the "Change what to keep" link.
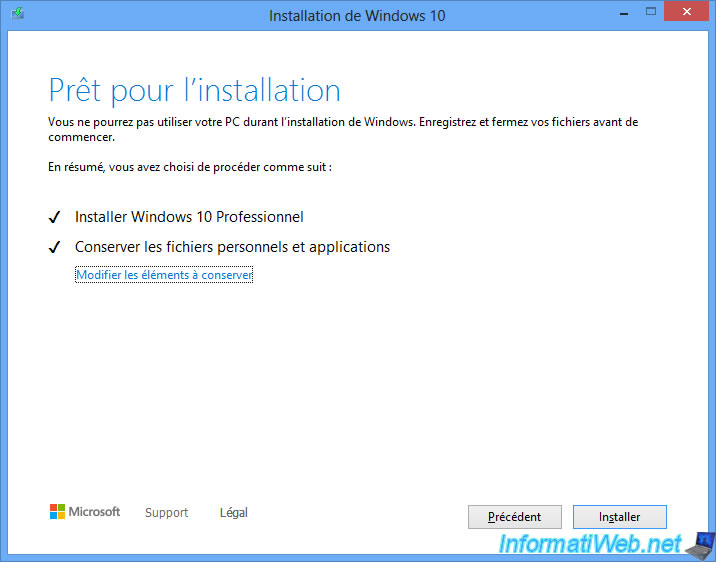
Choose the items to keep and click Next.
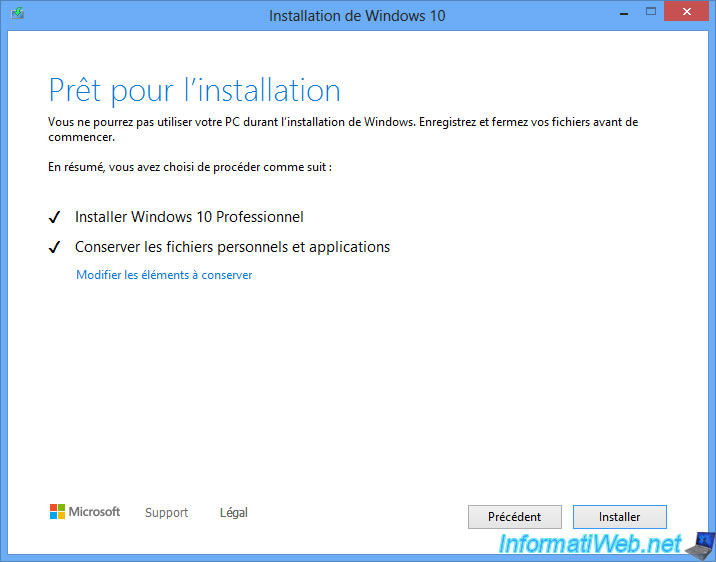
And finally, click on : Install.
4. Upgrade from Windows 8 or 8.1 to Windows 10
Whether you used the Windows 10 Media Creation Tool or its installation DVD, an "Installing Windows 10" screen will appear with this message :
Plain Text
Your PC will restart several times. This might take a while.
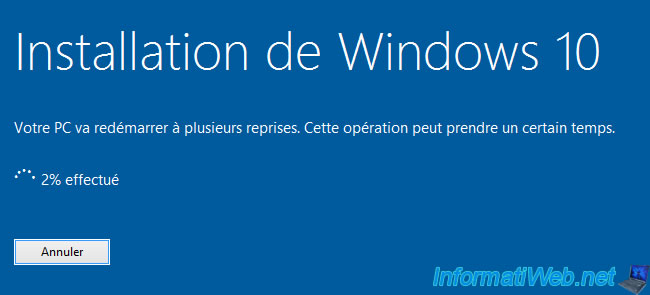
Then, the PC will restart and the "Installing updates" message will appear.
Note that the PC will restart several times during this installation, as shown on the screen.

Once the installation is complete, Windows 10 setup continues.

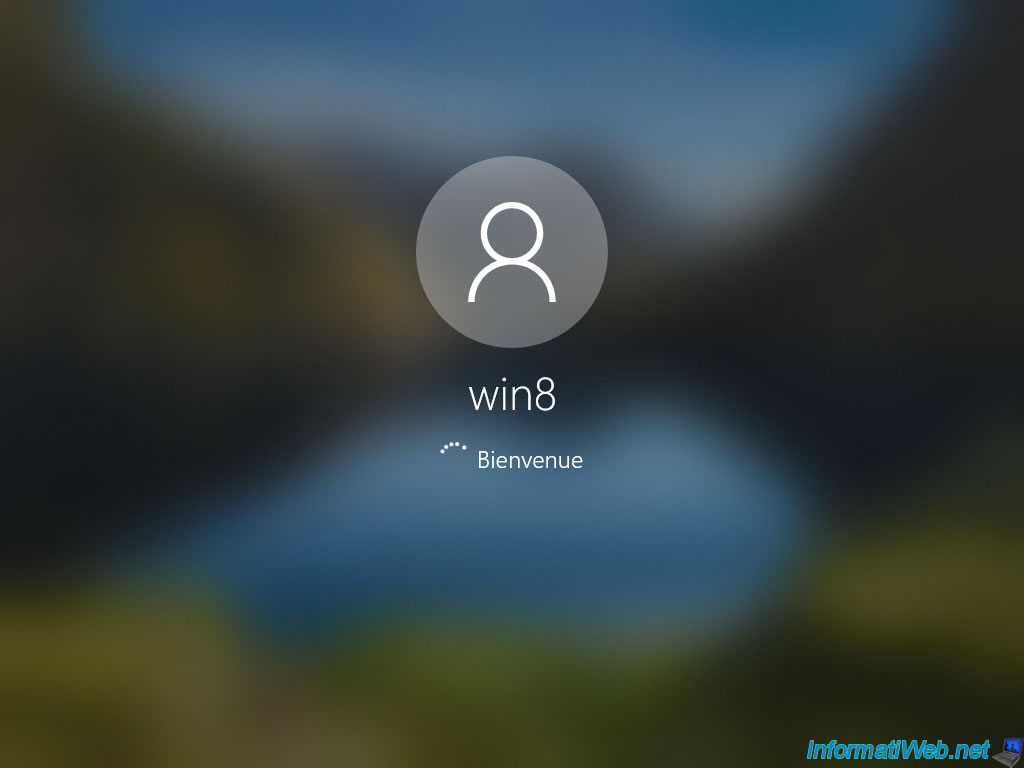
Then, the session opens.
And additional configurations are done automatically.

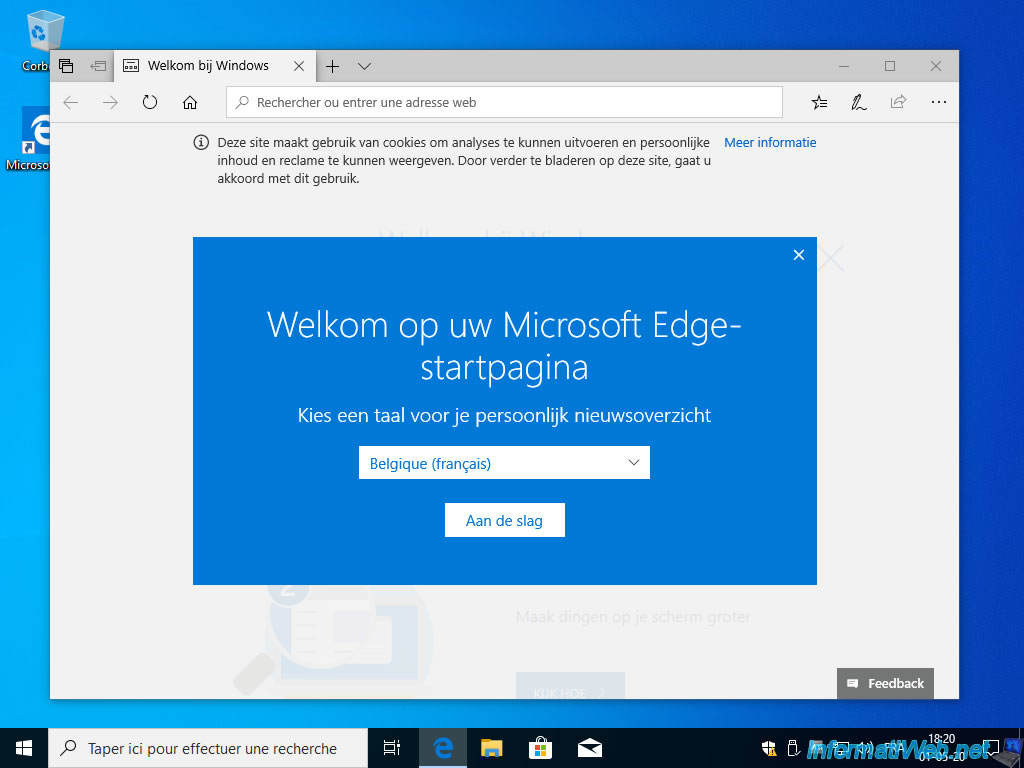
Once you are logged in to Windows 10, Microsoft's new web browser will appear and ask you to select your country and language.
If you look in the Windows 10 system information, you will see that Windows 10 is indeed activated (if Windows 8 / 8.1 was already activated with an original license).

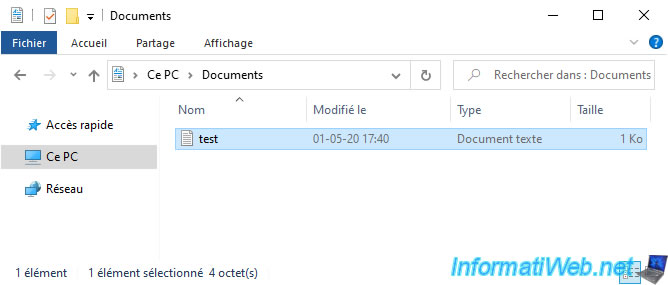
As expected, the user's documents have been retained.
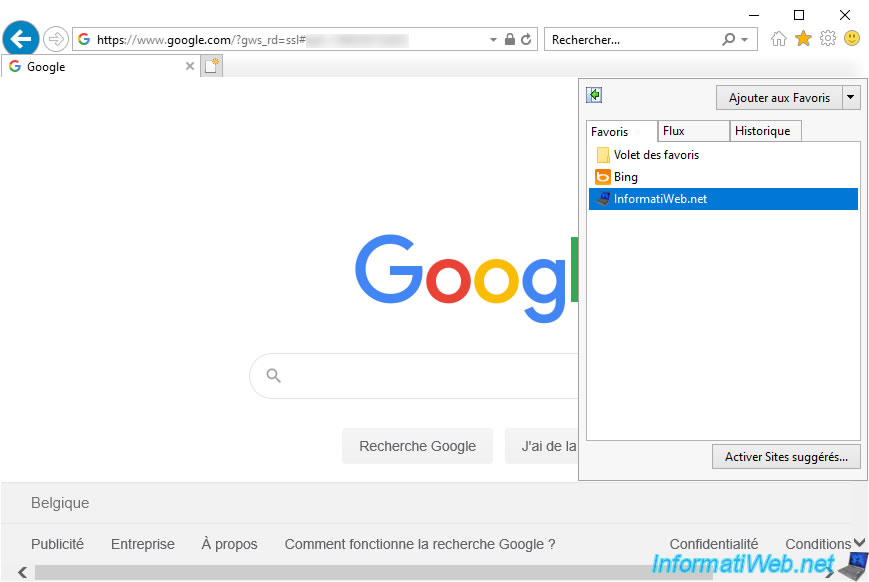
As well as the user's favorites in Internet Explorer.
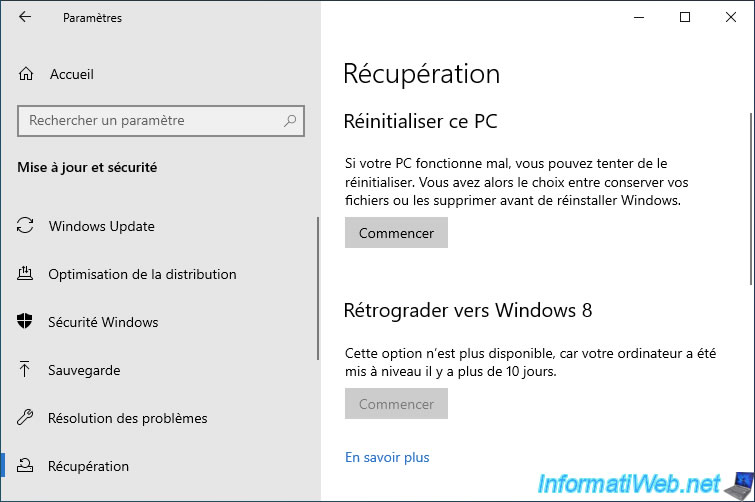
5. Remove the Windows.old folder
As with any Windows upgrade, a "Windows.old" folder has been created at the root of your "C" partition and contains your old installation of Windows 8 / 8.1.
If you want to remove it cleanly, right click "Properties" on the "C" partition.
WARNING : deleting this folder will disable the ability to return for free with a few clicks to Windows 8 / 8.1 if you ever change your mind within 10 days of upgrading to Windows 10.
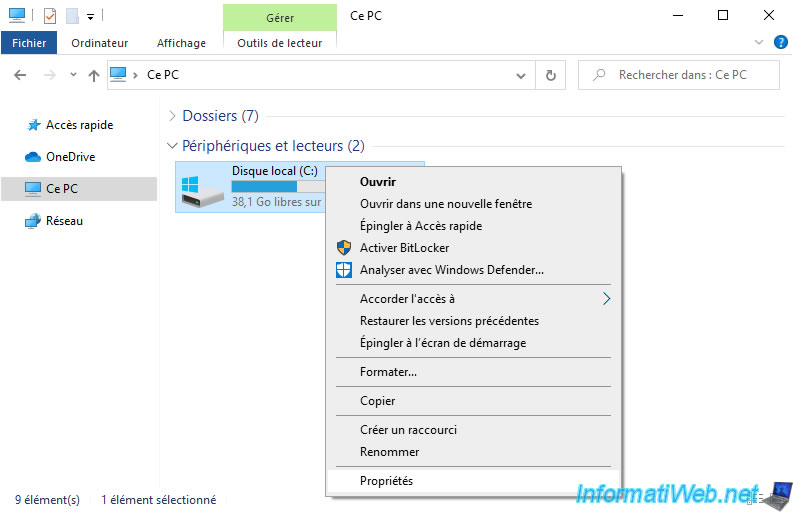
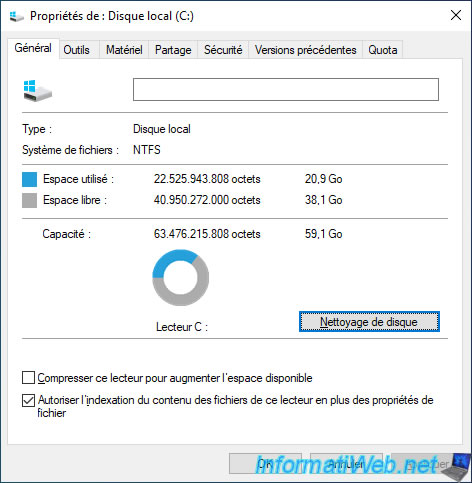
Then, click on : Disk Cleanup.
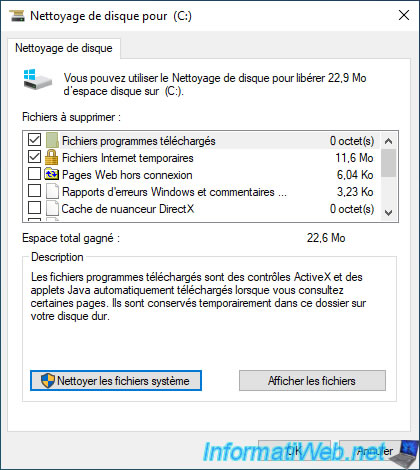
Click on : Clean up system files.
Check at least the "Previous Windows installation(s)" box and click OK.
As you can see, this previous installation of Windows takes up more than 10 GB of space on your hard drive.
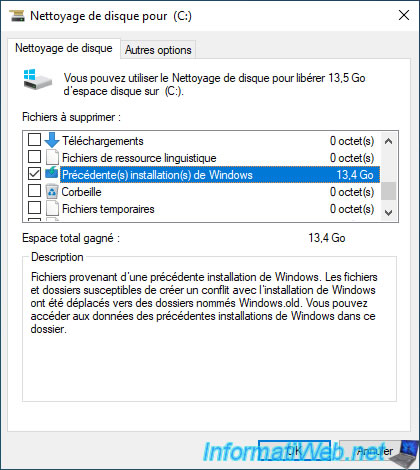
Confirm this deletion by clicking on : Delete Files.
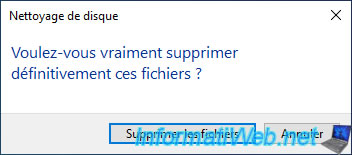
As explained previously, cleaning up previous Windows installations (and in other words : deleting the "Windows.old" folder) will prevent you from reverting to Windows 8 / 8.1 with just a few clicks.
Confirm this warning by clicking on : Yes.
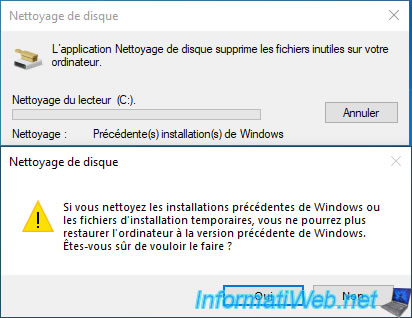
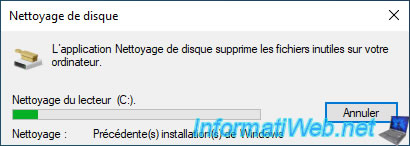
Wait while the previous Windows installation is cleaned up.
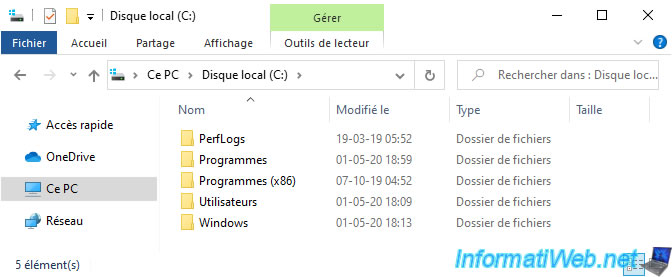
The "Windows.old" folder is now gone.
Note that as explained previously, removing this folder blocks the "Go back to Windows 8 (or 8.1)" option available in Windows 10 settings.
Share this tutorial
To see also
-
Windows 3/26/2013
Check and repair the file system
-

Windows 2/15/2013
Configure the firewall of your computer
-
Windows 3/17/2025
Windows 11 / 10 / 8.1 / 8 - Expand a simple storage space (software RAID 0)
-
Windows 6/23/2021
Windows 8 / 8.1 - Create a local account
No comment