Disable tracking systems (telemetry) of Windows 10 and 11
- Windows
- Windows 10, Windows 11
- 13 March 2023 at 19:10 UTC
-

- 4/4
7. Disable telemetry on Windows Media Player
As with previous versions of Windows, there is an enhancement program in Windows Media Player.
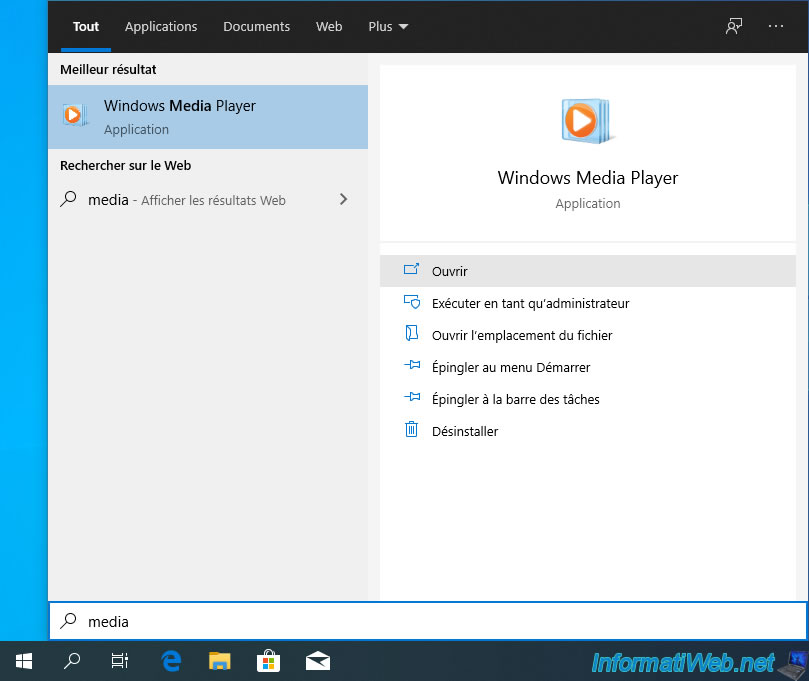
If this is displayed, you have never launched Windows Media Player.
In this case, just close the window.
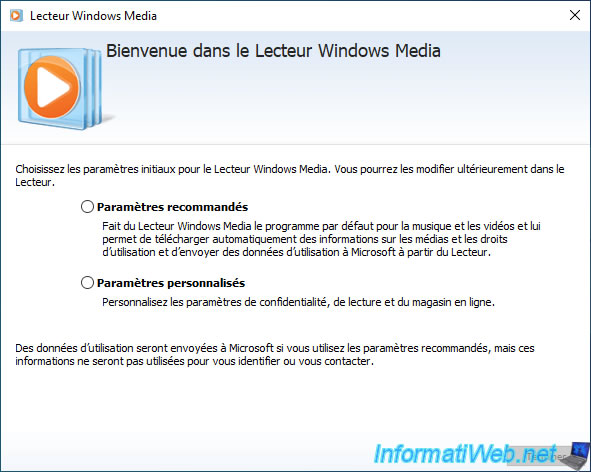
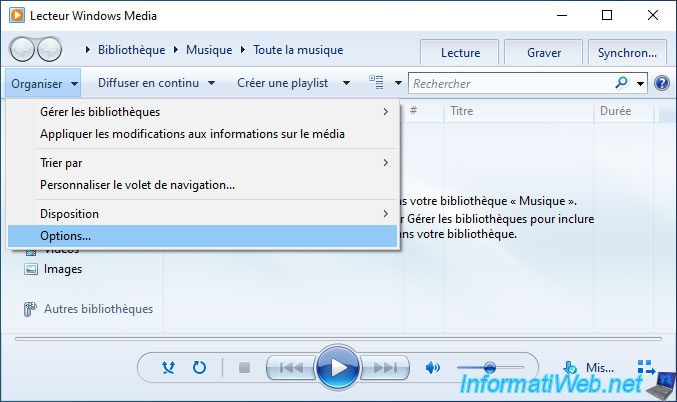
Otherwise, this will be displayed.
In this case, click on : Organize -> Options.
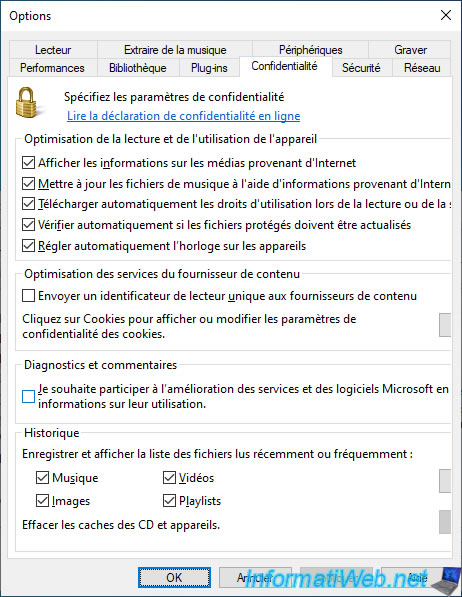
Then, go to the "Privacy" tab and uncheck the boxes :
- Send unique Player ID to content providers
- I want to help make Microsoft software and services even better by sending Player usage data to Microsoft.
8. Disable sending data from Windows Defender
Since Windows 7, there is an anti-spyware named Defender which comes with Windows and is enabled by default.
However, on Windows 10 and 11, it's configured to automatically send samples to Microsoft.
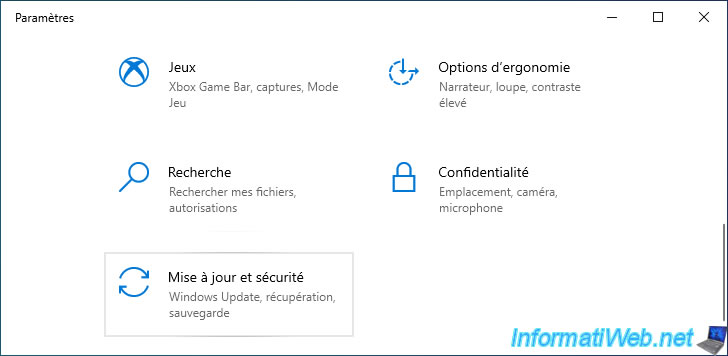
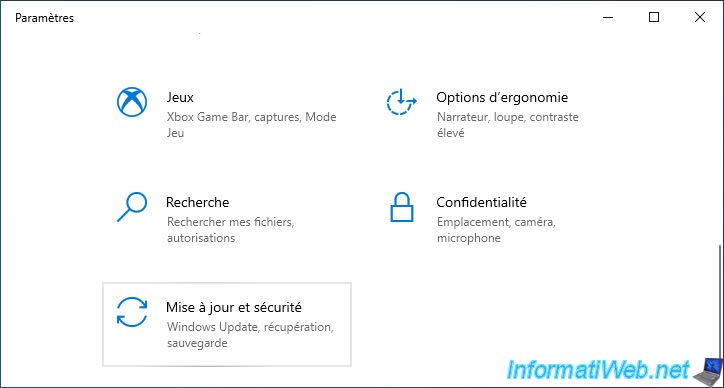
To disable this sending of samples, open the Windows 10 settings and go to : Update & Security.
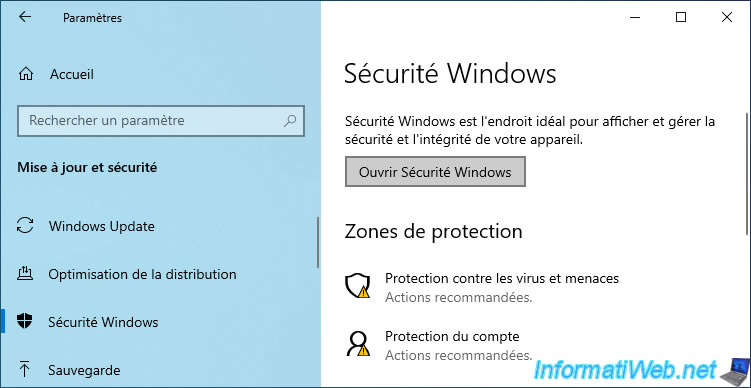
Then, on Windows 10, in the "Windows Security" section, click : Open Windows Security.
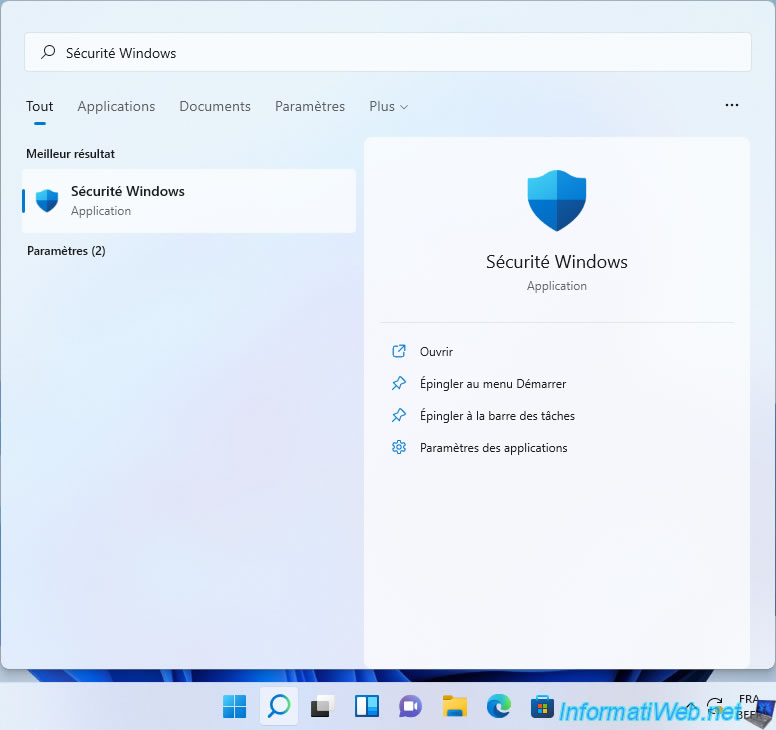
On Windows 11, search for "Windows Security" via the Windows start menu.
Then, in the "Windows Security" application that appears, click on the "Virus & threat protection" block.
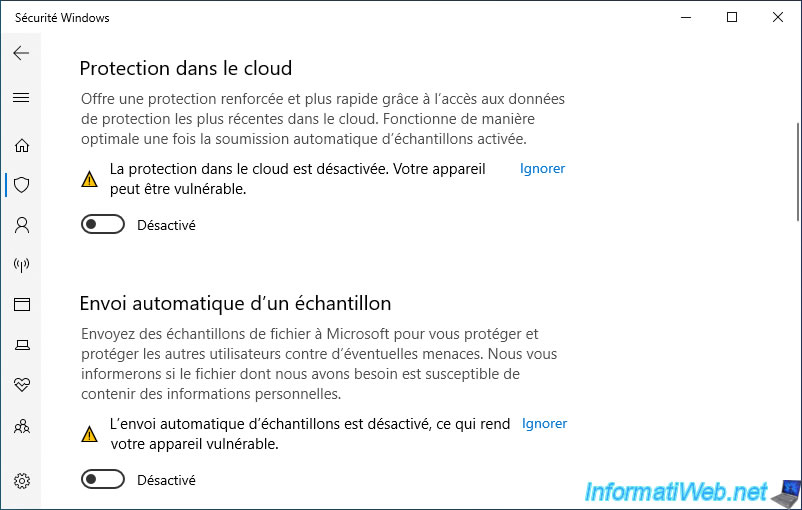
Then, locate the "Virus & threat protection settings" section and click on the "Manage settings" link.
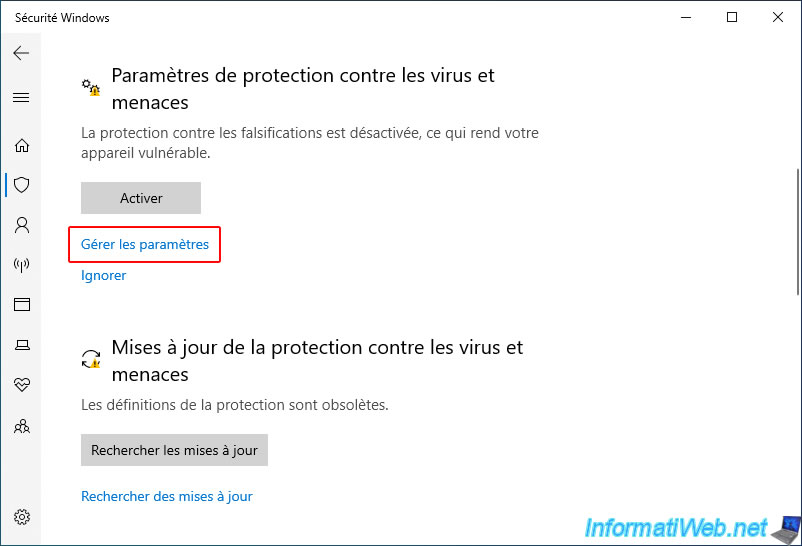
Disable the "Cloud-delivered protection" and "Automatic sample submission" options to prevent your computer from sending data to Microsoft.
9. Change how updates are distributed
From Windows 10, your computer can download and send downloaded Windows updates to other computers on your network or on the Internet.
If you want to avoid this, open Windows 10 Settings and go to : Update & Security.
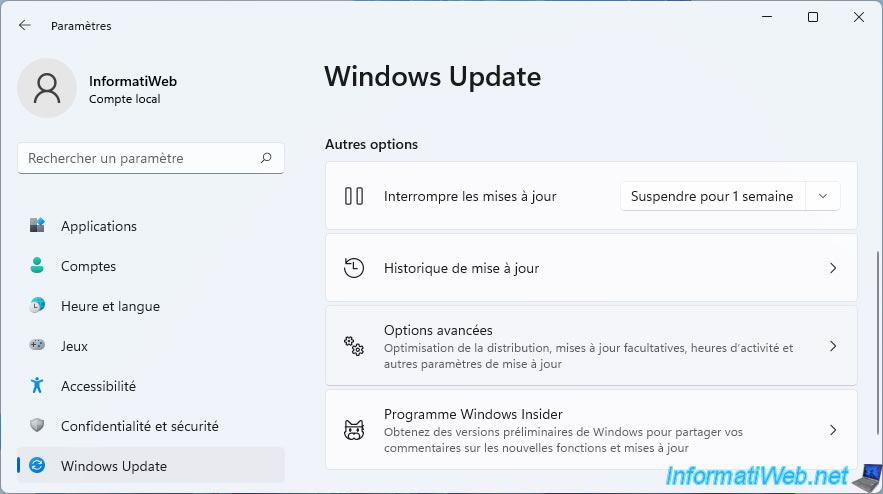
On Windows 11, go to the Windows 11 settings, go to the "Windows Update" section (on the left), then click on : Advanced options (on the right).
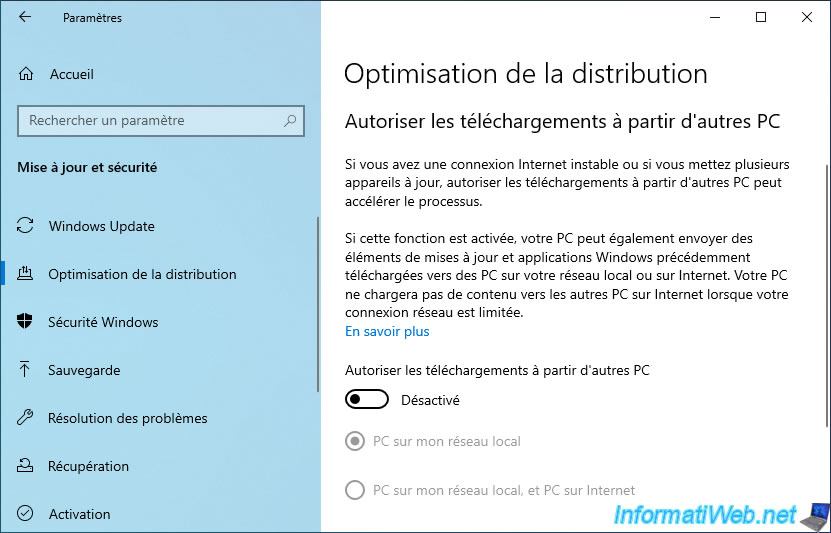
In the "Delivery Optimization" section (on the left on Windows 10 or on the right on Windows 11), disable the "Allow downloads from other PCs" option.
10. Disable SmartScreen and data collection in Microsoft Edge
Since Windows 10, Microsoft's new "Edge" web browser, the successor to Internet Explorer (IE), is pre-installed with Windows.
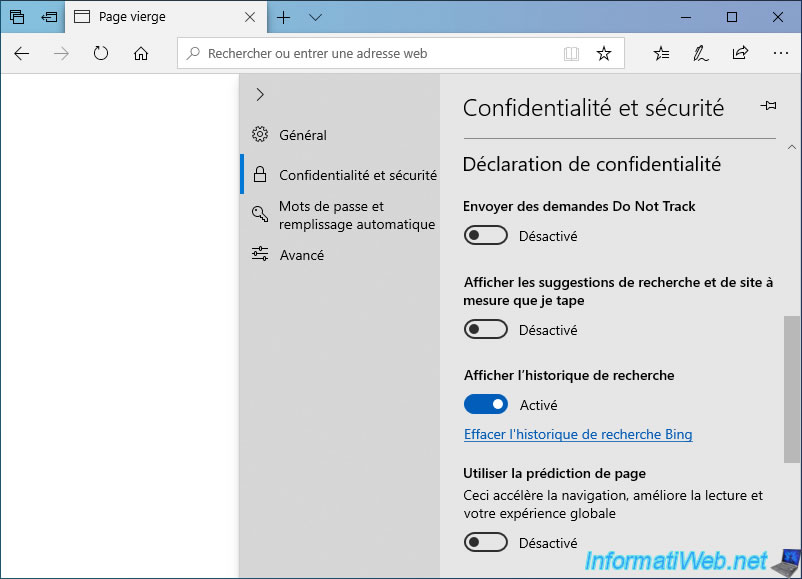
Go to Edge settings.

Then, in the "Privacy and security" section, disable the options :
- Show search and site suggestions as I type : This implies that data is sent to Microsoft to show you results that match what you type
- Use page prediction : same explanation
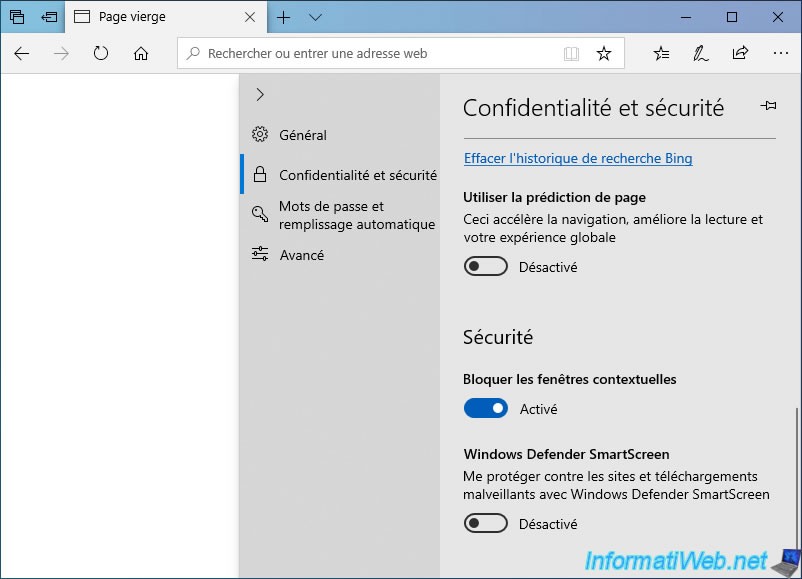
At the very bottom, you will find again "Windows Defender SmartScreen" which was also present in Internet Explorer and in this same web browser on Windows 7, 8 and 8.1.
On Windows 11, open the start menu, type "Windows Defender SmartScreen" and open the "Reputation-based protection" system setting that appears.
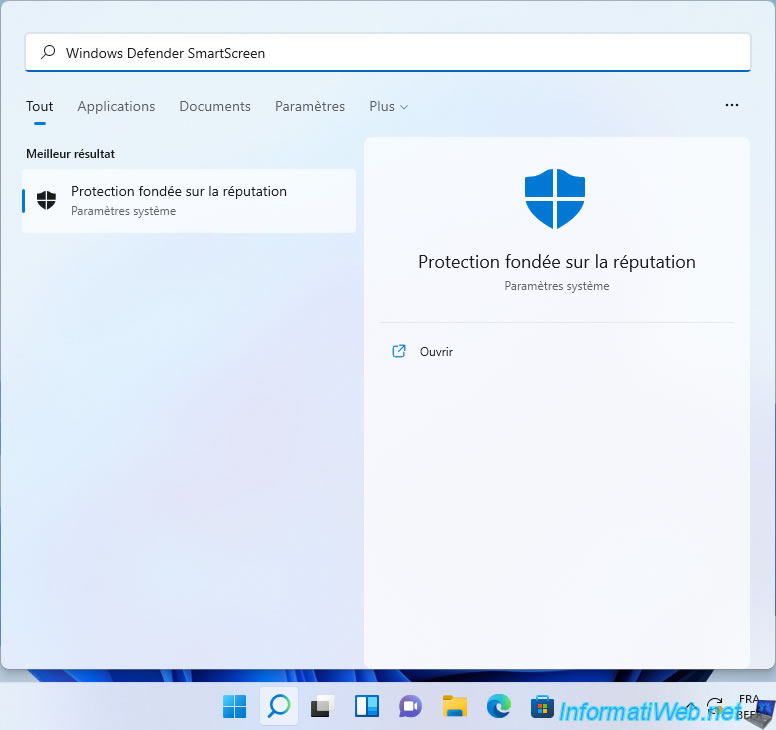
Then, disable the "SmartScreen for Microsoft Edge" setting.

11. Disable SmartScreen in Internet Explorer 11
On Windows 10, version 11 of Internet Explorer is already present natively.
Which means that SmartScreen is also present in Windows 10.
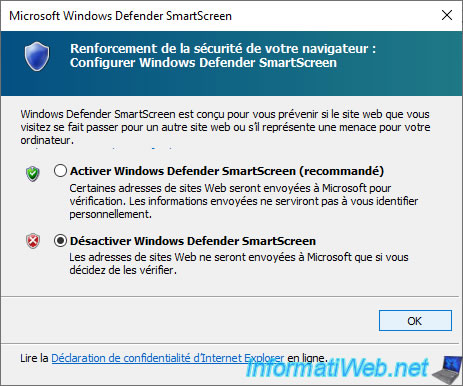
To disable it in Windows 10, click on the gear icon and click : Safety -> Turn off Windows Defender SmartScreen.
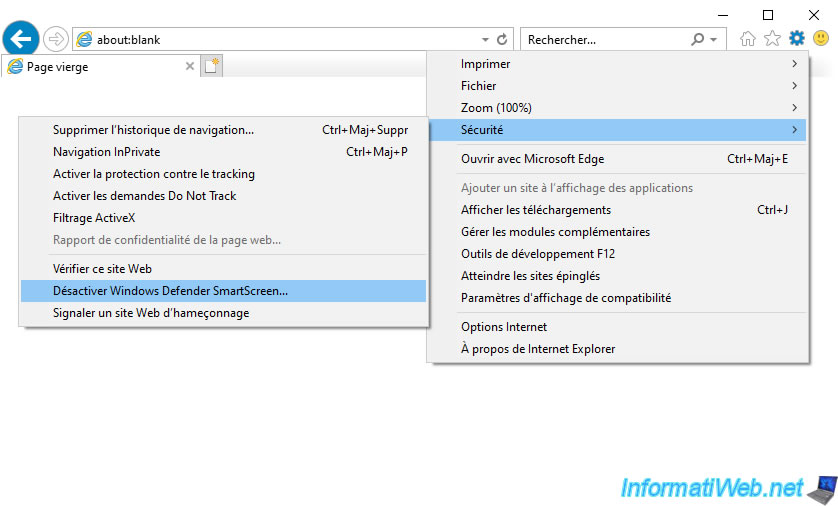
Select "Disable Windows Defender SmartScreen" and click OK.
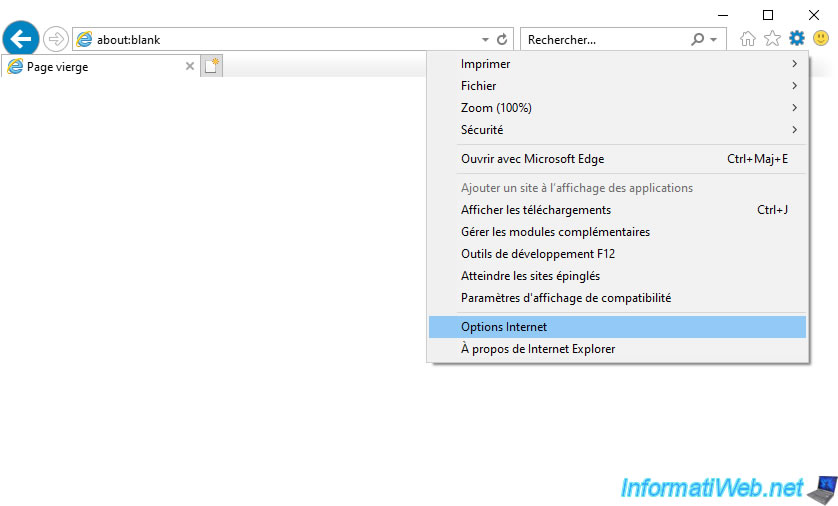
Then, on Windows 10, go to : Internet Options.
On Windows 11, look for the "Internet Options" setting via the Windows start menu.
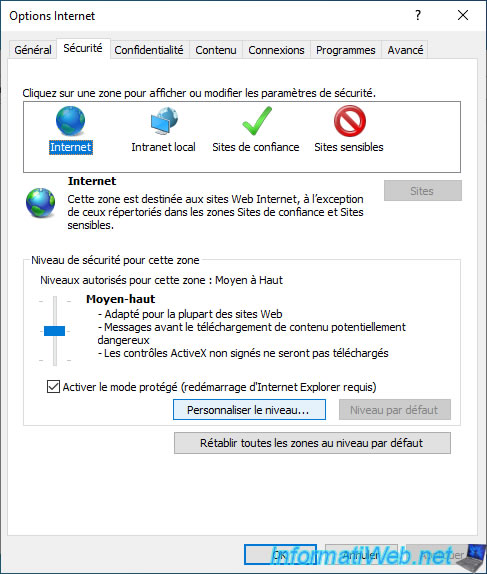
In the "Security" tab, select the "Internet" zone and click on the "Custom level" button.
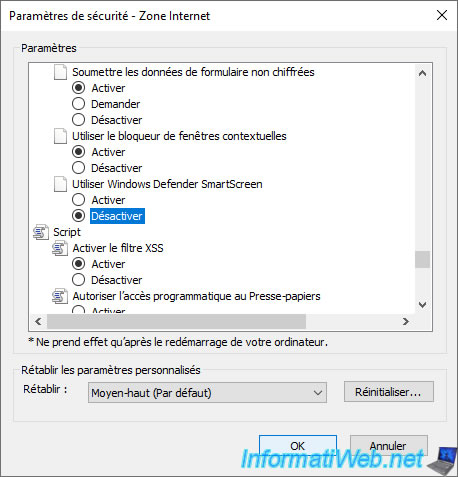
Towards the bottom of the list of available settings, on Windows 10 and 11, you will find a "Use Windows Defender SmartScreen" setting.
Select "Disable" and click OK.
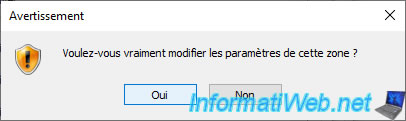
Confirm changing the zone settings by clicking Yes.
Then, do the same for the other 3 zones : local intranet, trusted sites and restricted sites.
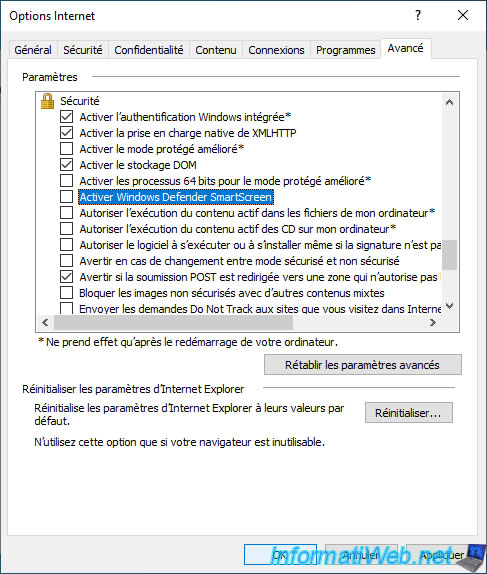
Finally, in the "Advanced" tab, on Windows 10, disable the "Enable Windows Defender SmartScreen" setting present in the "Security" section of the list.
Then, click OK.
Share this tutorial
To see also
-
Windows 1/20/2025
Windows 10 - Disable distribution of updates on the local network
-
Windows 4/21/2025
Windows 10 - Reduce the size of the start menu
-

Virtualization 2/12/2024
Windows 10 / 11 - Quick creation of VMs on Hyper-V
-
MultiBoot 5/21/2024
Windows 7 / 8 / 8.1 / 10 / 11 - Native boot to VHD/VHDX
No comment