Disable tracking systems (telemetry) of Windows 10 and 11
- Windows
- Windows 10, Windows 11
- 13 March 2023 at 19:10 UTC
-

- 3/4
4. Disable telemetry on Windows 10 Enterprise
If you look on the "Configure Windows diagnostic data in your organization" page on the Microsoft site, you will see that there is a "Security" level that allows telemetry to be disabled on Windows 10.
However, as also indicated on this page, this is only possible on Windows Server and with the Enterprise and Education editions of Windows 10.
If you are in one of these cases, then you can disable the telemetry performed by Windows by following the following steps.
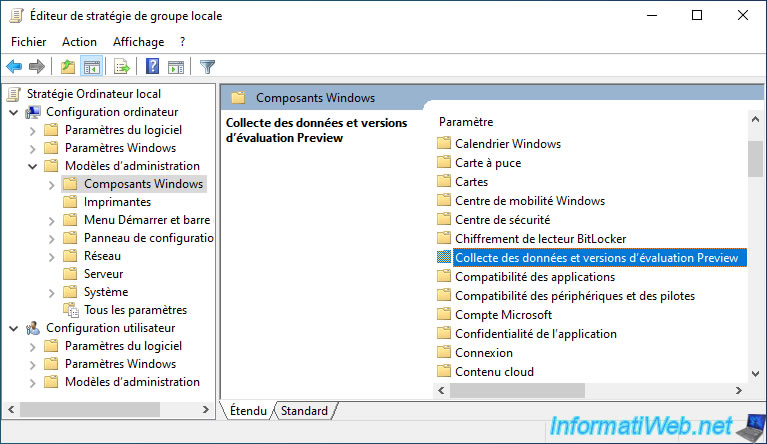
To do this, launch the Local Group Policy Editor (gpedit.msc) and go to : Computer Configuration -> Administrative Templates -> Windows Components -> Data Collection and Preview Builds.
Note : some sites tell you that it's also possible to do this on other editions of Windows 10 by changing the "AllowTelemetry" value to "0" in the registry.
However, after checking, it doesn't work, because Windows 10 will use the "Basic" option which is 1 if the edition is not enterprise or education.
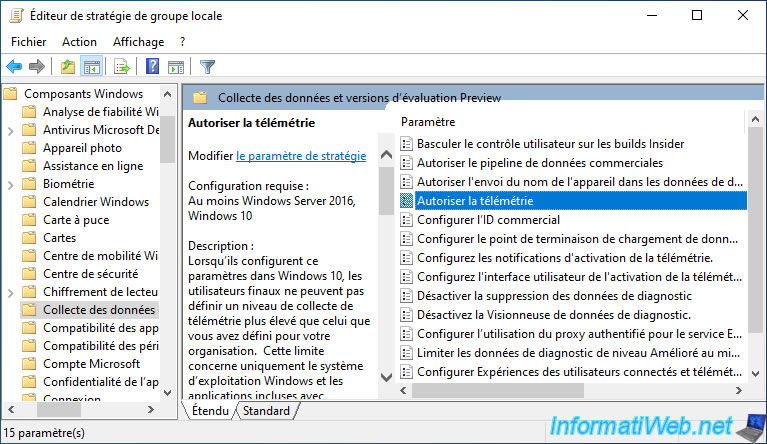
In this "Data Collection and Preview Builds" folder, on Windows 10, double-click on the "Allow Telemetry" policy.
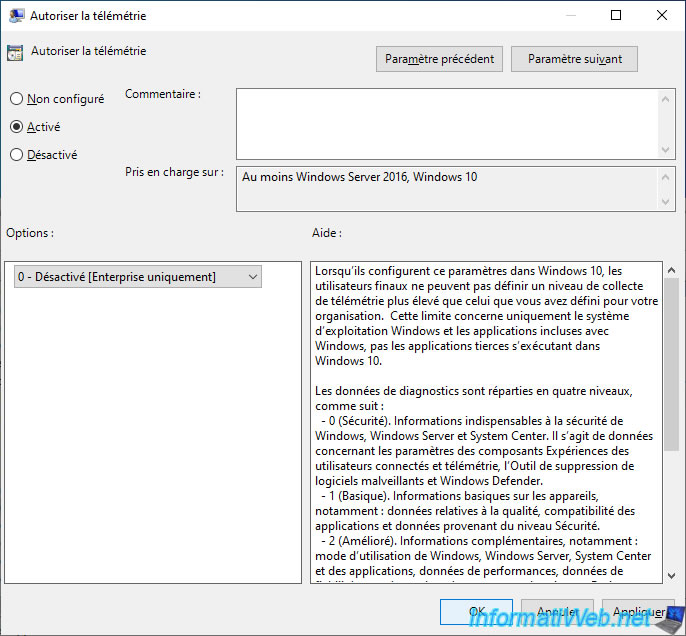
To disable telemetry on Windows 10, enable this "Allow Telemetry" policy and choose the "0 - Security [Enterprise Only]" option.
As explained earlier, this only works on Windows Server and with Enterprise and Education editions of Windows 10.
Otherwise, Windows 10 will use the "1 - Basic" option.
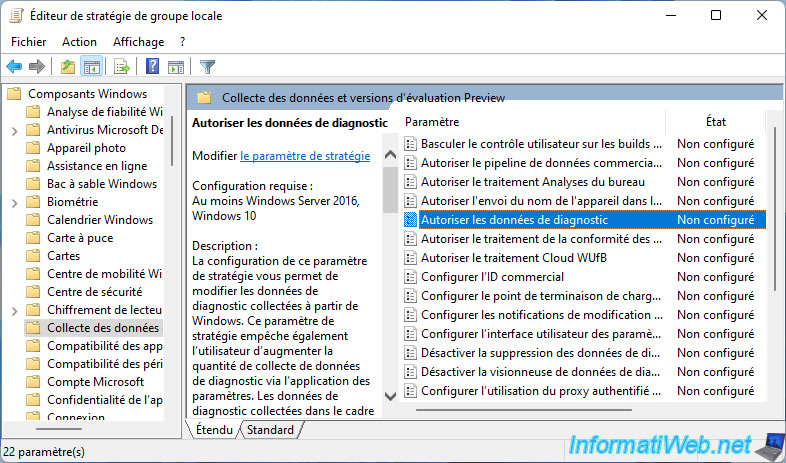
On Windows 11, this group policy is called "Allow Diagnostic Data".
Double click on it.
On Windows 11, the principle remains the same, enable this "Allow Diagnostic Data" policy and select the "Diagnostic data off (not recommended)" value in the list offered in the "Options" frame.
As mentioned in the "Help" block, the "Diagnostic data off (not recommended)" value is only supported with the enterprise, education and server (Windows Server) editions.
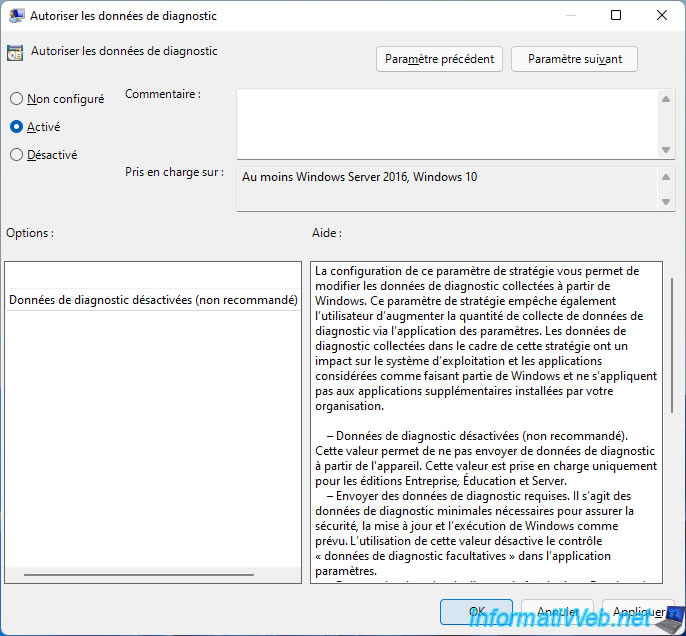
The policy is enabled.
For Windows 10 or 11 to use this new policy, you must update your computer's policy by opening a command prompt (cmd.exe) and typing this command :
Batch
gpupdate /force
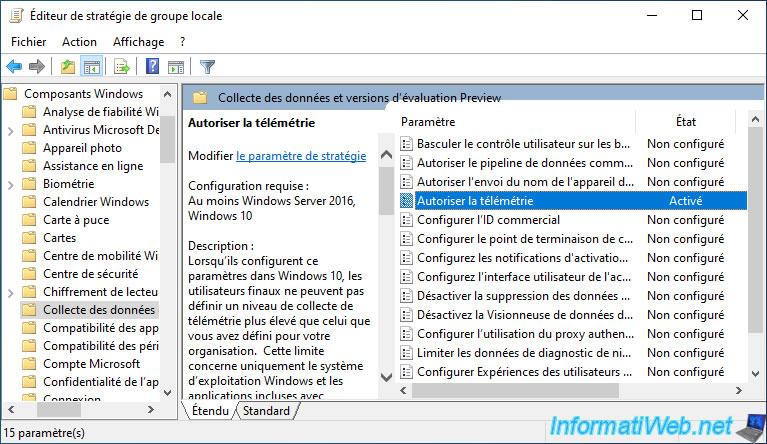
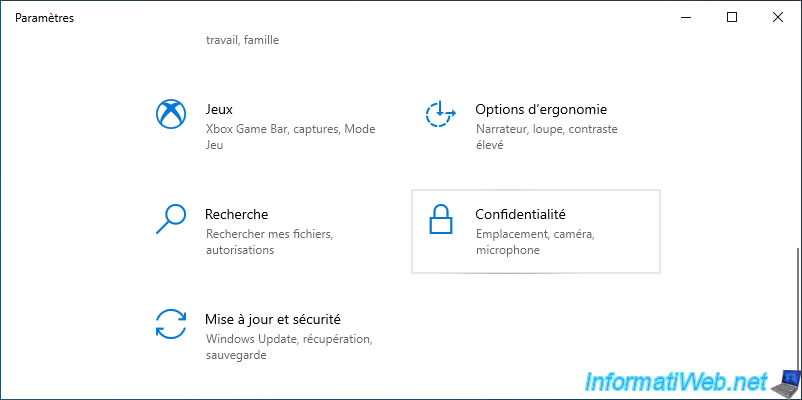
Once the policy is updated, go to Windows 10 settings, then to : Privacy.
On Windows 11, go to Windows settings and go to : Privacy and security.
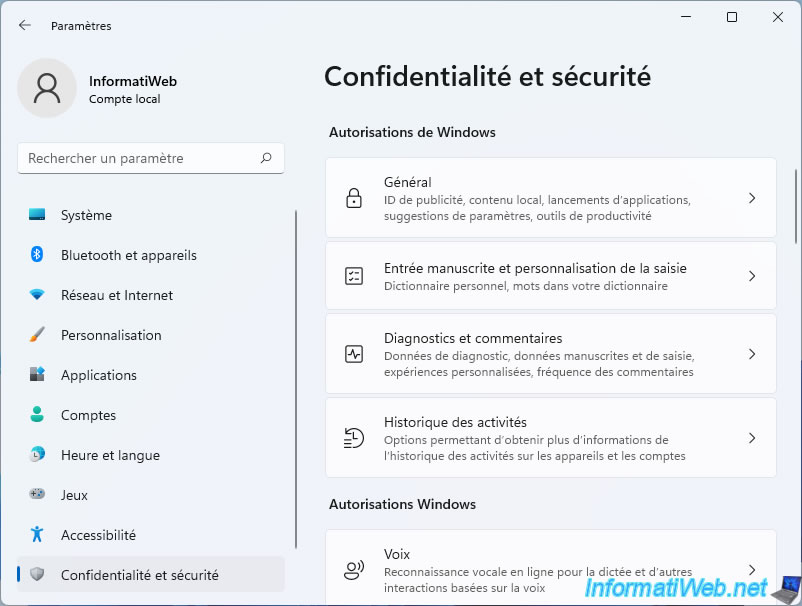
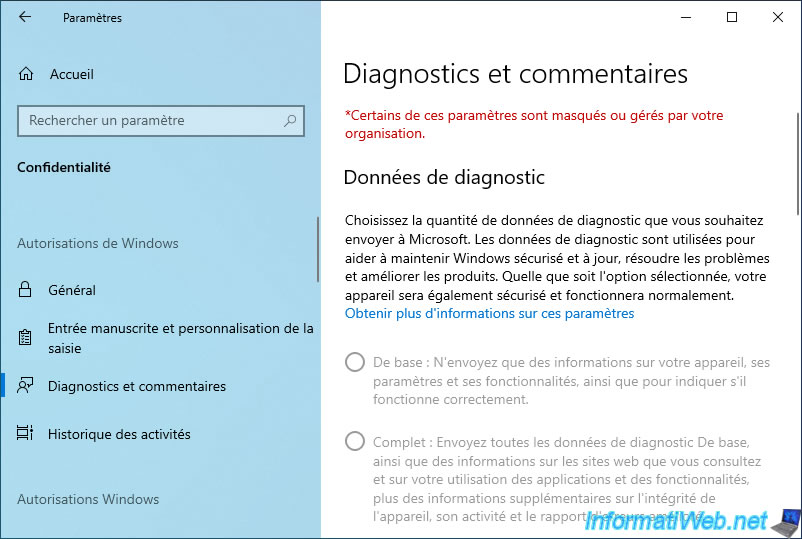
In the "Diagnostics & feedback" section, you will see that no options are selected for diagnostic data and a message "*Some of these settings are hidden or managed by your organization" will have appeared at the top of the window.
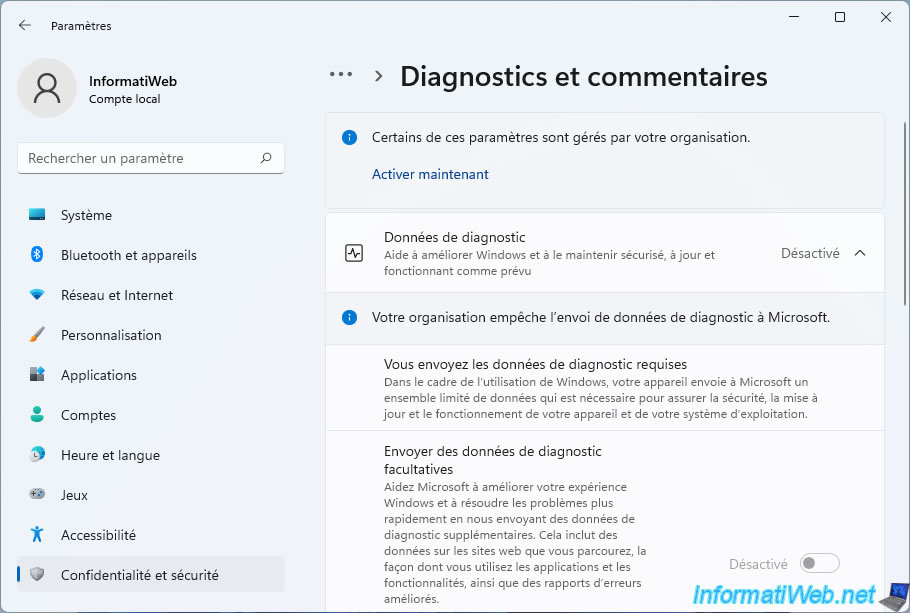
On Windows 11, you will see these messages appear :
- Some of these settings are managed by your organization.
- Your organization prevents sending diagnostic data to Microsoft.
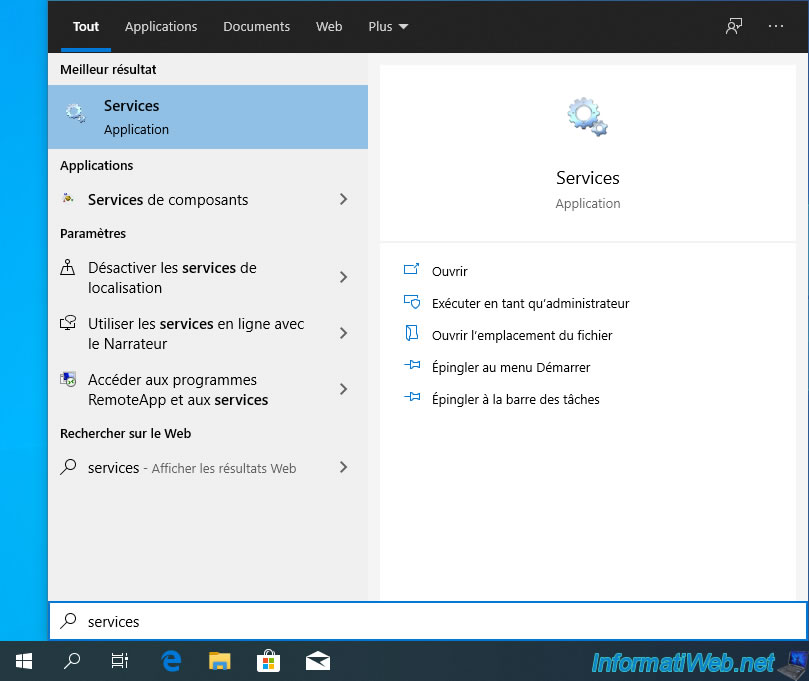
5. Disable Windows services related to telemetry (DiagTrack and others)
On Windows 10 and 11, there are several Windows services related to telemetry, including the DiagTrack service which was already present on Windows 7.
In the list of Windows services, locate the "Connected User Experiences and Telemetry" service and double-click on it.
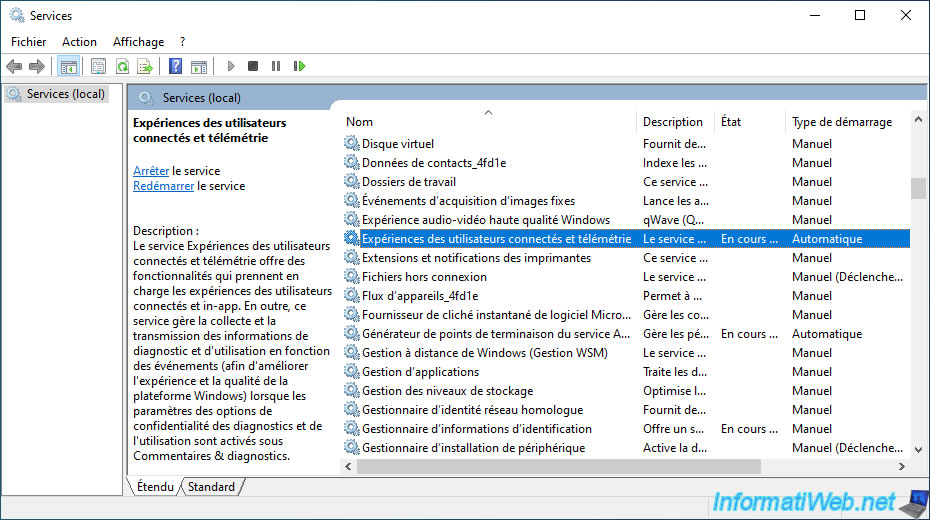
As you can see, the real name of this service is : DiagTrack.
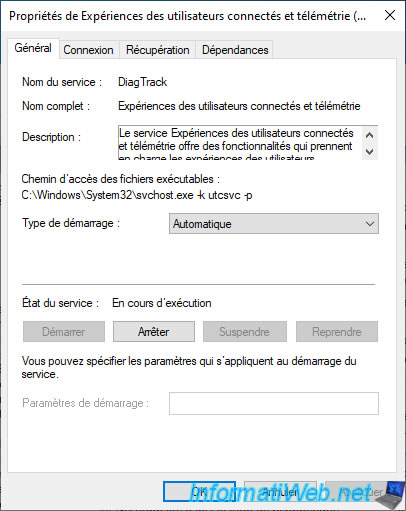
Disable this DiagTrack service and click on the "Apply" button.
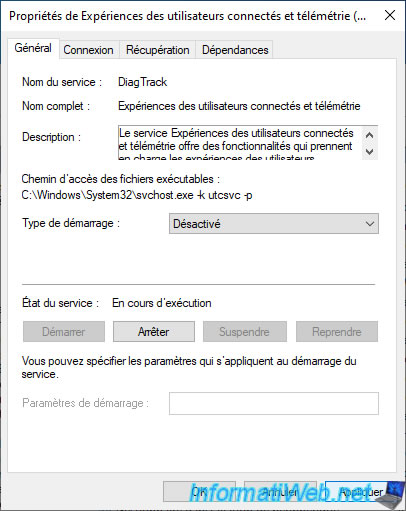
Then, stop it.
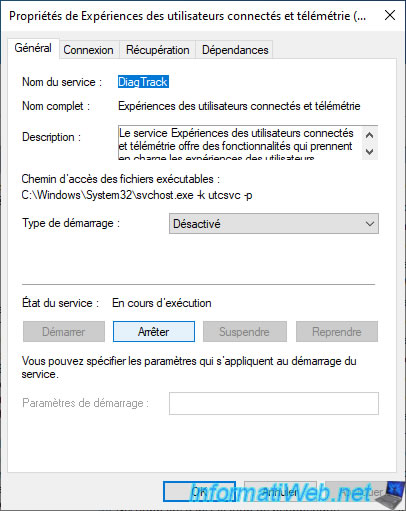
Now that the "DiagTrack" service is disabled and stopped, you can empty the "AutoLogger-Diagtrack-Listener.etl" file where all the data collected by this service had been stored.
To do this, open a command prompt (cmd.exe) as an administrator and type the command below.
Note : if the "Access denied" message is displayed, it means that you have not launched the command prompt as an administrator.
If it works, nothing will be displayed.
Batch
echo "" > %ProgramData%\Microsoft\Diagnosis\ETLLogs\AutoLogger\AutoLogger-Diagtrack-Listener.etl
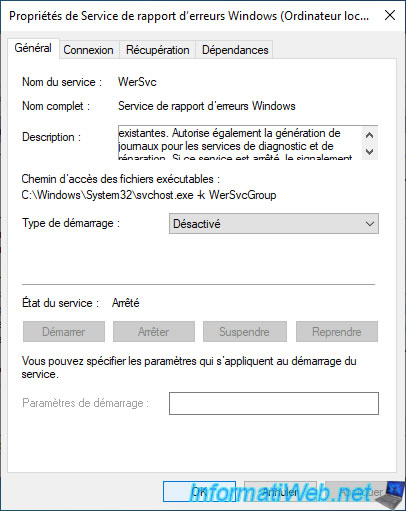
The following service is called : Windows Error Reporting Service.
This service allows Windows to collect data on your computer when a program crashes on your computer to send it to Microsoft.
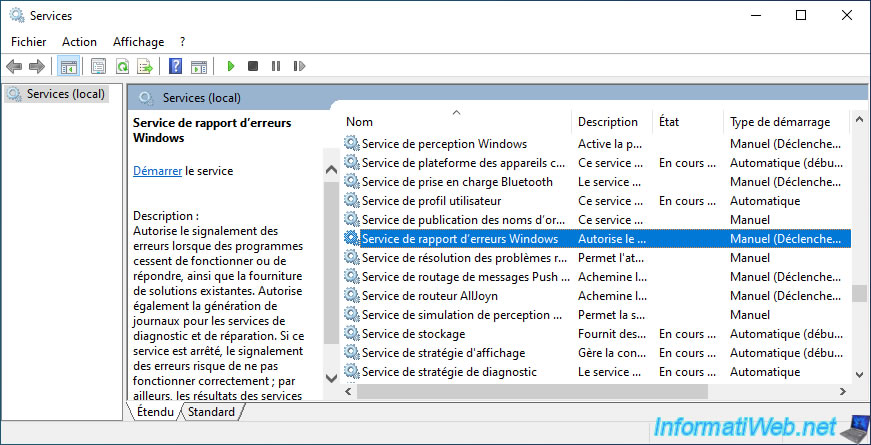
The real name of this service is : WerSvc.
Disable it, then stop the service.
Warning : disabling this service will prevent the "Windows Error Reporting" feature from working.
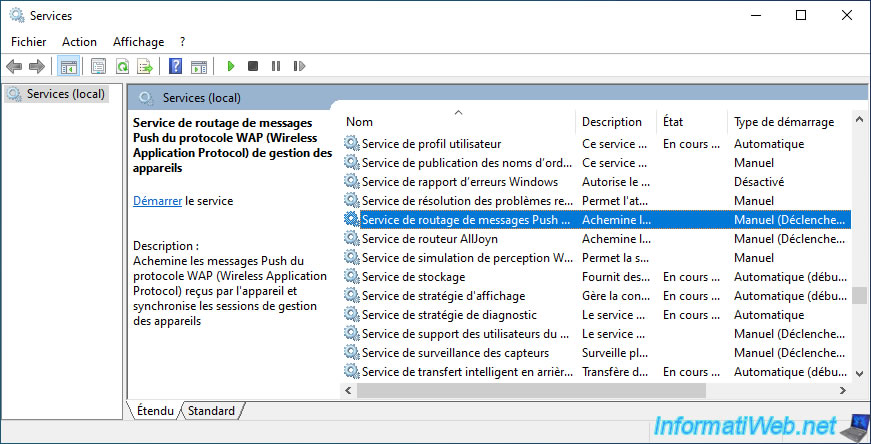
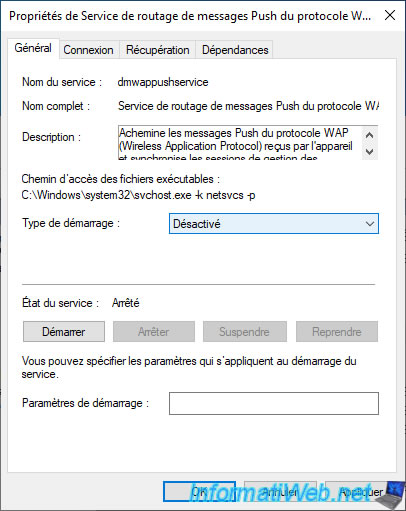
Based on research on the Internet, there is also a service called "Device Management Wireless Application Protocol (WAP) Push message Routing Service" which also collects data from your computer.
The real service name is : dmwappushservice.
6. Disable scheduled tasks related to telemetry
As on previous versions of Windows, there are several scheduled tasks on Windows 10 and 11 that collect data at specific times to send it seamlessly to Microsoft.
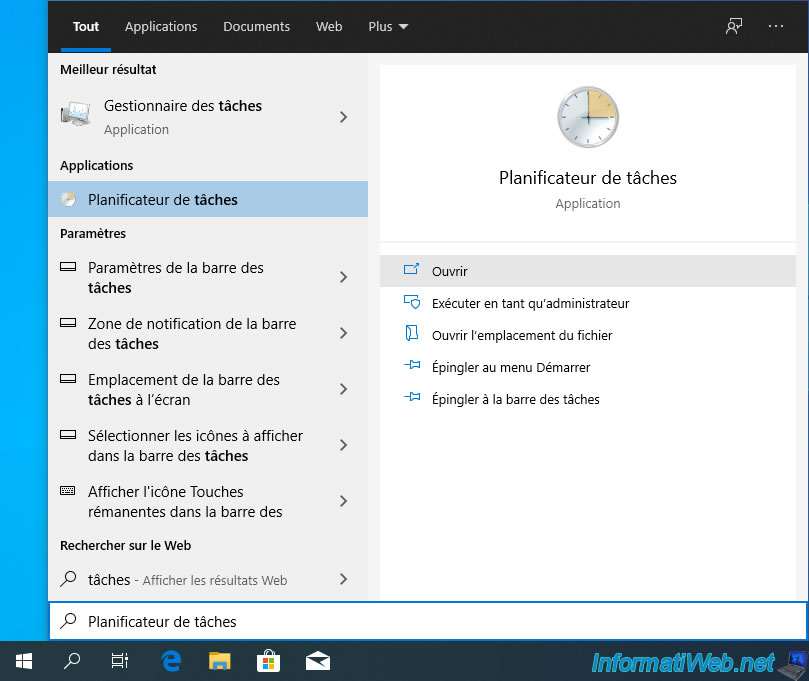
To block these data collections, open the Windows 10 and 11 task scheduler and right-click "Disable" on the scheduled tasks mentioned later in this tutorial.
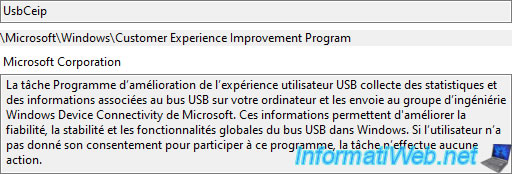
In the "Microsoft\Windows\Customer Experience Improvement Program" folder, you will find 2 scheduled tasks related to telemetry :
- Consolidator : which collects usage data to send to Microsoft
- UsbCeip : which collects information and statistics related to your computer's USB bus to send to Microsoft's Windows Device Connectivity engineers
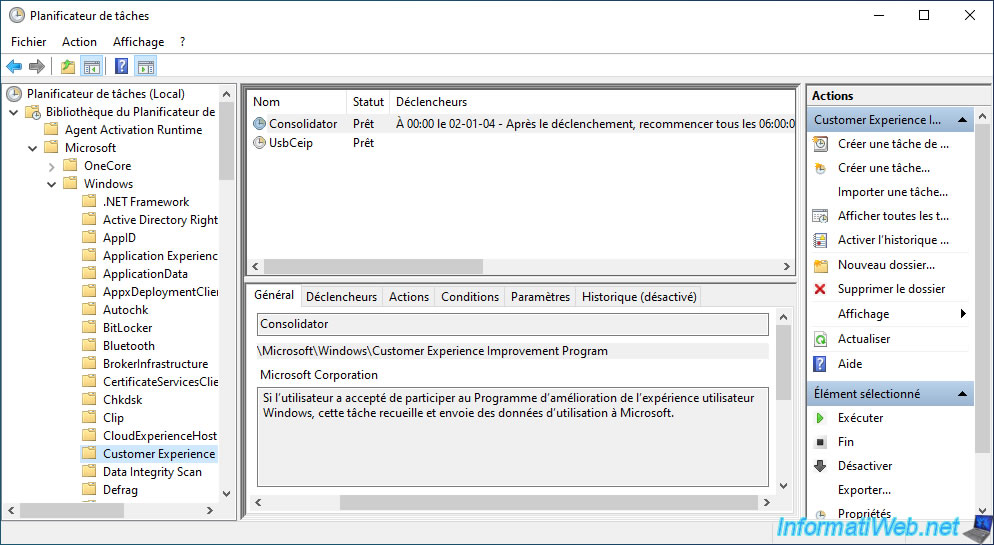
In the "Microsoft\Windows\Application Experience" folder, you will also find 2 scheduled tasks :
- Microsoft Compatibility Appraiser : collection of telemetry data
- ProgramDataUpdate : same
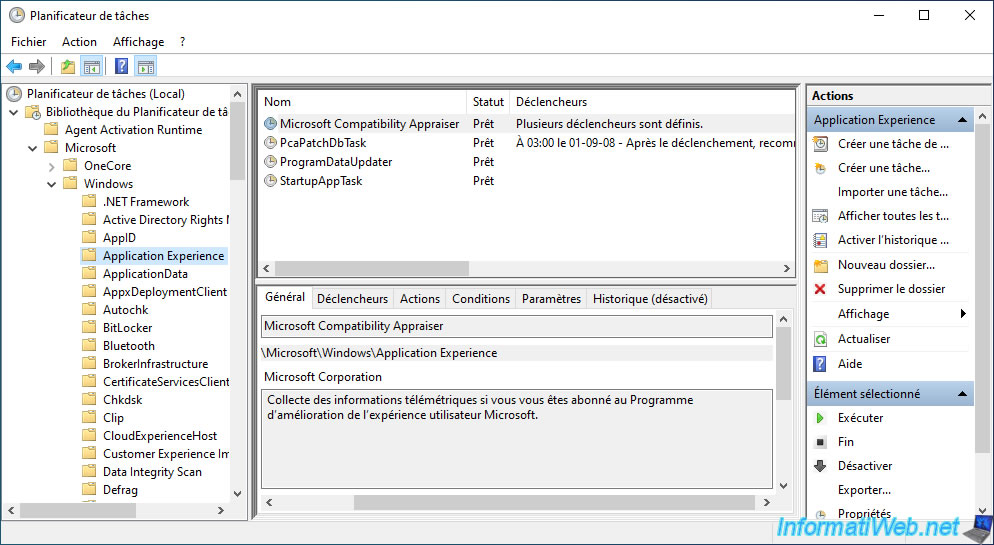
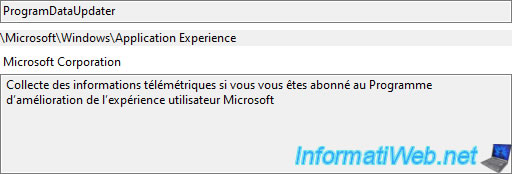
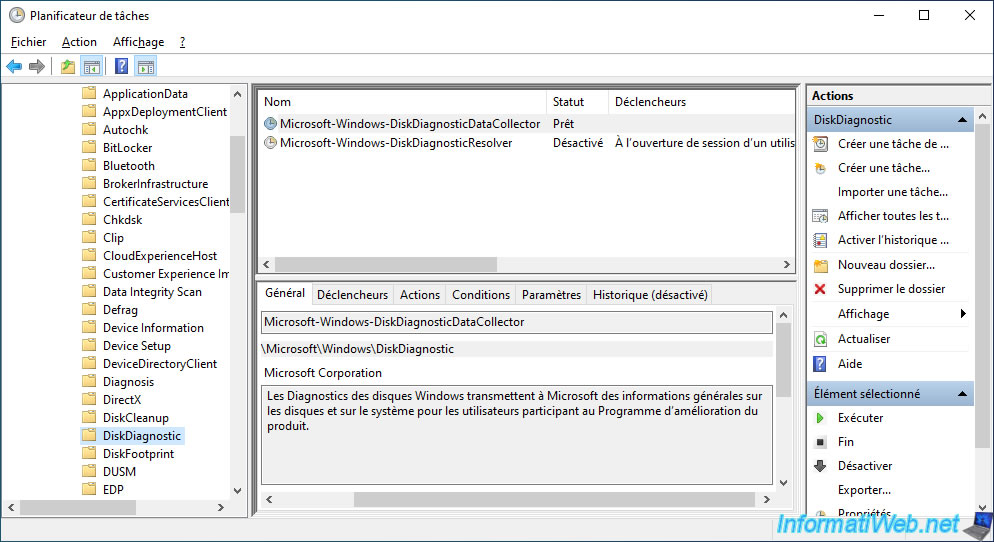
In the "Microsoft\Windows\DiskDiagnostic" folder, you will find a scheduled task related to telemetry :
- Microsoft-Windows-DiskDiagnosticDataCollector : collects general information about your drives and system to send to Microsoft
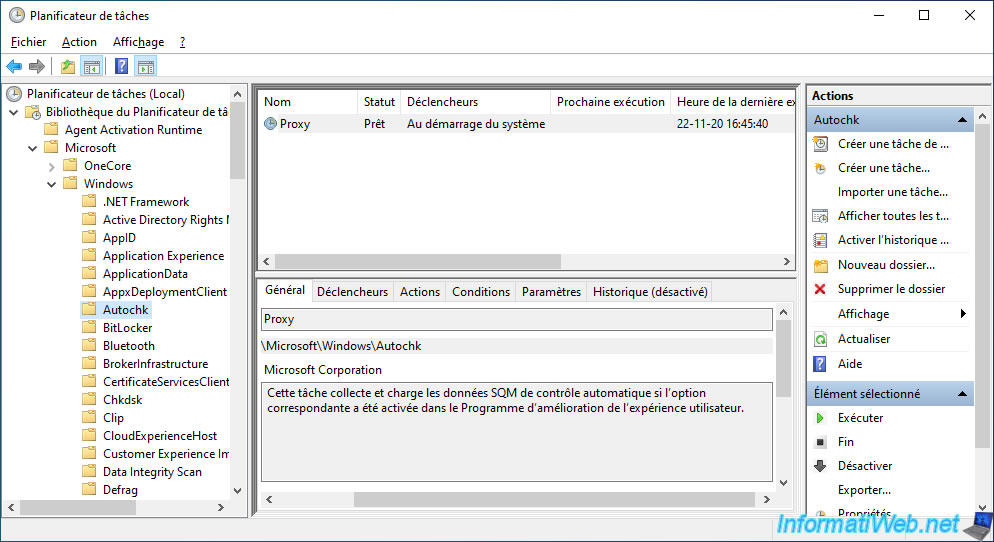
Finally, in the "Microsoft\Windows\Autochk" folder, you will find a "Proxy" scheduled task that collects SQM (Software quality management) data.
Share this tutorial
To see also
-

MultiBoot 7/1/2024
VHD/VHDX multiboot with Windows 10 and Windows 11
-

Virtualization 2/23/2022
VirtualBox - Virtualize Windows 11 (unsupported hardware)
-
Windows 4/5/2022
Windows 11 - Change the network profile used
-

Windows 7/24/2023
Windows 11 - Translate Windows using language packs (MUI)
No comment