- Windows
- Windows 10
- 04 April 2022 at 09:07 UTC
-

- 1/2
On Windows 10, you can change the type of network location to use in different ways.
As on Windows 8 and 8.1, you will have the choice between :
- private network : to enable file sharing and network discovery. This is the equivalent of "home network" which was available on Windows 7.
- public network : to block file sharing, ... to better secure your computer when you are connected to a public network
- Choose the type of network location when a new network is detected
- Choose the type of network location from the settings of a wired network (Ethernet)
- Choose the type of network location from the settings of a wireless network (Wi-Fi)
- Choose the type of network location using network reset
- Choose the type of network location from the network section of file explorer
- Choose the type of network location from command line via PowerShell
- Choose the type of network location by editing Windows 10 registry
1. Choose the type of network location when a new network is detected
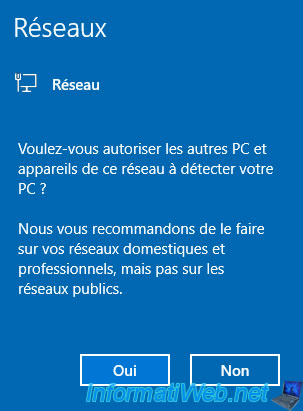
When you connect to a new network (or during the 1st logon just after installing Windows 10), Windows 10 will show you this on the right side of your screen.
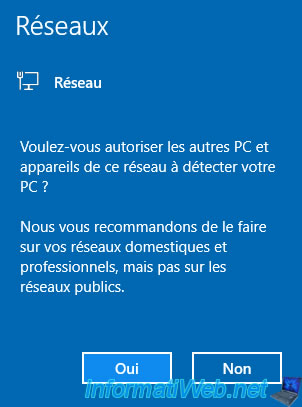
Answer the question "Do you want to allow your PC to be discoverable by other PCs and devices on this network?" through :
- Yes : to use the "private network" network location type.
- No : to use the "public network" network location type.
Then, to verify that you have chosen the correct type of network location, right-click on the "Network" icon present in the taskbar and click on : Open network & Internet settings.

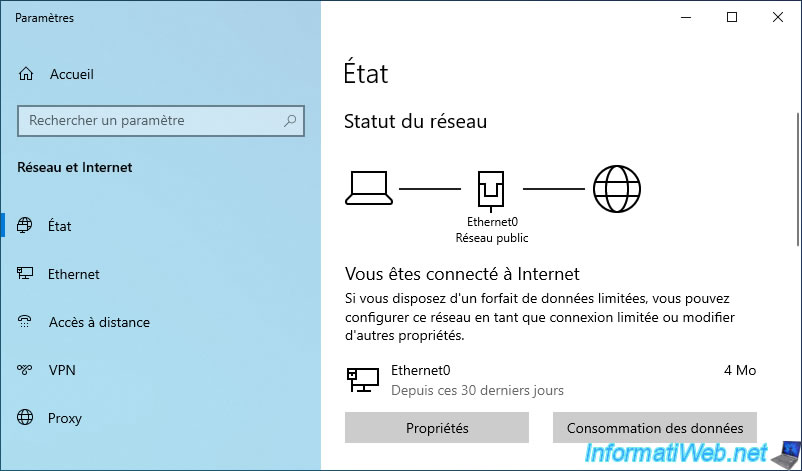
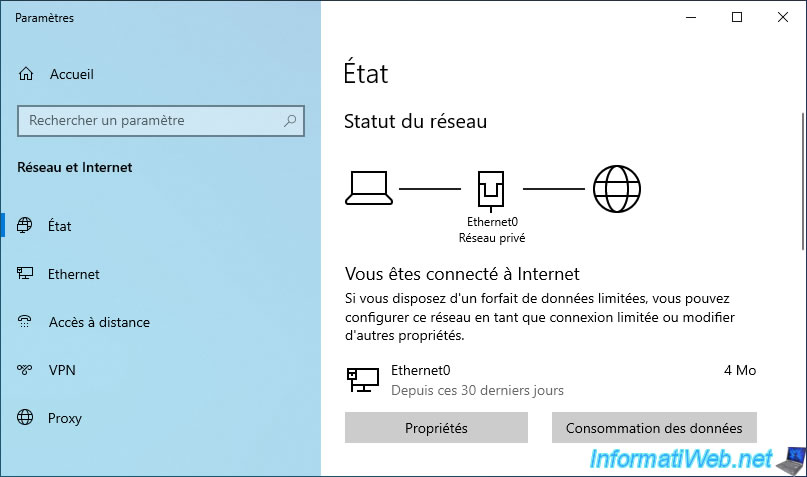
In the "Network status" section, you will be able to see that Windows 10 uses the network location type "Private network" (if you answered "Yes" to the previous question) or "Public network" otherwise.
2. Choose the type of network location from the settings of a wired network (Ethernet)
To access the settings of the network to which you are connected, right-click on the "Network" icon located in the taskbar (next to the clock) and click on : Open Network & Internet settings.

As you can see, in our case, the type of network location currently used by Windows 10 is : Public network.
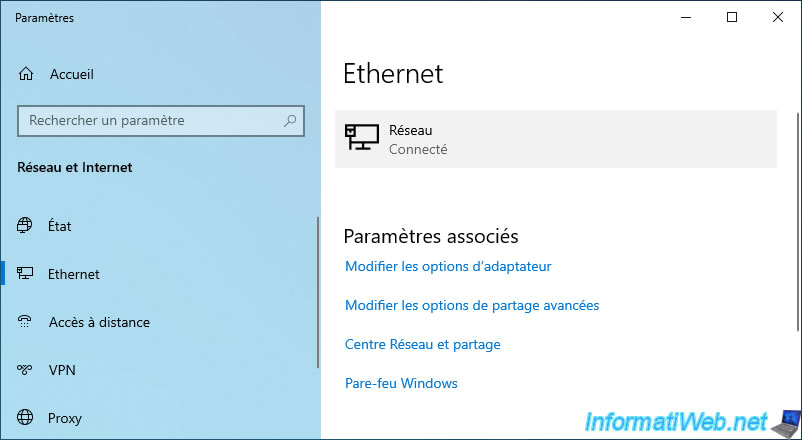
Go to the "Ethernet" section available on the left.
There is also a shortcut which consists of clicking on the "Properties" button located in the right part (which allows you to skip a step).
If you clicked on "Ethernet", then click on the network that is displayed.
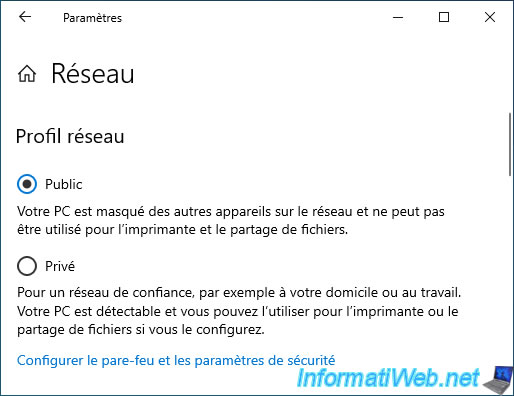
Then, you will have the choice between :
- Public : to protect your computer on public networks (eg : free Wi-Fi networks, the coffee network, ...).
- Private : to enable file sharing and network discovery when you are connected to your own home network.
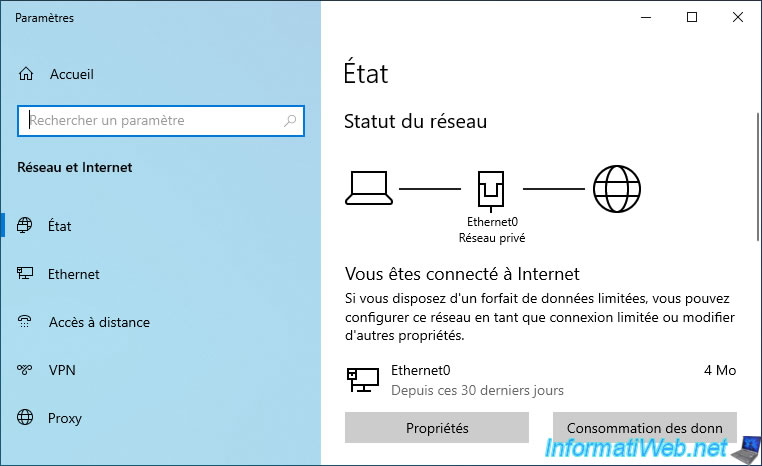
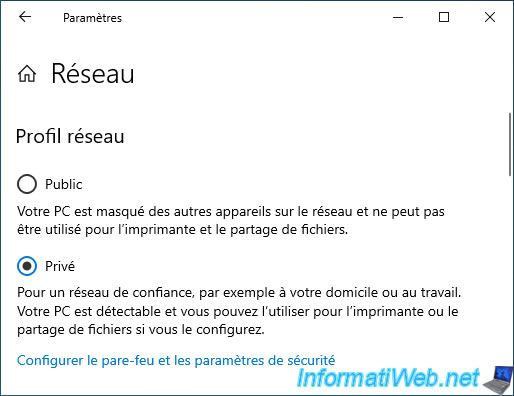
In our case, we chose : Private.
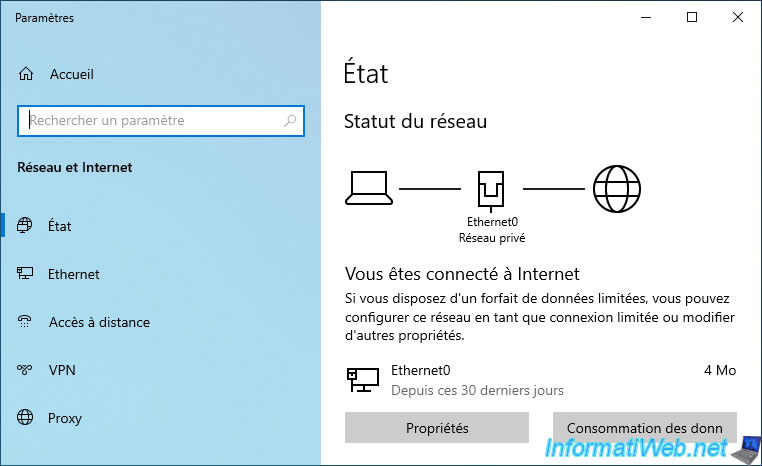
As you can see, Windows 10 now uses a private network.
3. Choose the type of network location from the settings of a wireless network (Wi-Fi)
If you are connected to a wireless network (Wi-Fi), you can display the list of available Wi-Fi networks (including the one to which you are connected) by left-clicking on the "Network" (Wi-Fi) icon located in the taskbar of Windows 10.
Click on the name of your wireless network (Wi-Fi) to display the "Properties" link, then click on this link.
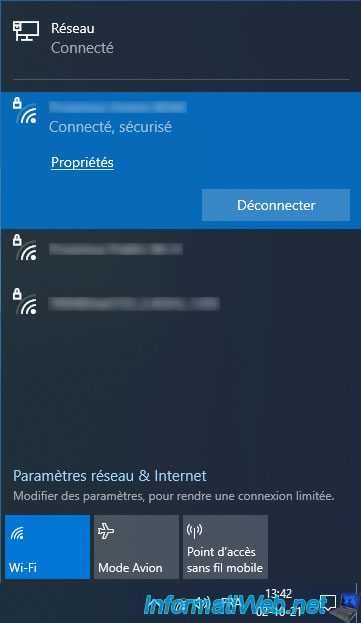
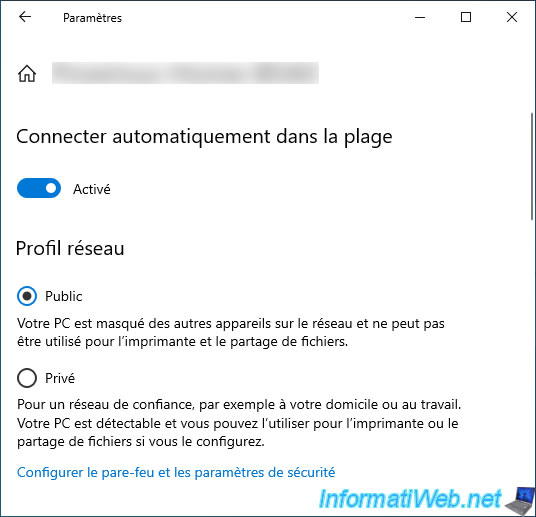
Windows 10 will offer you to choose between 2 network profiles :
- Public : for public networks
- Private : for your home network
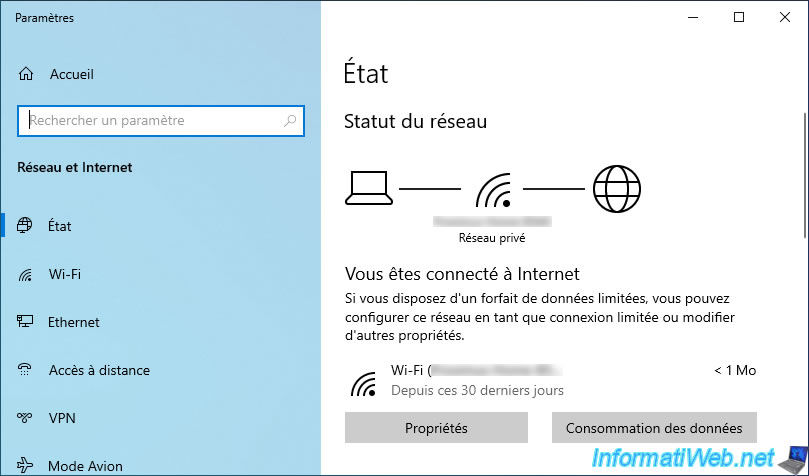
To verify that the change has been made, right-click on the "Network" (Wi-Fi) icon located in the taskbar and click on : Open Network & Internet settings.

As you can see, Windows 10 now considers your network as a "Private Network" if you just selected "Private".
4. Choose the type of network location using network reset
On Windows 10, there is an option named "Network reset" which allows you to remove all network settings, network cards and reinstall various network components.
This is especially useful when your computer can no longer access the network. This method is therefore radical, but it also allows you to change the type of network location to use.
CAUTION : this may prevent some programs (such as VPNs or virtualization software) from functioning correctly since the virtual network adapters created by these programs will no longer exist.
To do this, right-click on the "Network" icon (Wi-Fi) and click on : Open Network & Internet settings.

Scroll down a little in the page that appears to the "Advanced network settings" section.
In this section, you will find a "Network reset" link that you need to click on.

Click on the "Reset now" button.

Answer "Yes" to the question "Are you sure you want to reset your network settings?" which is displayed.

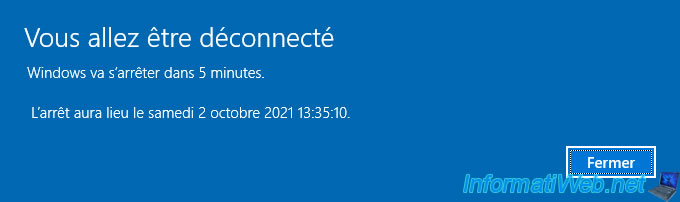
As Windows 10 tells you, Windows will shut down in 5 minutes.
Click on : Close.
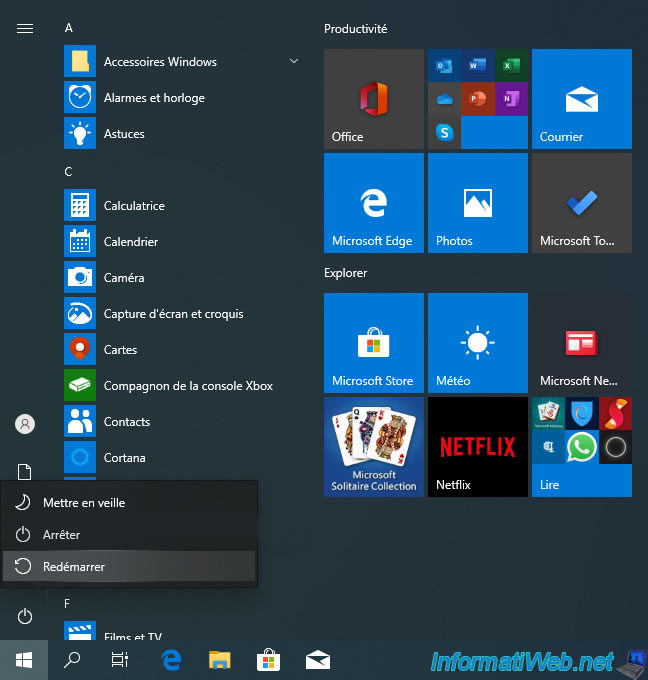
If you don't want to wait, open the start menu and restart your computer manually.
Wait while your computer restarts.

After restarting Windows 10, the "Do you want to allow your PC to be discoverable by other PCs and devices on this network?" question will be displayed.
Answer :
- Yes : to use a private network and enable file sharing, ...
- No : to use a public network to block file sharing and access from outside to some services.
In our case, we answered "Yes" to use a private network.
To check the type of network location used by Windows 10 based on your answer, right-click on the "Network" icon in the taskbar and click : Open Network & Internet settings.

As expected, Windows 10 uses the "Private Network" network location type.
Share this tutorial
To see also
-
Windows 4/24/2023
Windows 10 - Disable automatic Windows updates
-
Windows 4/4/2023
Windows 10 / 11 - Add GPO editor (gpedit.msc) on Windows Home
-
Windows 3/20/2025
Windows 11 / 10 / 8.1 / 8 - Expand a two-way mirror storage space (software RAID 1)
-

Windows 2/6/2023
Windows 11 / 10 / 8.1 / 8 / 7 - Disable User Account Control (UAC)
You must be logged in to post a comment