- Windows
- Windows 10, Windows 11
- 11 August 2021 at 09:29 UTC
-

- 1/2
If you don't want to reformat and reinstall Windows 10 or 11 in the event of a problem, be aware that it's possible to create a system image very easily through the Windows 10 or 11 control panel.
- Create a Windows 10 or 11 system image
- Create a system repair disc
- Restore Windows 10 or 11 system image from Windows
- Restore Windows 10 or 11 system image from Windows 10 or 11 installation DVD
- System image restore
1. Create a Windows 10 or 11 system image
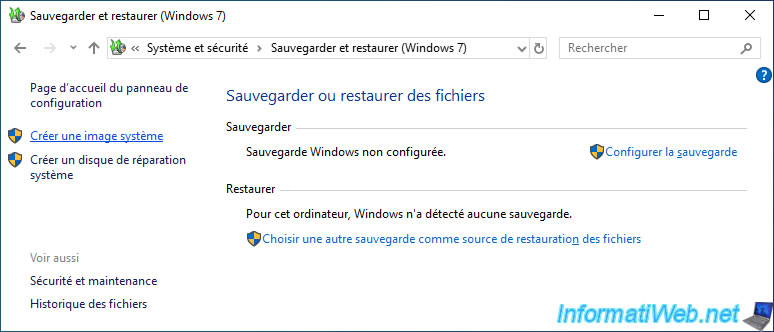
To do this, open the control panel and go to : System and Security -> Backup and Restore (Windows 7).
As you can see, this is a feature inherited from Windows 7.
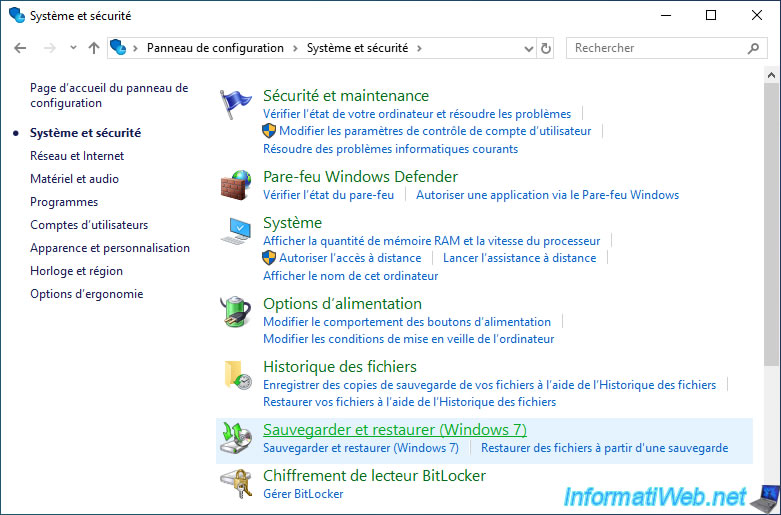
In the left column, click : Create a system image.
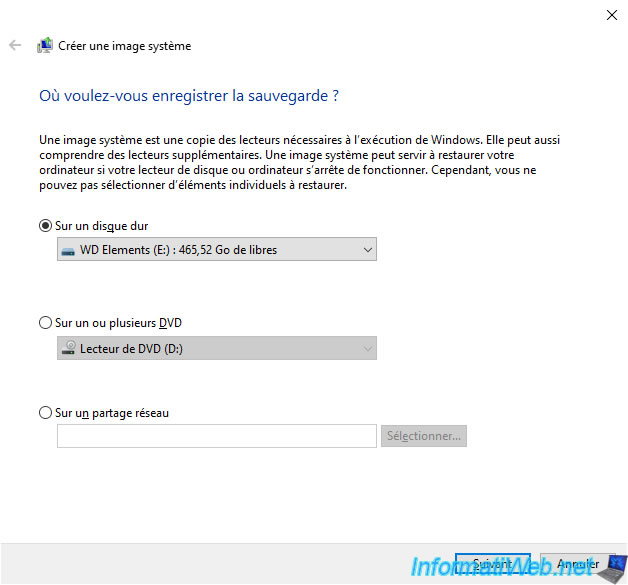
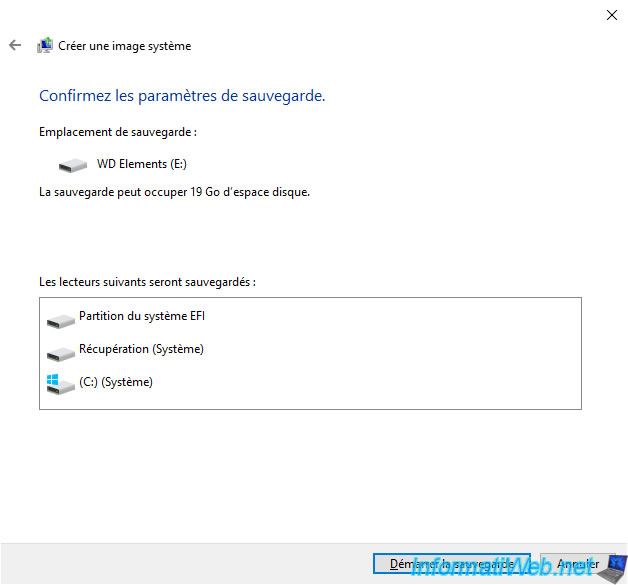
In the "Create a system image" window that appears, select the external hard drive where you want to store this backup.
In our case, it's an external hard drive : WD Elements.
Warning : the contents of the external hard drive selected here will be fully formatted (erased) to then store your system image.
As you can see, the partitions affected by your installation of Windows 10 will be backed up :
- EFI System Partition
- Recovery (System)
- (C:) (System)
The top 2 partitions are small hidden partitions used by Windows 10 and the "C" partition is where Windows 10 is installed.
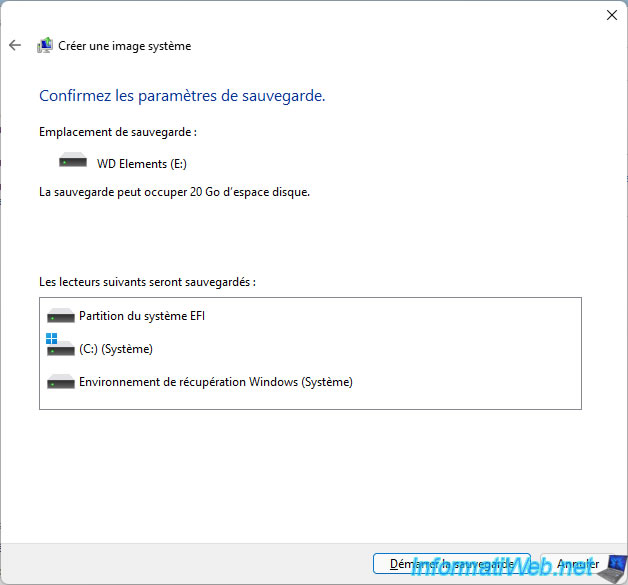
On Windows 11, the available partitions will be :
- EFI System Partition
- (C:) (System)
- Windows Recovery Environment (System)
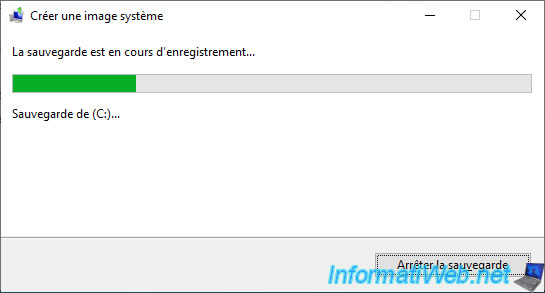
Wait while backing up the partitions.
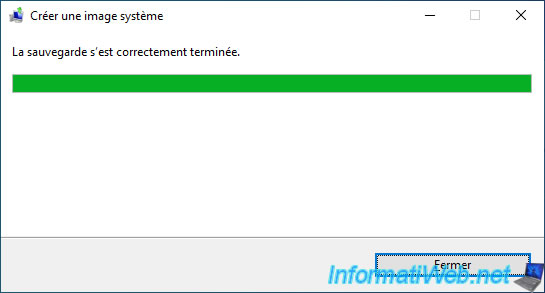
The backup is complete.
2. Create a system repair disc
Once the system image is created, Windows 10 or 11 will offer you to create a system repair disc.
If you don't have the Windows 10 or 11 installation DVD, this system repair disc will allow you to boot your computer on it so that you can restore your system image even if Windows 10 or 11 doesn't start anymore.
Click Yes.

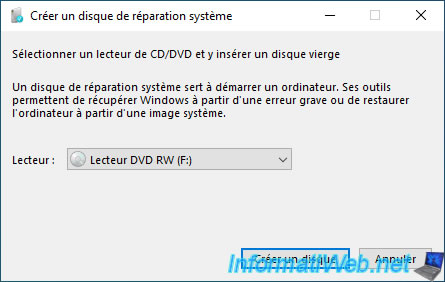
Select your CD/DVD drive from the list, insert a blank CD into it and click : Create disc.
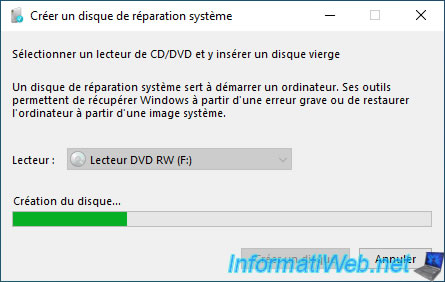
Wait while the disc is created.
The system repair disc has been created.
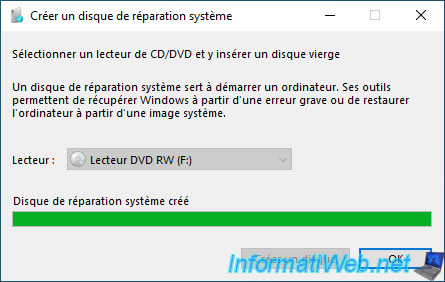
Since burning is mandatory, Windows tells you that you can name your disc like this : "Repair disc Windows 10 64-bit" or "Repair disc Windows 11 64-bit" (depending on your Windows version).

3. Restore Windows 10 or 11 system image from Windows
When you want to restore your Windows 10 or 11 system image, you will have 2 possibilities :
- start the restore from Windows
- start the restore from the installation DVD or from the repair disc. For that, go to the next step of this tutorial.
To start the restore from Windows, go to Windows 10 or 11 settings.
Then, on Windows 10, click on : Update and security.
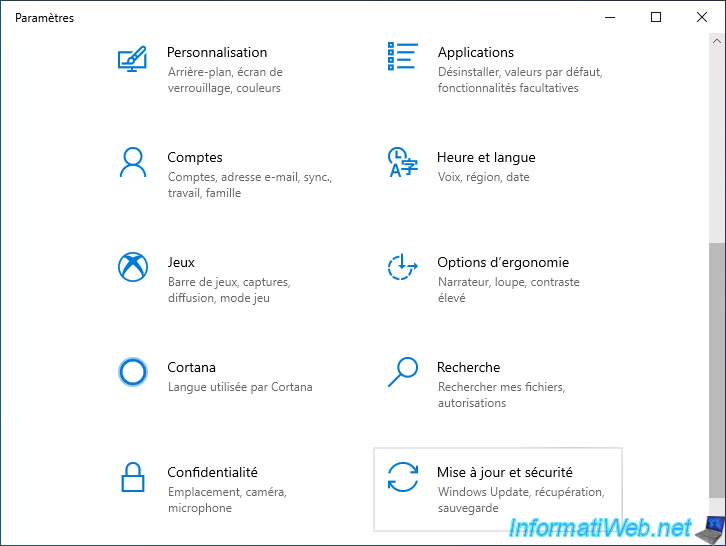
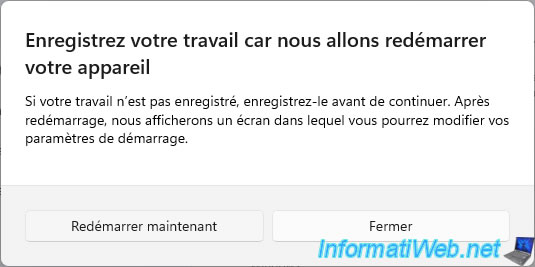
Then, in "Recovery", click on the "Restart now" button.
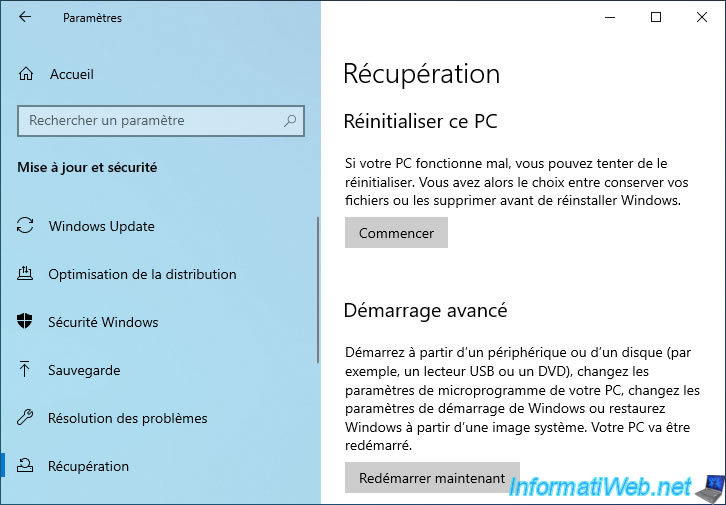
On Windows 10, the "Preparing Windows" message appears.

On Windows 11, go to : System -> Recovery.
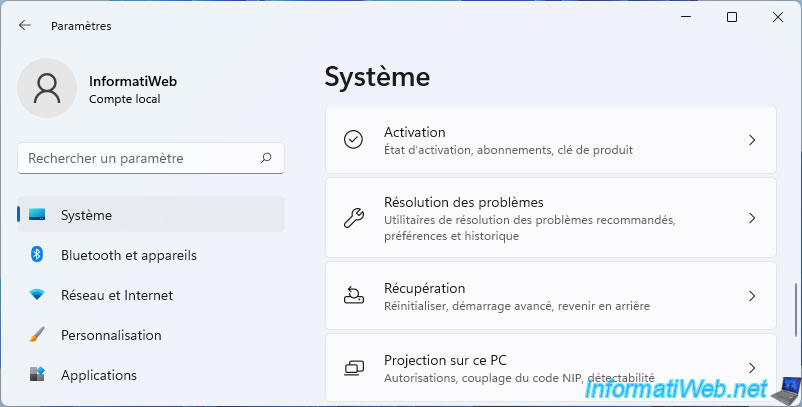
Then, click on the "Restart now" button.
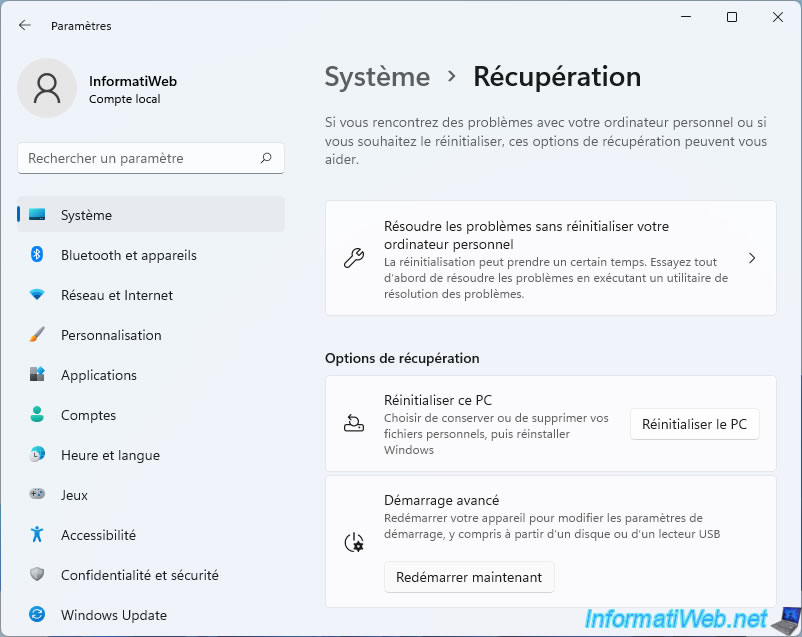
Then, click on : Restart now.
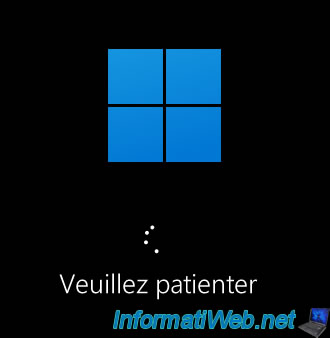
On Windows 11, the message "Please wait" will appear.
On Windows 10 and 11, several options appear on a light blue screen.
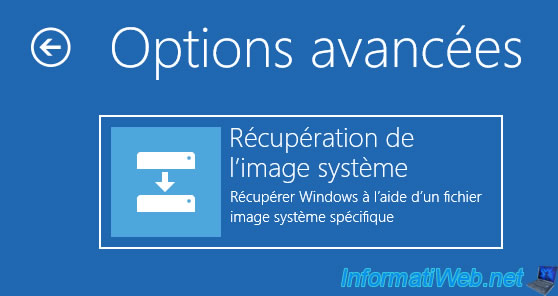
Click on : Troubleshoot.

Then, on : Advanced options.
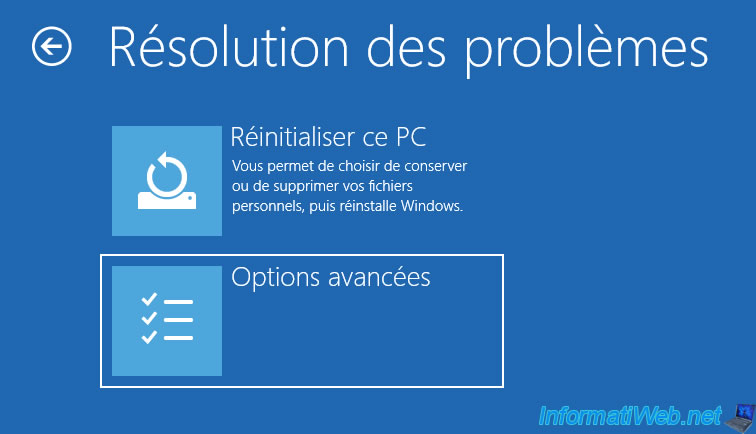
Then, click on : See more recovery options.
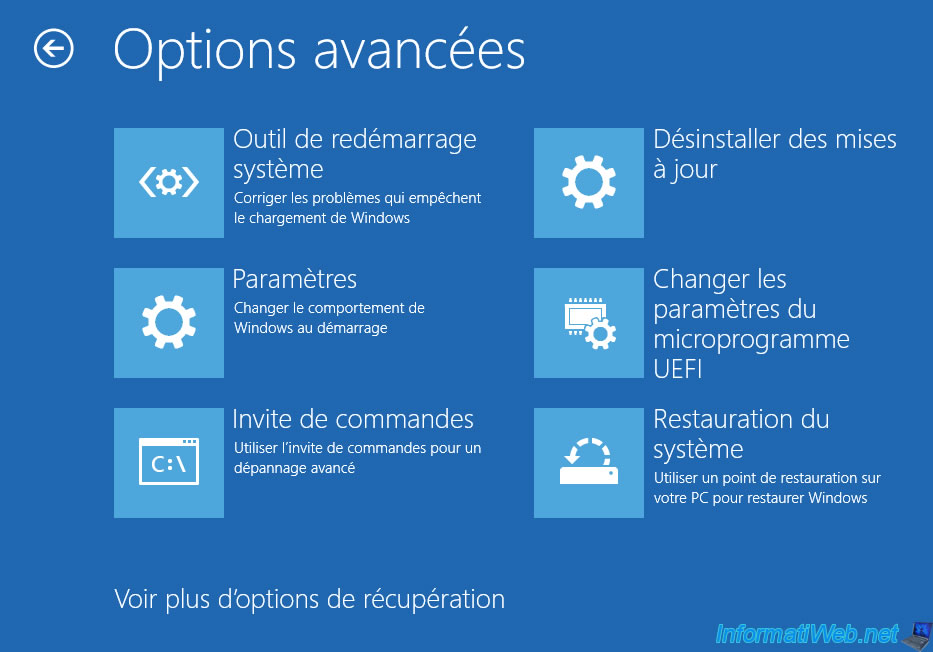
And finally, on : System Image Recovery.
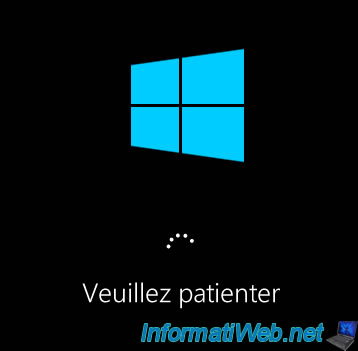
The "Please wait" message appears.
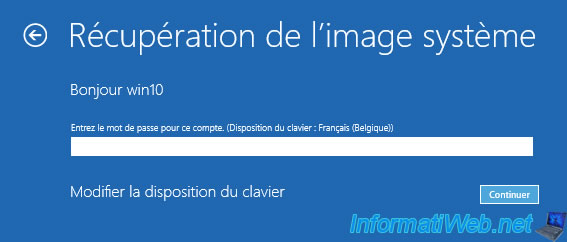
Choose an account for which you know the password.
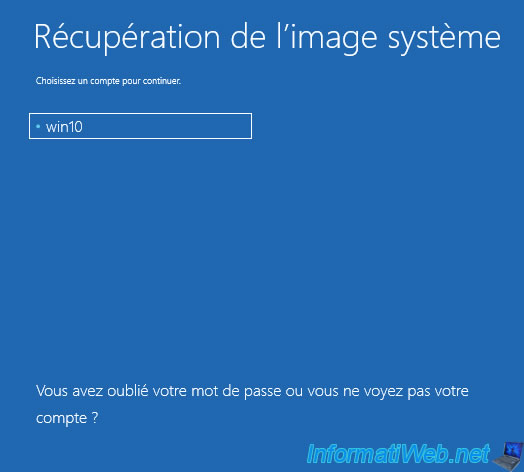
Enter its password or simply click on "Continue" if there is none.
If the external hard drive containing the system image is properly connected to your computer, the wizard will detect your system image.
Click on Next.
Otherwise, a warning will be displayed. In this case, all you need to do is plug in your external hard drive and click on the "Retry" button.
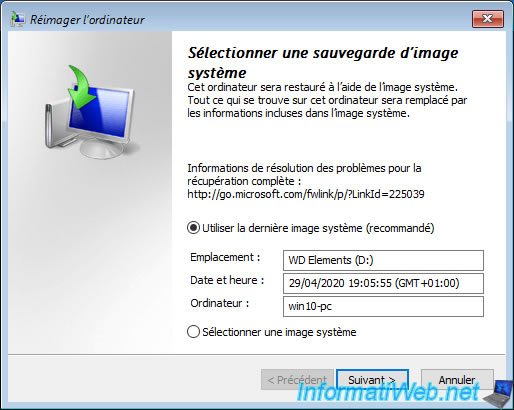
Click again on : Next.
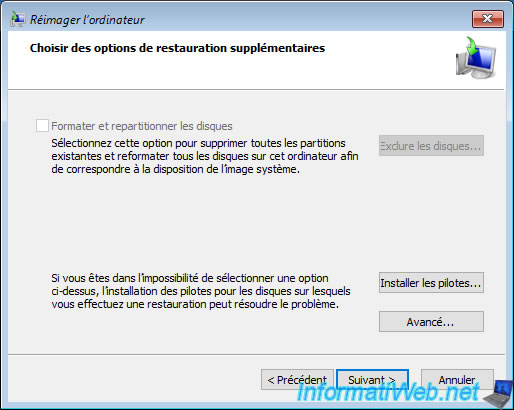
Note : the "Format and repartition disks" box is grayed out when you launch the system image restore from Windows. But, anyway, we recommend that you do NOT check it, otherwise you may lose the data present on all hard drives in your computer (including those that don't contain Windows installation).
Share this tutorial
To see also
-

Windows 7/10/2023
Windows 10 - Connect to a Wifi network
-
Windows 1/20/2025
Windows 10 - Disable distribution of updates on the local network
-
Windows 1/25/2022
Windows 11 - Download the official iso from Microsoft's server
-

Virtualization 1/29/2024
Windows 8 / 8.1 / 10 / 11 - Install Hyper-V on Windows Home Edition
You must be logged in to post a comment