Convert Acronis backup (.tibx) to Hyper-V format (.vhdx) using Acronis True Image (Cyber Protect Home Office)
- Backup
- Acronis True Image
- 31 August 2026 at 07:21 UTC
-

- 3/4
6. Boot the virtual machine from the virtual hard disk (.vhdx) created by Acronis
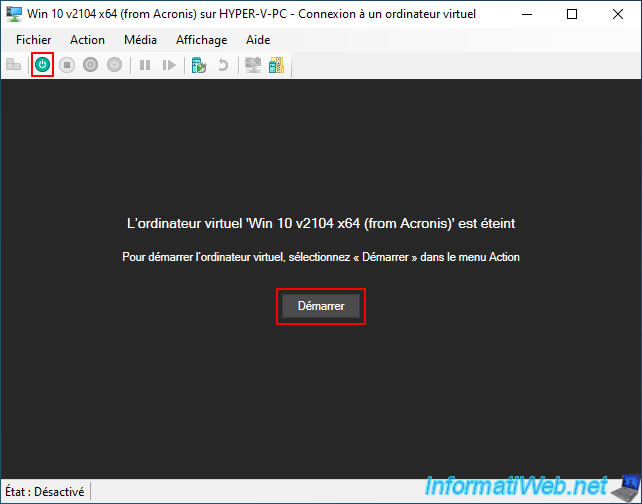
In the Hyper-V Manager, double-click on your virtual machine to open its console or select it and click "Connect" (bottom right).
Then, start your computer by clicking "Start" or on the turquoise icon" (framed in red on the image).
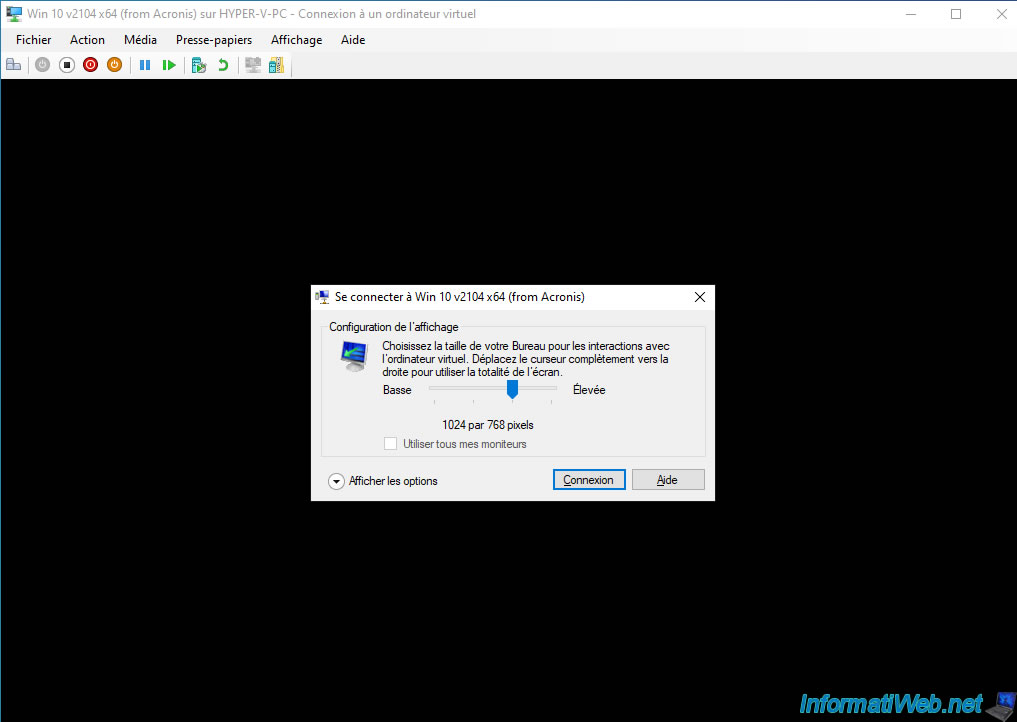
If a small "Connect to [your virtual machine name]" window appears, select the desired screen resolution and then click "Connect". This allows you to use the enhanced session mode (which improves Hyper-V feature for this virtual machine).
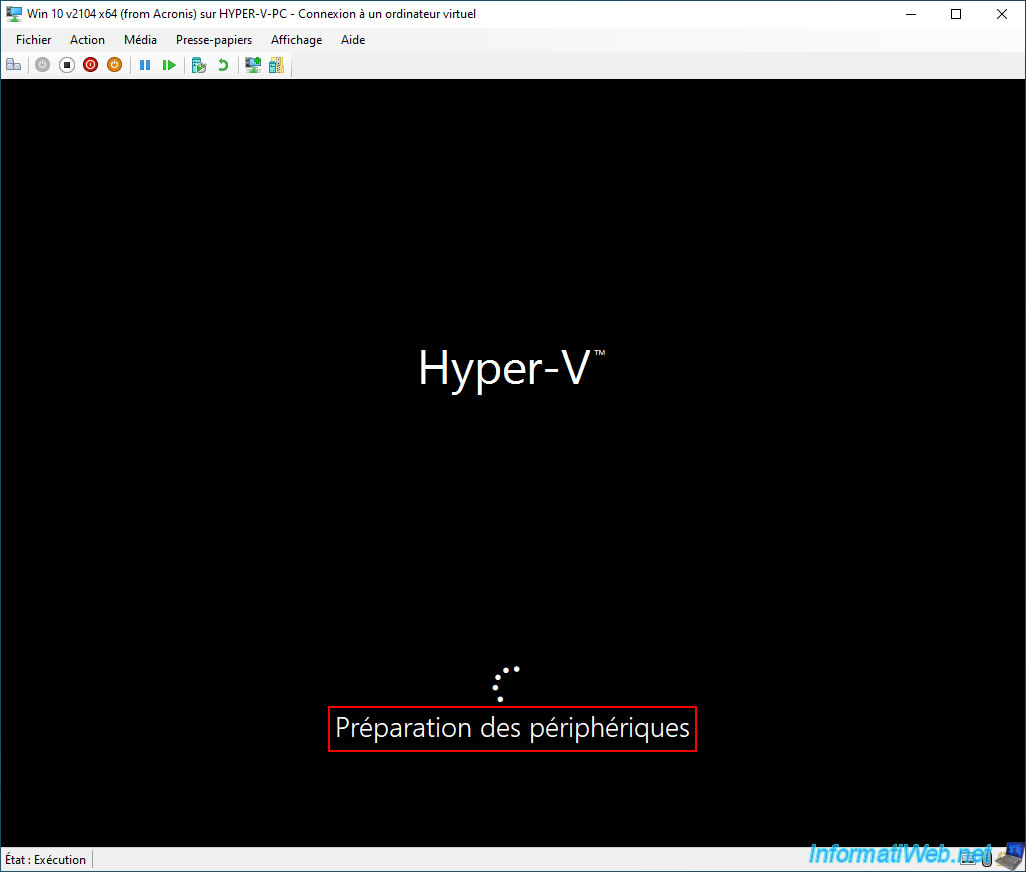
In your virtual machine, recent versions of Windows will automatically detect that the hardware has changed.
Hence the "Preparing devices" message.
Which is supposed to do what is necessary to ensure that the necessary drivers are installed and that Windows can boot properly despite the hardware change.
However, it is possible that it does not work the first time.
In this case, it is up to you to find a solution to solve your specific problem.
As you can easily guess, in our case, we had installed Acronis Cyber Protect Home Office (True Image) in a "Windows 10" virtual machine created under VirtualBox.
Then, we converted the Acronis backup to the ".vhdx" format to be able to use it under Hyper-V.
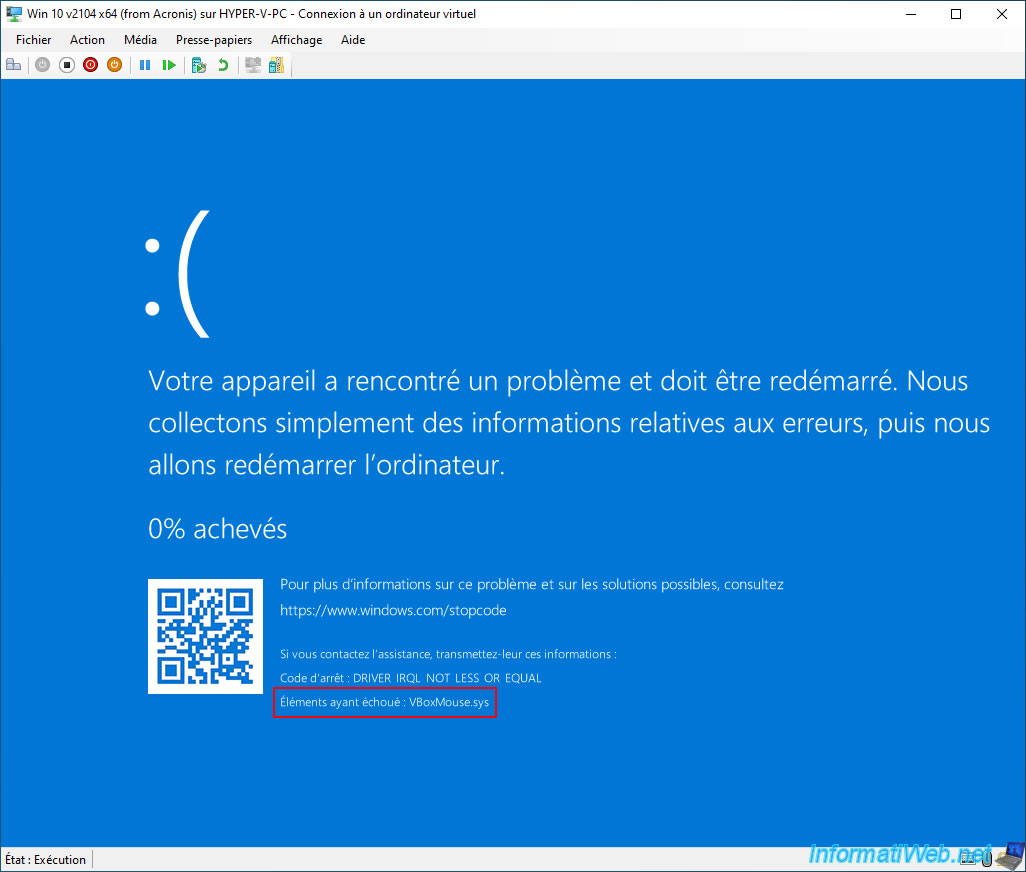
Except that a blue screen occurred at startup just after the "Preparing devices" message.
If you look closely at what is written on this blue screen, you will notice that it is the "VBoxMouse.sys" driver that is causing problems when Windows starts.
In other words, the VirtualBox virtual mouse driver installed with the VirtualBox guest additions.
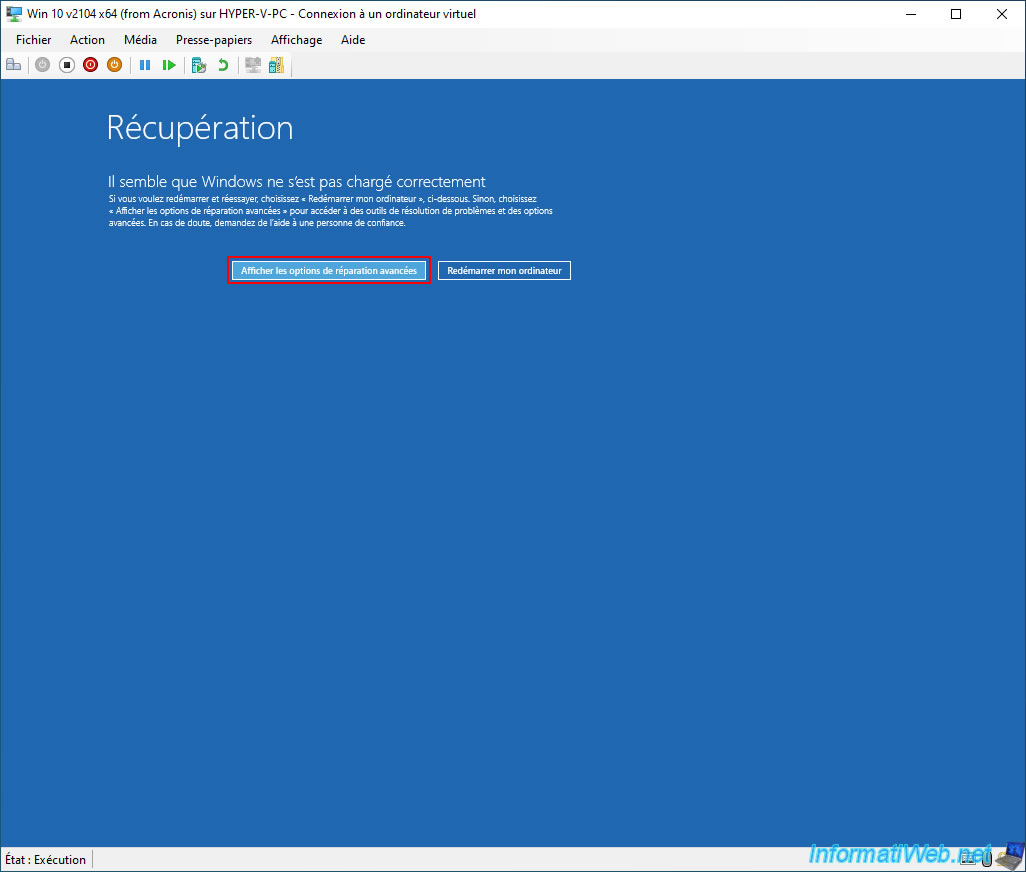
After 2 or 3 boot attempts (which showed the blue screen each time), Windows 10 finally displayed the message "It looks like Windows did not load correctly".
Which allows us to repair it manually by clicking on the "Show advanced repair options" button.
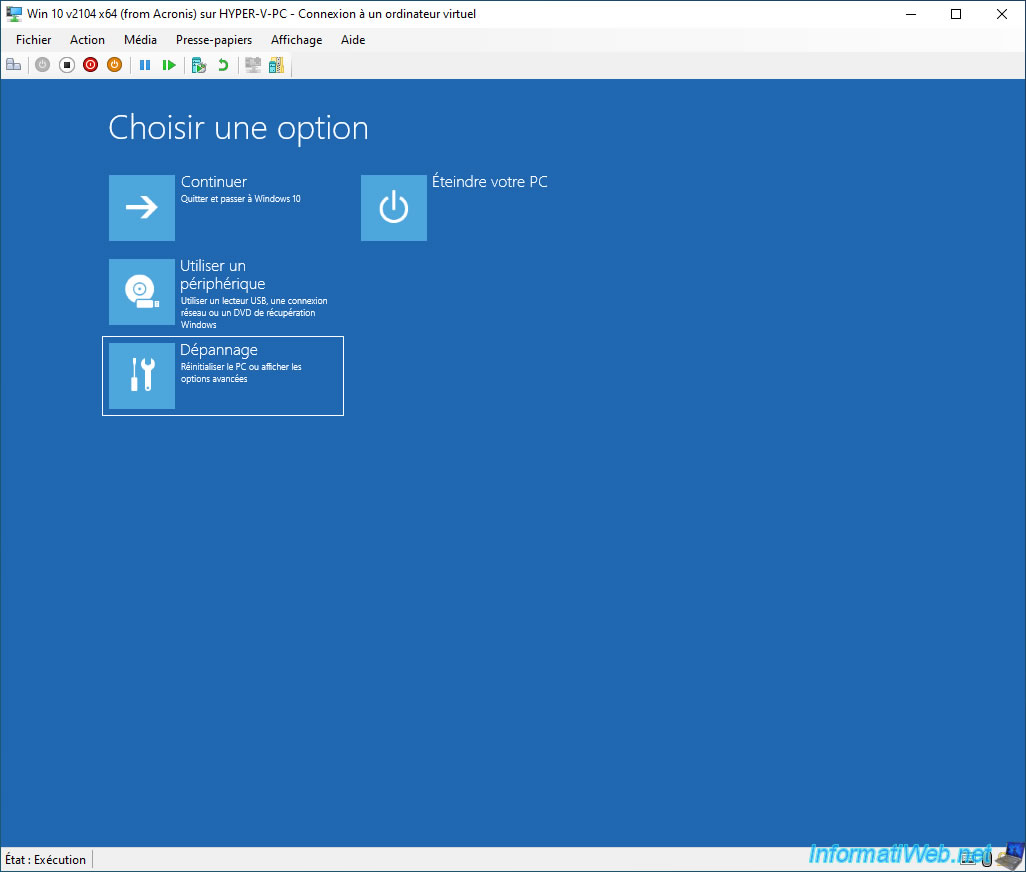
Choose the "Troubleshooting" option.
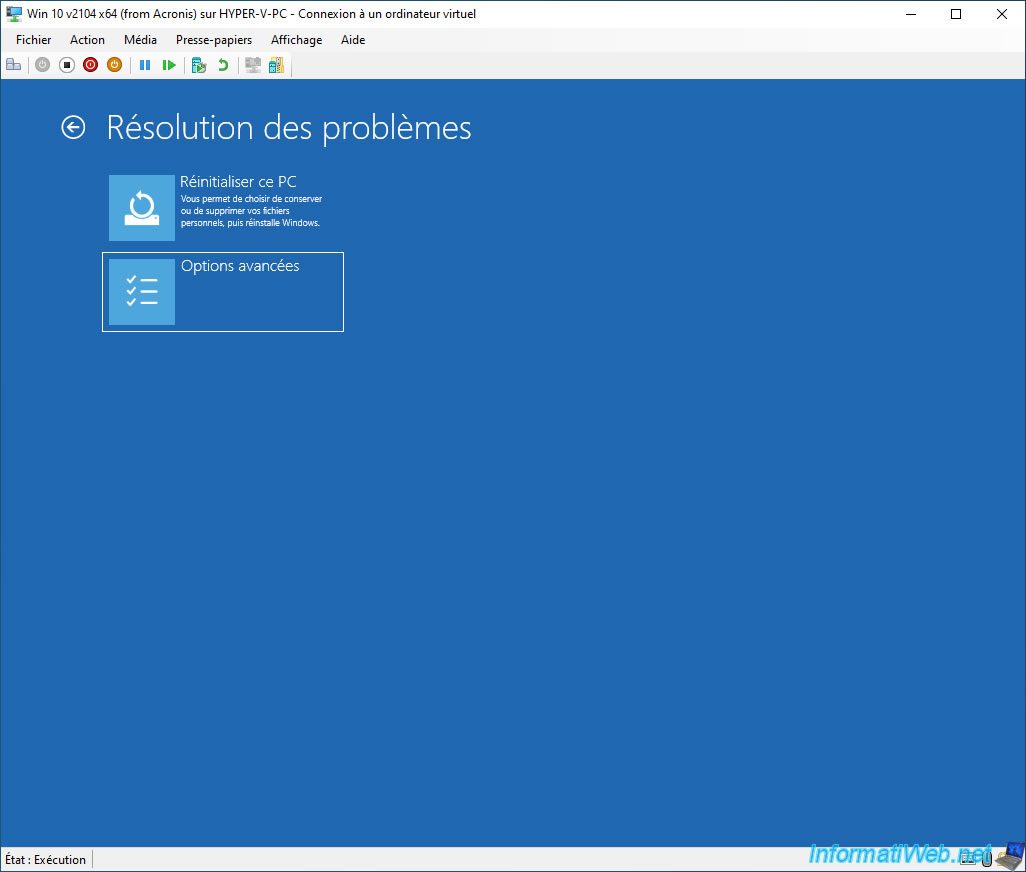
Then: Advanced options.
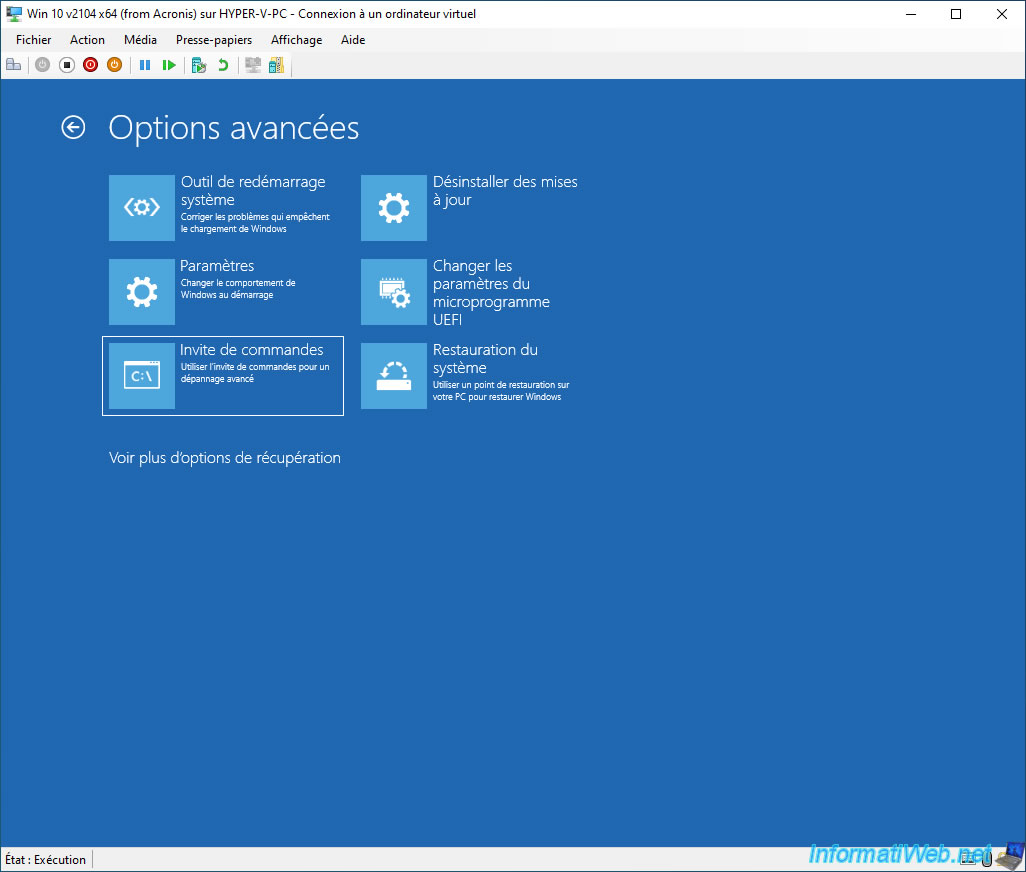
Then: Command Prompt.
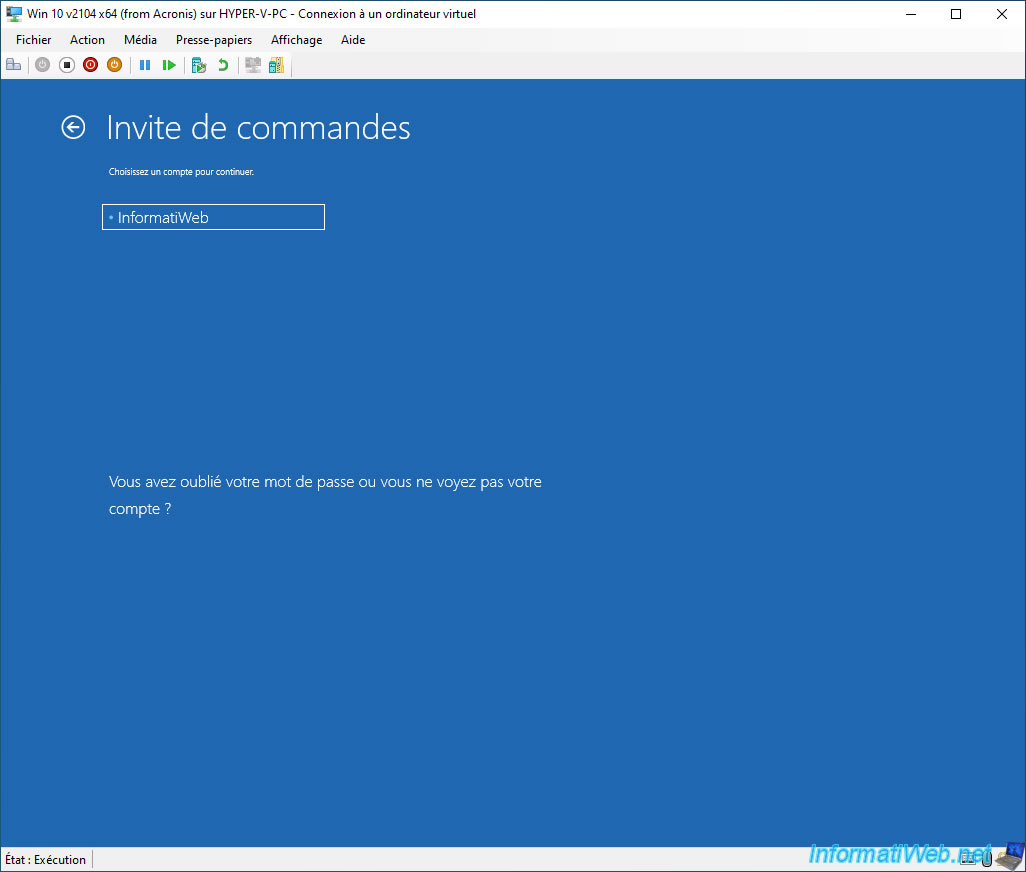
Choose an account that has administrator rights and whose password you know.
In our case, our "InformatiWeb" account.
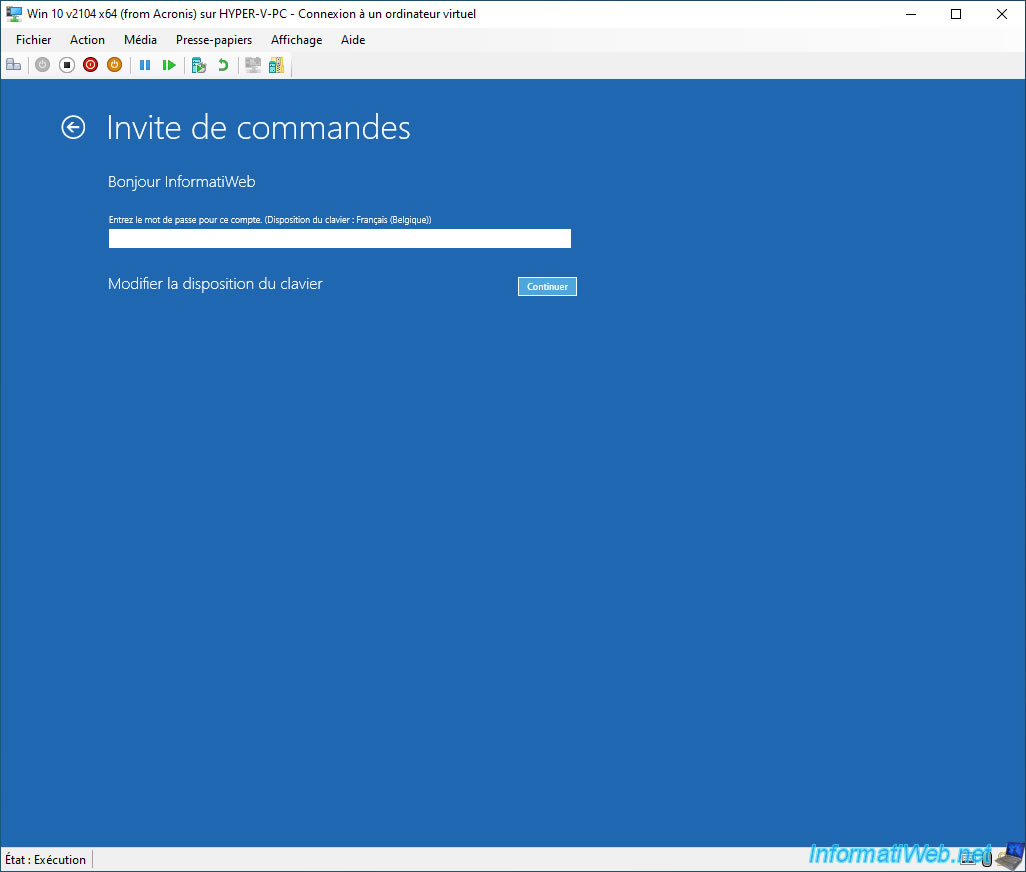
Type the password protecting this user account.
In our case, there is none since the VM was used only for this tutorial.
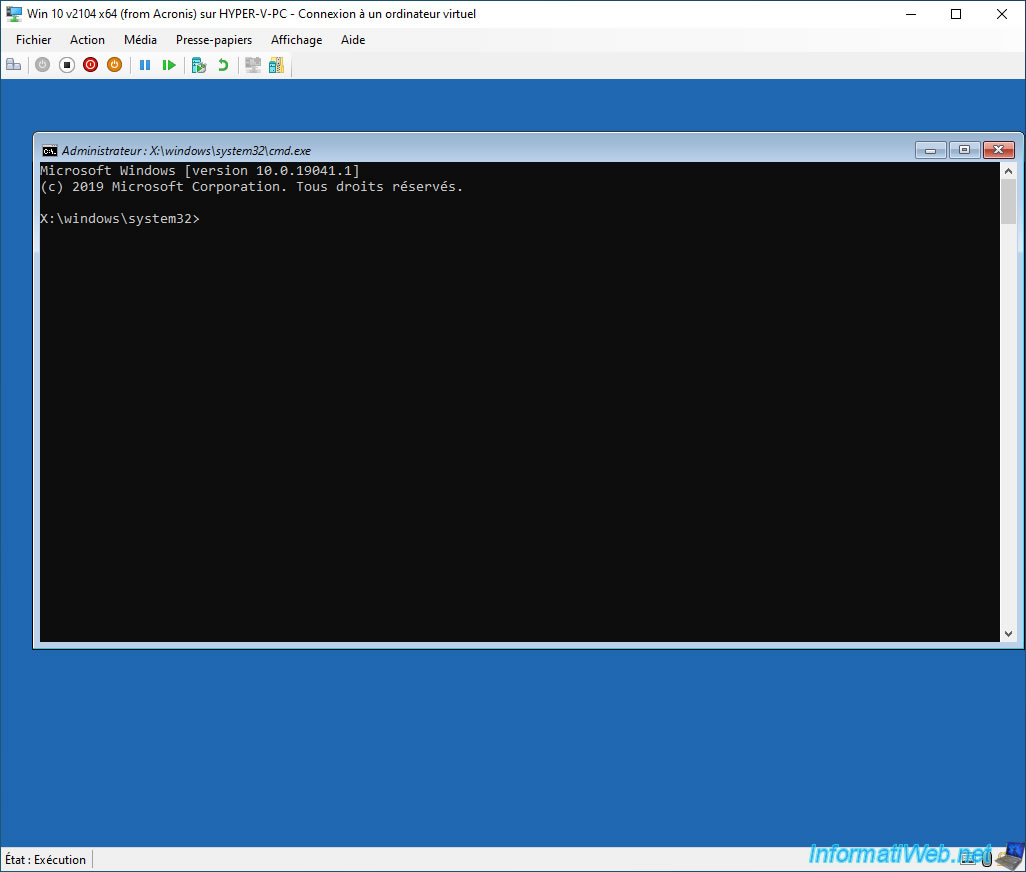
A command prompt launched as administrator appears.
By default, you are in the folder "X:\windows\system32".
Which corresponds to the Windows "Windows RE" (Windows Recovery Environment).
Plain Text
X:\windows\system32>
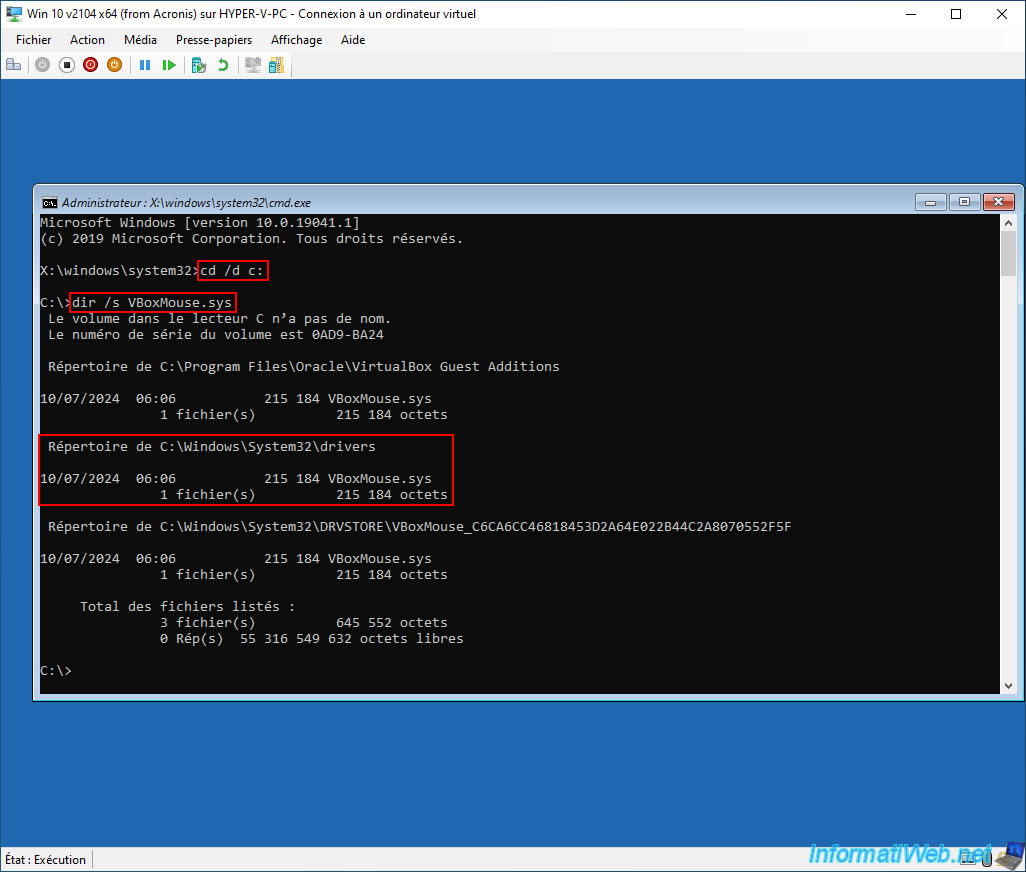
Move to the "C" partition (which corresponds to the Windows installation located in this virtual machine).
Note: do not forget the "/d" parameter which is necessary since the source and destination partitions are different.
Batch
cd /d c:
Then, search for the problematic file.
In our case, the file "VBoxMouse.sys".
Note: the "/s" parameter also searches in all subfolders.
Indeed, by default, the "dir" command only searches in the current folder.
Batch
dir /s VBoxMouse.sys
As you can see, this file "VBoxMouse.sys" was found in 3 folders:
- C:\Program Files\Oracle\VirtualBox Guest Additions : the VirtualBox Guest Additions (drivers) folder.
- C:\Windows\System32\drivers : the Windows folder where all drivers are installed and from which they are loaded.
- C:\Windows\System32\DRVSTORE\VBoxMouse_... : a folder containing a copy of all drivers already installed on your computer.
In other words, the only folder that Windows uses to load the drivers necessary for your computer to function properly is the "C:\Windows\System32\drivers" folder.
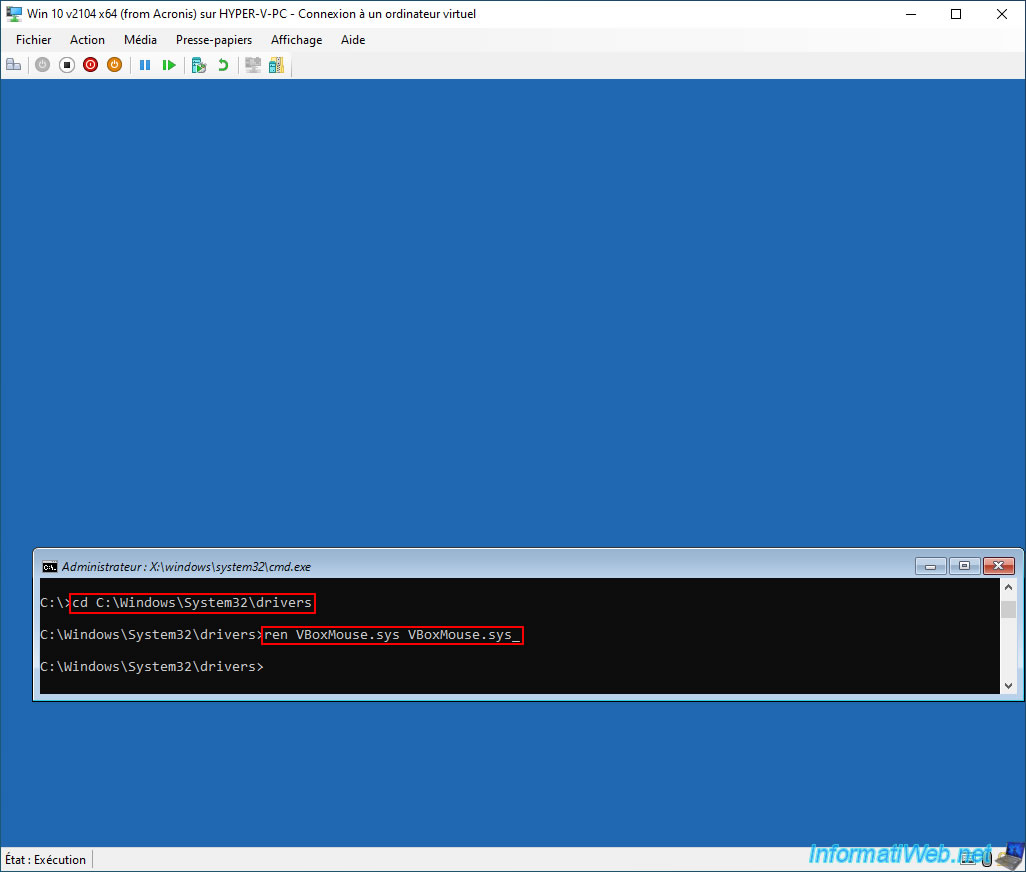
To fix the problem, just go to this folder "C:\Windows\System32\drivers".
Batch
cd C:\Windows\System32\drivers
Then, delete or rename the problematic driver by adding a "_" after its extension.
This way, Windows will not detect it and will not load it since its extension is no longer ".sys".
Batch
ren VBoxMouse.sys VBoxMouse.sys_
Once the problematic "VBoxMouse.sys" driver has been removed or renamed, close the Command Prompt.
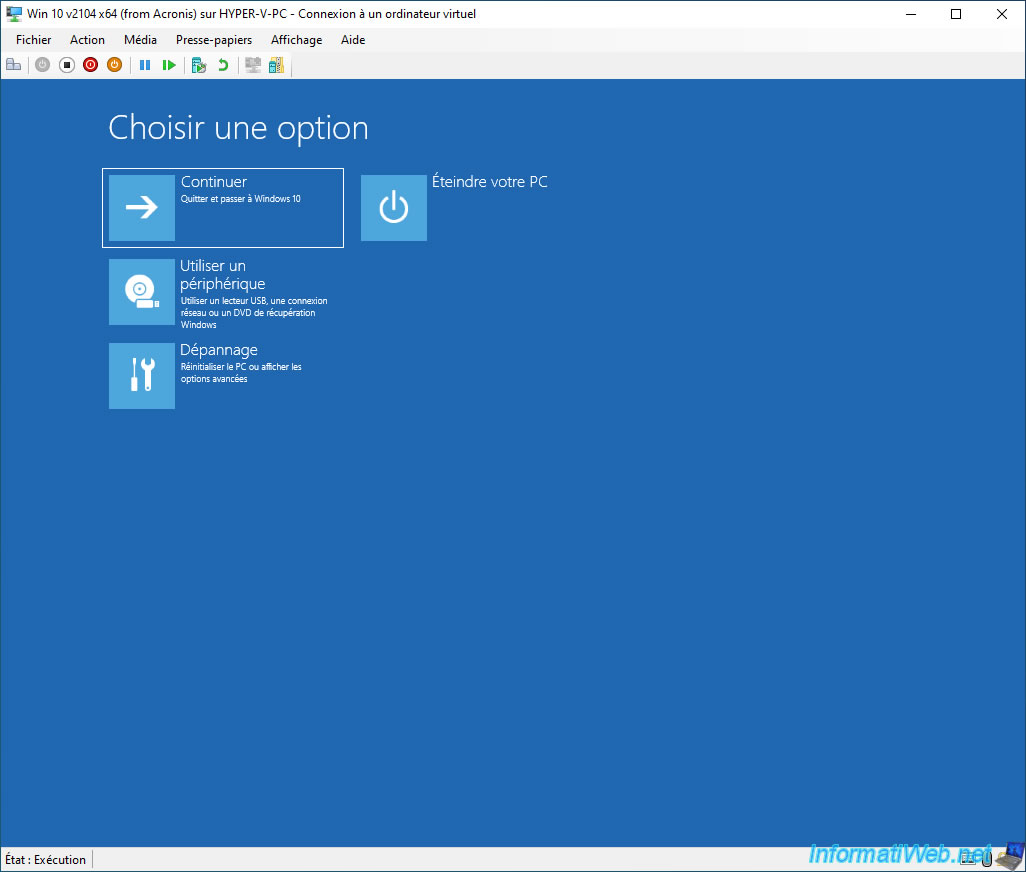
Click "Continue" to start Windows.
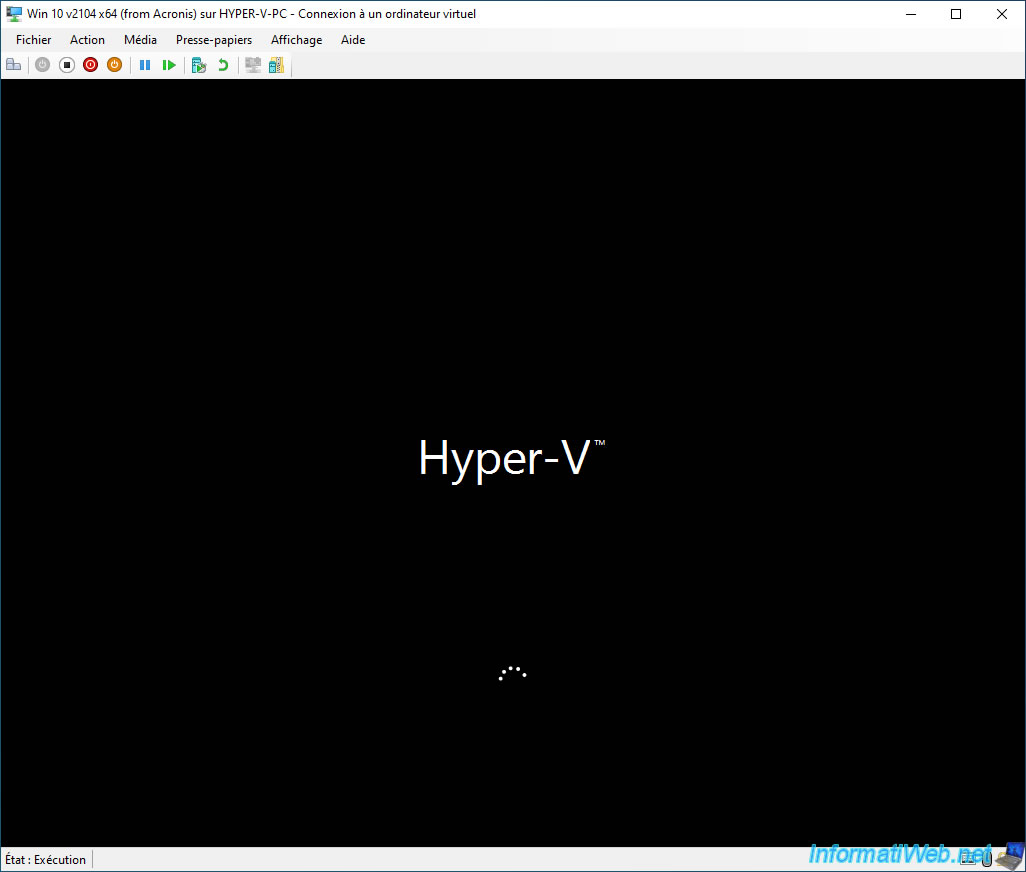
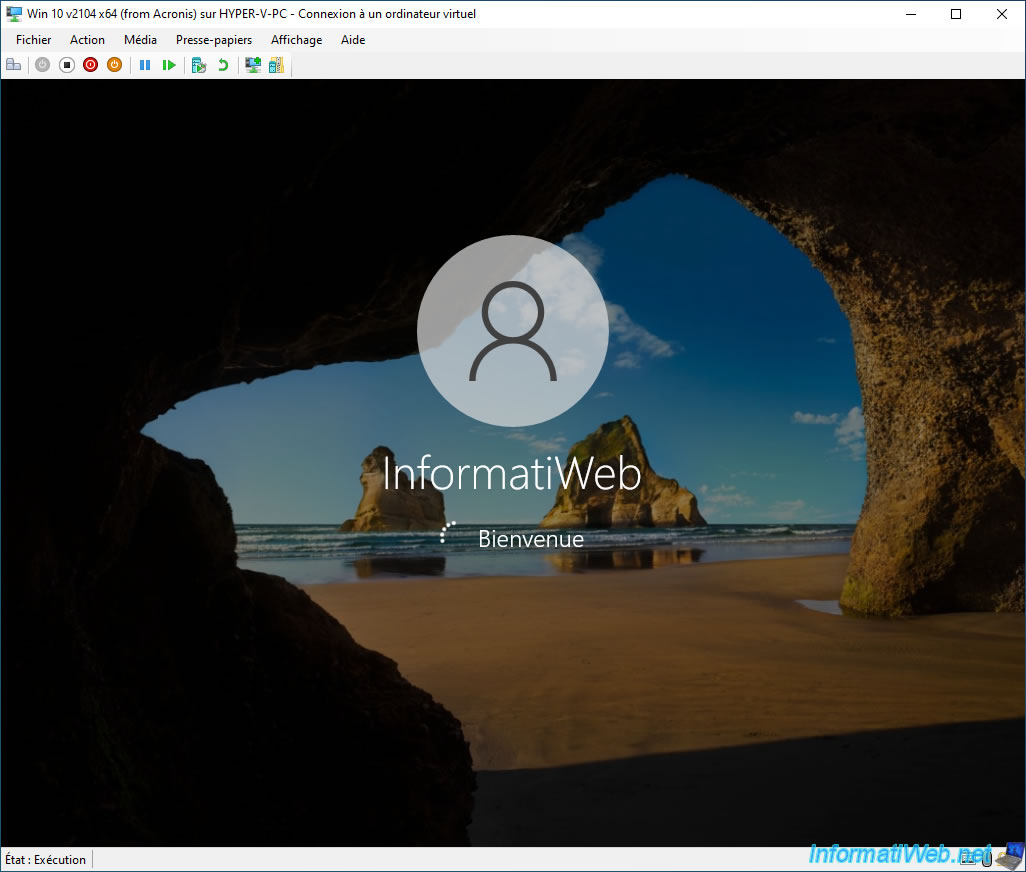
Windows starts.
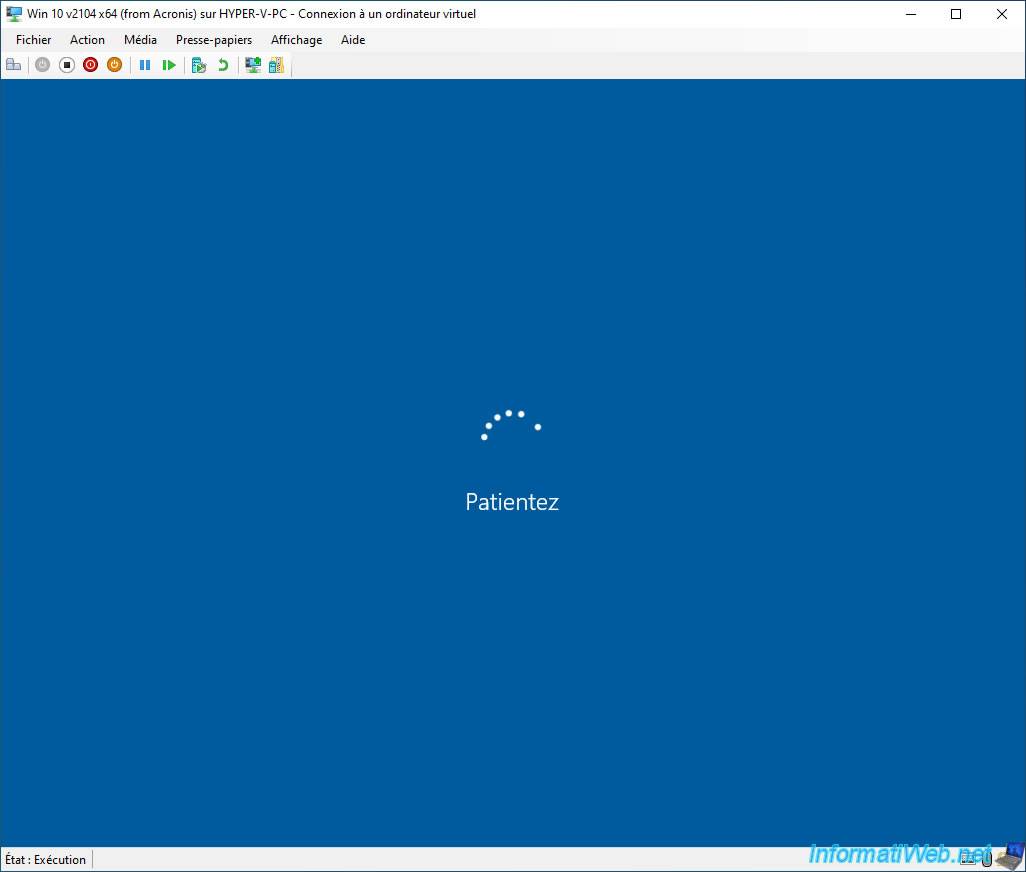
In our case, the message "Wait" appears for a few seconds.
The Windows session opens.
Share this tutorial
To see also
-

Backup 11/10/2025
Acronis True Image - Archive your files on Acronis Cloud (encrypted archive)
-

Backup 6/2/2025
Acronis True Image - Backing up your PC to an external hard drive
-
Backup 3/9/2026
Acronis True Image - Rescue Media - Enable recovery option
-
Backup 5/11/2026
Acronis True Image - Universal Restore Media - Create media (Win PE version based on Win RE)
No comment