Back up your PC for free with the OEM version of Acronis True Image offered by Western Digital (WD)
- Backup
- Acronis True Image
- 05 October 2026 at 13:12 UTC
-

- 7/7
10. Backing up your PC to a NAS of another brand
By default, you might notice that the OEM version of Acronis True Image provided by Western Digital only displays Western Digital NAS devices.
However, it's still possible to back up your computer to a NAS from another brand (for example, Synology) using this OEM version provided by Western Digital. The procedure is slightly different, but the result is the same.
10.1. Synology NAS configuration used
For this example, we reused our Synology NAS "DS920+" which was already used in our tutorial "Acronis True Image - Backing up your PC to a Synology NAS".
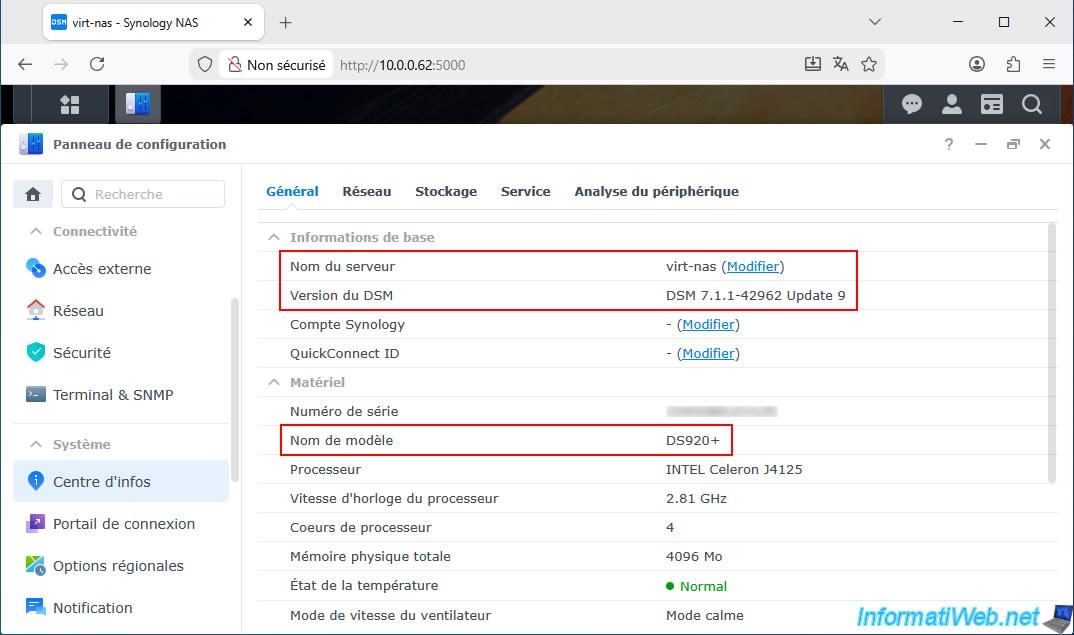
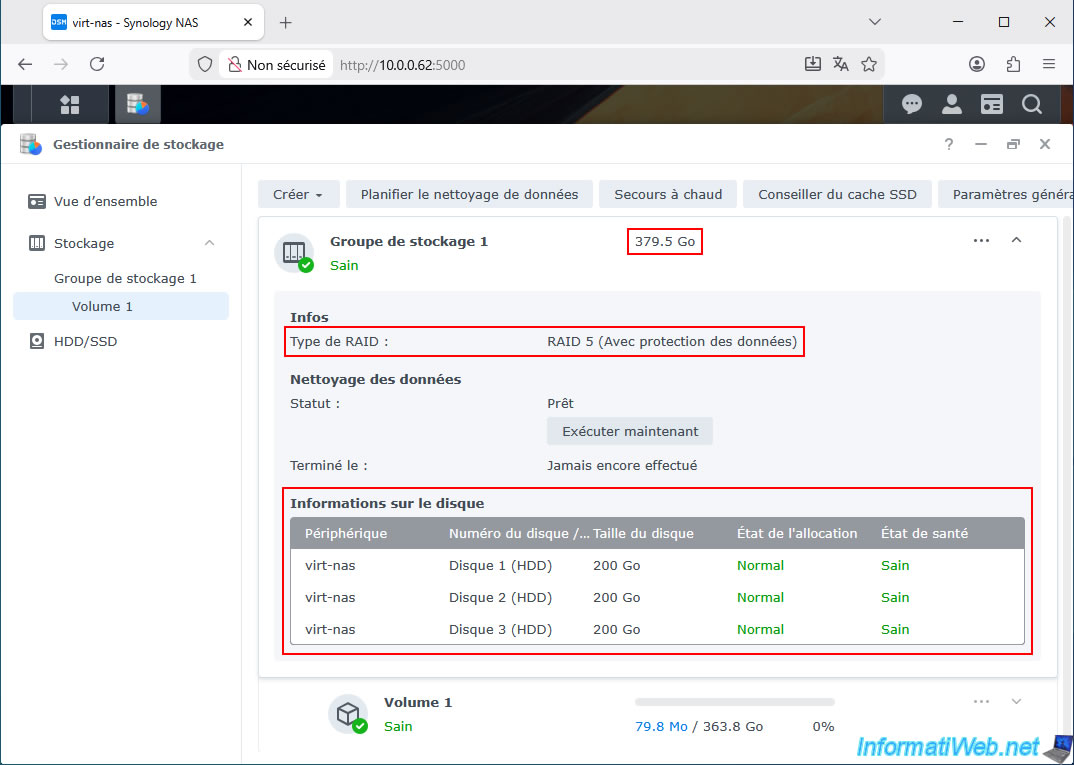
On this NAS, we already have RAID 5 storage with 3 hard drives of 200 GB each.
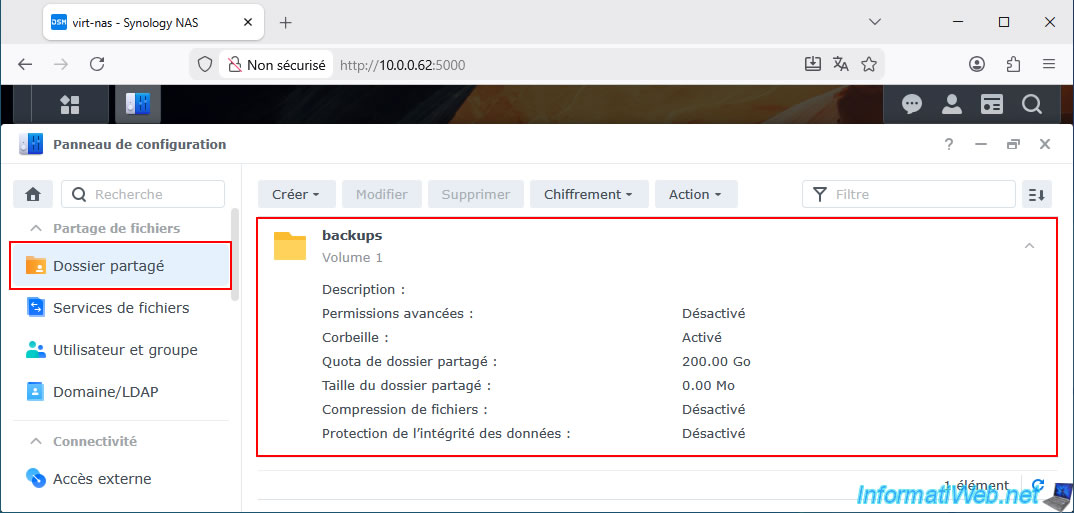
On this Synology NAS, we created a shared folder named "backups" with a quota of 200 GB to prevent Acronis from filling up our Synology NAS's storage.
To create this shared folder on your Synology NAS, refer to the tutorial mentioned above.
10.2. Back up your PC to a Synology NAS using the OEM version of Acronis TI provided by Western Digital
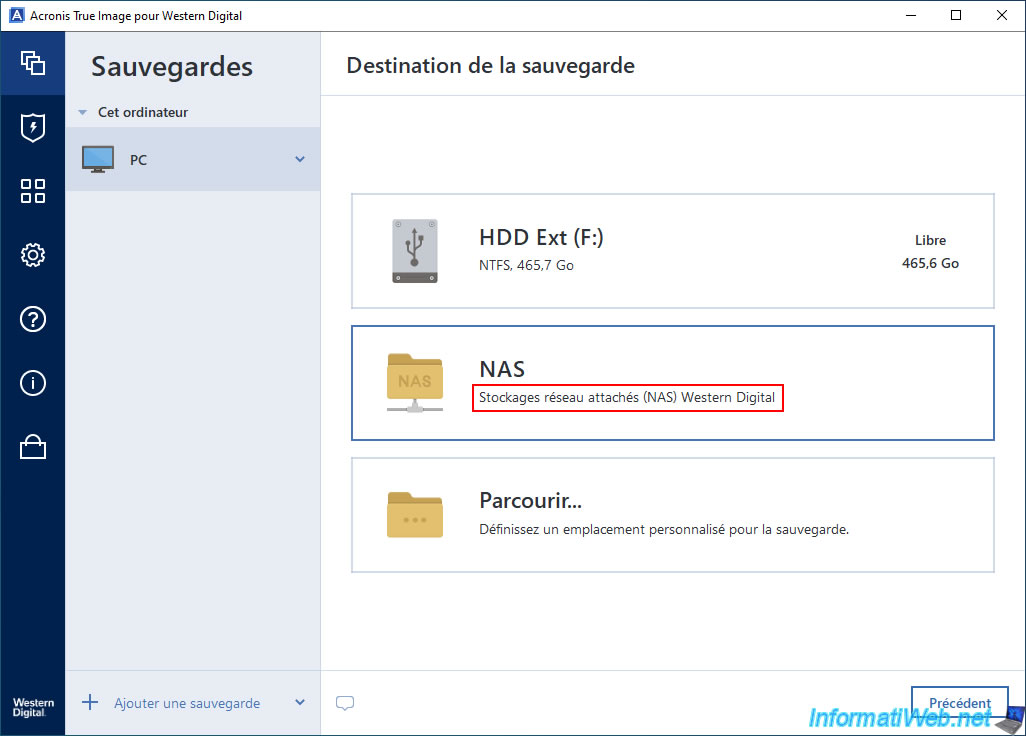
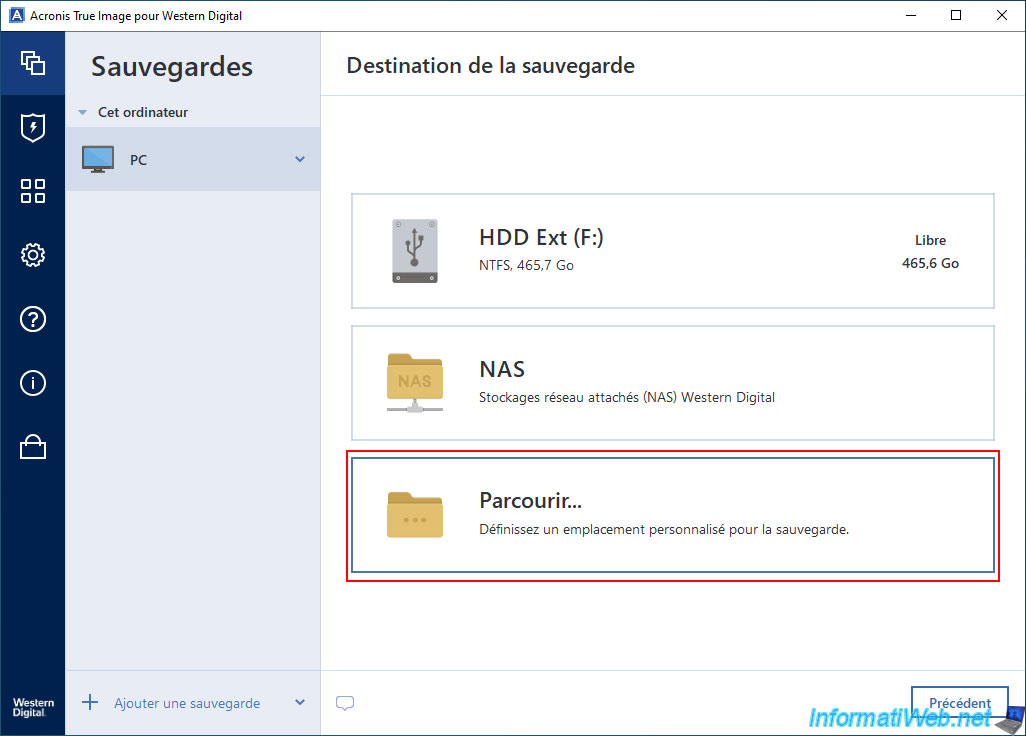
If you try to select the destination for your backup, you'll see that the OEM version of Acronis True Image provided by Western Digital (WD) displays a "NAS" option with the description "Western Digital Network Attached Storage (NAS)".
This explains why your Synology NAS appears not to be detected by this OEM version of Acronis True Image.
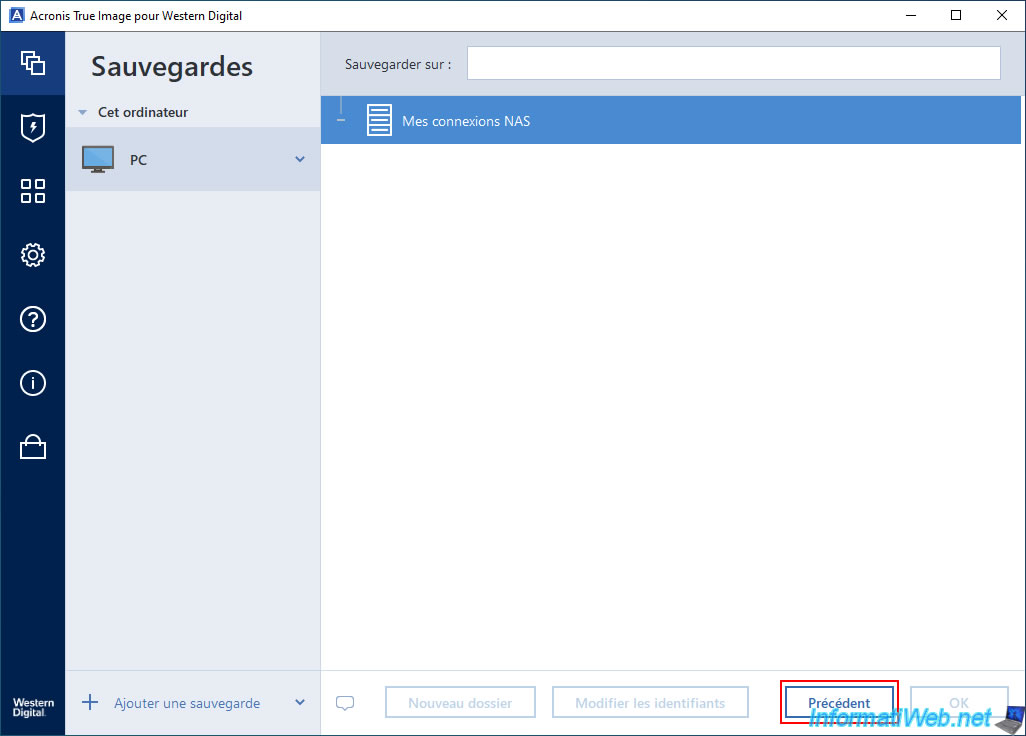
Even if you select the "NAS" option, you will see an empty "My NAS Connections" section where you cannot add any other NAS devices.
Click "Previous" to return to the previous step.
The solution is to first click on the "Browse" option.
Next, double-click on the "Network" node.
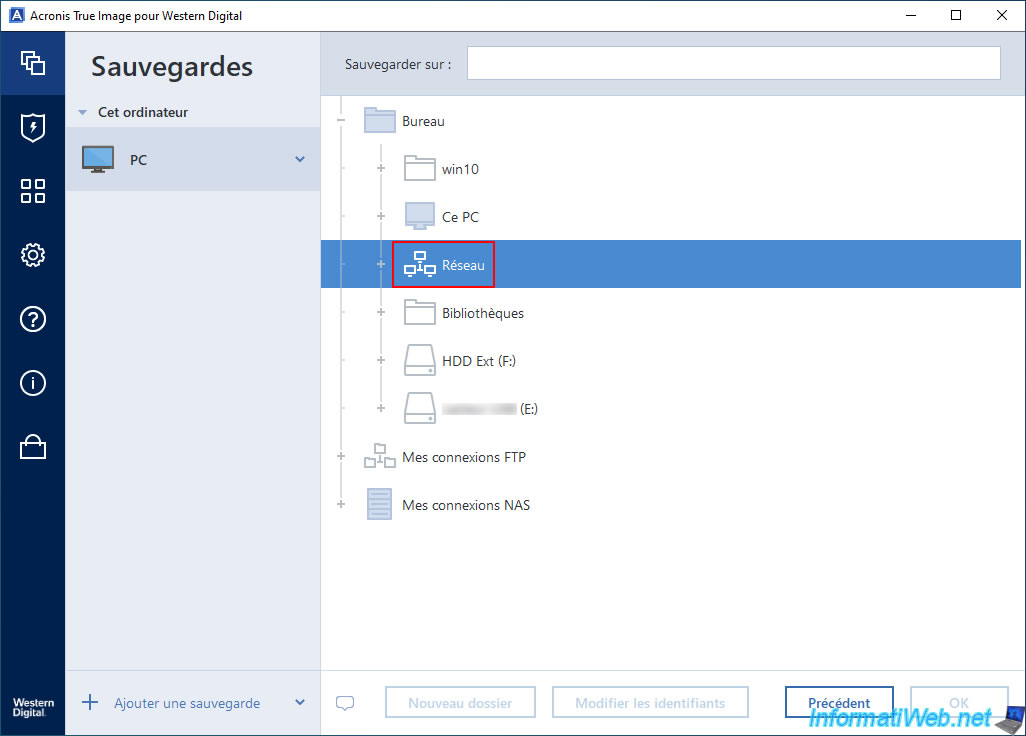
Wait a few seconds while Acronis True Image for Western Digital detects the devices available on your local network.
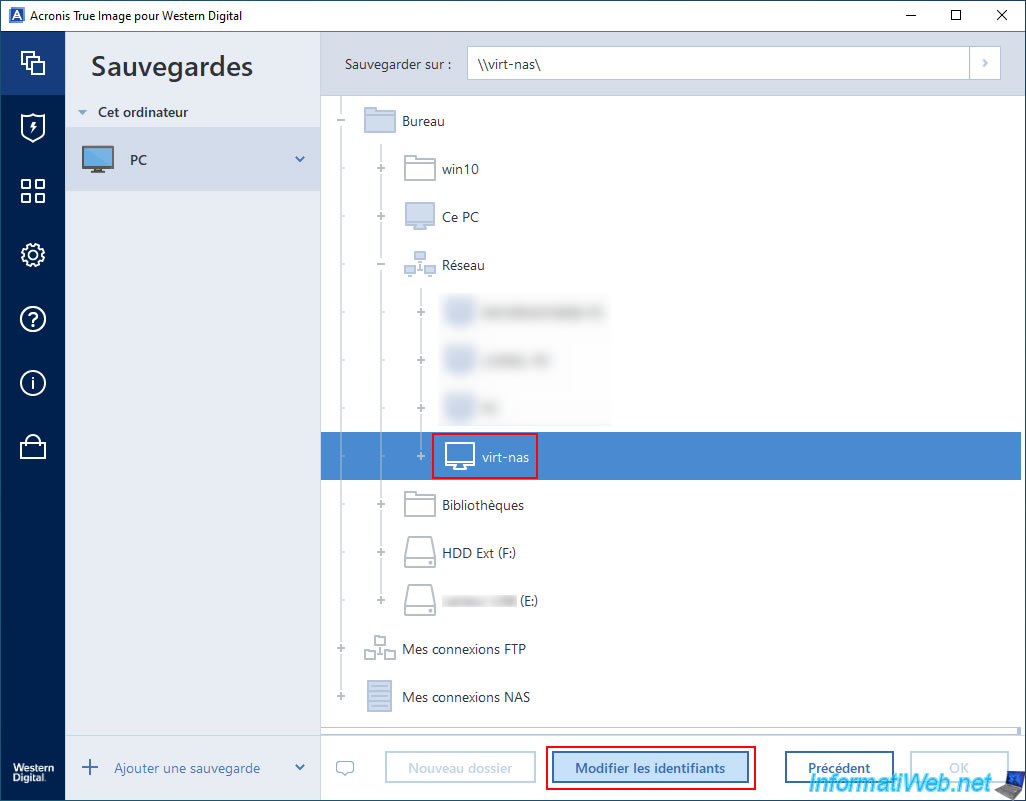
Then, select your Synology NAS from the list that appears.
In our case, it's the "virt-nas" device.
Next, click "Edit credentials".
Enter the credentials of a user on your Synology NAS who has write access to the shared folder previously created on your Synology NAS, then click "Connect".
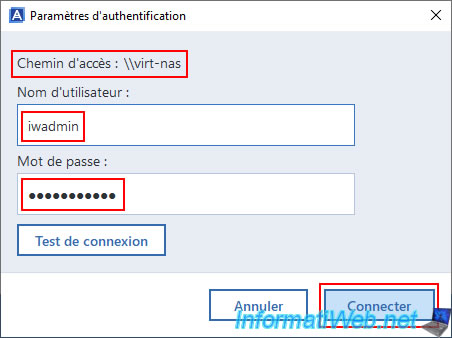
As expected, the shared "backups" folder on your Synology NAS appears.
Select this shared folder, then click OK.
Note: if needed, click the "+" located to the left of your NAS after entering the necessary credentials.
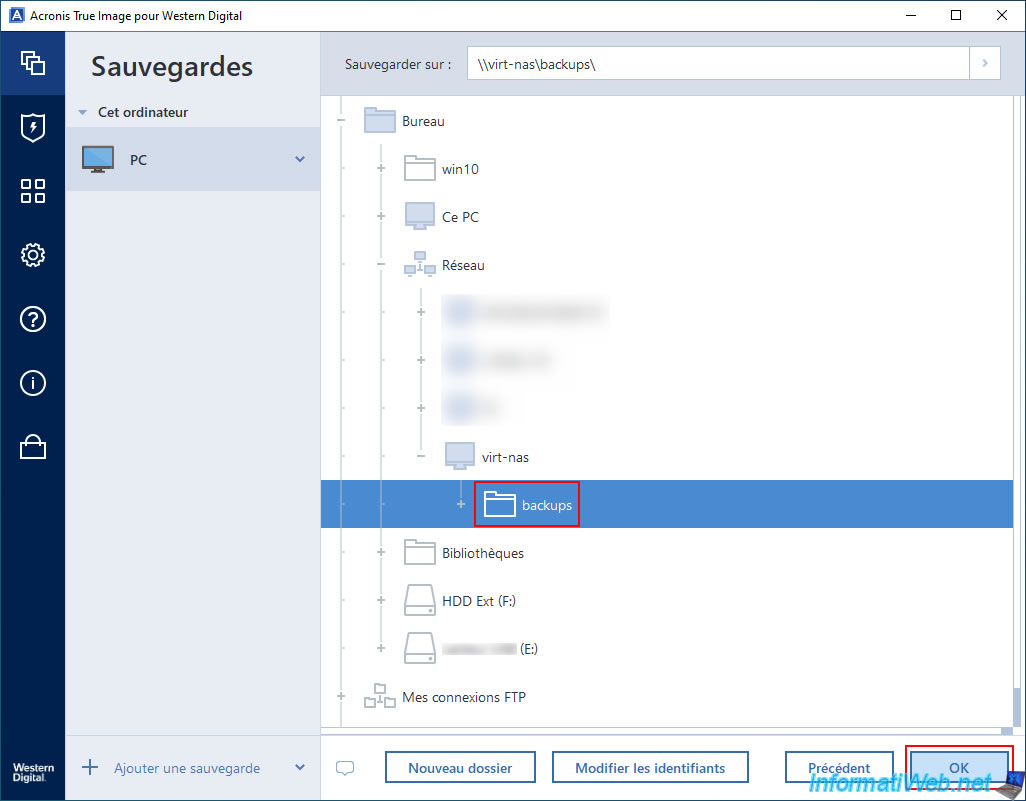
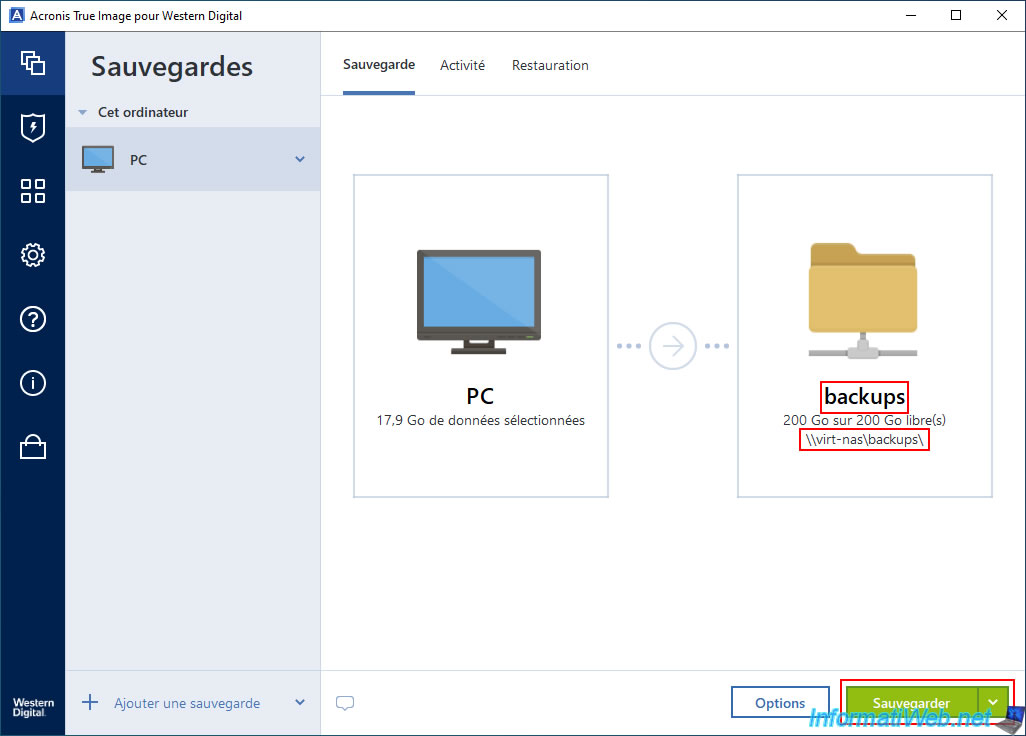
As you can see, the destination that appears is indeed a shared folder on your Synology NAS.
Click the "Backup" button to start backing up your PC.
Please wait while your PC is being backed up to your Synology NAS even if you are using the OEM version of Acronis True Image provided by Western Digital (WD).
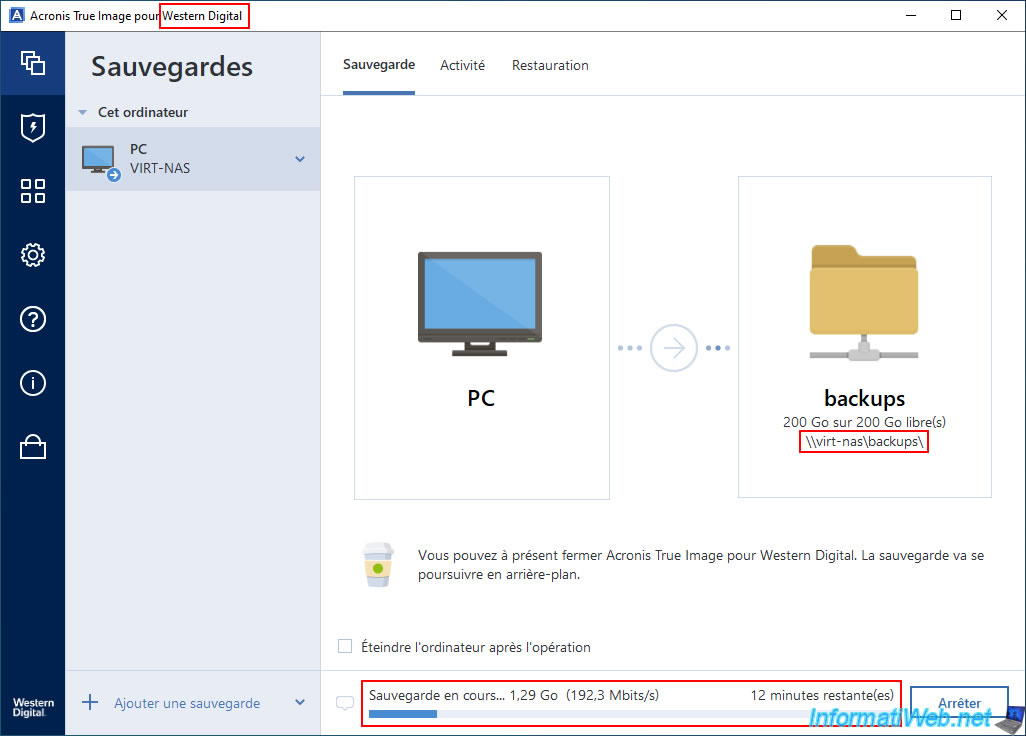
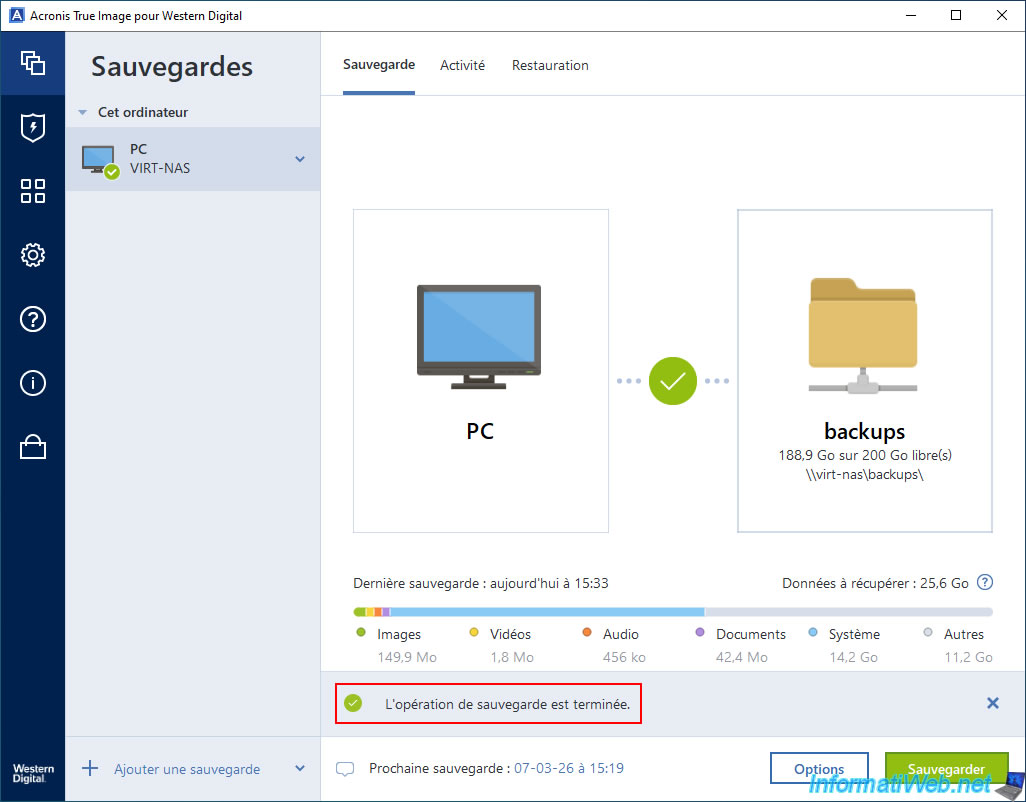
As expected, the backup completed without any issues.
Even though your NAS brand is different from "Western Digital".
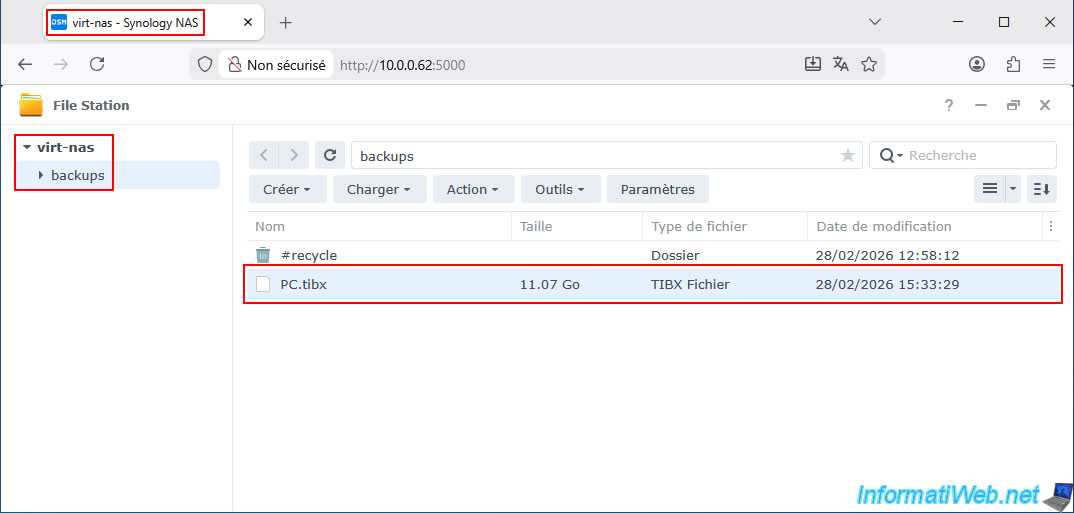
As proof, you can see that the backup file "PC.tibx" was indeed created in the shared folder "backups" of our Synology NAS.
Share this tutorial
To see also
-
Backup 1/19/2026
Acronis True Image - Rescue Media - Create media (Linux version)
-
Backup 1/26/2026
Acronis True Image - Rescue Media - Create media (Win PE version)
-
Backup 8/4/2025
Acronis True Image - Search for files in a backup
-
Backup 5/11/2026
Acronis True Image - Universal Restore Media - Create media (Win PE version based on Win RE)
No comment