Virtualize a physical PC to VirtualBox (P2V) using Acronis True Image (Cyber Protect Home Office) and Acronis Universal Restore
- Backup
- Acronis True Image, Acronis Universal Restore
- 07 September 2026 at 13:50 UTC
-

- 5/8
7. Apply Acronis Universal Restore in your VirtualBox virtual machine
7.1. Insert the Acronis Universal Restore ISO into your VirtualBox VM's CD/DVD drive
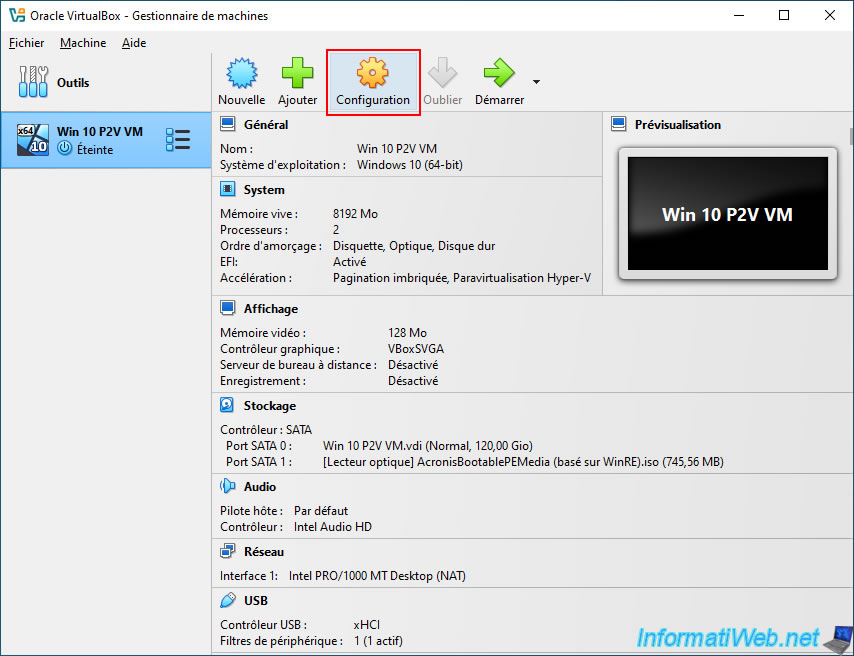
Now that your virtual machine is powered off, select your virtual machine in VirtualBox and click "Configure".
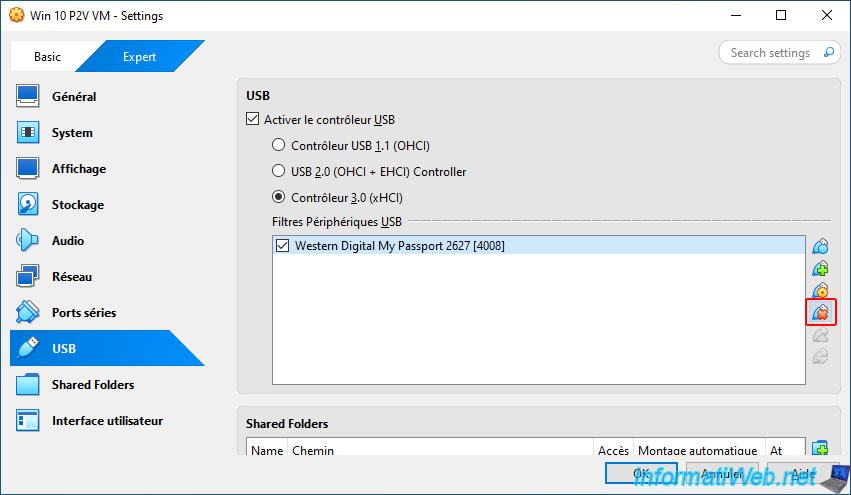
In the "USB" section, select your previously added USB external hard drive and click on the icon with a cross (located to the right of the list).
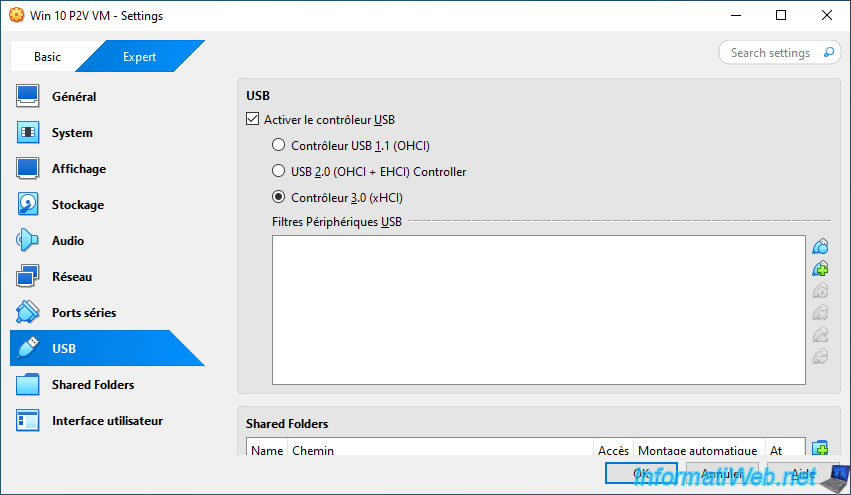
Your USB external hard drive disappears from the USB device filter list.
So your USB external hard drive will no longer be automatically connected to your VirtualBox virtual machine.
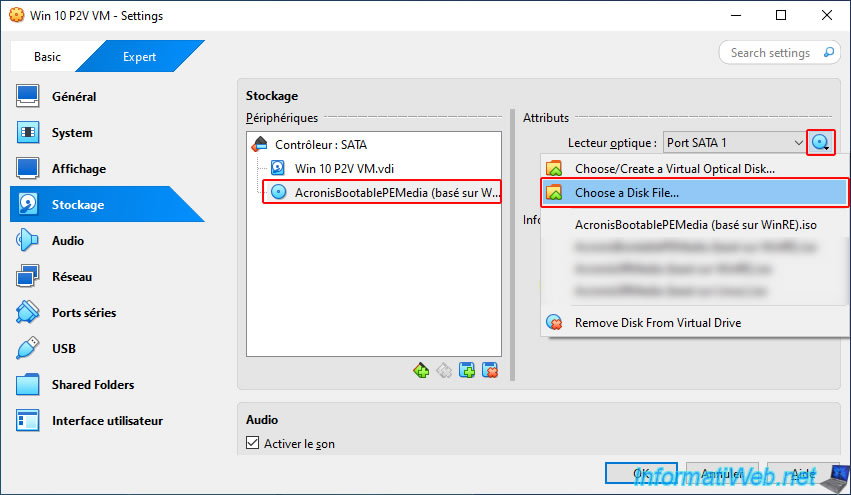
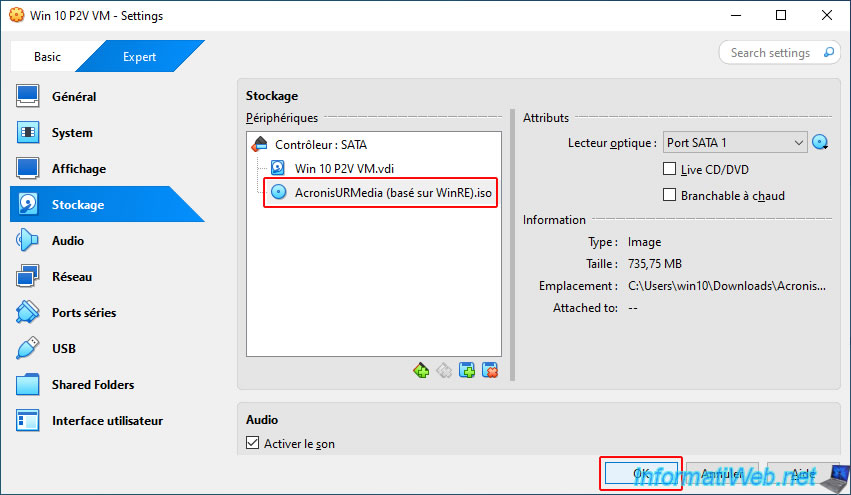
Now, go to the "Storage" section, select your virtual machine's CD/DVD drive and click "Choose a Disk File" (on the right).
This time, select the ISO file "AcronisURMedia (WinRE based).iso" (which is the bootable media with "Acronis Universal Restore"), then click "Open".
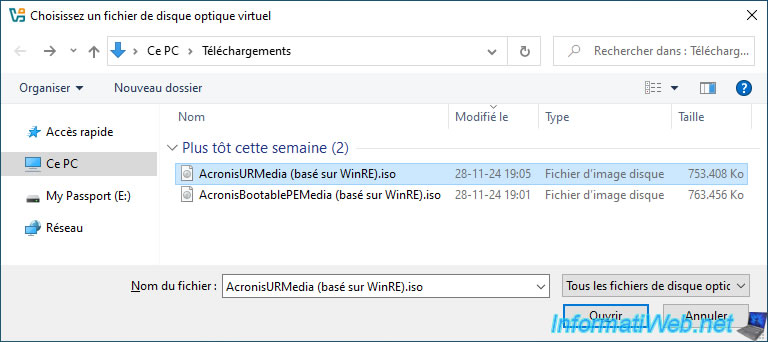
Once the ISO file "AcronisURMedia (WinRE based).iso" is inserted into your virtual machine's CD/DVD drive, click OK to save the changes.
7.2. Apply Acronis Universal Restore from your VirtualBox VM
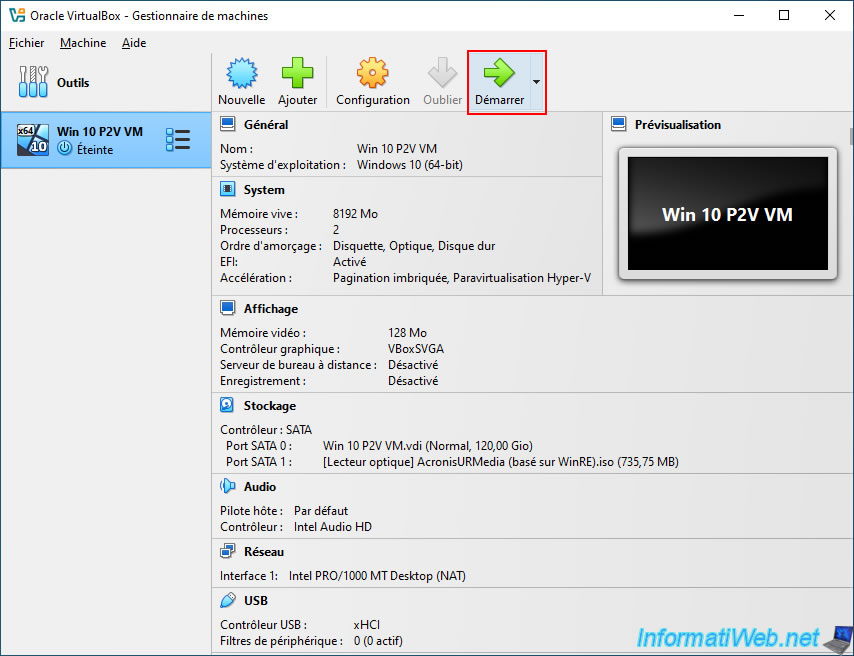
Start your VirtualBox virtual machine.
Warning : if you used a virtual hard disk with an MBR (so NOT GPT), you must configure the boot order of your virtual machine to boot first on the optical drive (CD), then on your hard disk.
Then, start your VM.
Click once on your virtual machine screen (so that the mouse and keyboard can act in your virtual machine), then press the "Esc" key several times to display the VirtualBox UEFI firmware settings.
Note: this is only valid if your virtual machine is configured in EFI mode (and your virtual hard disk has therefore been initialized with a "GPT" partition type).
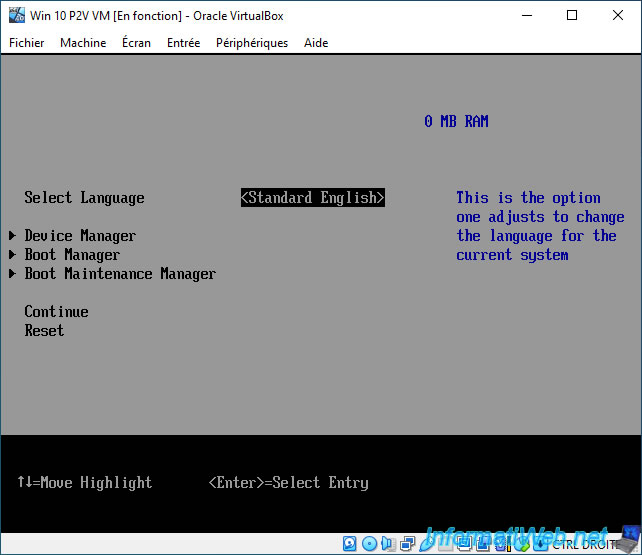
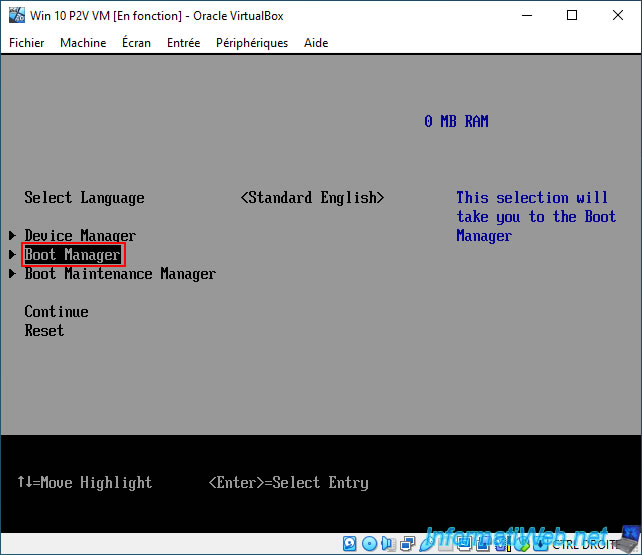
Select the "Boot Manager" menu with the keyboard arrows, then press the "Enter" key to enter it.
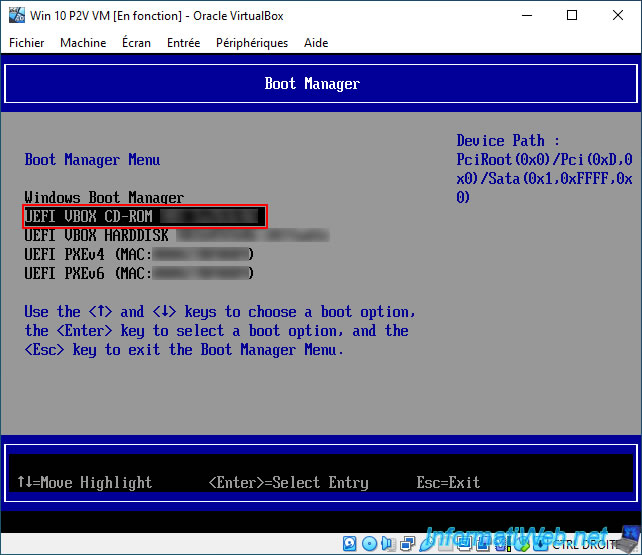
In this "Boot Manager" section, select the "UEFI VBOX CD-ROM ..." option (which corresponds to your VM's CD/DVD drive) to boot from the Acronis Universal Restore ISO you just inserted into your virtual machine's CD/DVD drive.
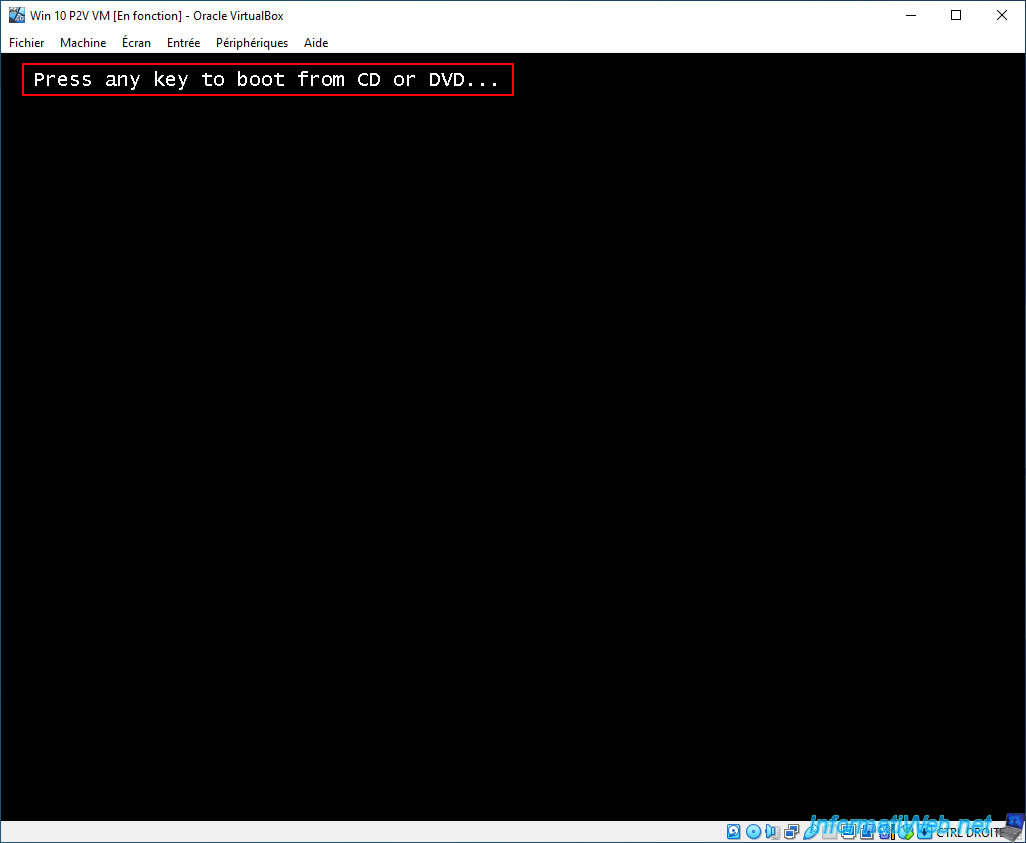
Press "Enter" when the message "Press any key to boot ..." appears.
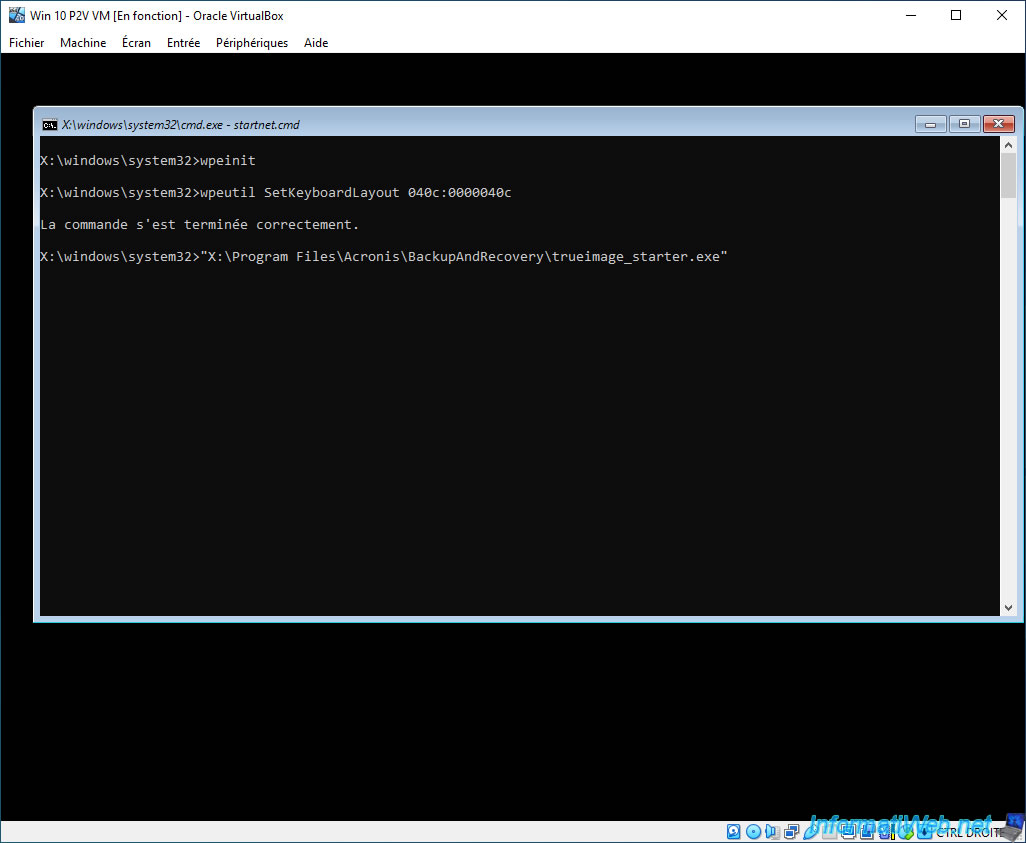
A command prompt (black window) appears.
Then, the Acronis Universal Restore logo will appear a little later.
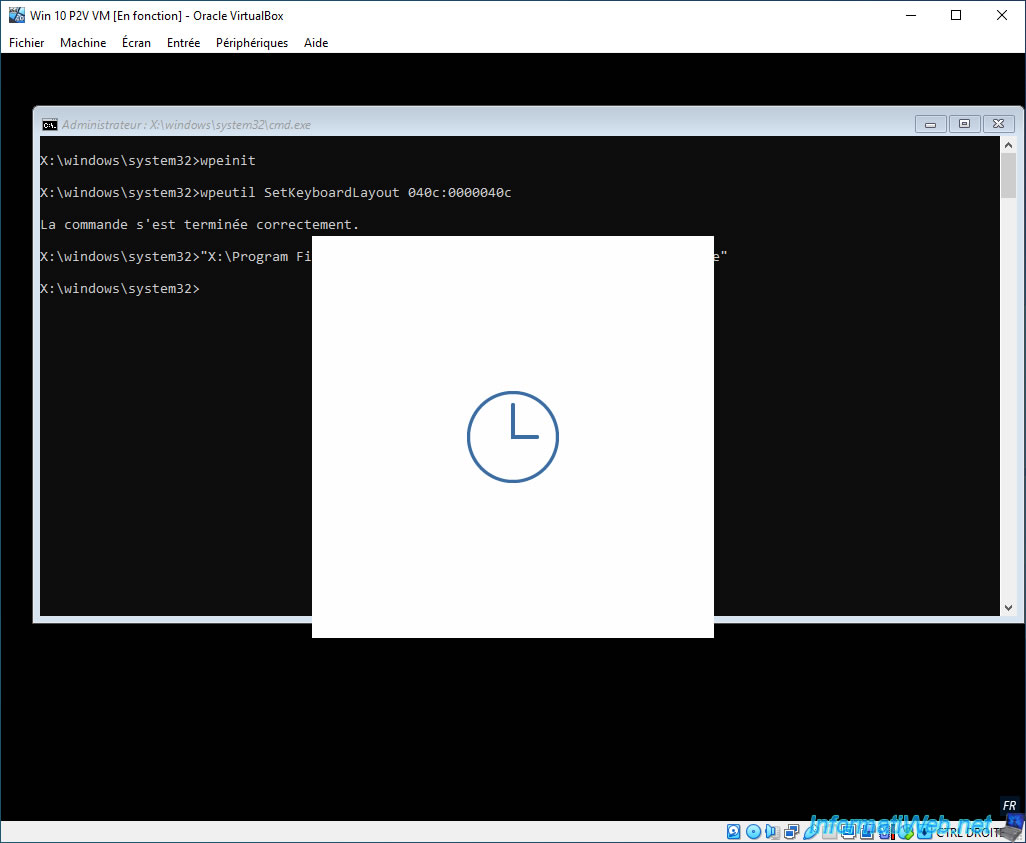
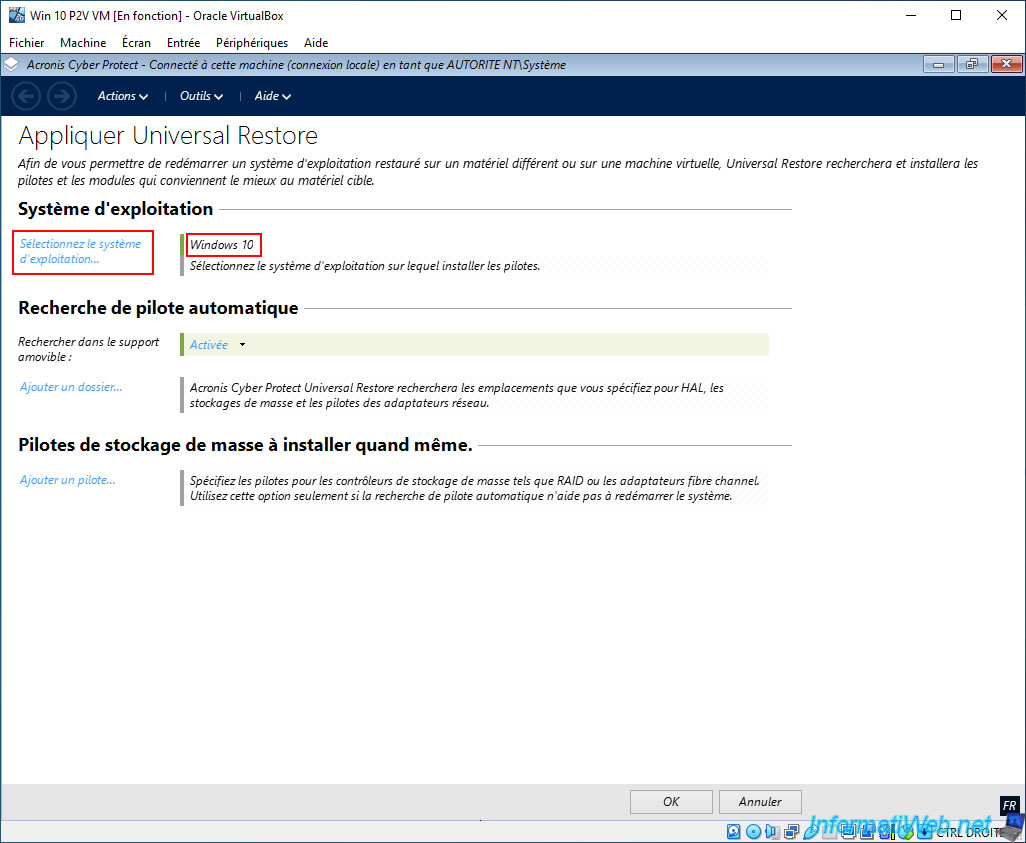
And finally, you will see the Acronis program appear with the step "Apply Universal Restore".
As you can see, Acronis has already detected your Windows installation.
However, if needed, you can change this setting by clicking on "Select operating system".
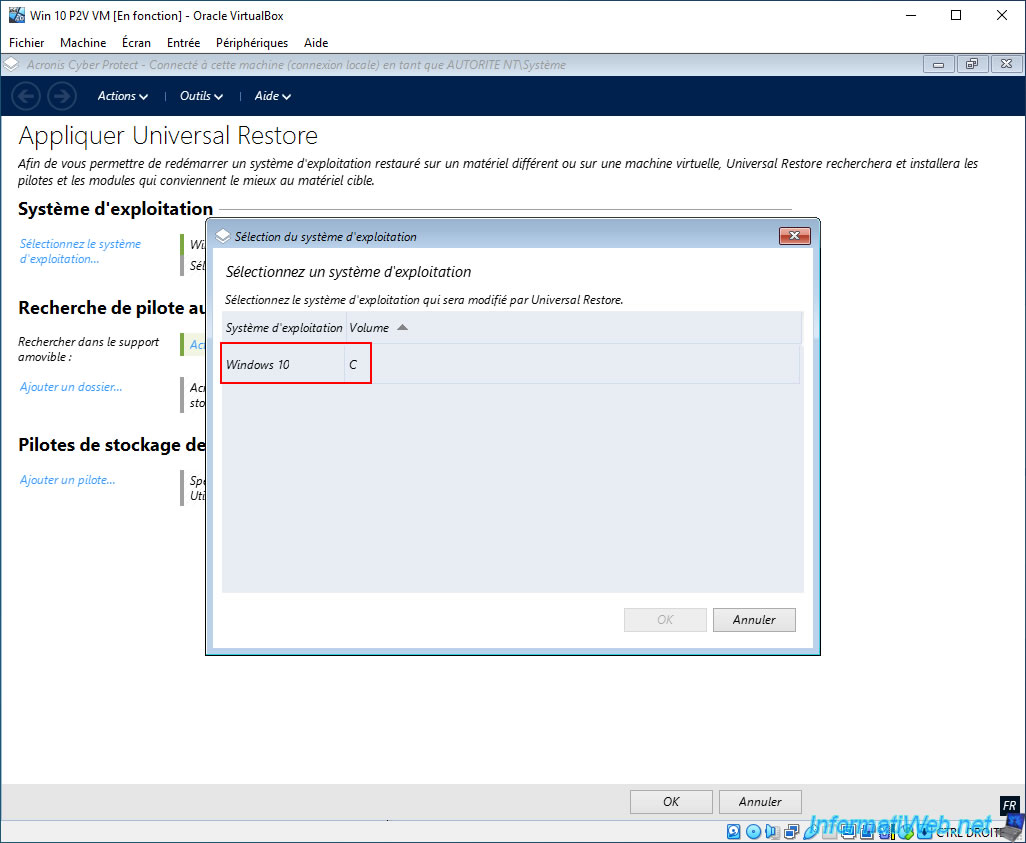
As expected, Acronis detects only one operating system.
In our case, Acronis detects "Windows 10" on partition "C".
Choose the desired operating system and click OK.
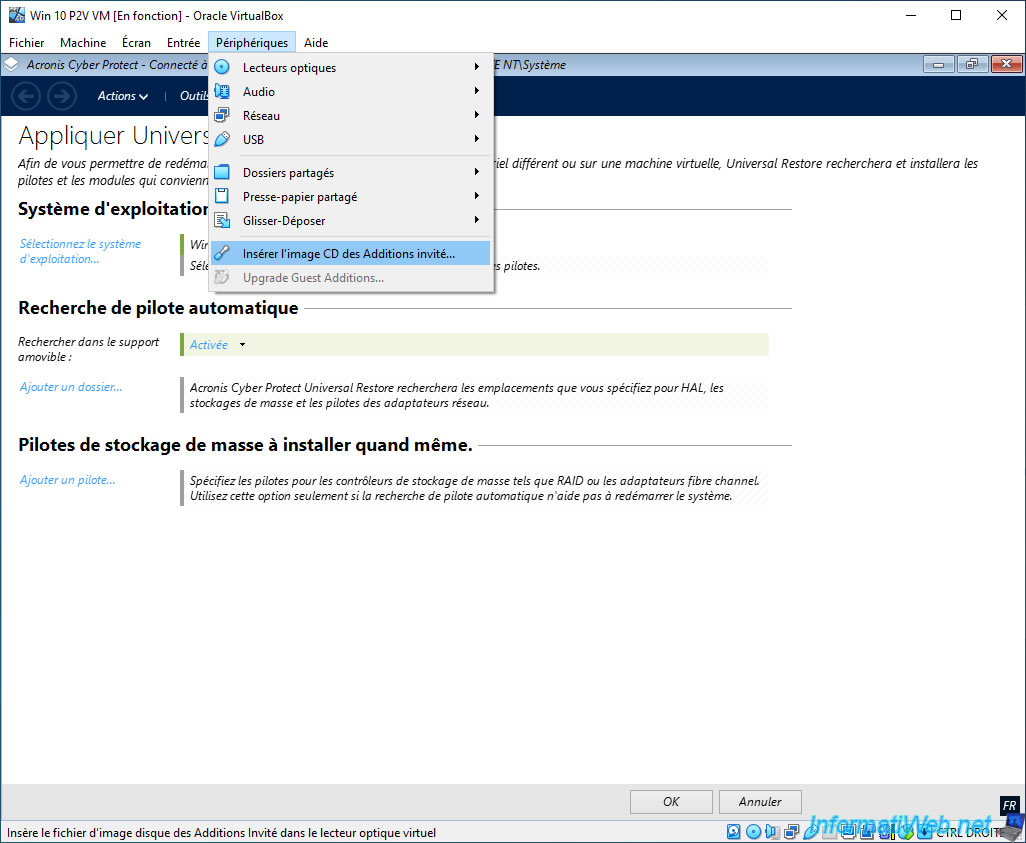
To maximize the chances that your Windows installation (backed up from a physical PC and then restored in your VM) can continue to work properly despite the hardware change, Acronis Universal Restore can automatically search for drivers on a hard disk or CD/DVD drive.
In the case of VirtualBox, go to the VirtualBox "Devices" menu and click "Insert Guest Additions CD Image" to insert the VirtualBox driver CD into the CD/DVD drive of your VirtualBox virtual machine.
Note: the Acronis program you are currently seeing runs in a Windows PE environment that is itself running entirely in the RAM of your virtual machine.
So you can replace the Acronis Universal Restore CD with the VirtualBox driver CD without any problems (as long as the VM is not powered off or restarted).
If you hover over the CD icon (bottom right of VirtualBox), you will see that the file inserted into VirtualBox's CD/DVD drive has become "C:\Program Files\Oracle\VirtualBox\VBoxGuestAdditions.iso".
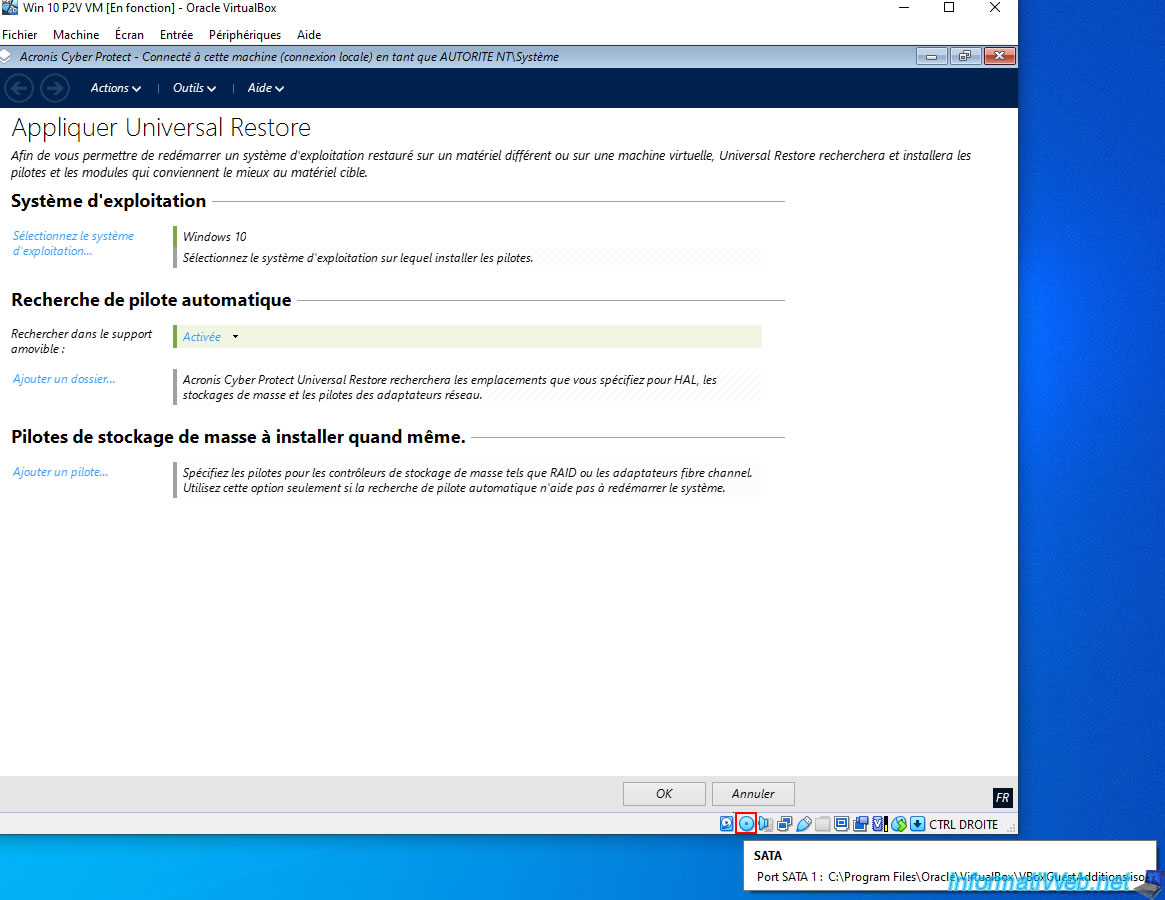
Now, click on the "Add folder" link present in the "Automatic driver search" step of Acronis.
In the "Select folder to search" window that appears, select the CD/DVD drive "VBox_GAs... (E:)" and click OK.
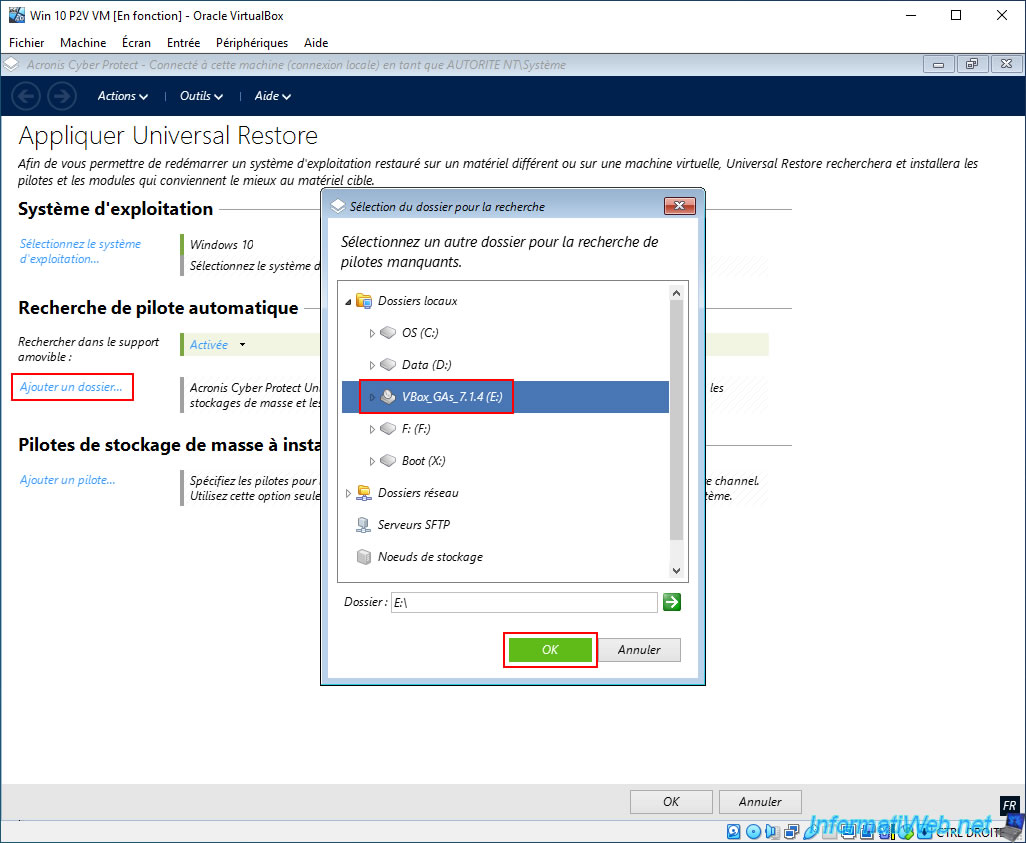
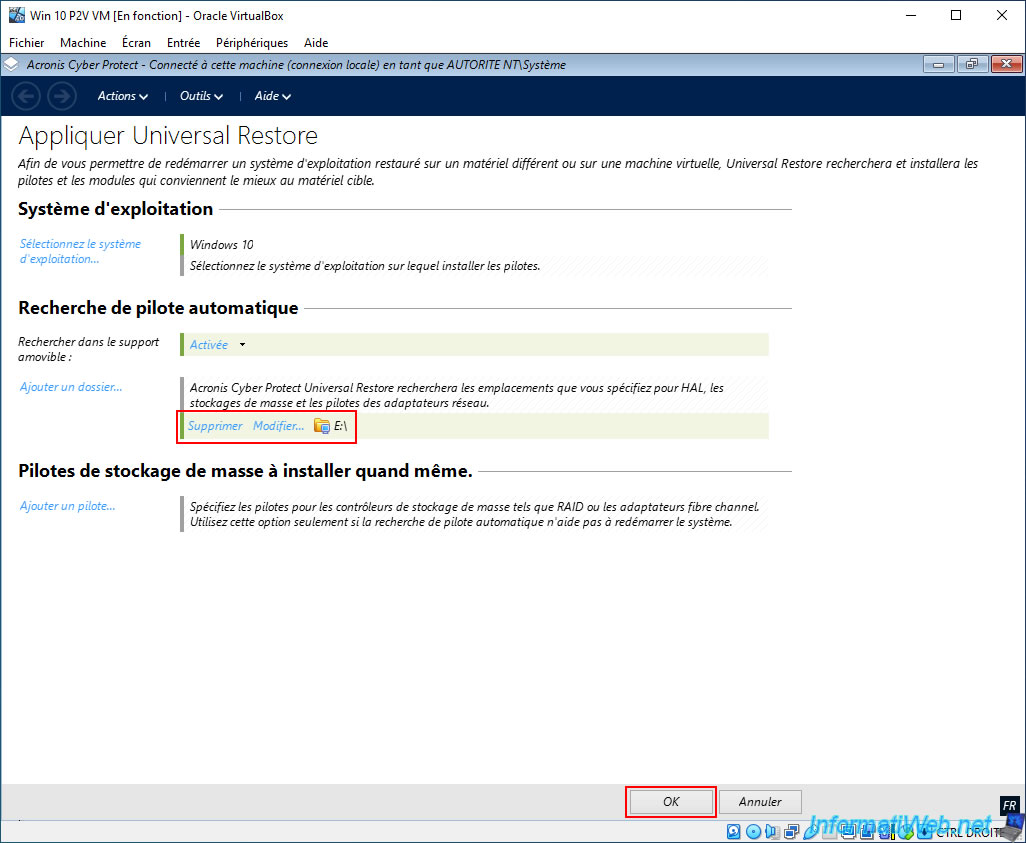
The selected location (in this case "E:\") appears at this "Automatic driver search" step.
Click OK to launch the Universal Restore application on your restored Windows installation in your VirtualBox VM.
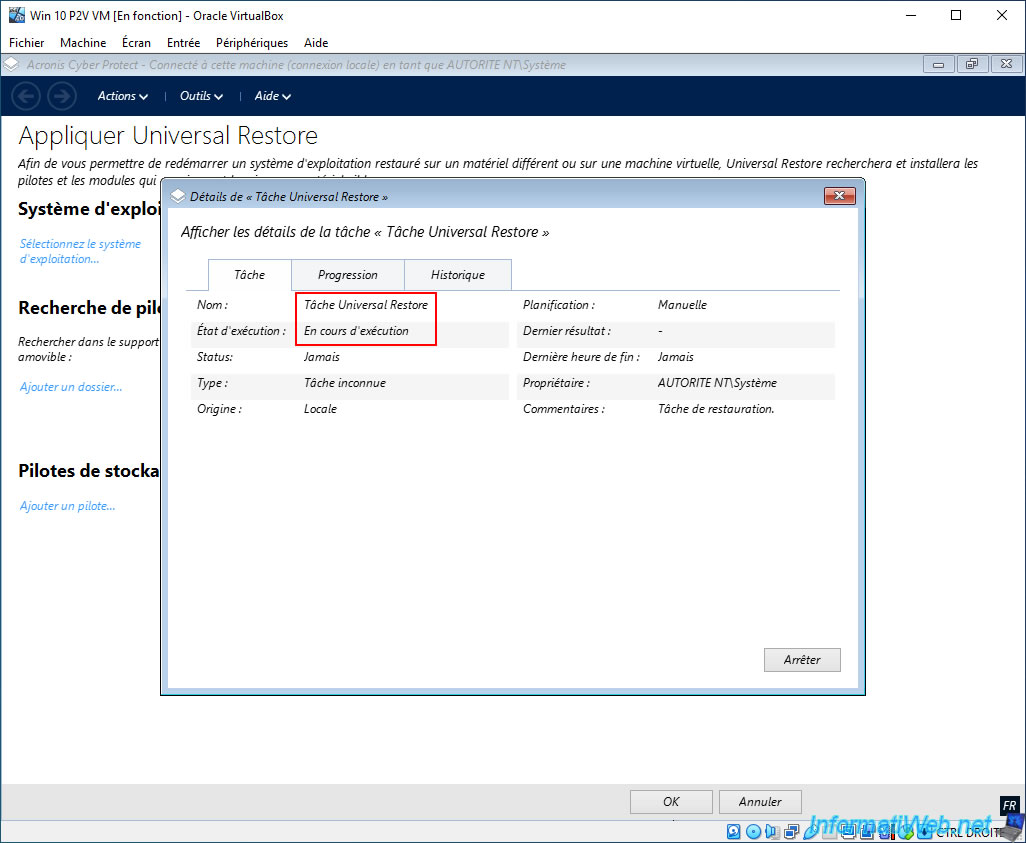
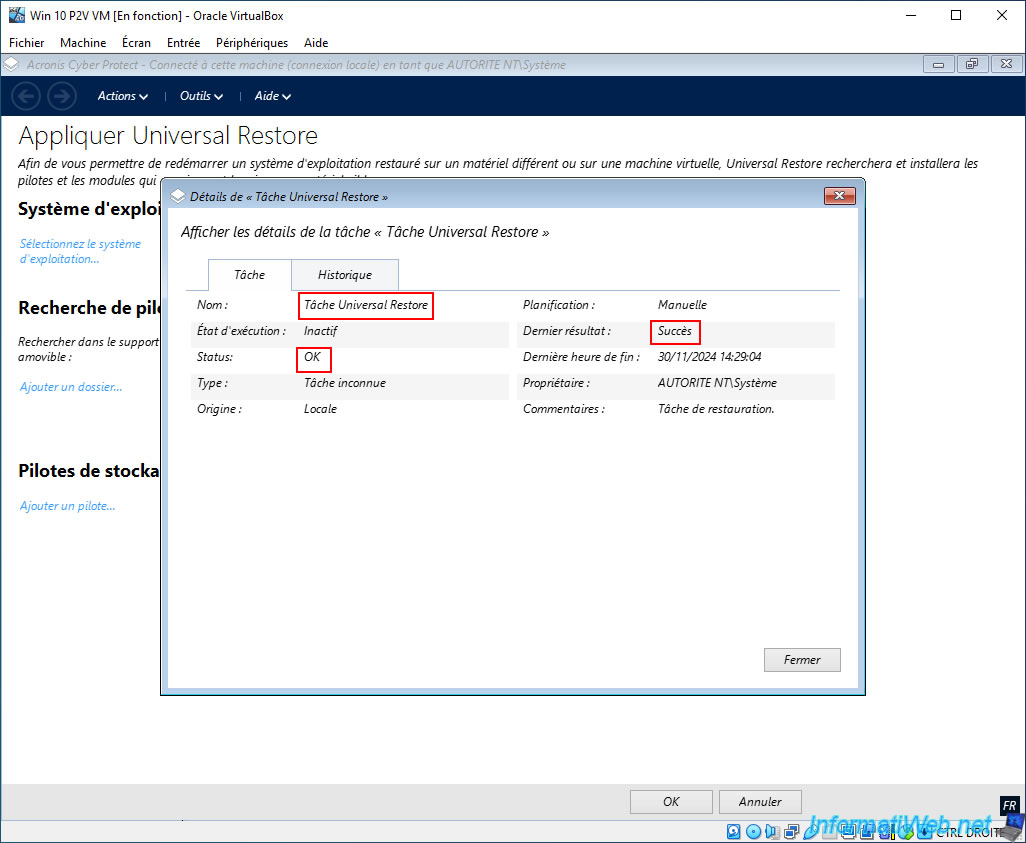
A "Universal Restore Task Details" window appears and you can see that this task is running.
Note: this process is very fast.
Soon after, you will see that the status will be OK.
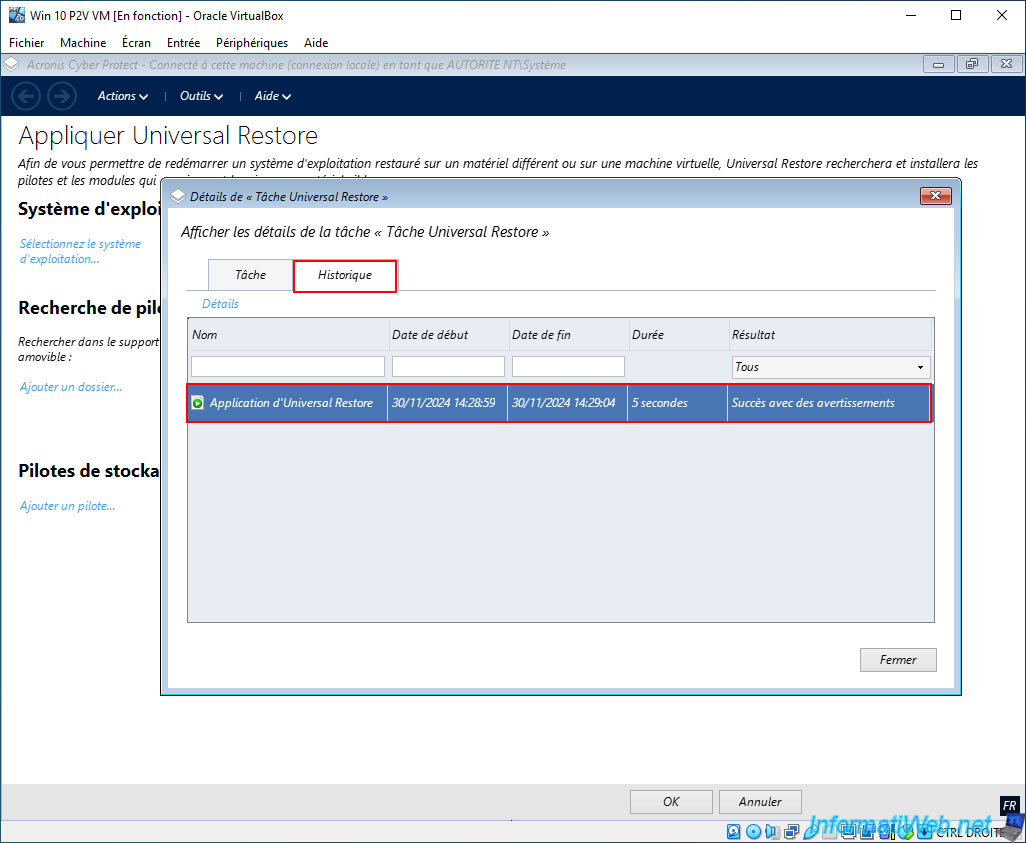
In the "History" tab, you will be able to see the "Applying Universal Restore" task that has just completed.
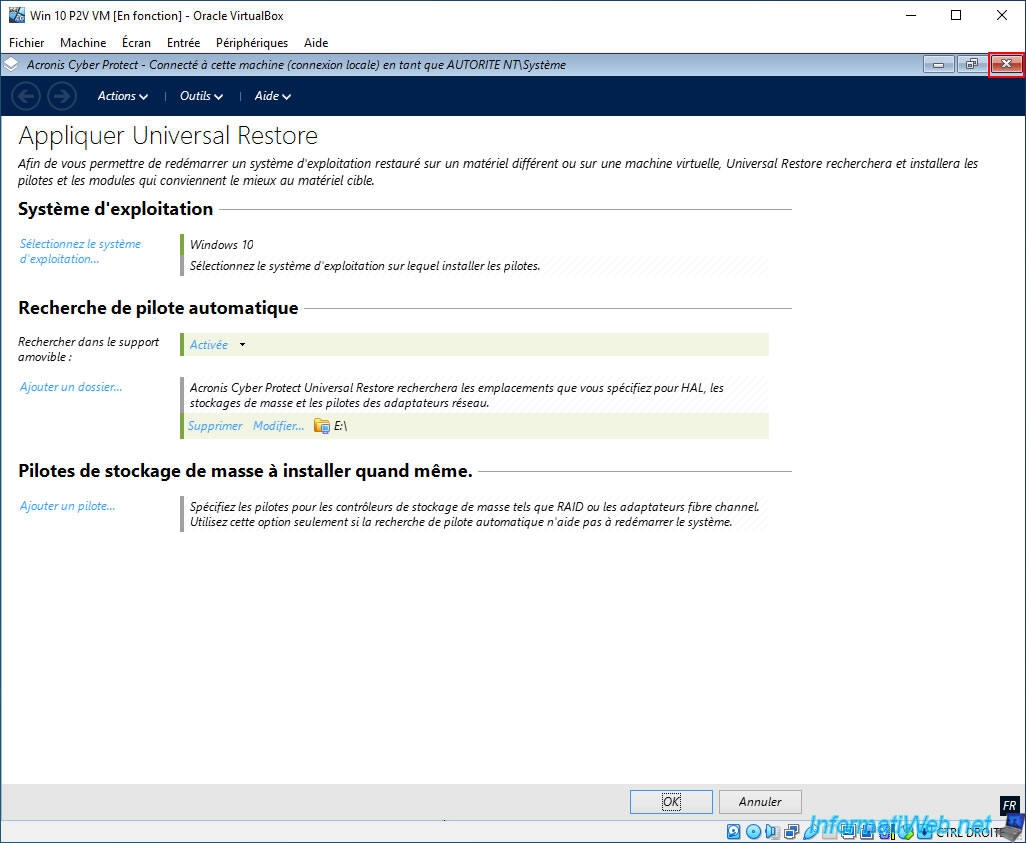
Close the Acronis program window.
This will restart your VirtualBox virtual machine.
Share this tutorial
To see also
-
Backup 9/28/2026
Acronis True Image - P2V - Virtualize a physical PC to VMware vSphere
-

Backup 4/13/2026
Acronis True Image - Rescue Media - Create an incremental backup
-
Backup 3/9/2026
Acronis True Image - Rescue Media - Enable recovery option
-

Backup 12/1/2025
Acronis True Image - Synchronize a folder between 2 PCs (Cloud instead of local)
No comment