Virtualize a physical PC to VirtualBox (P2V) using Acronis True Image (Cyber Protect Home Office) and Acronis Universal Restore
- Backup
- Acronis True Image, Acronis Universal Restore
- 07 September 2026 at 13:50 UTC
-

- 7/8
10. Install VirtualBox drivers in your virtual machine
To benefit from all the features of your virtual machine and get the best possible performance in it, we recommend that you install the VirtualBox Guest Additions.
This includes installing virtual drivers developed by VirtualBox.
To do this, go to the "Devices" menu in VirtualBox and click on "Insert Guest Additions CD Image".
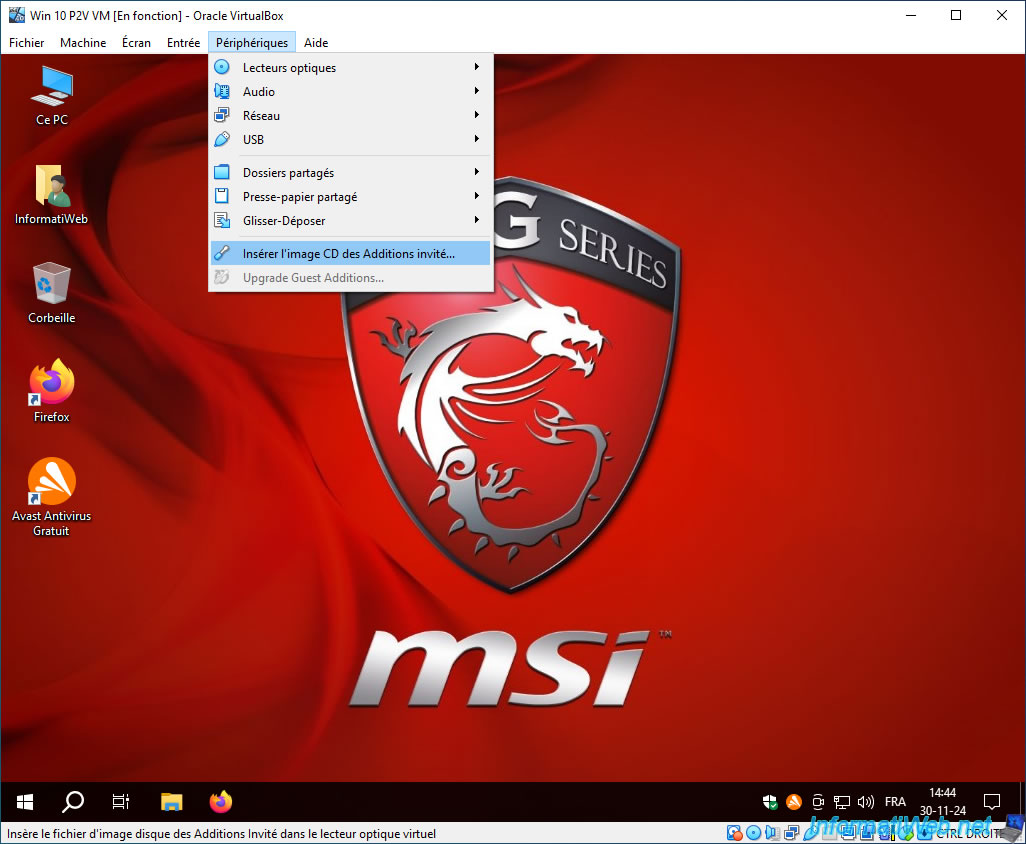
Next, open Windows file explorer and go to "This PC".
Double-click on the "VirtualBox Guest Additions" CD drive.
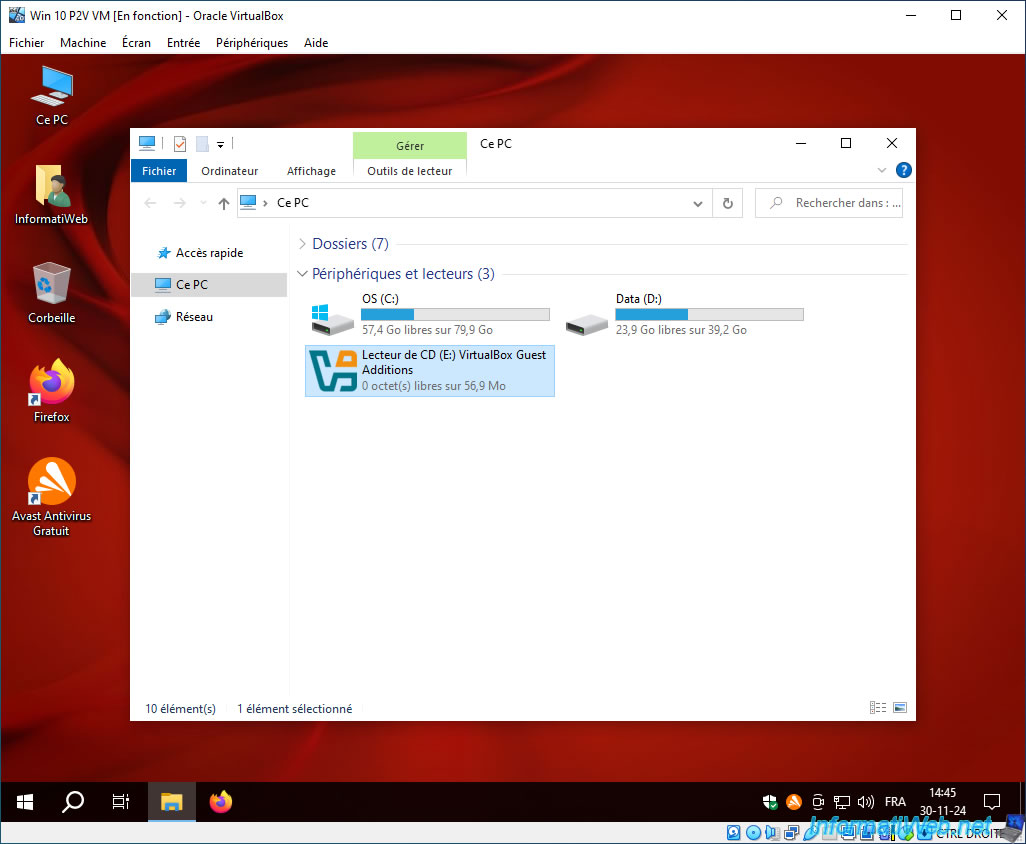
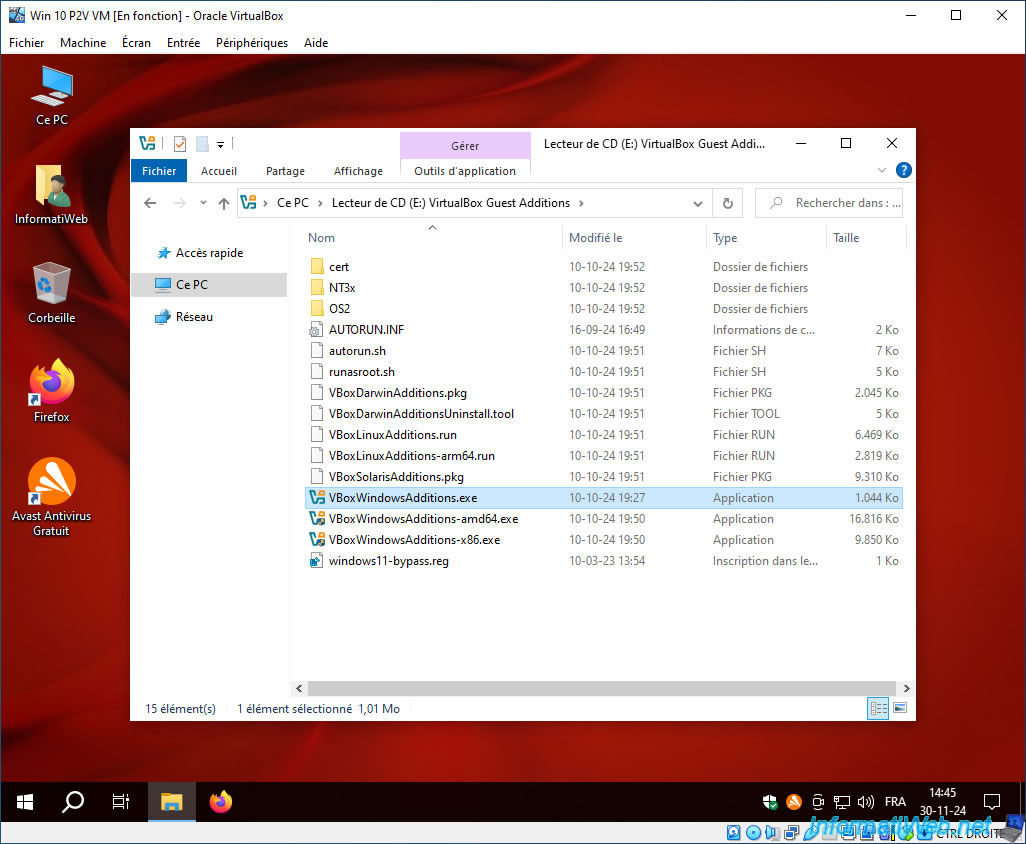
If the installation does not start and you see the contents of the VirtualBox CD appear, then double-click on the "VBoxWindowsAdditions.exe" file located there.
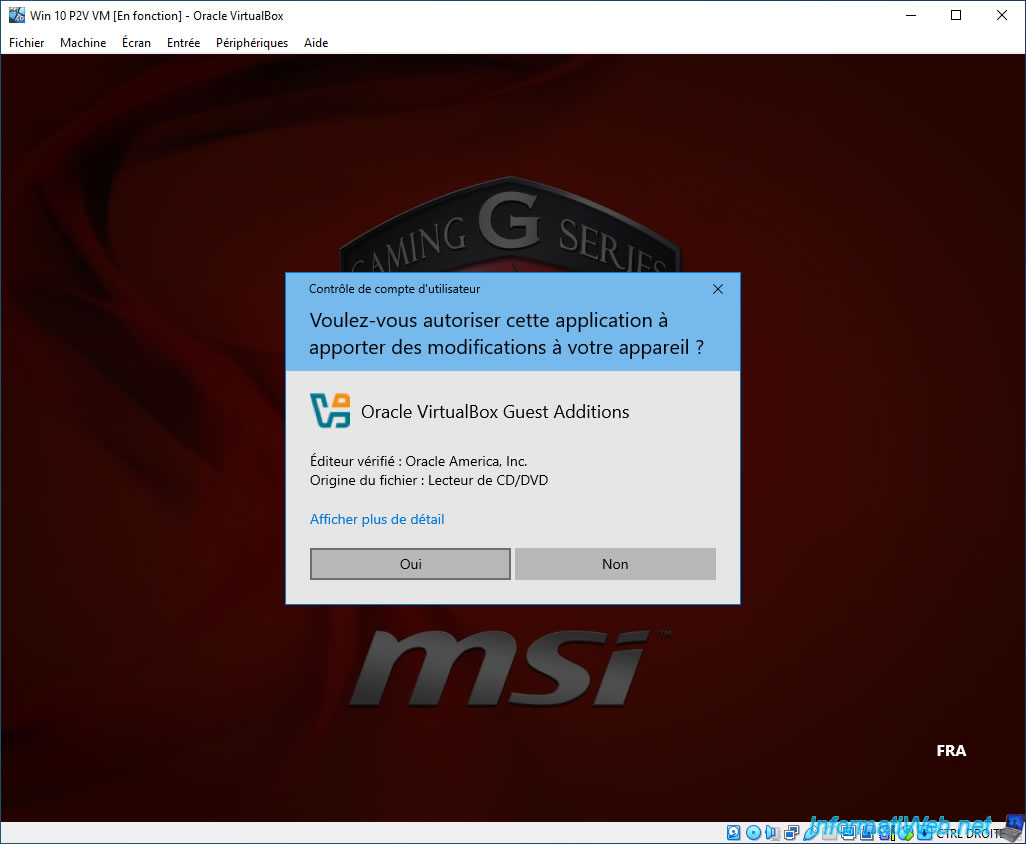
Click "Yes".
The Oracle VirtualBox Guest Additions 7... installer appears.
Just click Next twice.
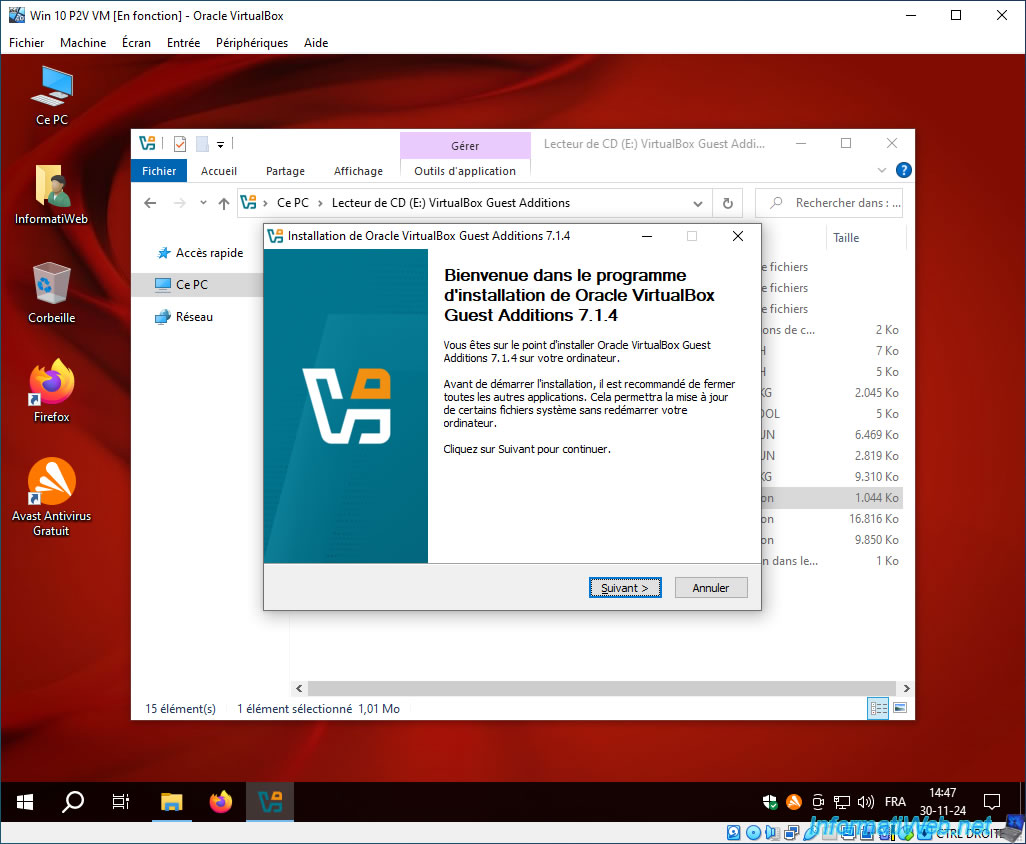
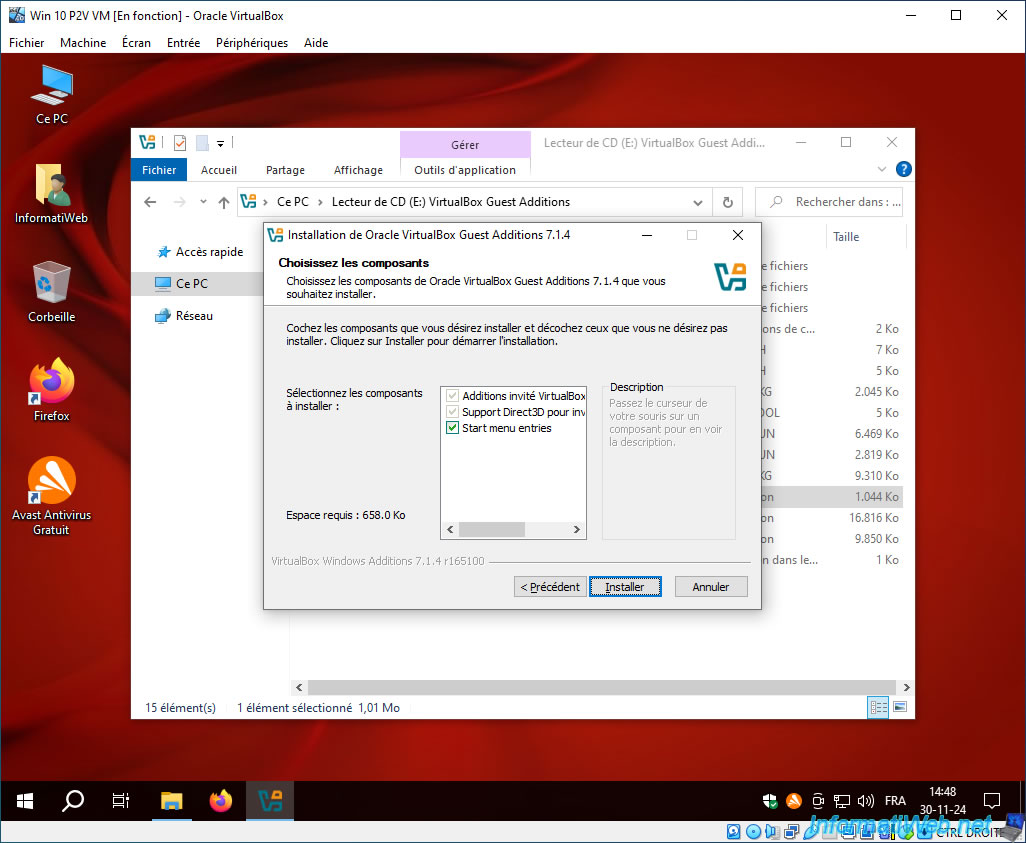
Warning : do not change anything in the proposed components.
The boxes are automatically checked or not depending on the operating system installed in your virtual machine.
So, just click on "Install".
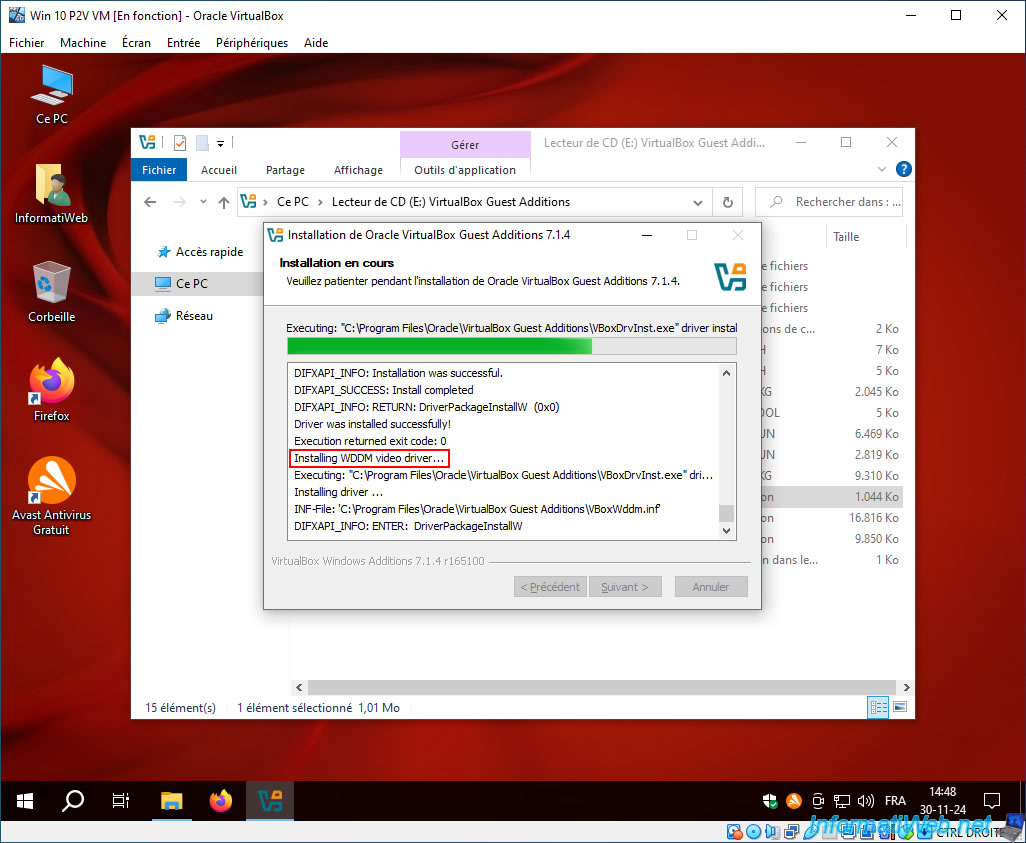
Please wait while the VirtualBox guest additions and its virtual drivers (including a graphics driver "WDDM video driver") are installed.
Once the VirtualBox Guest Additions are installed in your virtual machine, a reboot will be required.
Click "Close".
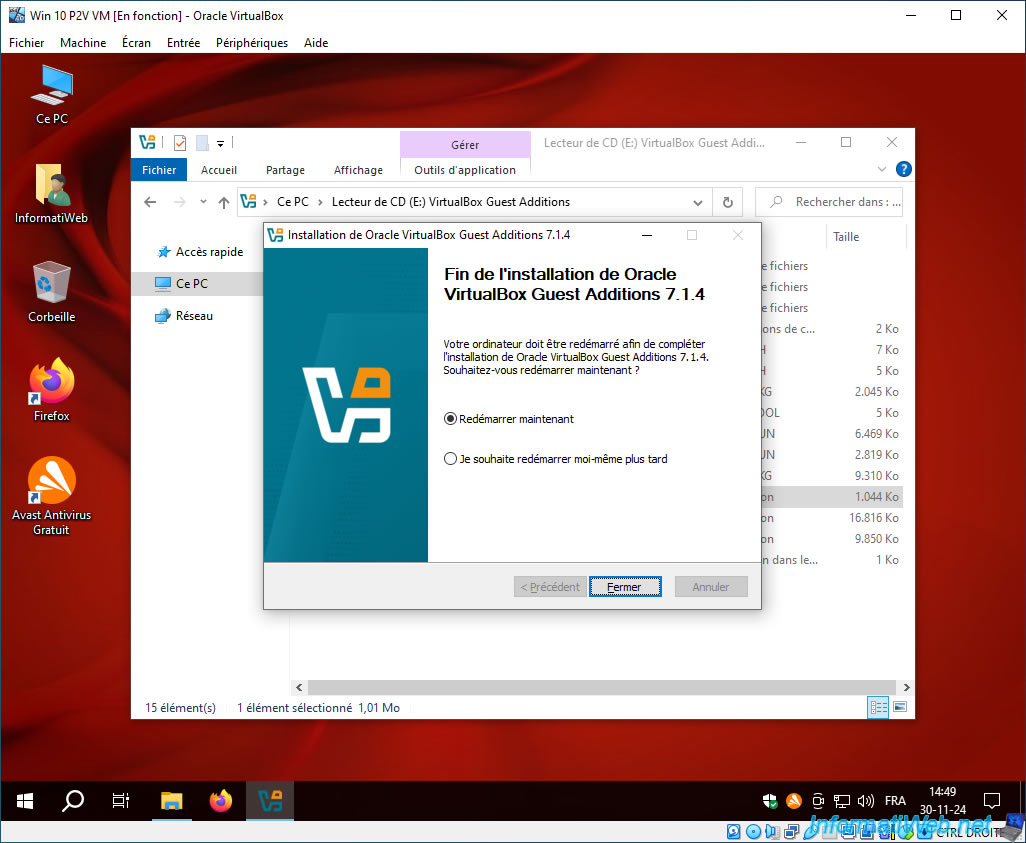
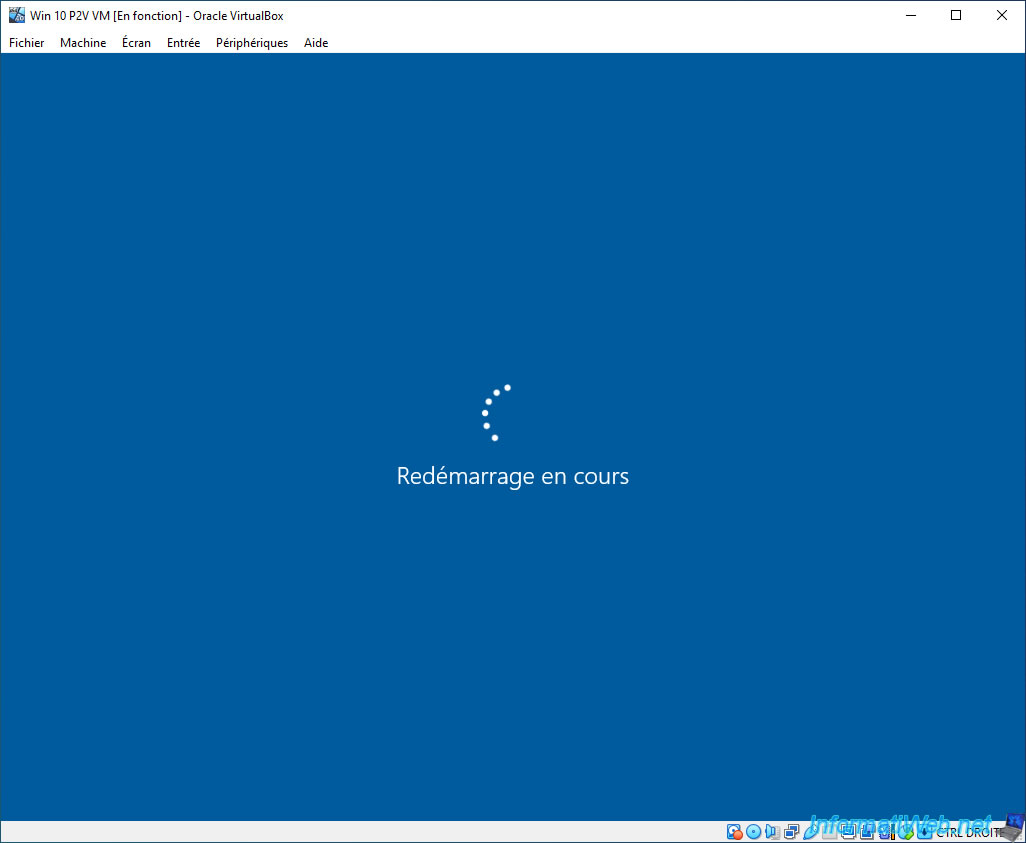
Your virtual machine will restart.
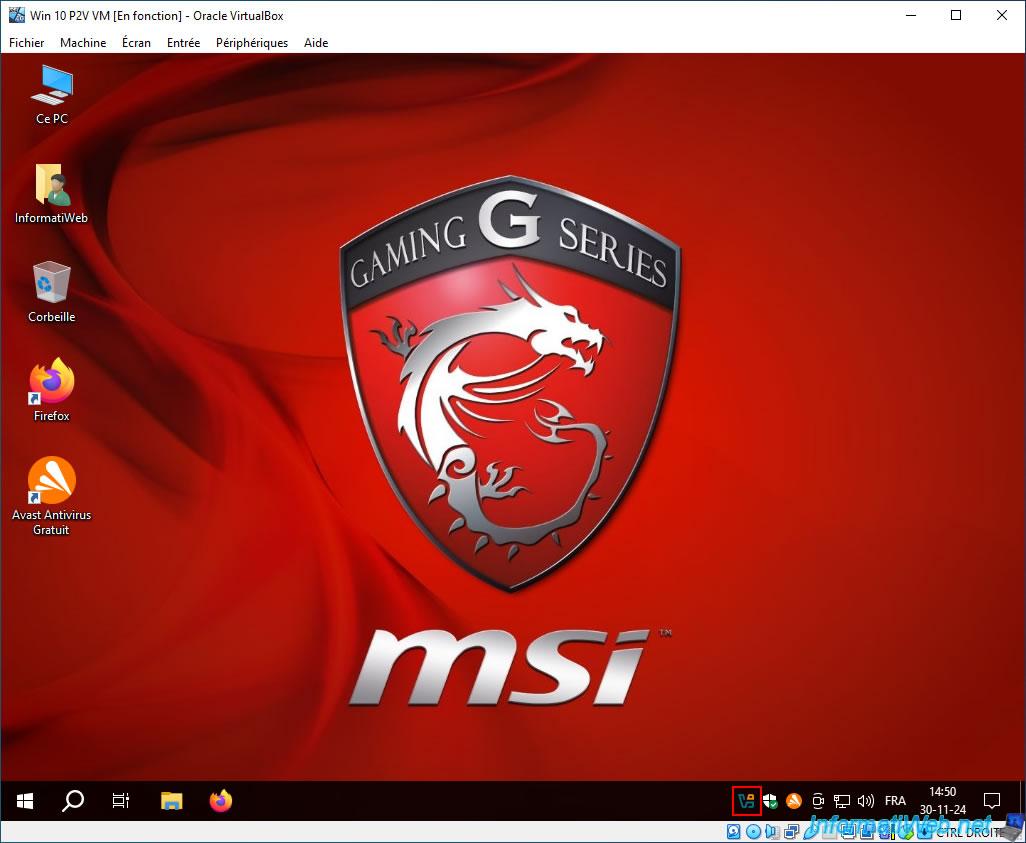
In the taskbar, you will see that a new icon has appeared.
This indicates that the VirtualBox Guest Additions are installed in your virtual machine.
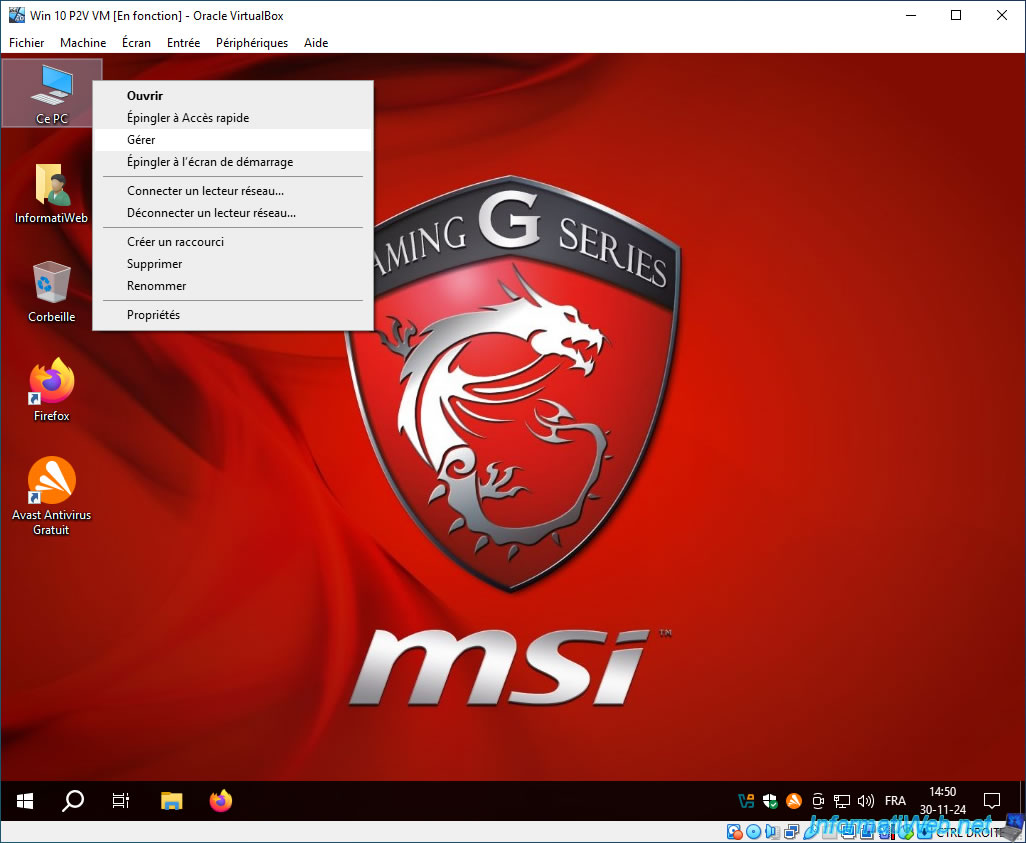
Now, right click "Manage" on "This PC".
Note: if you don't have this shortcut, open File Explorer and right click on the "This PC" section.
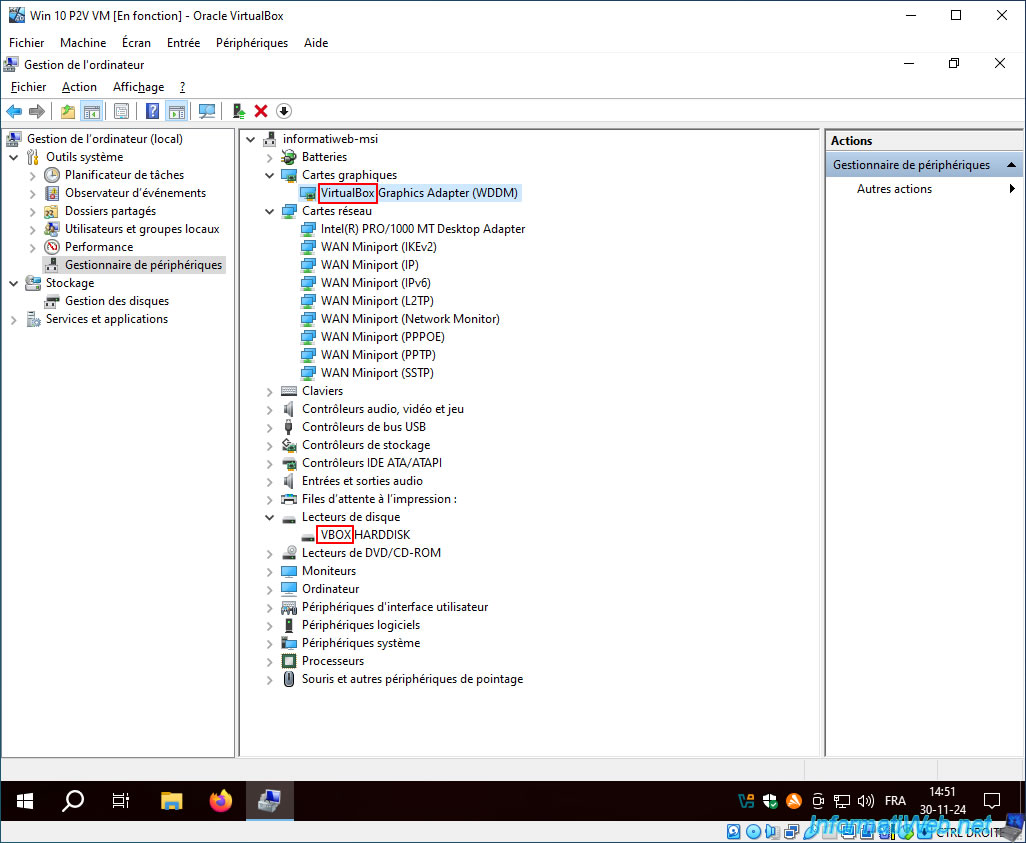
In the left menu, go to "Device Manager".
As you can see, our virtual machine uses virtual hardware, including:
- a virtual graphics card: VirtualBox Graphics Adapter (WDDM).
- an emulated network card (which is therefore virtual in your VM, but which behaves like a real network card (e.g.: Intel(R) PRO/1000 MT Desktop Adapter)).
- a virtual hard disk: VBOX HARDDISK.
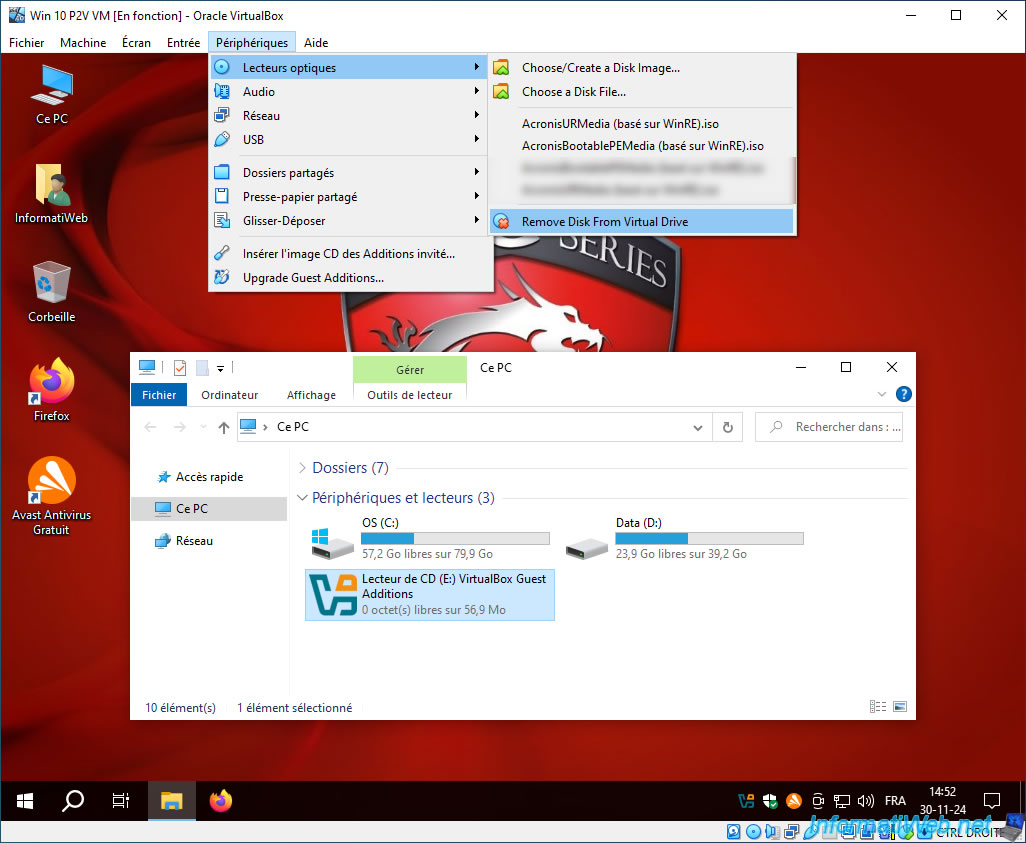
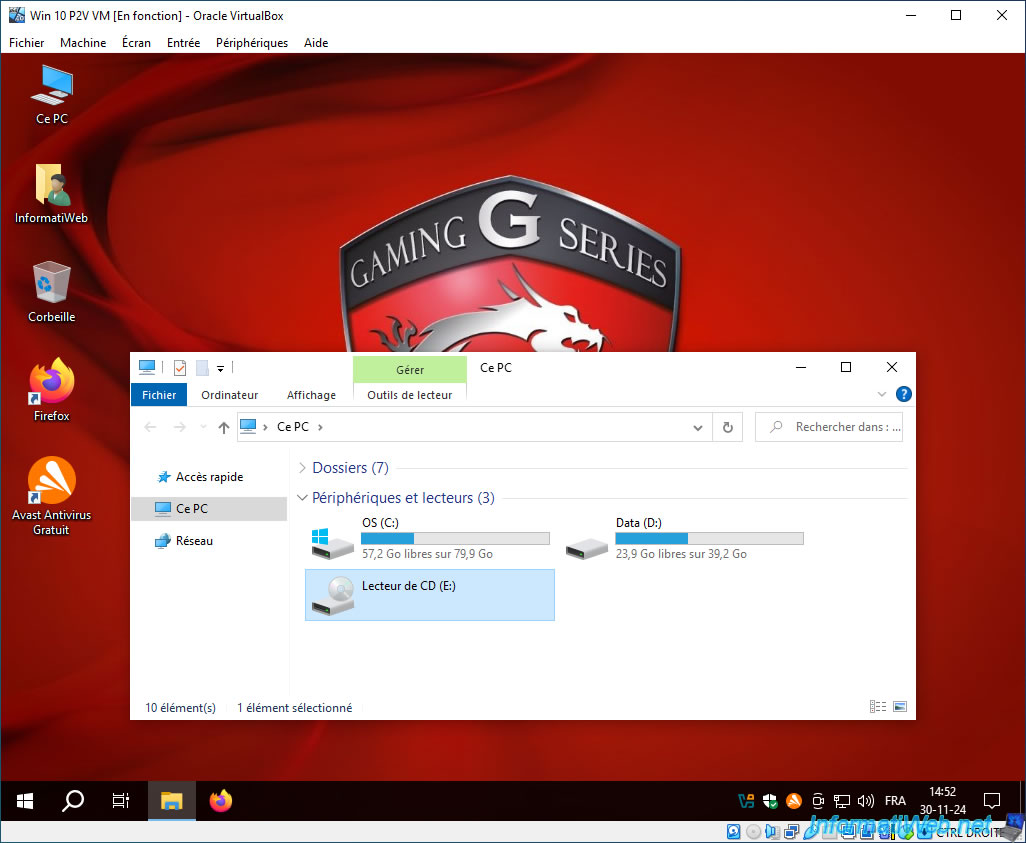
To remove the VirtualBox Guest Additions CD from your virtual machine's CD/DVD drive, go to your virtual machine's "Devices -> Optical Drives" menu and click "Remove Disk From Virtual Drive".
As expected, your VM's CD/DVD drive is now empty.
Share this tutorial
To see also
-
Backup 8/25/2025
Acronis True Image - Create backups and authenticate your files
-
Backup 3/30/2026
Acronis True Image - Rescue Media - Check network configuration
-
Backup 8/4/2025
Acronis True Image - Search for files in a backup
-
Backup 5/11/2026
Acronis True Image - Universal Restore Media - Create media (Win PE version based on Win RE)
No comment