Virtualize a physical PC to VMware ESXi (P2V) using Acronis True Image (Cyber Protect Home Office) and Acronis Universal Restore
- Backup
- Acronis True Image, Acronis Universal Restore
- 21 September 2026 at 13:05 UTC
-

- 6/8
7. Apply Acronis Universal Restore in your virtual machine on VMware ESXi
7.1. Insert the Acronis Universal Restore ISO into the CD/DVD drive of your VM on VMware ESXi
To apply Universal Restore in your VM, you first need to modify your VM configuration to insert the Acronis Universal Restore ISO into its CD/DVD drive.
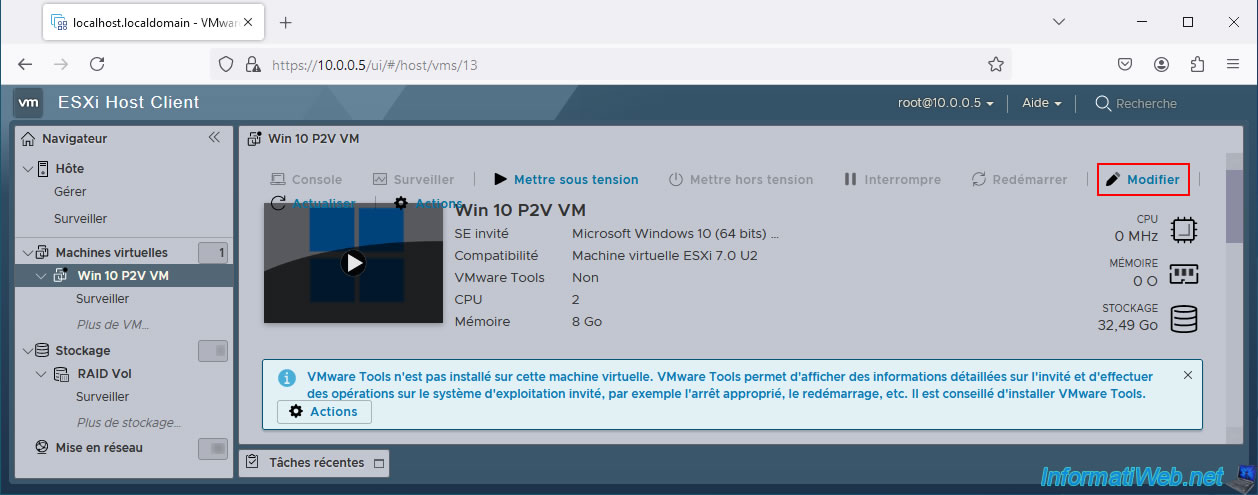
Expand the "CD/DVD Drive 1" section and click "Browse".
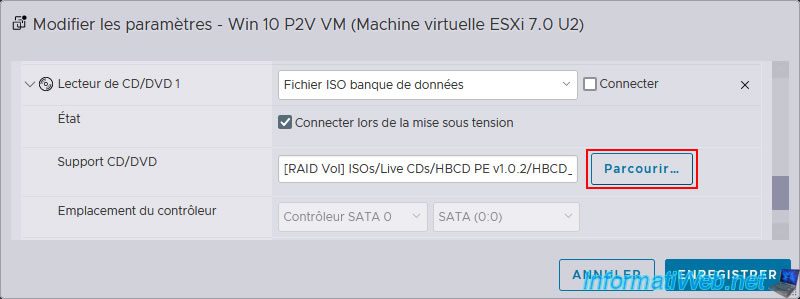
Select the "AcronisURMedia (WinRE based).iso" file previously stored in your datastore and click the "Select" button.
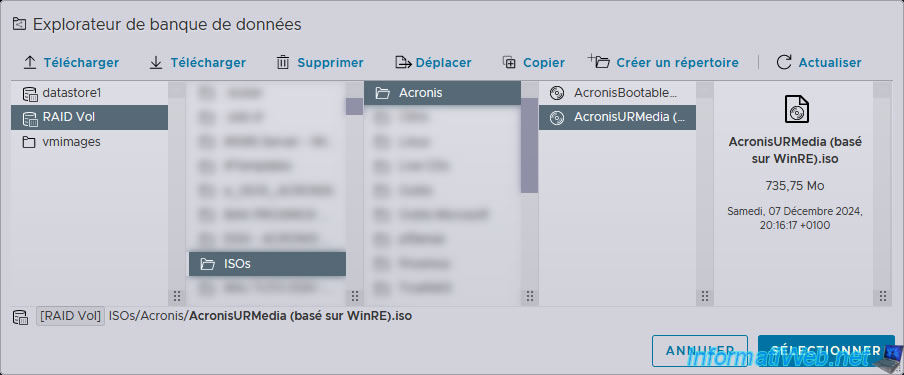
The path of the selected ISO file appears.
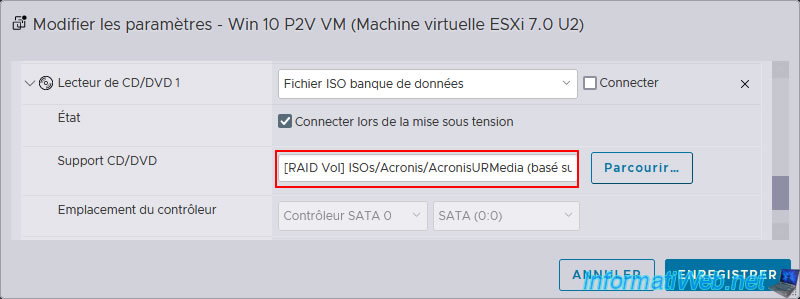
In the "VM Options" tab, go to the "Boot Options" section and check the box "At the next virtual machine startup, force entry into the BIOS setup screen".
Then, click the "Save" button.
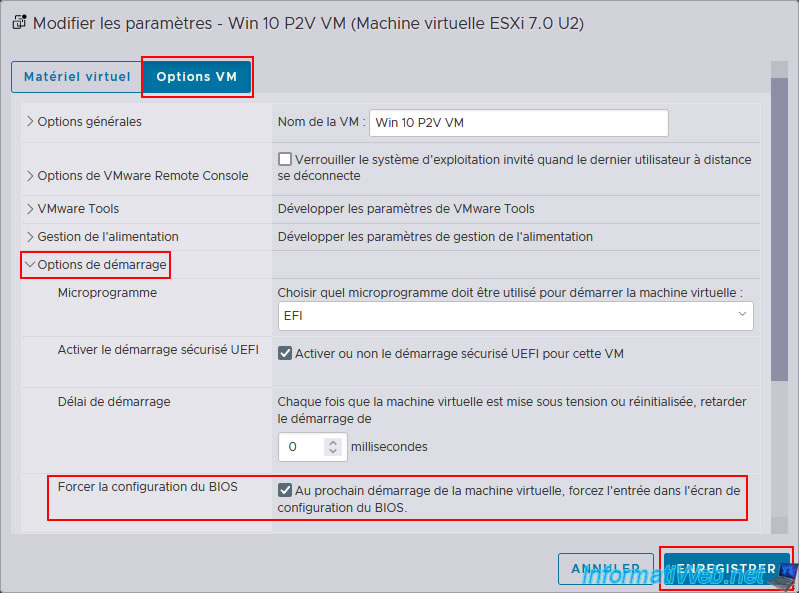
Your VM configuration has been changed.
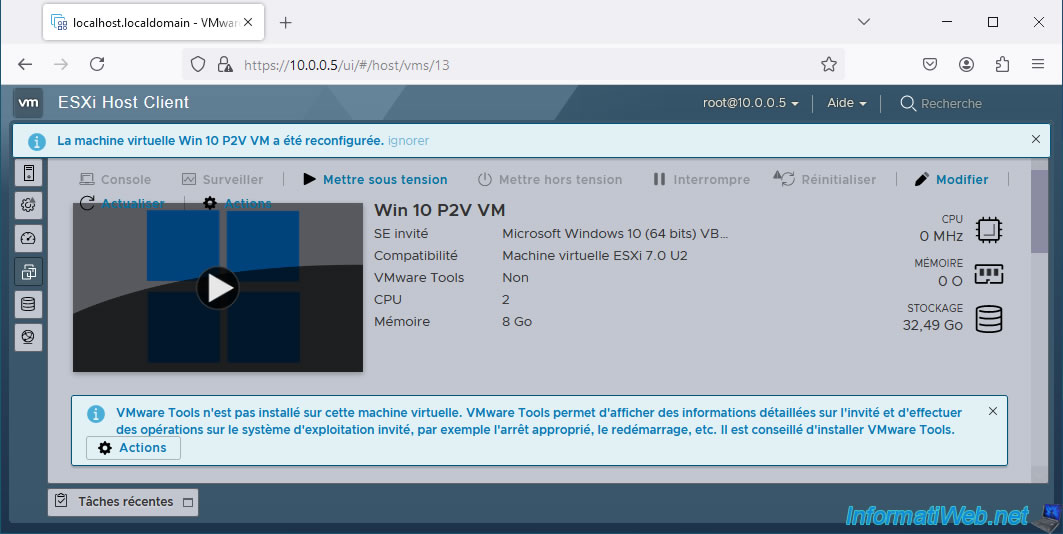
7.2. Apply Acronis Universal Restore from your VM on VMware ESXi
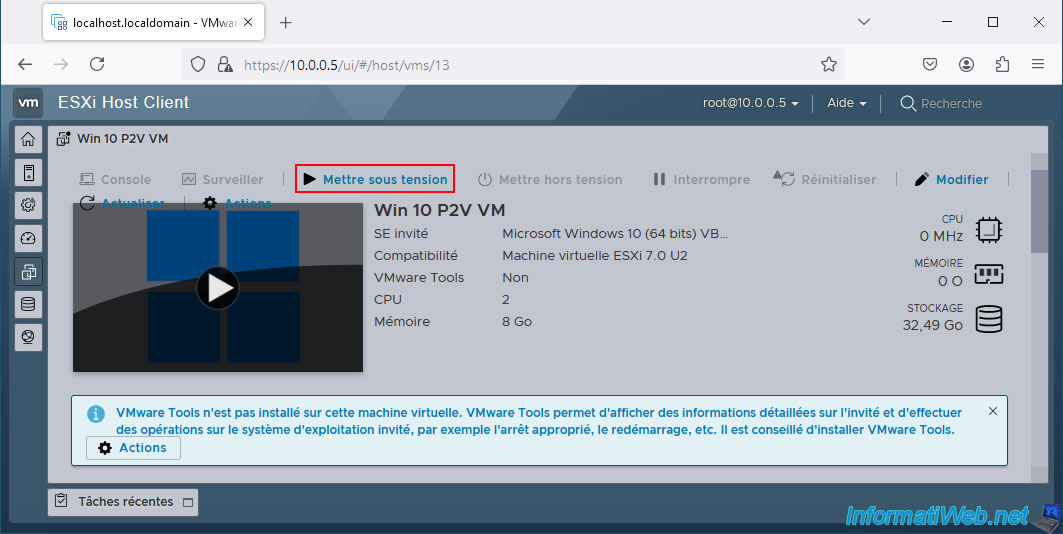
Now, start your virtual machine.
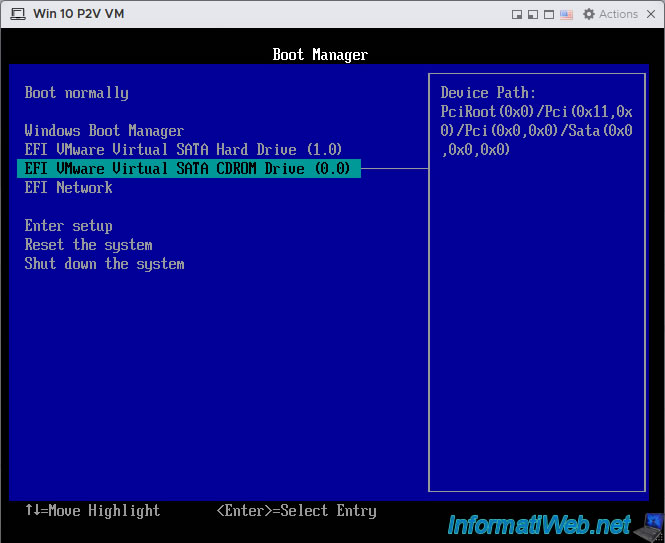
Select your VM's CD/DVD drive and press Enter.
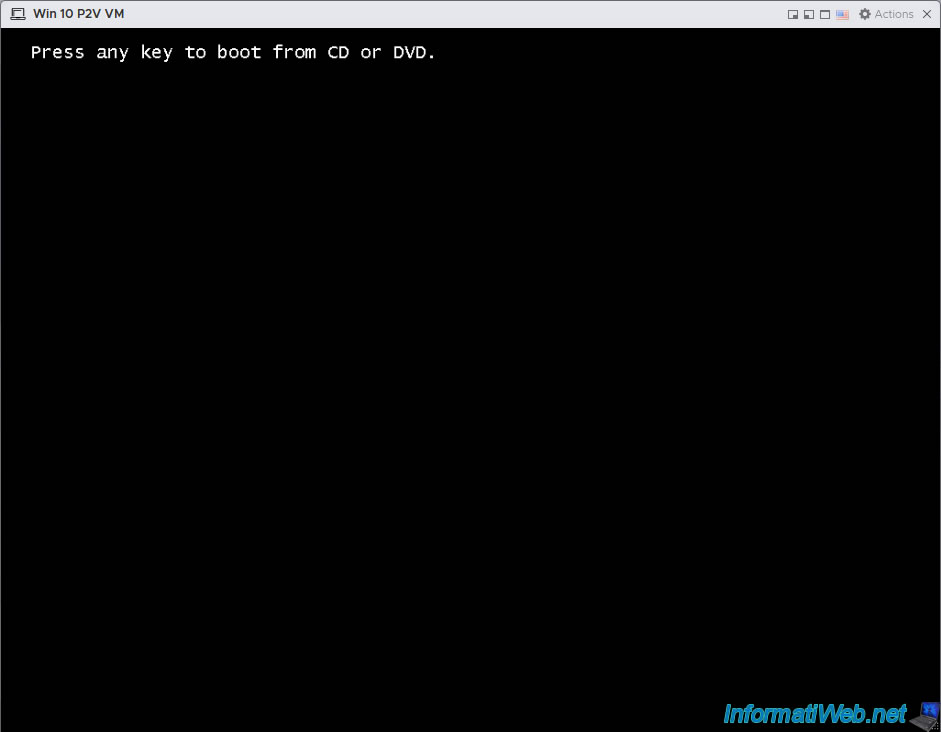
Press Enter when you see the message "Press any key to boot ..." appear.
Then, the Windows logo will appear.

A command prompt will appear.
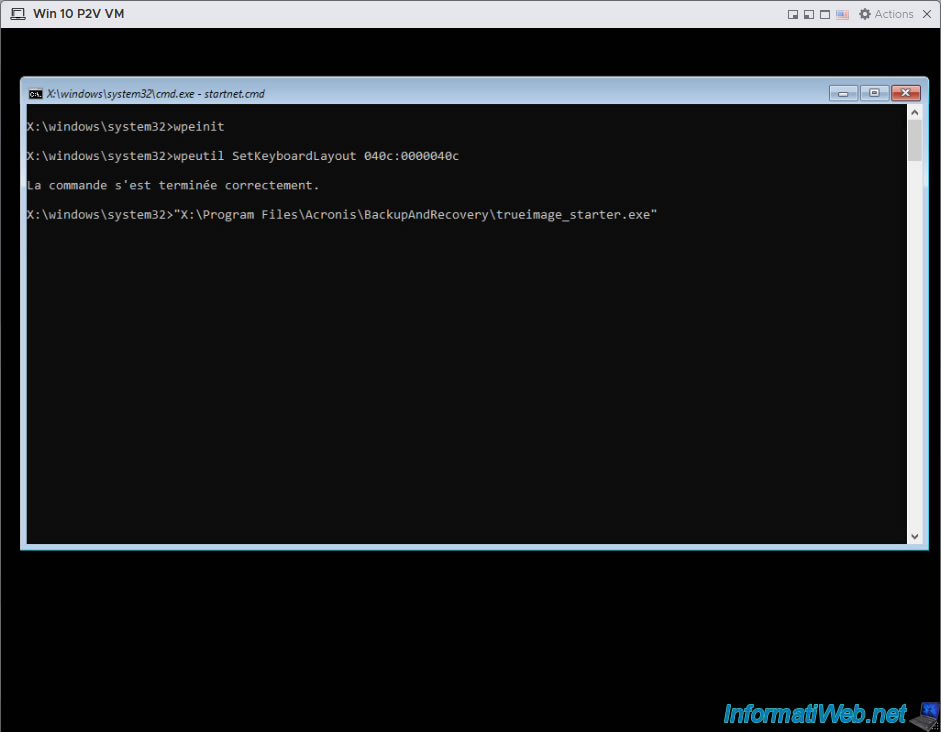
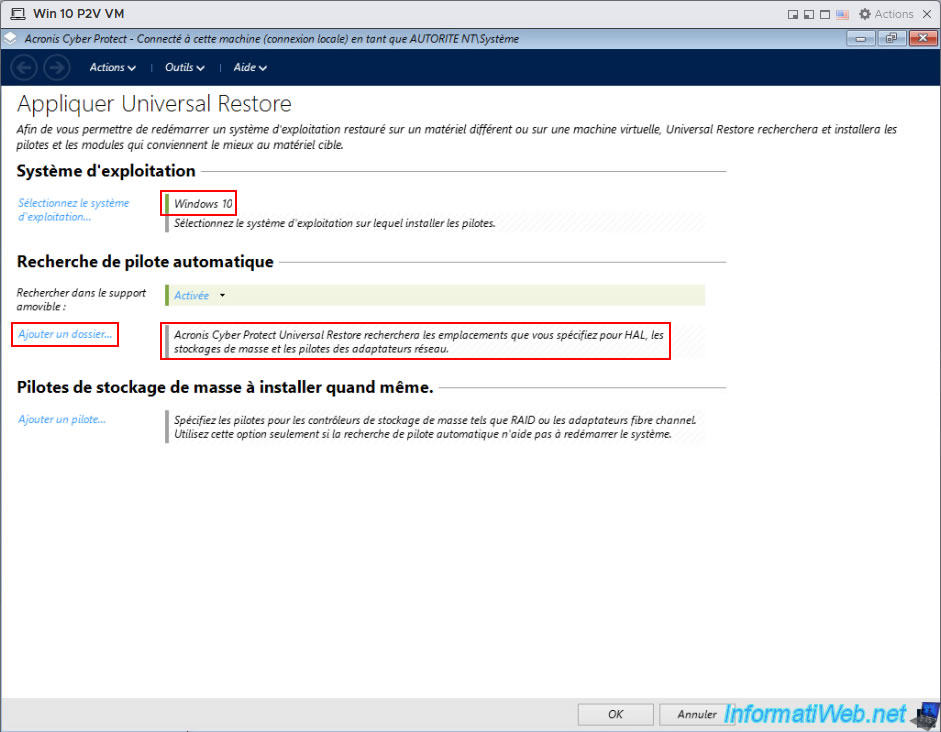
And finally, the Acronis program with the title "Apply Universal Restore" will appear.
As you can see, your Windows installation restored on your VM's virtual hard disk will be automatically detected by Acronis.
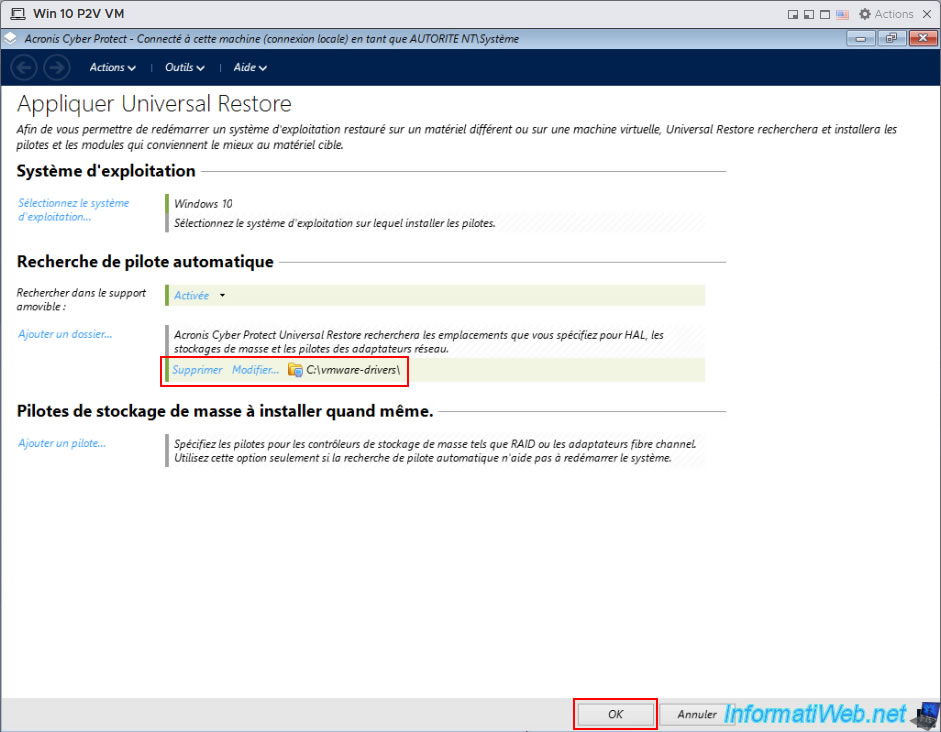
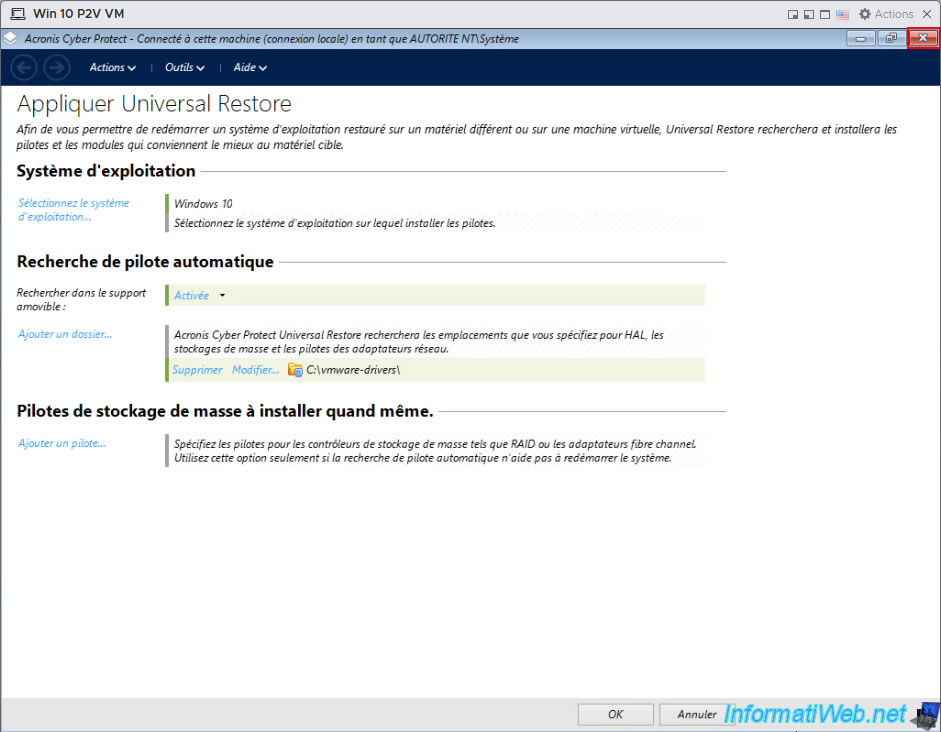
At the "Automatic driver search" step, click "Add folder" to select the folder containing the VMware drivers extracted earlier.
Indeed, as indicated in this step, Acronis Cyber Protect Home Office (True Image) will search for drivers for the HAL (Hardware Abstraction Layer), storage devices and network drivers in the folder you select.
In the window that appears, select the location "Local Folders -> OS (C:) -> vmware-drivers" and click OK.
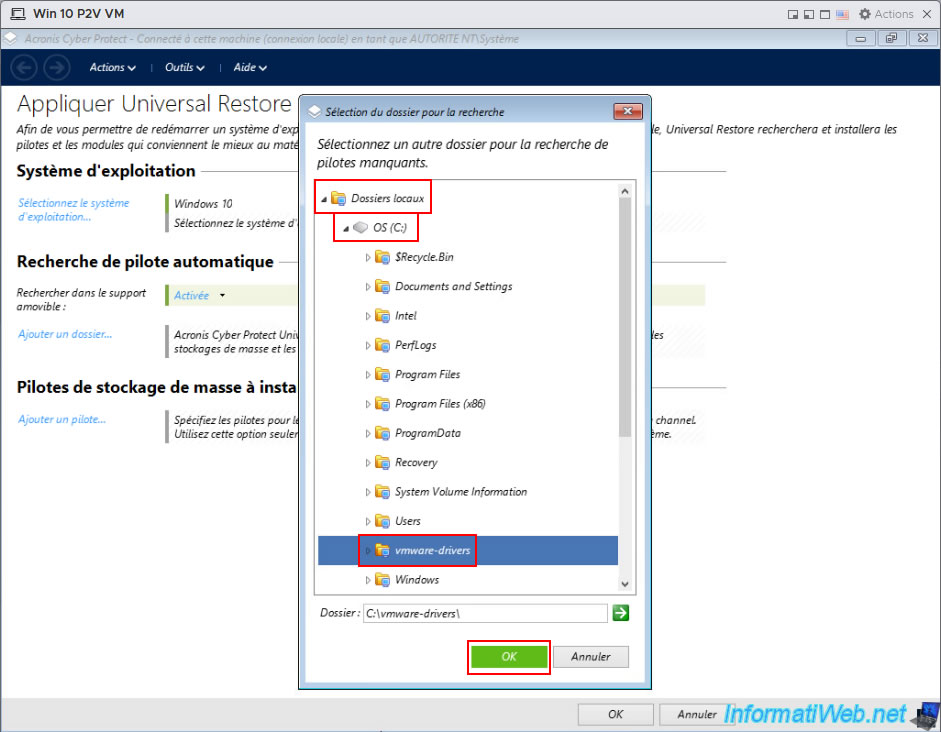
The selected location "C:\vmware-drivers" appears.
Click OK to launch the Universal Restore application on your Windows installation in your VM.
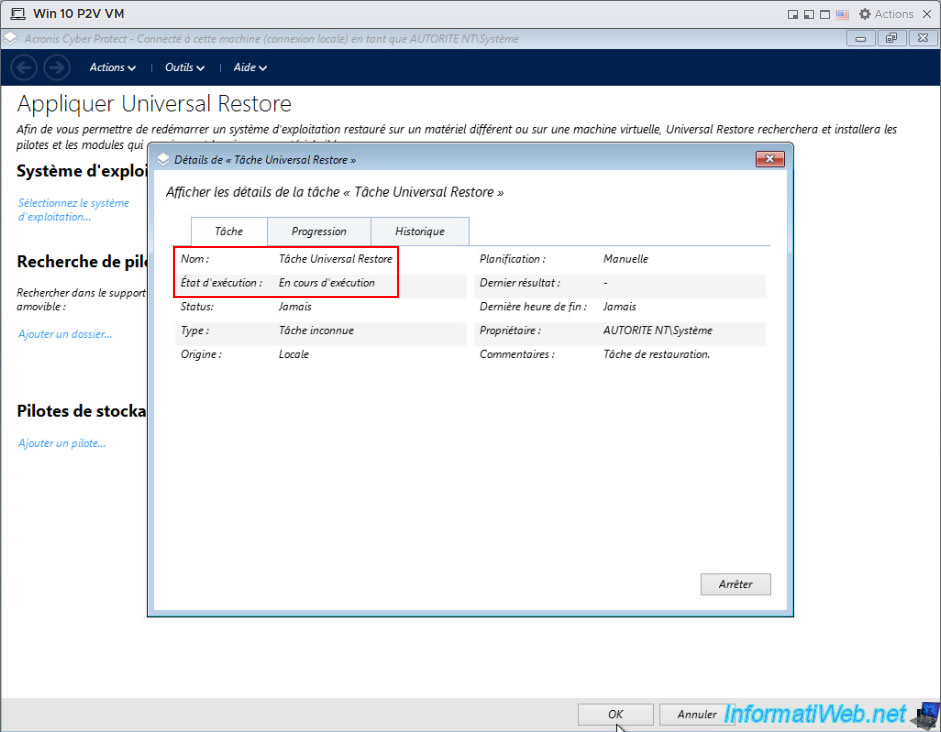
The Universal Restore task appears.
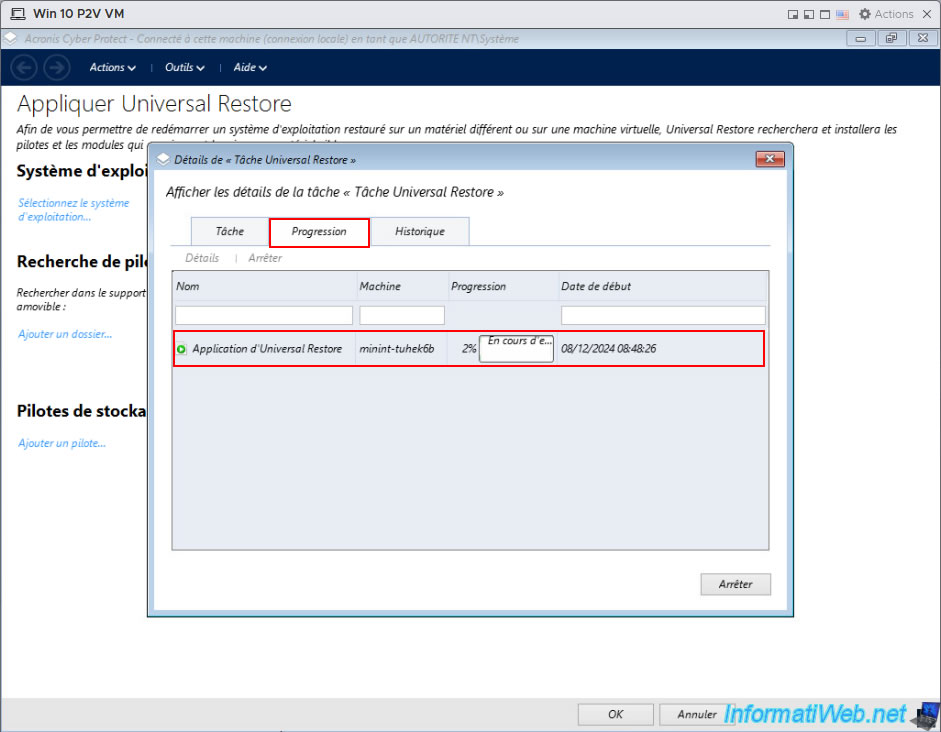
In the "Progress" tab, you will be able to see the progress of this "Universal Restore" task.
Although this task is rather fast.
Once the Universal Restore task is completed, the status will be "OK".
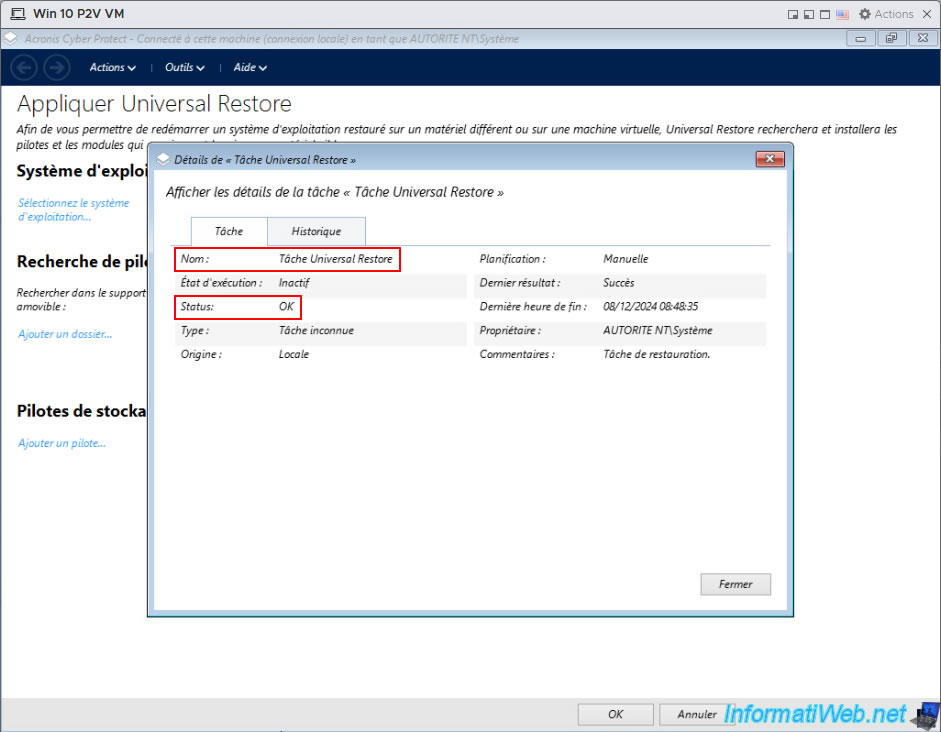
Close the Acronis program.
This will cause your VM to reboot.
Share this tutorial
To see also
-

Backup 8/21/2025
Acronis True Image - Replicate encrypted backups to Acronis Cloud
-

Backup 1/19/2026
Acronis True Image - Rescue Media - Create media (Linux version)
-

Backup 2/16/2026
Acronis True Image - Rescue Media - Create media (Win PE version) on Win 7
-

Backup 11/24/2025
Acronis True Image - Synchronize a folder between 2 PCs (locally)
No comment