Virtualize a physical PC to VMware vSphere (P2V) using Acronis True Image (Cyber Protect Home Office) and Acronis Universal Restore
- Backup
- Acronis True Image, Acronis Universal Restore
- 28 September 2026 at 07:41 UTC
-

- 2/9
3. Connect your external hard drive to your virtual machine (VM)
To connect your external hard drive (containing your Acronis backup) to your virtual machine created on your VMware vSphere virtual infrastructure, it must be started.
But before that, modify the configuration of your "Win 10 P2V VM" virtual machine.
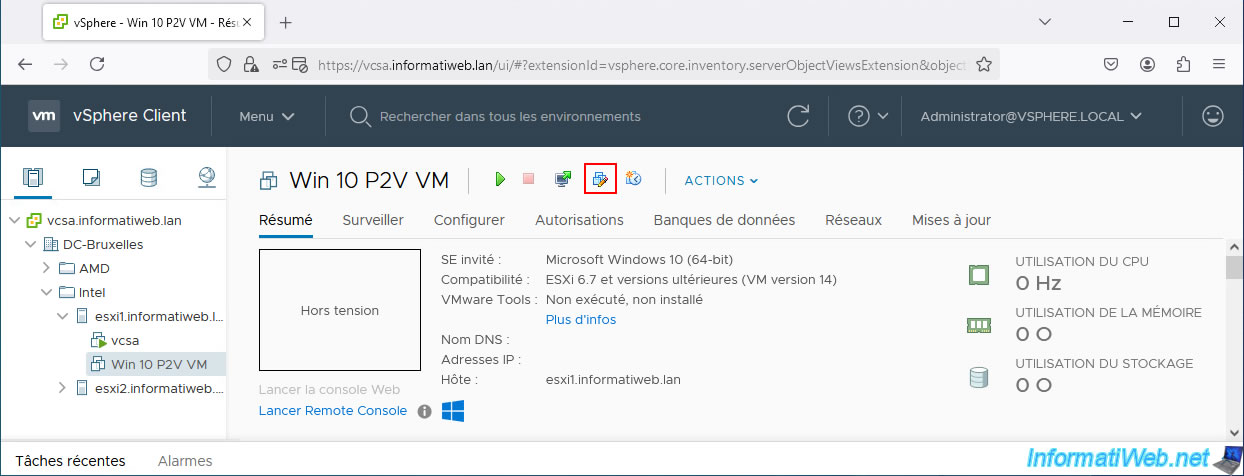
In the "VM Options" tab, go to the "Boot Options" section and check the box for the "Force EFI Configuration" option.
Then, click OK.
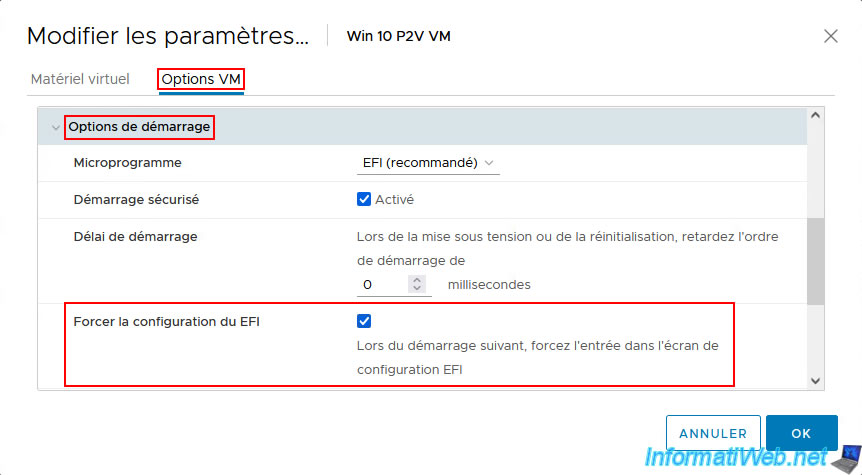
Now, click on the 3rd icon (to open your VM console).
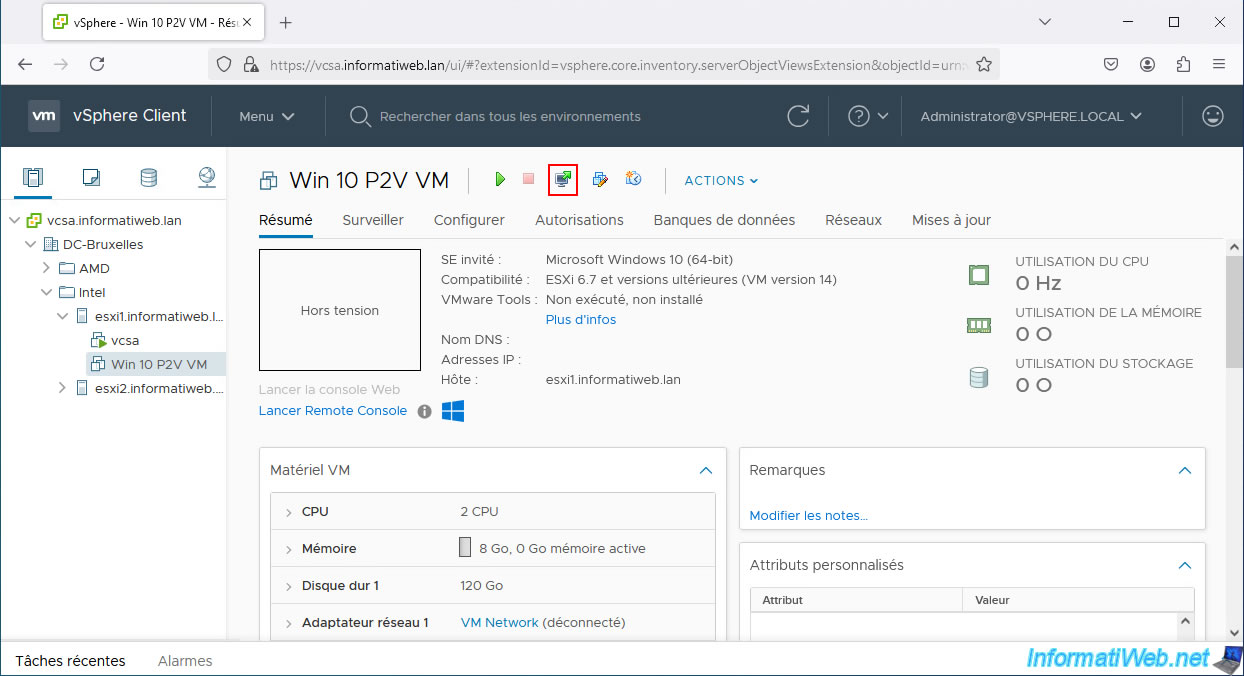
Select "VMware Remote Console (VMRC)" and click "Launch".
Note: if you no longer have access to this popup, refer to our tutorial "VMware vSphere 6.7 - Change default console" to put the "VMware Remote Console (VMRC)" console back as the default console.
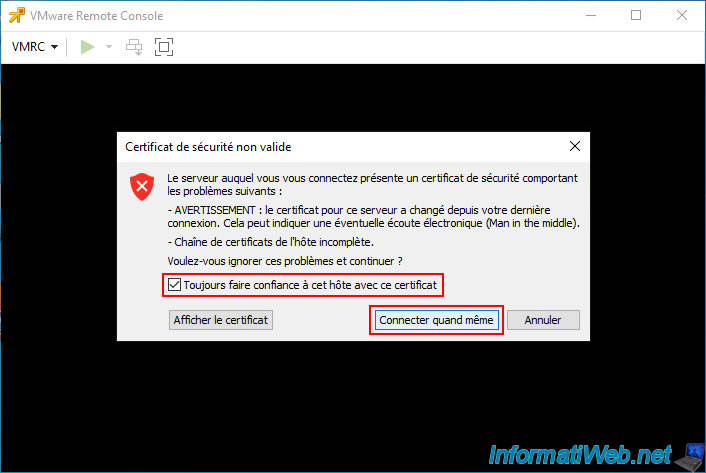
If you see an "Invalid Security Certificate" warning (which is usually the case in a test environment, but not in an enterprise), check the "Always trust this host with this certificate" box and click "Connect anyway".
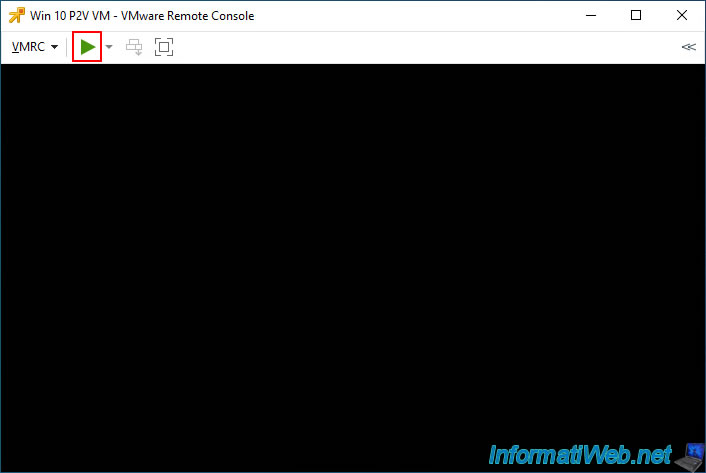
Now, start your VM "Win 10 P2V VM".
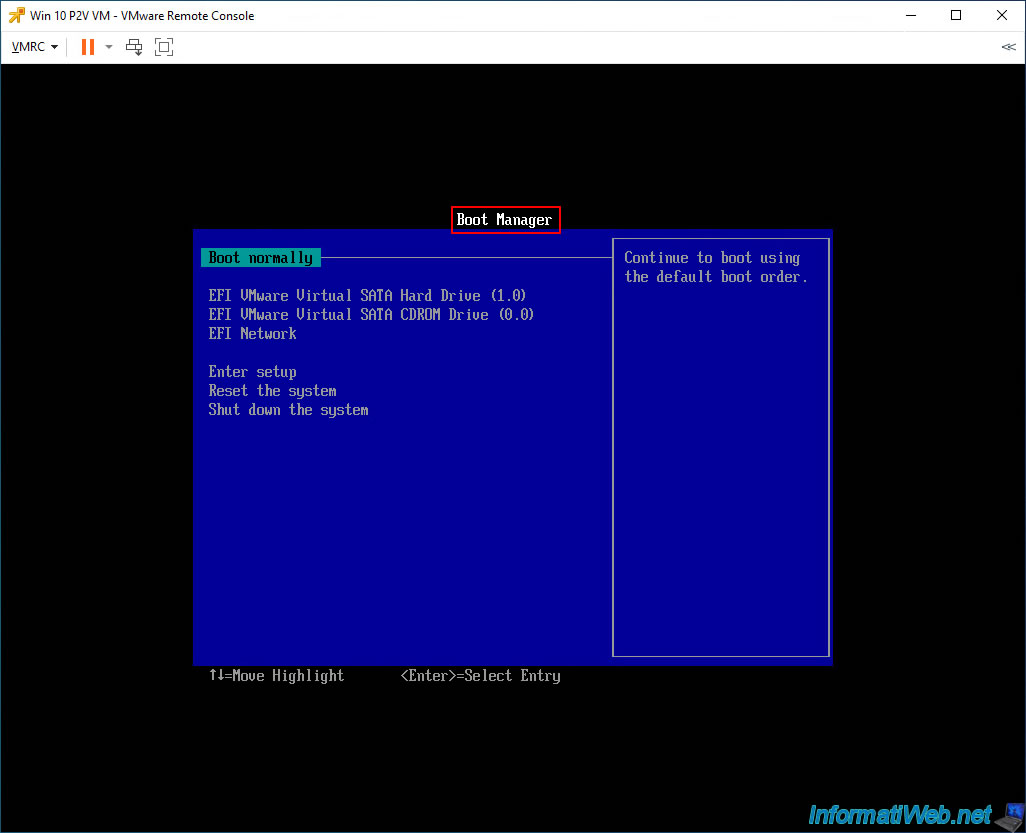
As expected, you arrive at VMware's EFI boot manager.
Which allows you to connect your external USB hard drive to your VM (before it actually boots into an OS).
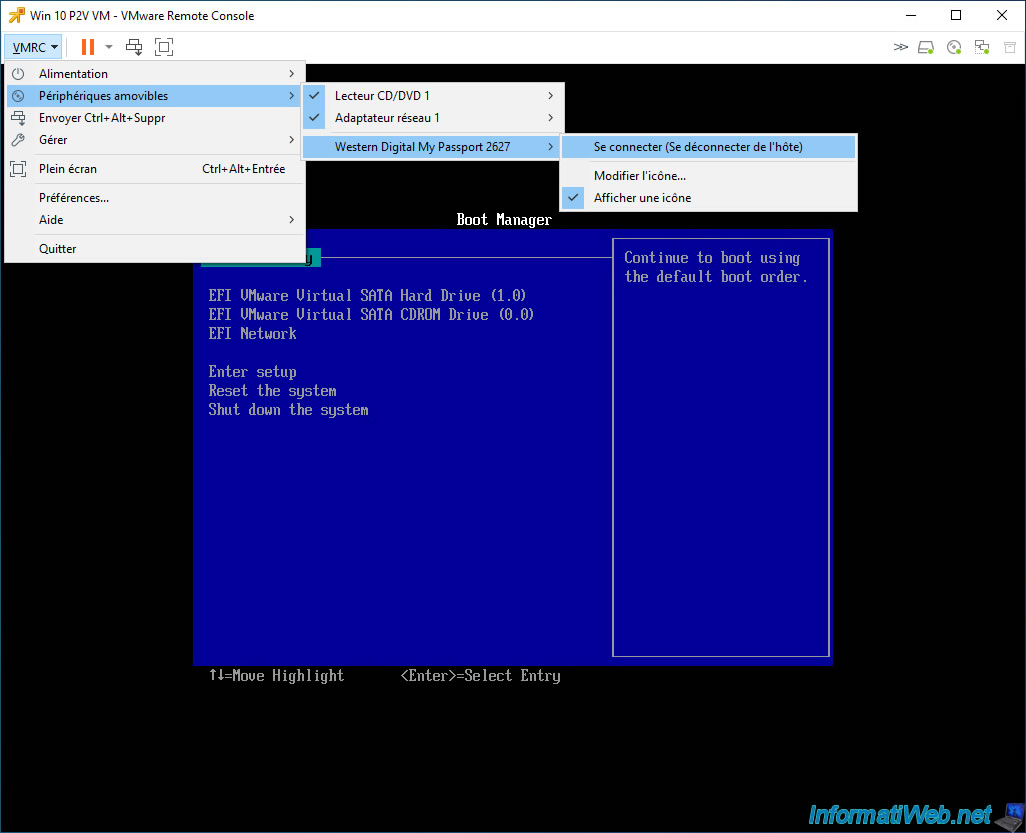
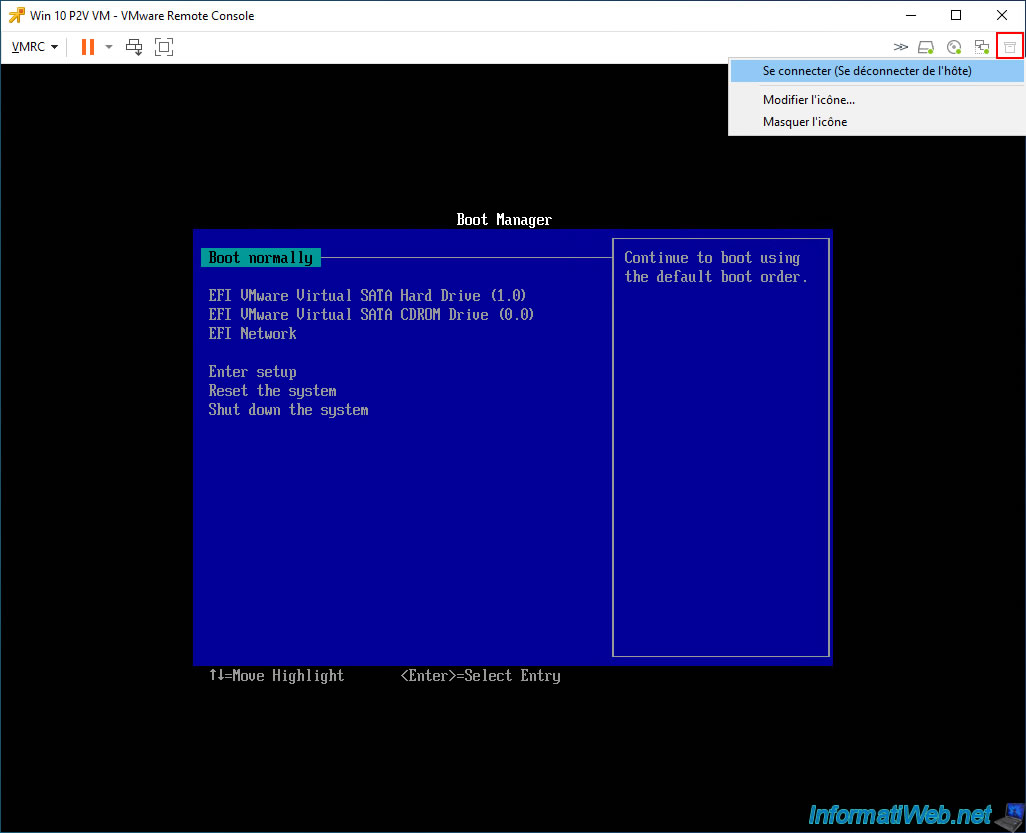
To connect your USB external hard drive (physically plugged into your client PC) to your VM via VMware VMRC, click: VMRC -> Removable Devices -> [name of your USB external hard drive] -> Connect (Disconnect from host).
The other possibility is to click on the "<<" icon (located at the top right), then right-click "Connect (Disconnect from host)" on the icon corresponding to your external hard drive connected to your client PC.
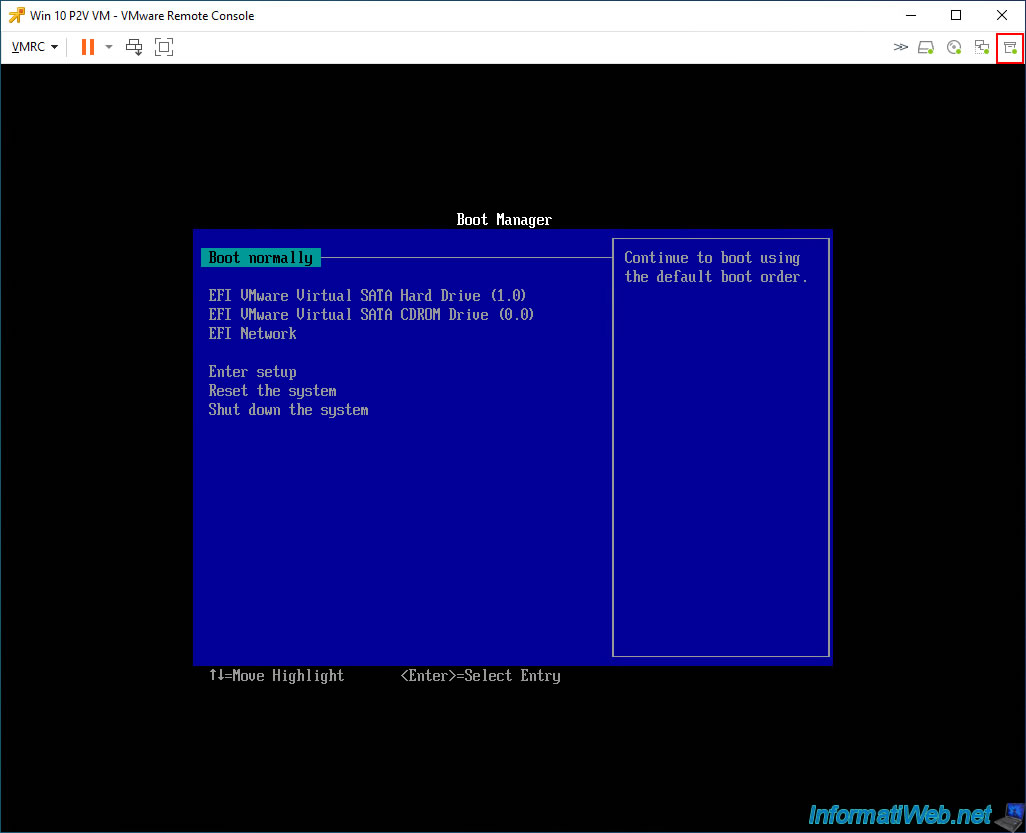
Once your external hard drive is remotely connected to your VM, a green circle will appear on the icon that corresponds to your external hard drive.
4. Restore physical PC disk to your VM on VMware vSphere via Acronis Cyber Protect Home Office (True Image)
4.1. Initialize your VM's virtual hard disk before restoring via Acronis
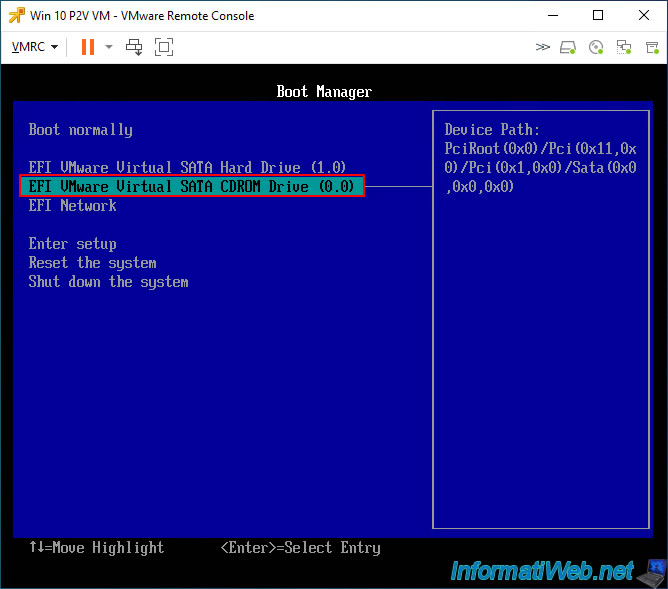
Select your virtual machine's CD/DVD drive (EFI VMware Virtual SATA CDROM Drive) and press Enter to boot from it.
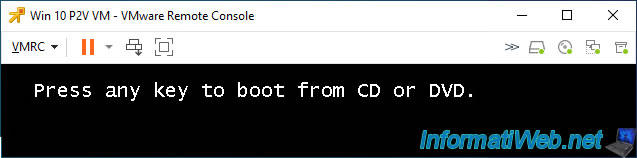
When the message "Press any key to boot from CD or DVD" appears, press "Enter".
Please wait while Windows PE boots.
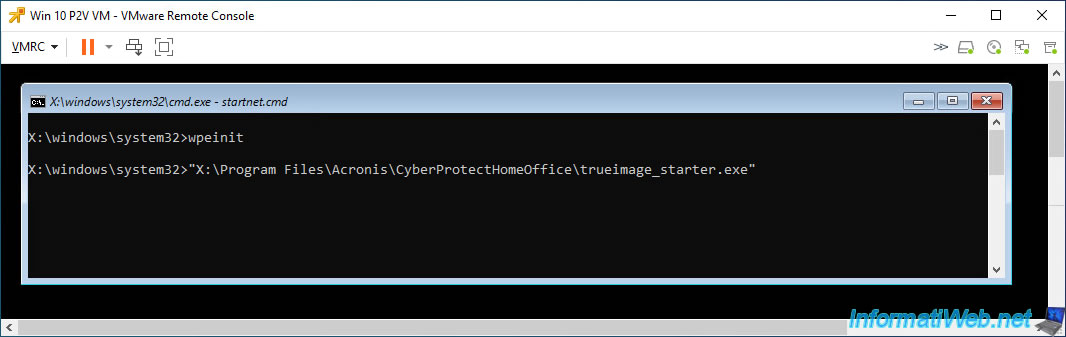
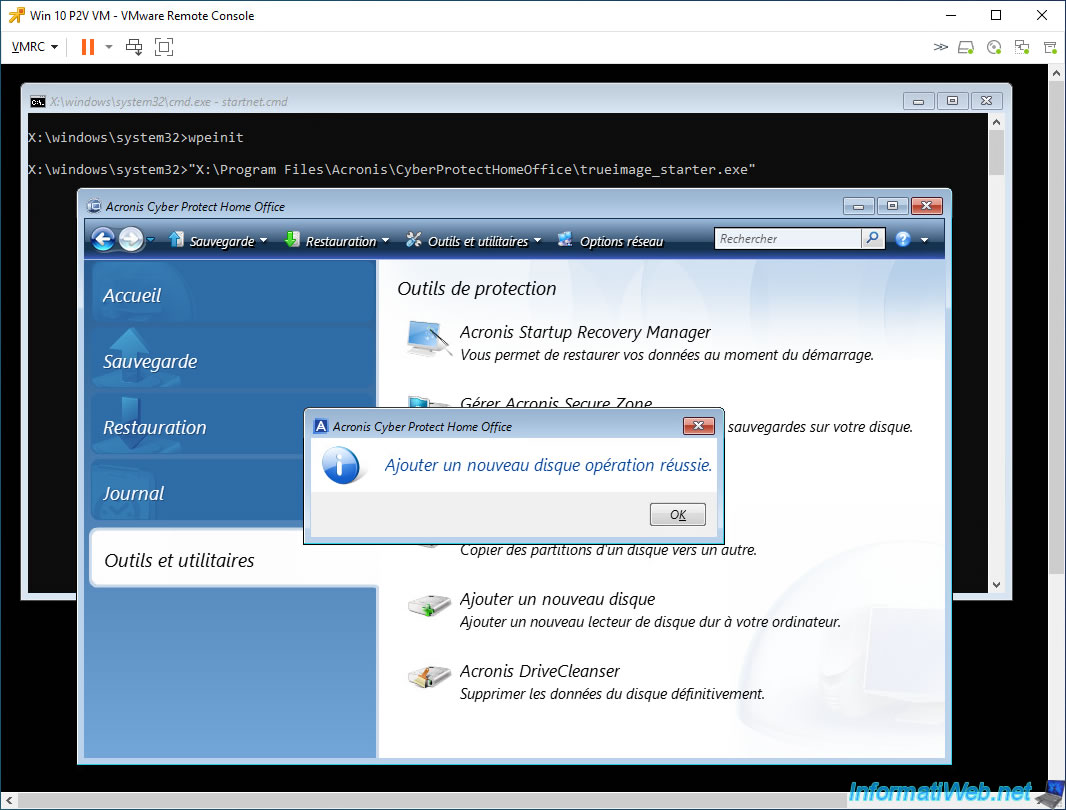
A command prompt appears.
Then, the program "Acronis Cyber Protect Home Office (True Image)" appears.
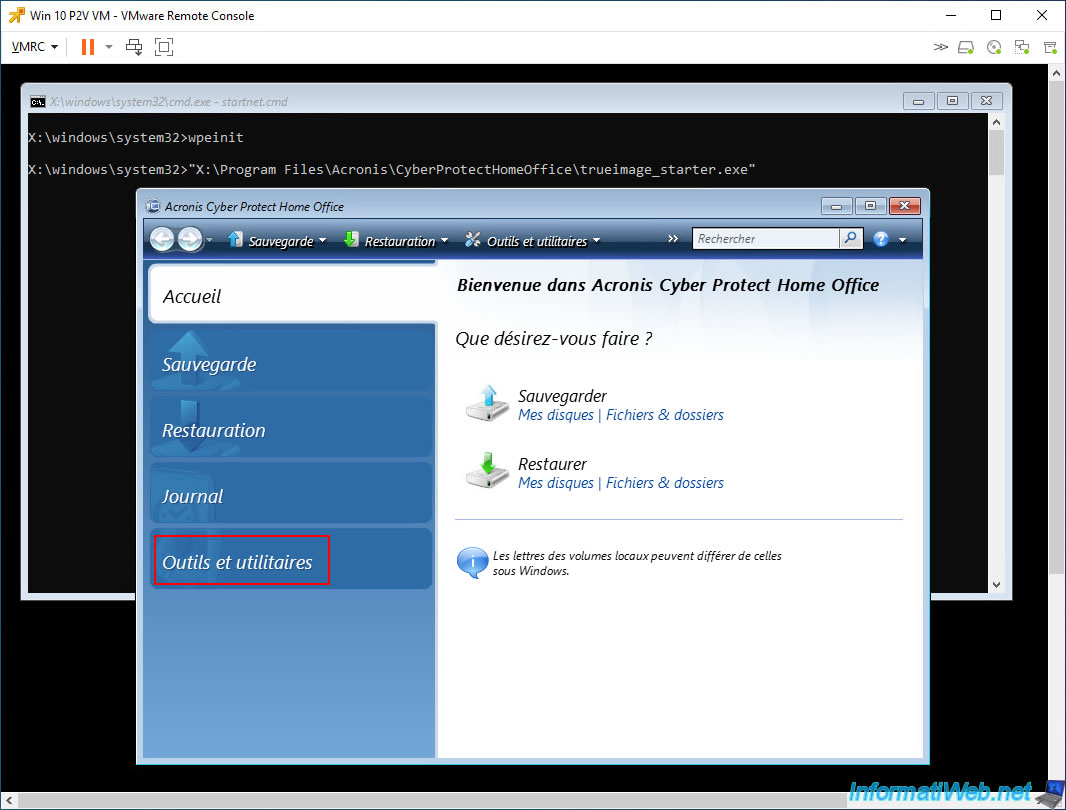
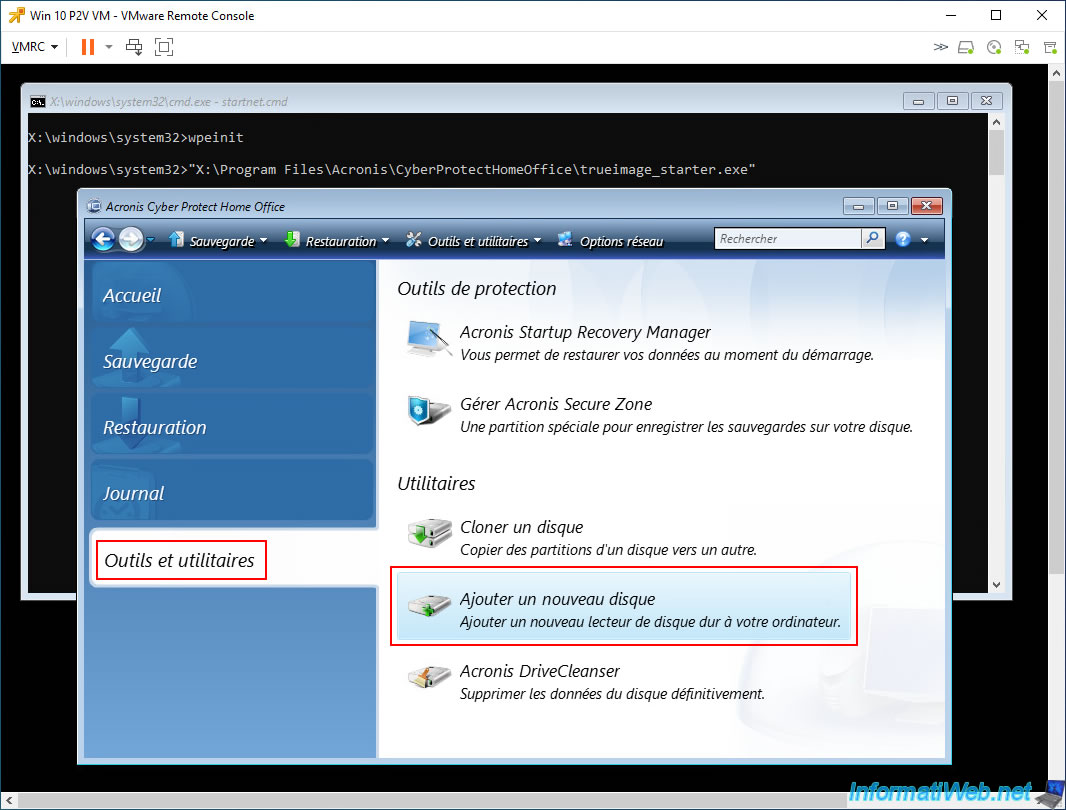
Go to the "Tools and Utilities" section of this Acronis program and launch the "Add New Disk" utility.
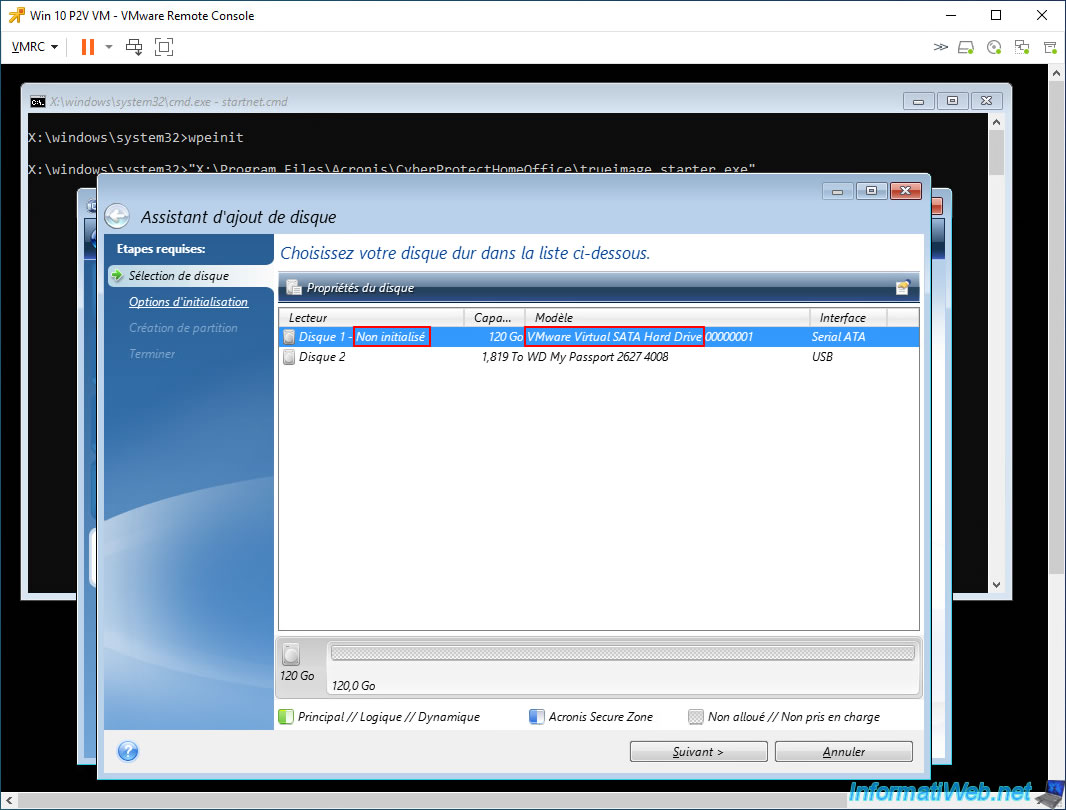
Select your virtual hard disk (VMware Virtual ... Hard Drive) which status is "Not initialized" and click "Next".
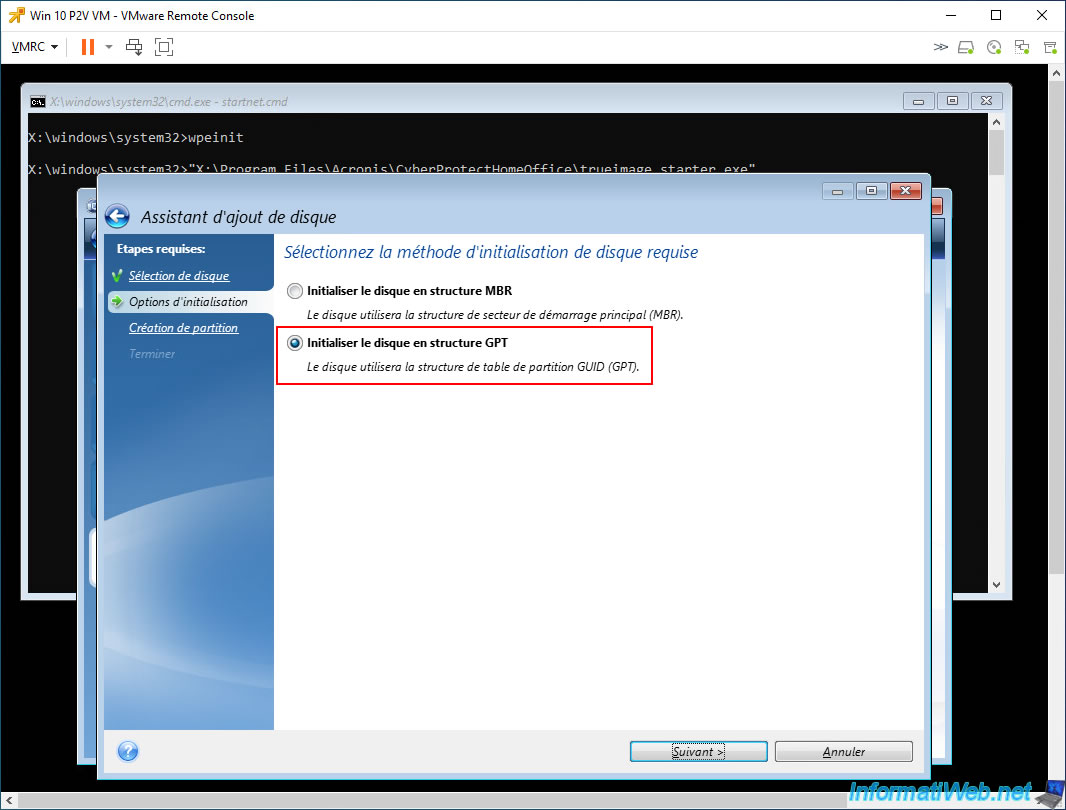
Choose to initialize your virtual hard disk with an MBR or GPT partition table depending on the type of partition table used on the physical PC disk.
- Initialize the disk in MBR structure: if Windows was installed in Legacy mode and a "Master Boot Record (MBR)" partition table was therefore used on the disk where Windows was installed.
- Initialize the disk in GPT structure: if Windows was installed in UEFI mode and a GUID partition table (GPT) was therefore used on the disk where Windows was located.
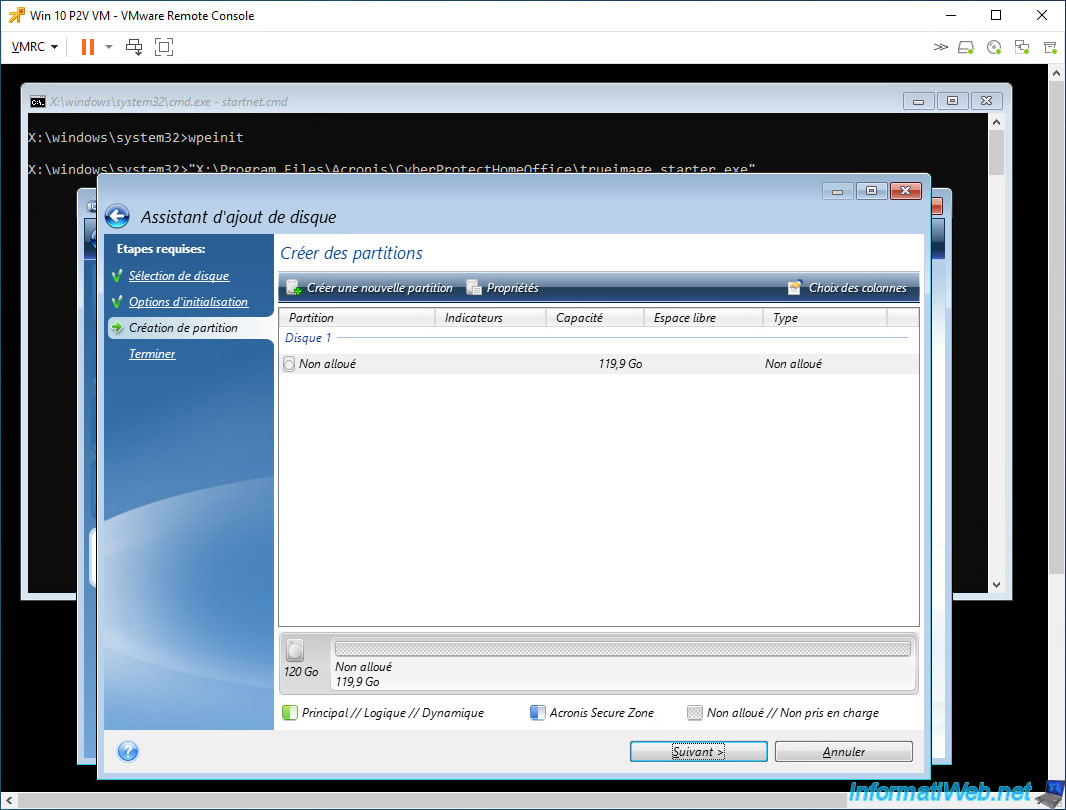
Skip the disk partitioning and just click "Next".
Note: when restoring your partitions via Acronis, you will only need to select this "Unallocated" space as the destination.
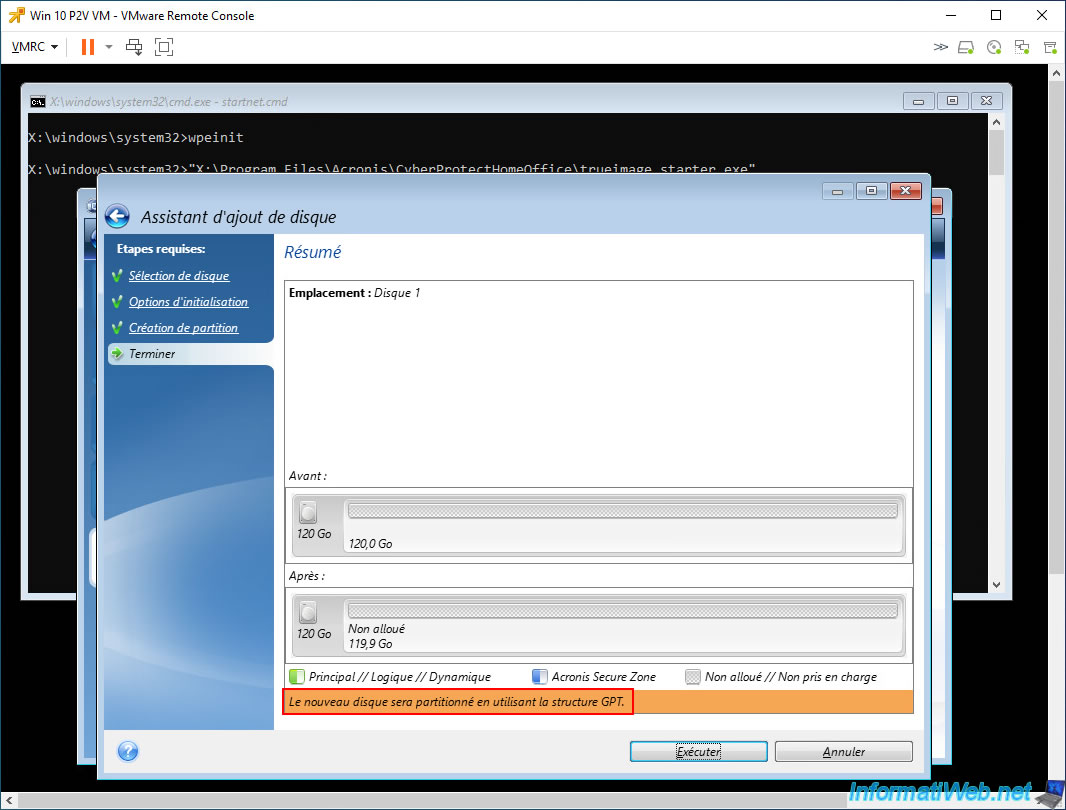
At the bottom of the wizard, you will see that the disk will be initialized with a GPT or MBR partition table (depending on the choice you made at the beginning of this wizard).
Once the (very fast) initialization of your virtual hard disk is complete, the message "Add new disk operation successful" will appear.
Click OK.
Share this tutorial
To see also
-
Backup 11/10/2025
Acronis True Image - Archive your files on Acronis Cloud (encrypted archive)
-
Backup 3/30/2026
Acronis True Image - Rescue Media - Check network configuration
-
Backup 11/24/2025
Acronis True Image - Synchronize a folder between 2 PCs (locally)
-
Backup 6/29/2026
Acronis True Image - Third-party tools
No comment