- Backup
- Acronis True Image, Acronis Universal Restore
- 15 September 2026 at 07:02 UTC
-

- 1/8
With Acronis Cyber Protect Home Office (True Image) and Acronis Universal Restore, you can back up your computer and restore that backup to dissimilar hardware if you want.
Which means you could also use these Acronis programs to do P2V and thus virtualize a physical PC to get the corresponding virtual machine on VMware Workstation Pro.
Important : this is an unofficial technique, as it is not documented by Acronis for this "Acronis Cyber Protect Home Office (True Image)" program intended for individuals.
That said, it works very well.
Warning : to back up your physical PC via Acronis Cyber Protect Home Office (True Image), refer to the first 3 steps of our tutorial "Acronis True Image - P2V - Virtualize a physical PC to VirtualBox".
Indeed, the Acronis backup used in this new tutorial is exactly the same as in our previous P2V tutorial concerning VirtualBox.
- Create a VM on VMware Workstation Pro (where to restore your Acronis backup)
- Connect your external hard drive to your virtual machine (VM)
- Restore physical PC disk to your VM on VMware Workstation via Acronis Cyber Protect Home Office (True Image)
- Extract drivers from VMware Tools (recommended for using Acronis Universal Restore)
- Apply Acronis Universal Restore in your virtual machine on VMware Workstation Pro
- Starting your virtual machine on VMware Workstation Pro after applying Acronis Universal Restore
- Uninstall old drivers related to the virtualized physical PC hardware copied into your VM on VMware Workstation Pro
- Install VMware Workstation Pro drivers (VMware Tools) in your virtual machine
- Virtual machine working on VMware Workstation Pro and corresponding to the virtualized physical PC
1. Create a VM on VMware Workstation Pro (where to restore your Acronis backup)
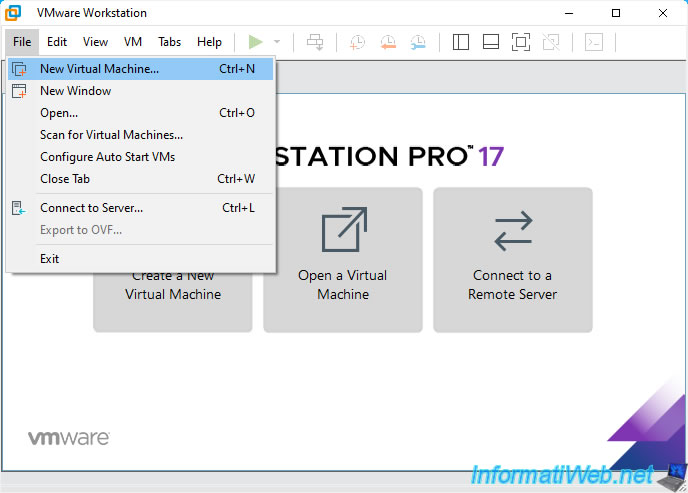
In VMware Workstation Pro, go to the menu: File -> New Virtual Machine.
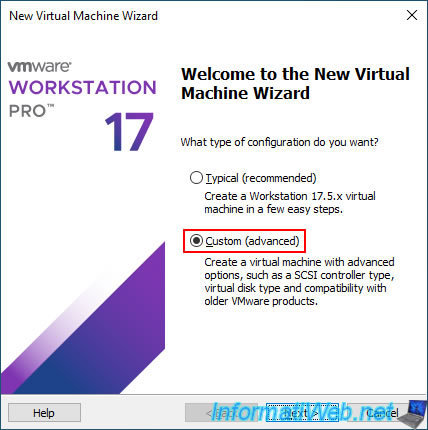
Choose "Custom (advanced)".
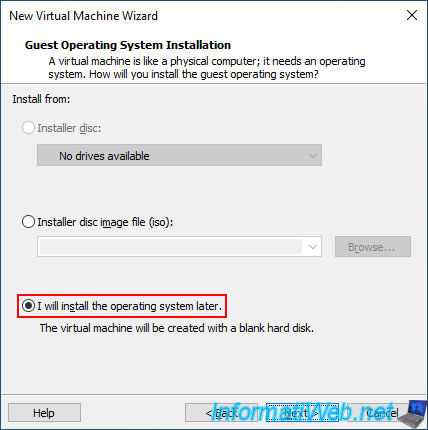
Choose "I will install the operating system later", because you will not install the operating system from an ISO file.
You will simply restore an existing Windows installation via Acronis to this new VM.
Select the Windows version that corresponds to the PC you backed up via Acronis.
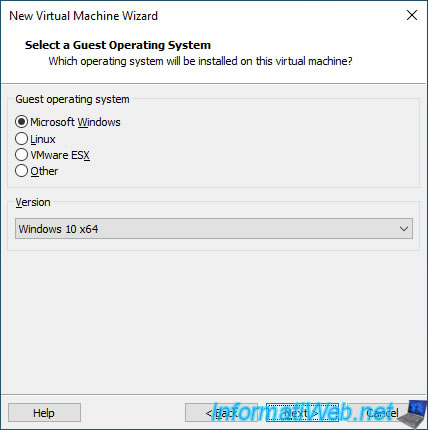
Provide a name for your VMware virtual machine.
For example: Win 10 P2V VM.
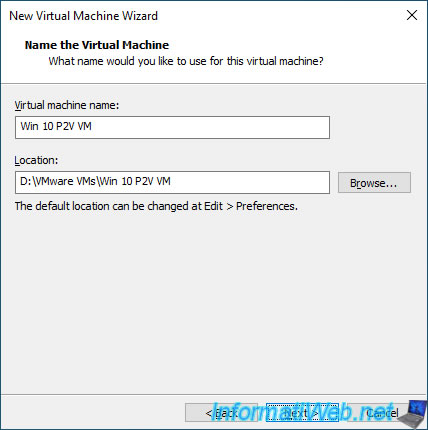
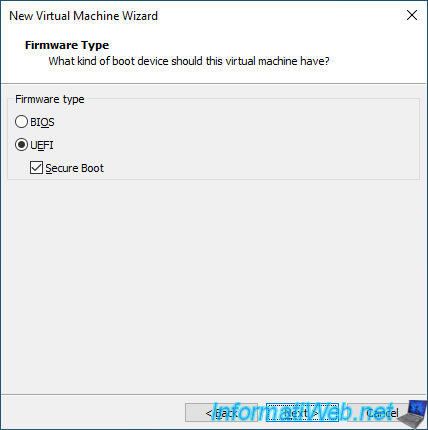
Select the type of firmware to use.
- If Windows was installed in Legacy BIOS mode on your physical computer and the disk where Windows is installed therefore uses a MBR (Master Boot Record) partition table, select "BIOS".
- If Windows was installed in UEFI mode on your physical computer, then a GPT (GUID Partition Table (GPT)) partition table is used.
In this case, select "UEFI" and check the "Secure Boot" box (Windows 8 and later only, as Windows 7 does not support Secure Boot even though it supports UEFI).
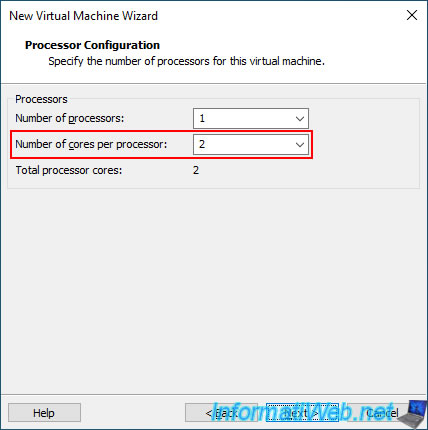
For Windows 10, allocate at least 2 processor cores (CPU), or even 4 cores (if your physical processor has enough).
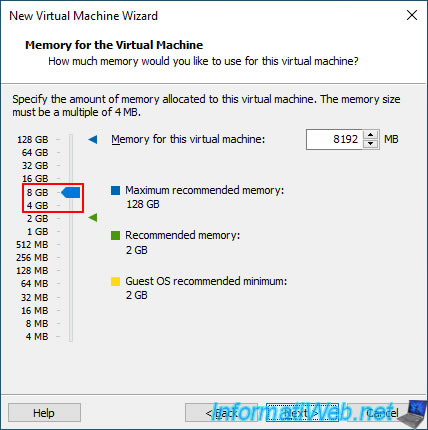
Starting with Windows 10, allocate at least 4GB of RAM (for 64-bit version of Windows 10), or even 8GB of RAM for recent versions of Windows 10 to make it run smoother.
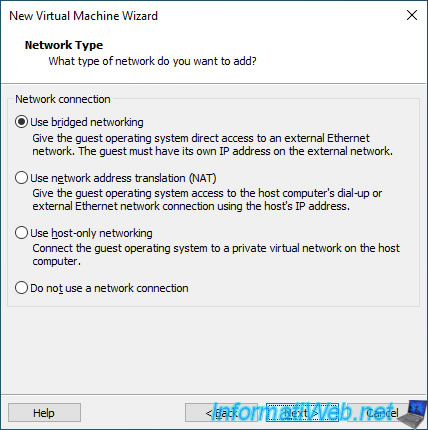
For network access, select "Use bridged networking" so that your virtual machine is connected to your physical network.
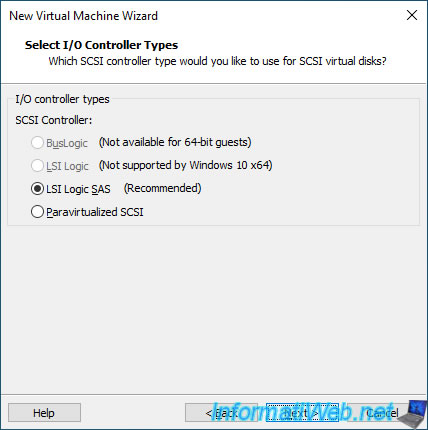
For the SCSI controller to use, it doesn't matter in this case since you will be using a SATA hard drive.
So, leave the default value selected and just click "Next".
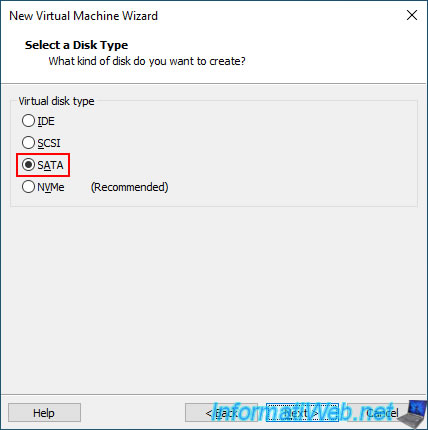
Select "SATA" for the virtual hard drive (to reflect the type of hard drive being backed up from your physical PC).
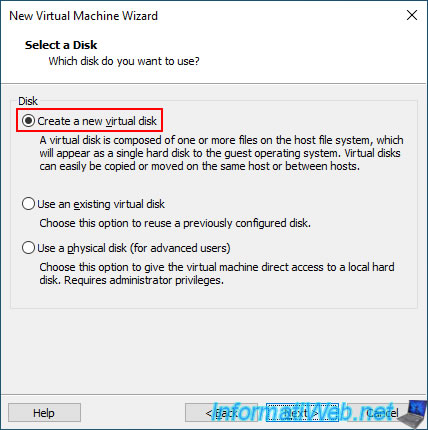
Select "Create a new virtual disk" to create a new virtual hard disk.
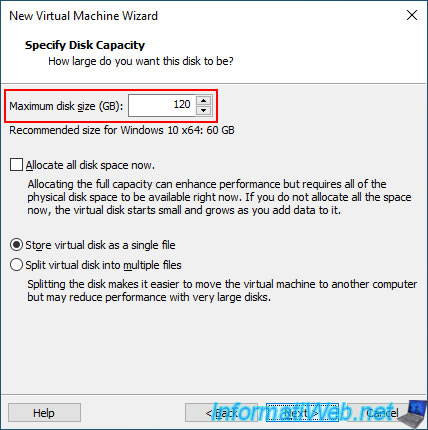
Specify a virtual hard disk size sufficient to store the amount of data backed up from your physical PC.
In our case, our backup contains:
- about 33 GB for the "C" partition where Windows is installed.
- about 15 GB for the "D" partition containing only data.
So we created a 120GB virtual hard drive that will allow us to have an 80GB partition for Windows and 40GB for the one simply containing data.
Warning : it is recommended to start with a small virtual hard disk and enlarge it later if necessary and not the other way around.
Indeed, it is possible to enlarge a virtual hard disk very easily. On the other hand, it is impossible to reduce the size of a virtual hard disk.
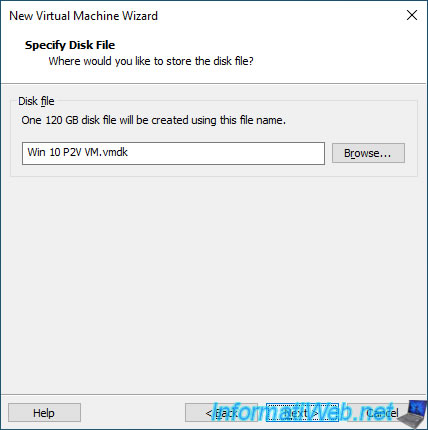
Leave the file name ".vmdk" (virtual hard disk) as default.
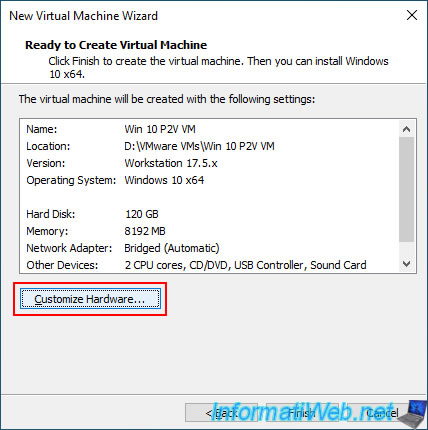
At the end of the VM creation wizard, click on the "Customize Hardware" button.
Select the device "New CD/DVD (SATA)" and check the "Connect at power on" box (on the right).
Then, select "Use ISO image file" and click "Browse".
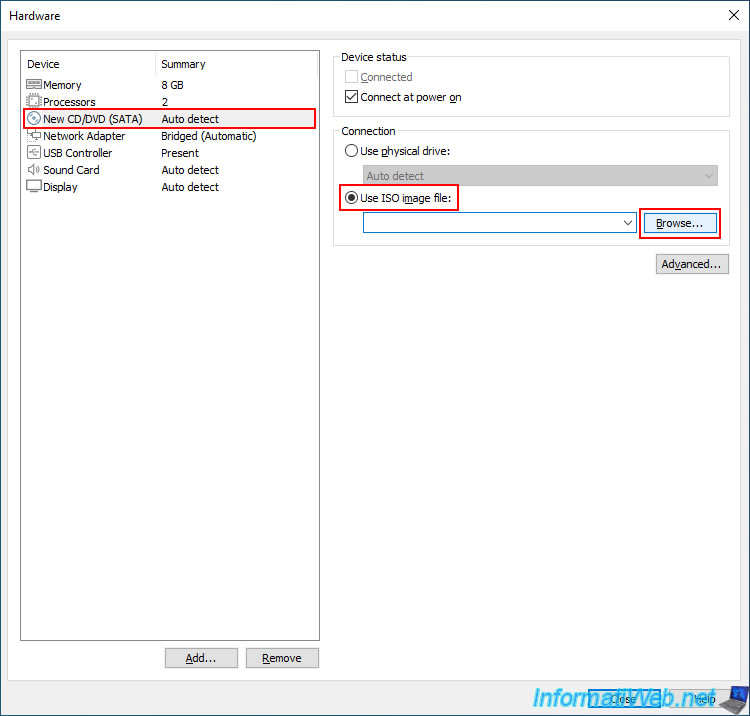
Select the ISO file corresponding to your Acronis rescue media containing the Acronis Cyber Protect Home Office (True Image) program.
In our case "AcronisBootablePEMedia (based on WinRE).iso".
To create it, refer to our tutorial: Acronis True Image - Rescue Media - Create media (Win PE version).
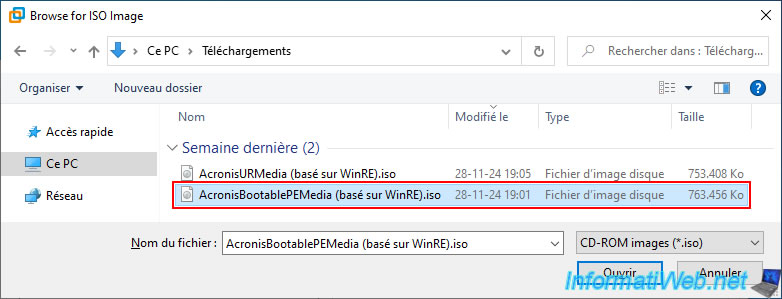
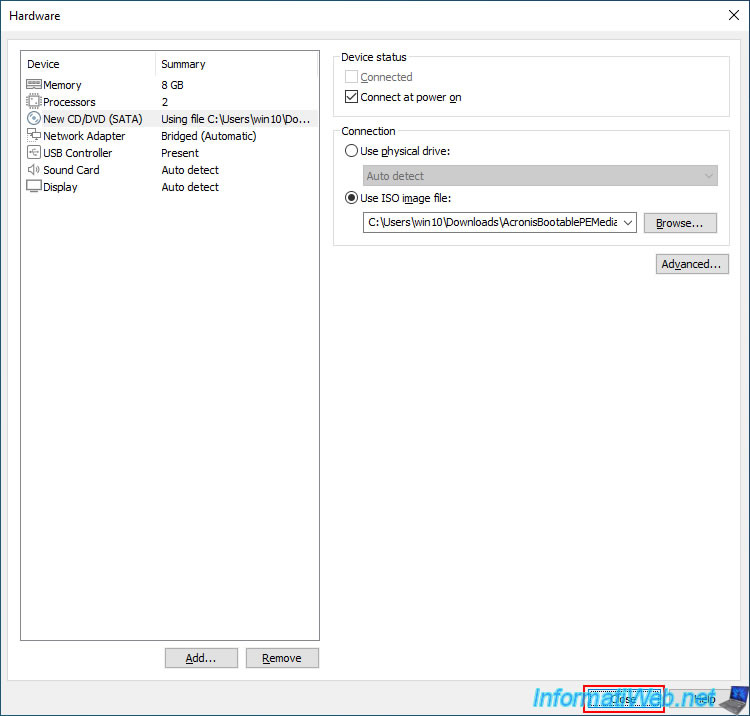
Then, click "Close".
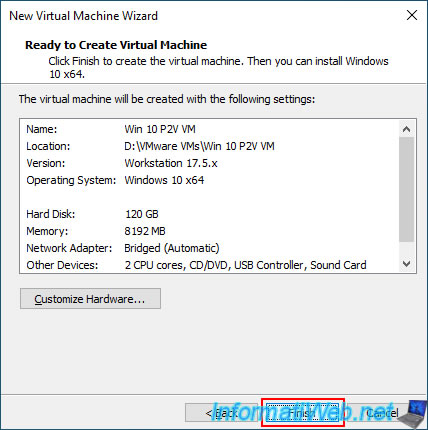
Click on "Finish".
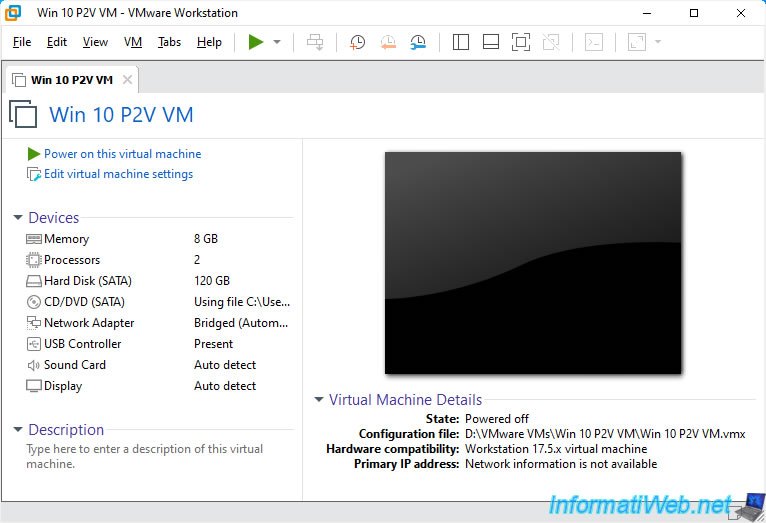
Your virtual machine "Windows 10 P2V VM" appears in VMware Workstation Pro.
2. Connect your external hard drive to your virtual machine (VM)
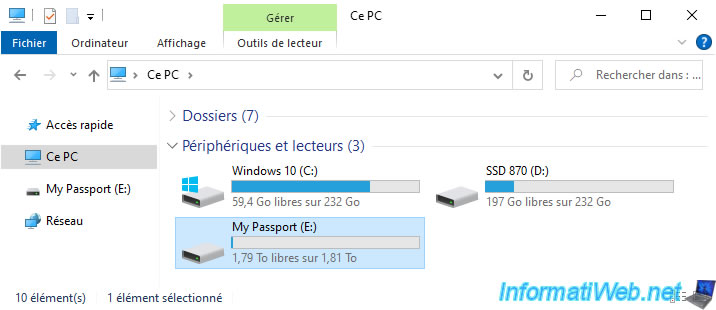
To be able to restore your Acronis backup into your virtual machine, you first need to plug your USB external hard drive into your computer.
As you can see, in our case, we used our USB external hard drive "WD My Passport" where we had previously backed up our physical computer via Acronis.
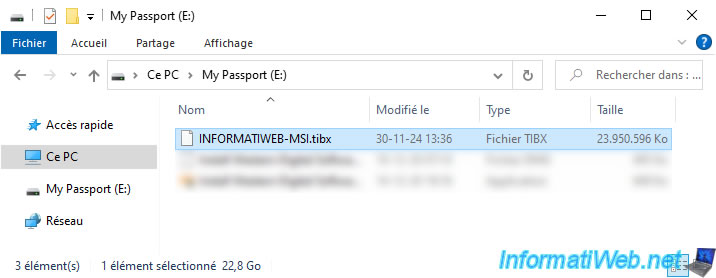
You will see your backup file ".tibx" appear.
In our case, the file "INFORMATIWEB-MSI.tibx".
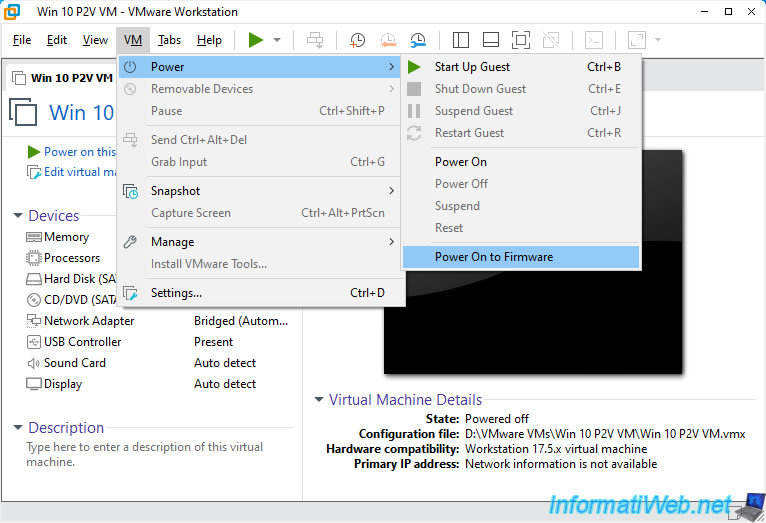
Boot your virtual machine to its firmware (BIOS or UEFI firmware) by clicking: VM -> Power -> Power On to Firmware.
If your VM is using UEFI firmware, you will see the Boot Manager appear.
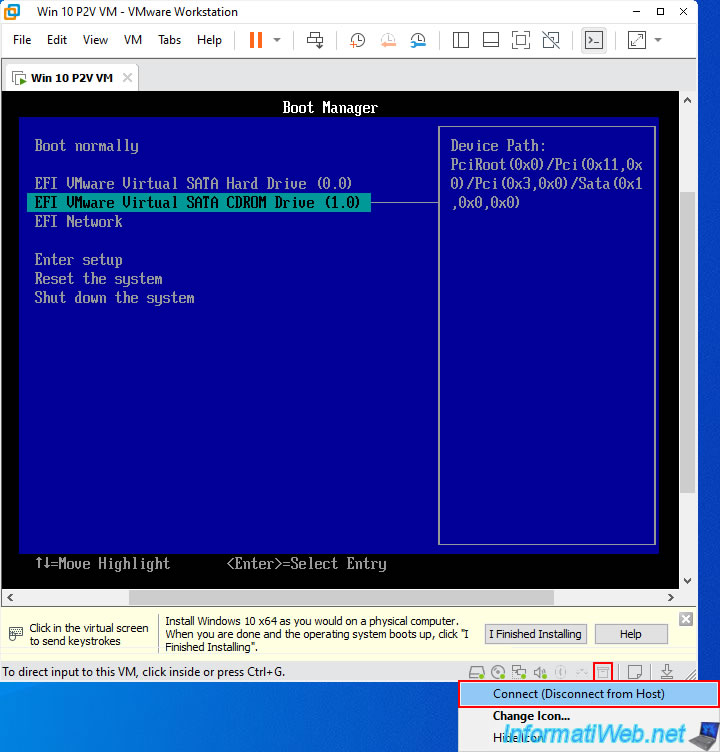
At the bottom right of your VM, hover over the icons on the right to locate the one corresponding to your USB external hard drive and click on it.
Then, click on "Connect (Disconnect from Host)".
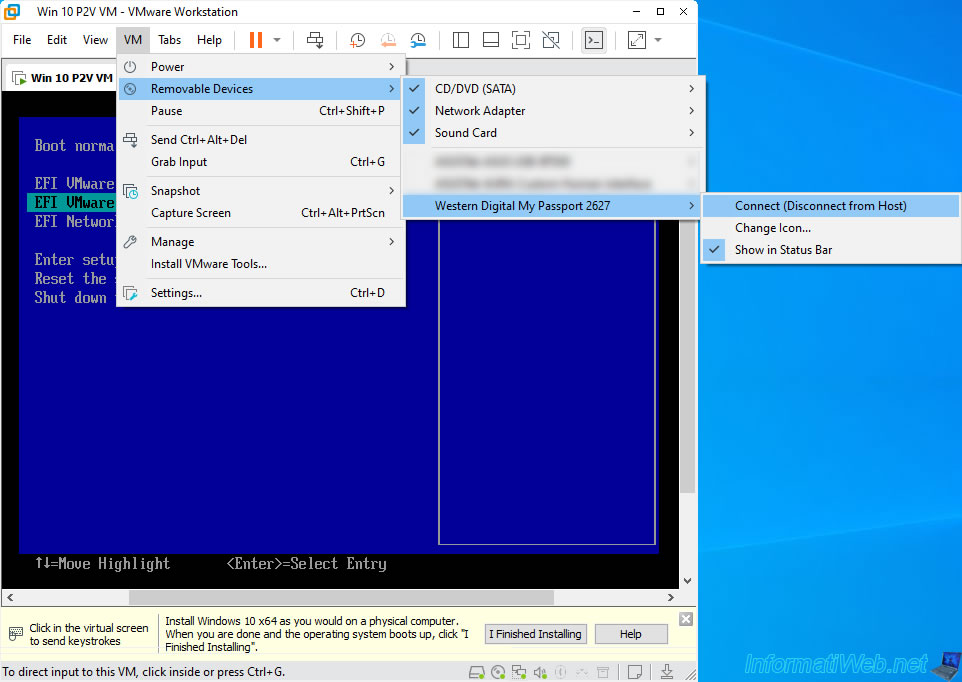
The other possibility is to go to the "VM -> Removable Devices" menu, select the name of your USB external hard drive (in our case "Western Digital My Passport 2627") and click on "Connect (Disconnect from Host)".
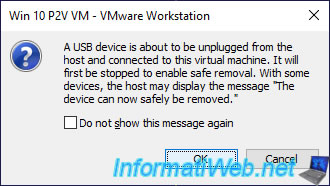
Confirm the connection of your USB external hard drive by clicking OK.
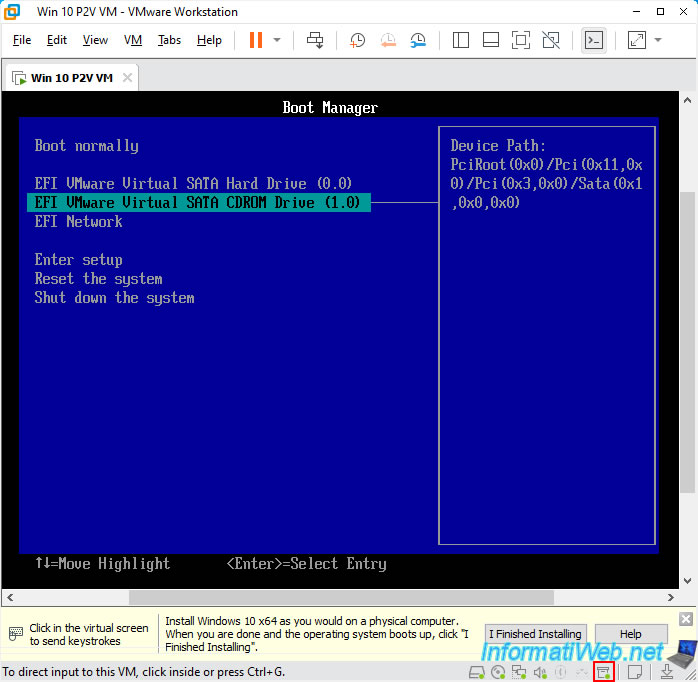
A green icon will appear on the icon corresponding to your USB external hard drive (bottom right of your VM).
Select the "EFI VMware Virtual SATA CDROM Drive" option and press Enter to boot from your VM's CD/DVD drive.
Share this tutorial
To see also
-

Backup 9/11/2025
Acronis True Image - Backing up your smartphone to Acronis Cloud
-
Backup 7/31/2025
Acronis True Image - Create backups (single version)
-
Backup 3/30/2026
Acronis True Image - Rescue Media - Check network configuration
-
Backup 6/22/2026
Acronis True Image - Secure disk erase
You must be logged in to post a comment