Virtualize a physical PC to VMware Workstation Pro (P2V) using Acronis True Image (Cyber Protect Home Office) and Acronis Universal Restore
- Backup
- Acronis True Image, Acronis Universal Restore
- 15 September 2026 at 07:02 UTC
-

- 7/8
6. Starting your virtual machine on VMware Workstation Pro after applying Acronis Universal Restore
When your virtual machine starts, the Windows logo will appear.
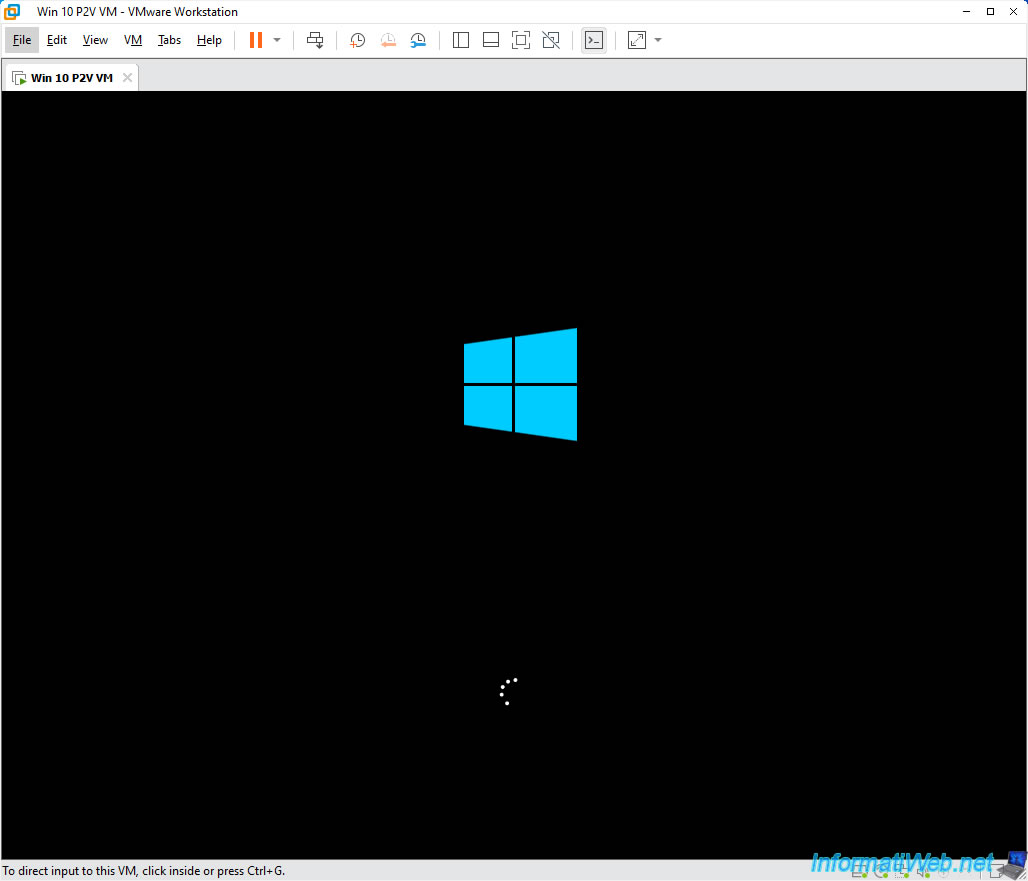
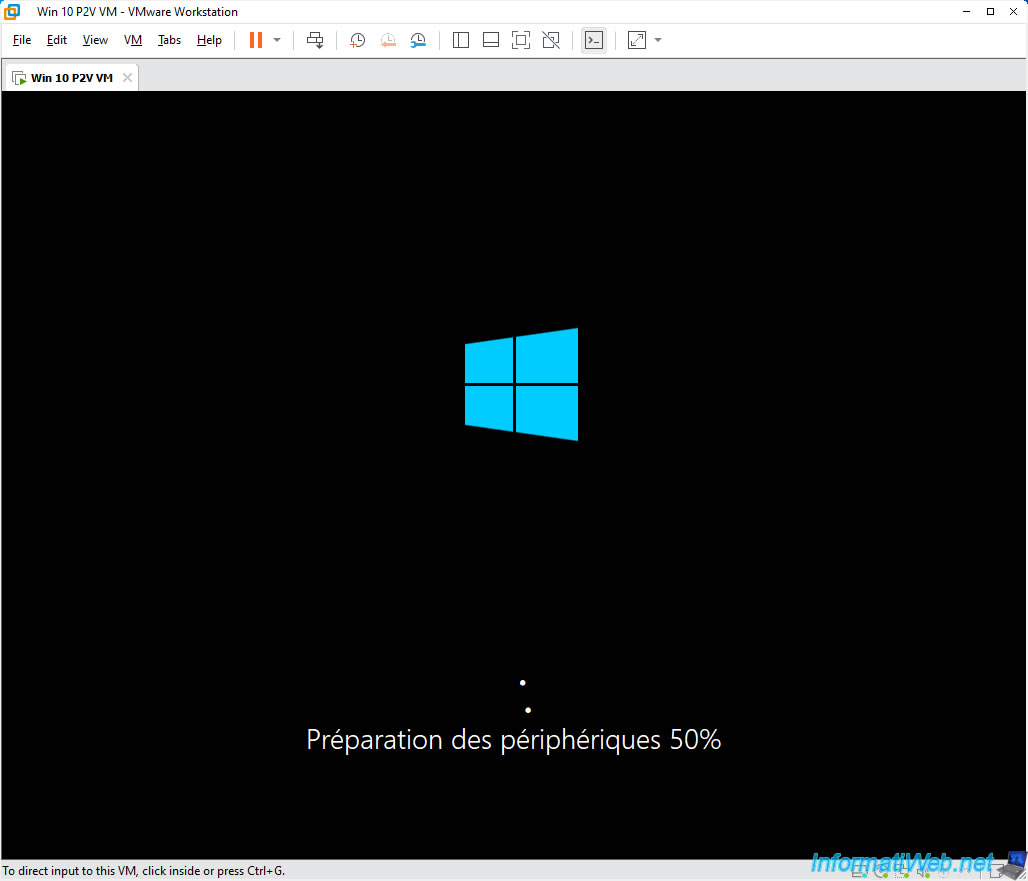
You will soon see messages like "Preparing" or "Preparing devices" appear (due to the hardware change between the physical PC backed up via Acronis and the VMware virtual machine where you restored this backup).
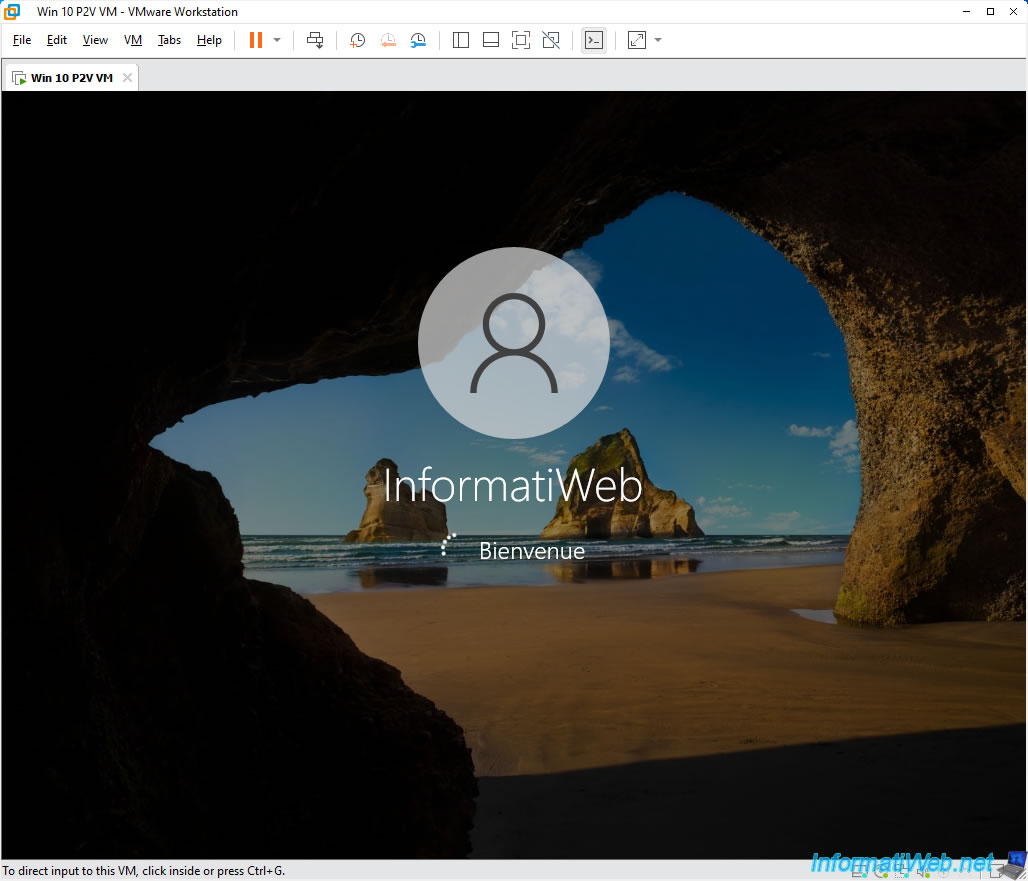
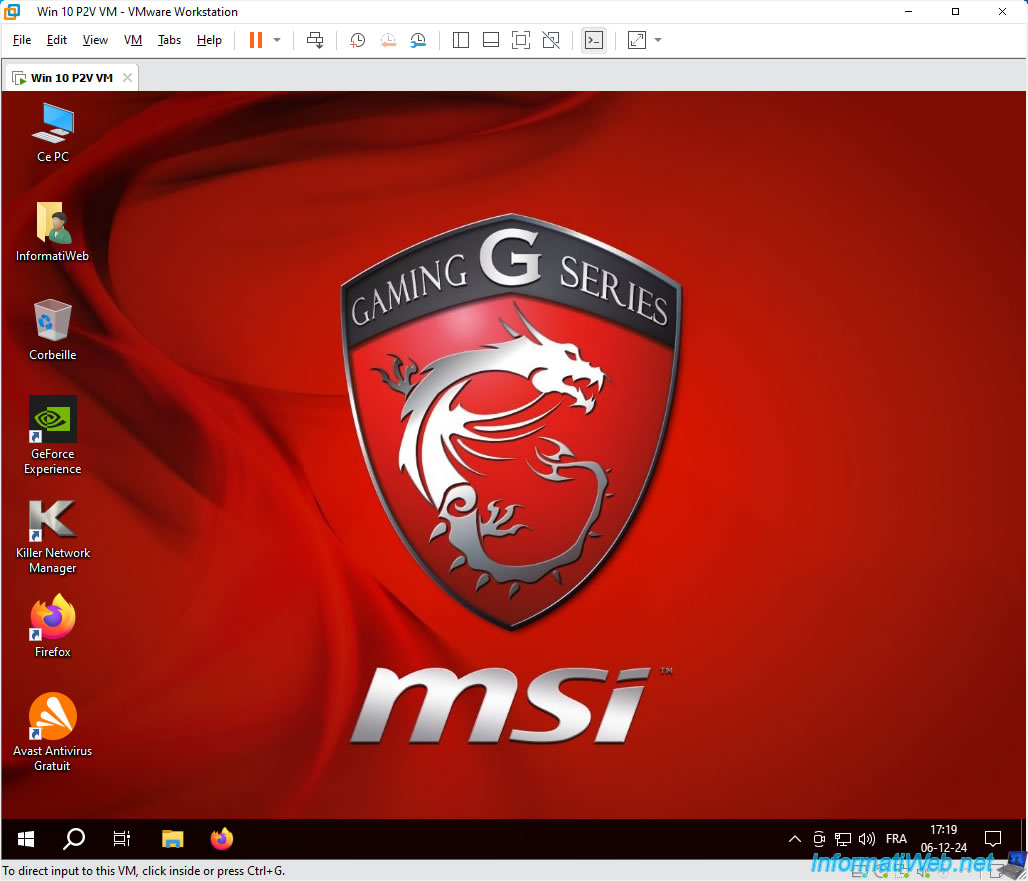
Your Windows session opens without any problems.
Windows will automatically install some system drivers (including one for the "VMware Virtual USB Mouse" device which is a virtual mouse).
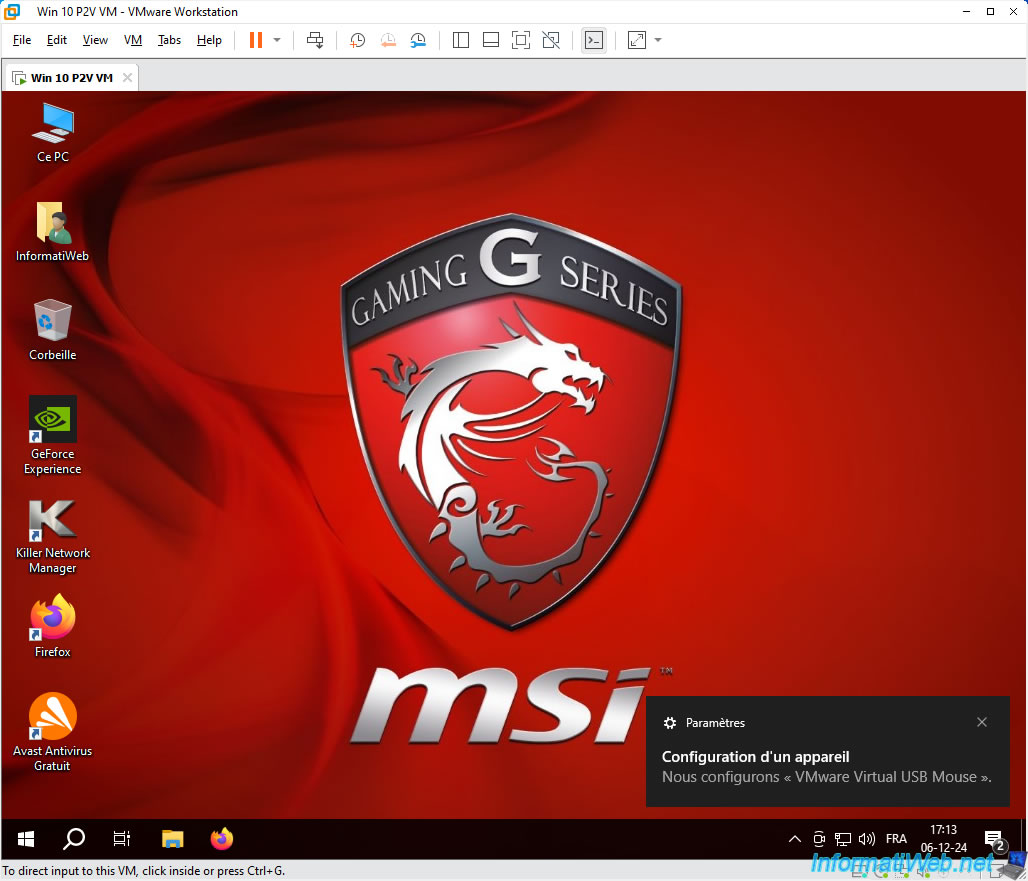
Then, less than a minute later, Windows will automatically restart once.
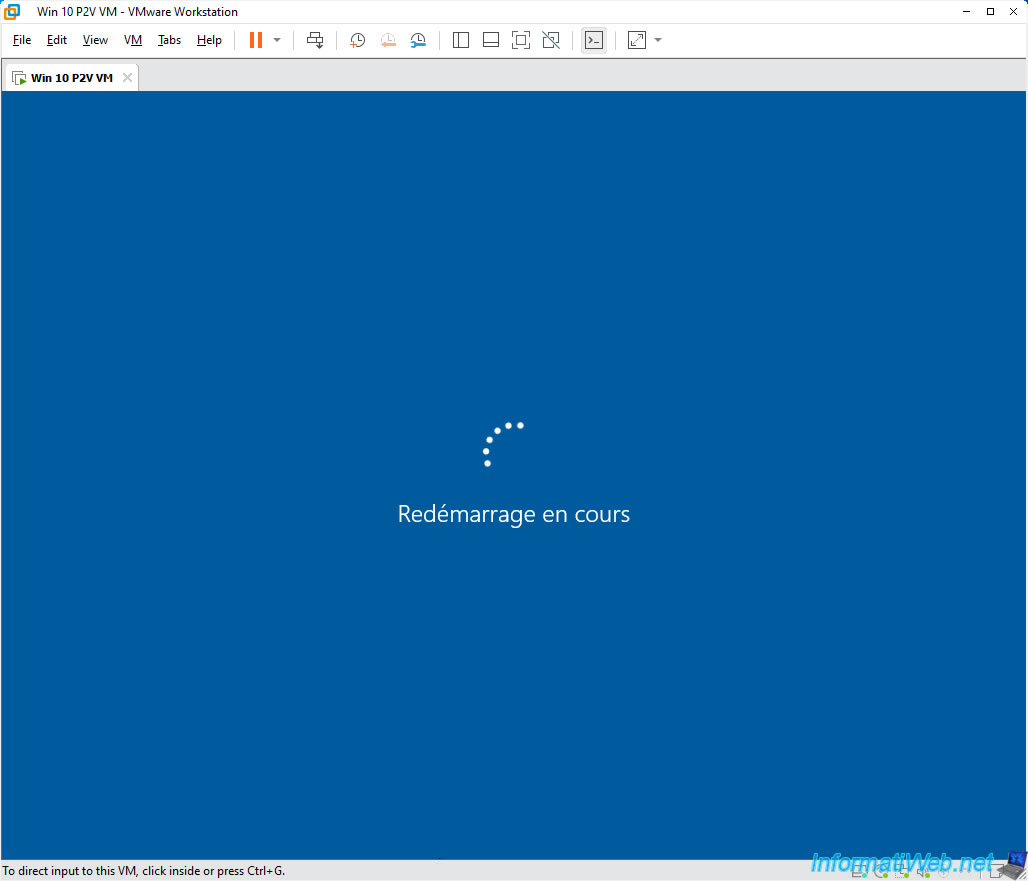
As expected, Windows works despite the hardware change between your physical PC backed up via Acronis and your VMware virtual machine.
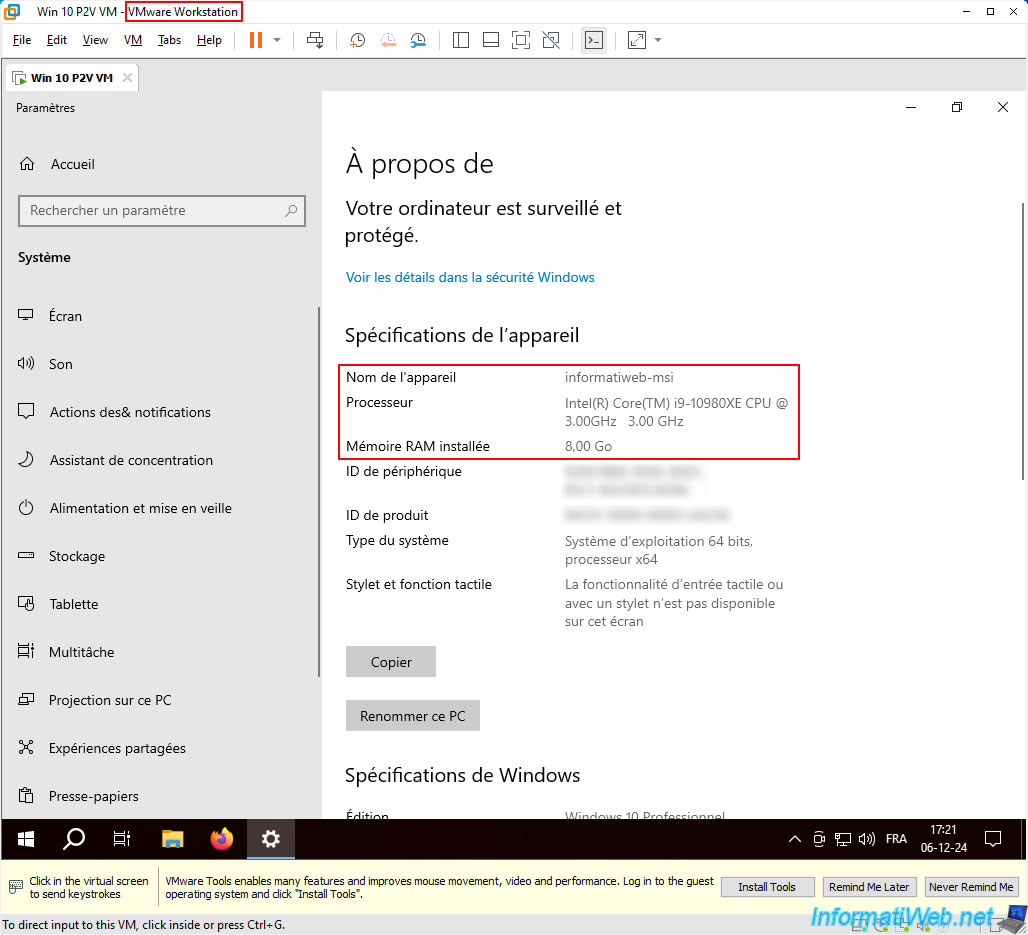
If we display the Windows 10 system information, we can see that it is a copy of our "informatiweb-msi" PC.
Obviously, the processor and the amount of RAM installed have changed, because this information depends on the processor of the host (physical) PC where VMware Workstation Pro is installed and the amount of RAM allocated to your VM.
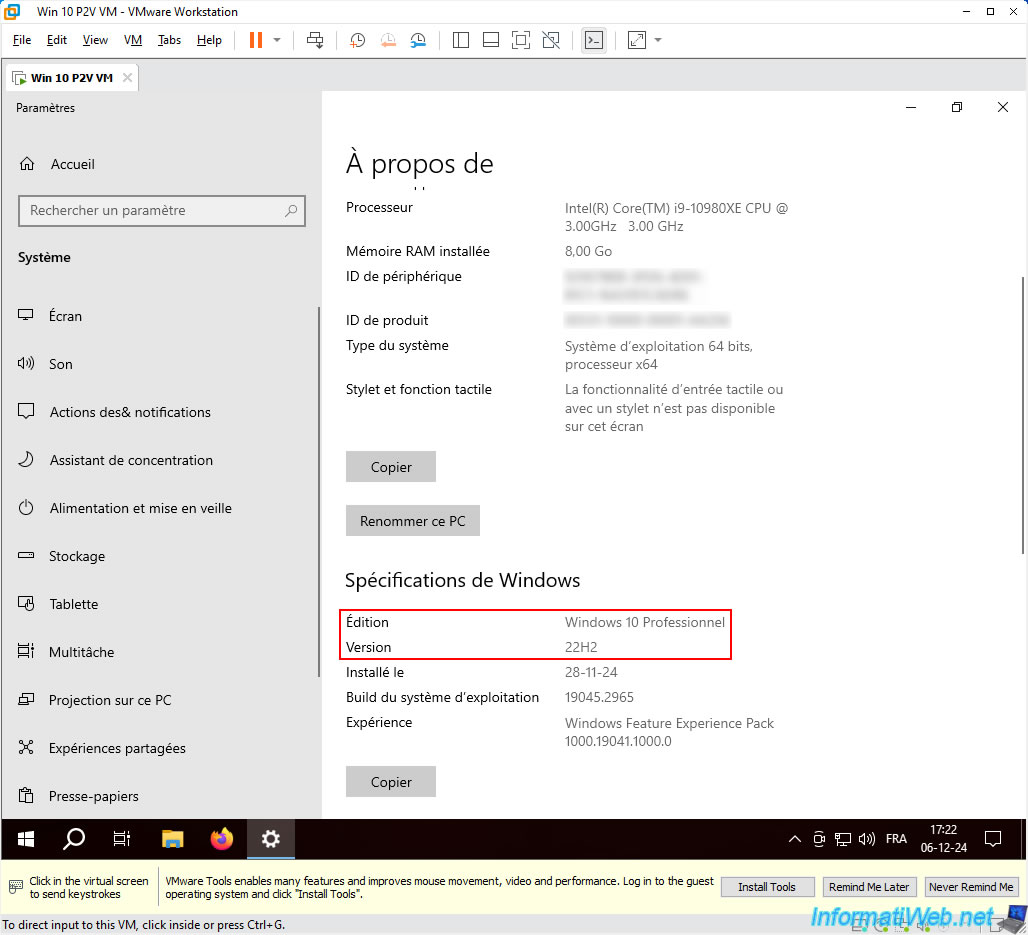
Obviously, it is still the same edition and version of Windows.
7. Uninstall old drivers related to the virtualized physical PC hardware copied into your VM on VMware Workstation Pro
To avoid future issues, we strongly recommend that you uninstall all old drivers related to your physical PC hardware previously backed up via Acronis that were copied to your VM running VMware Workstation Pro.
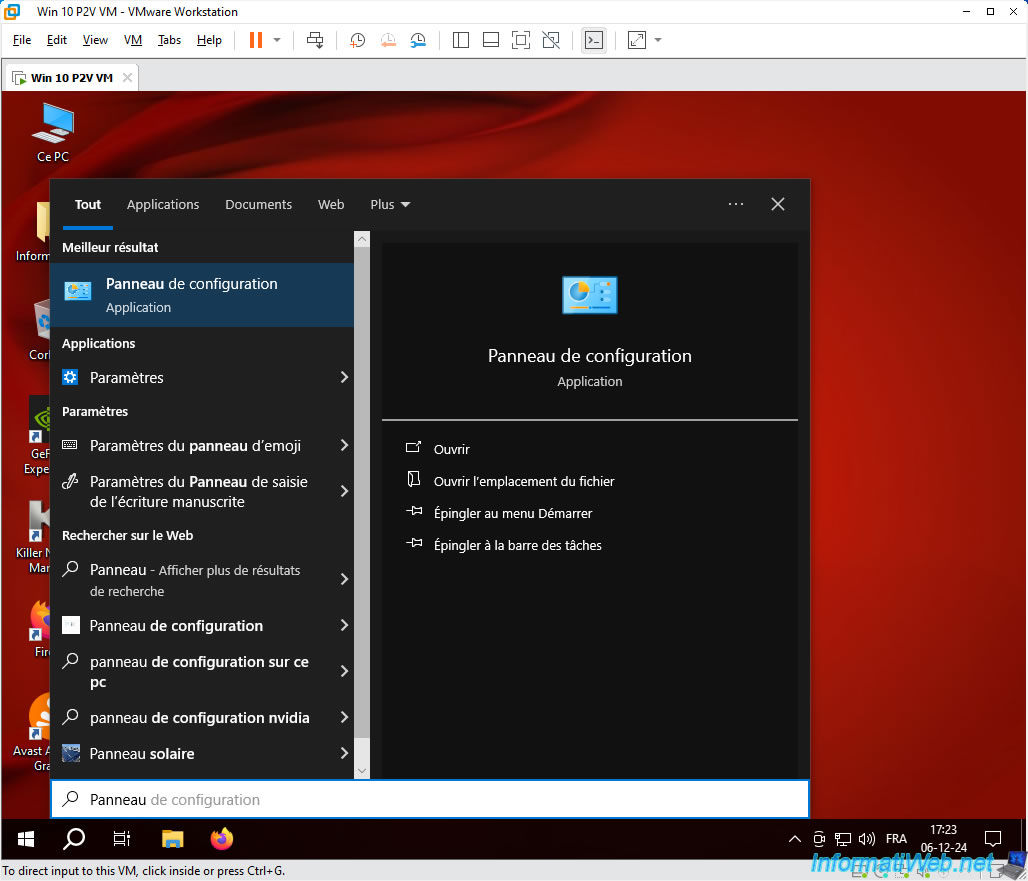
To do this, open the start menu, search for "Control Panel" and launch the Windows Control Panel.
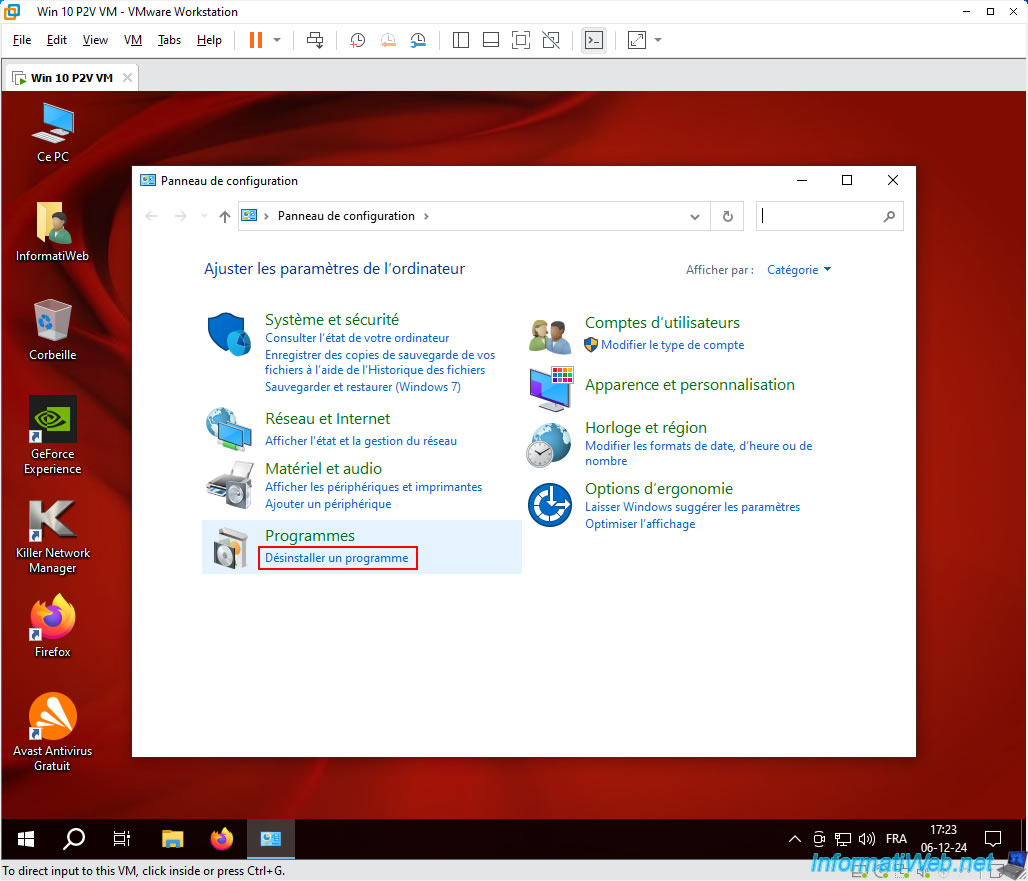
Click on the "Uninstall a program" link.
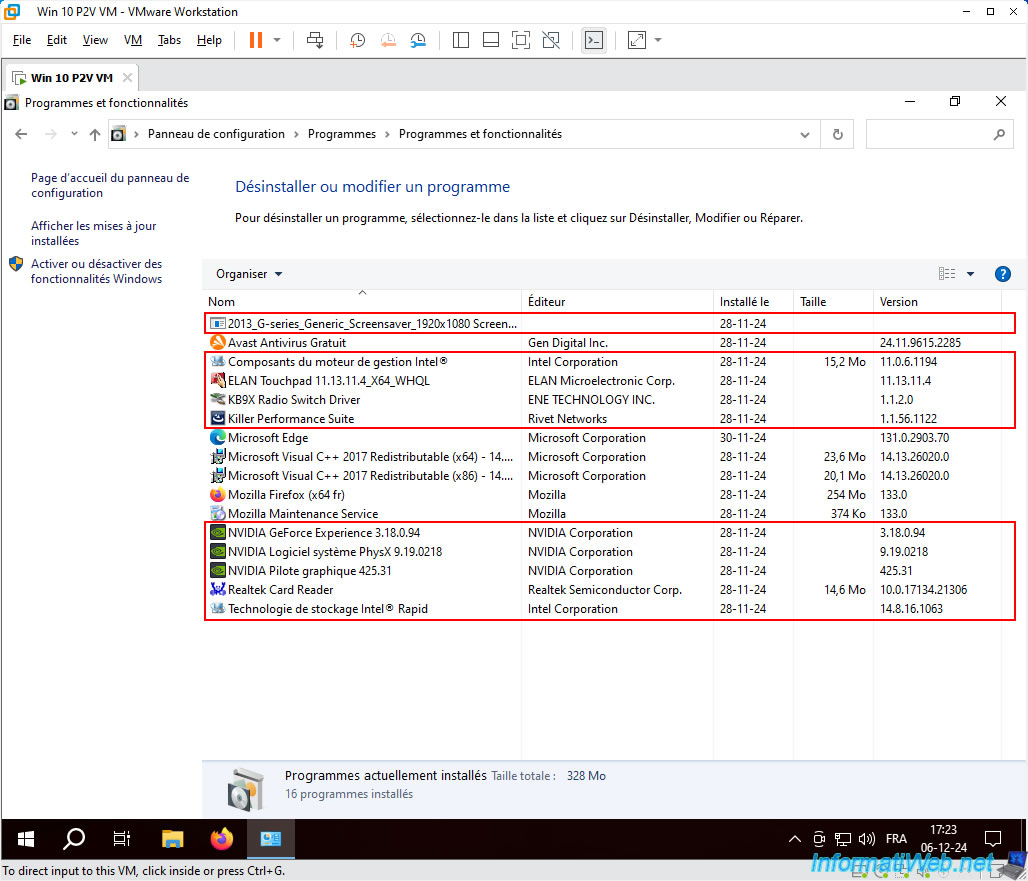
Uninstall the drivers related to the hardware of the physical PC you just virtualized.
These are notably created by: NVIDIA, Intel, Asus, Realtek, ...
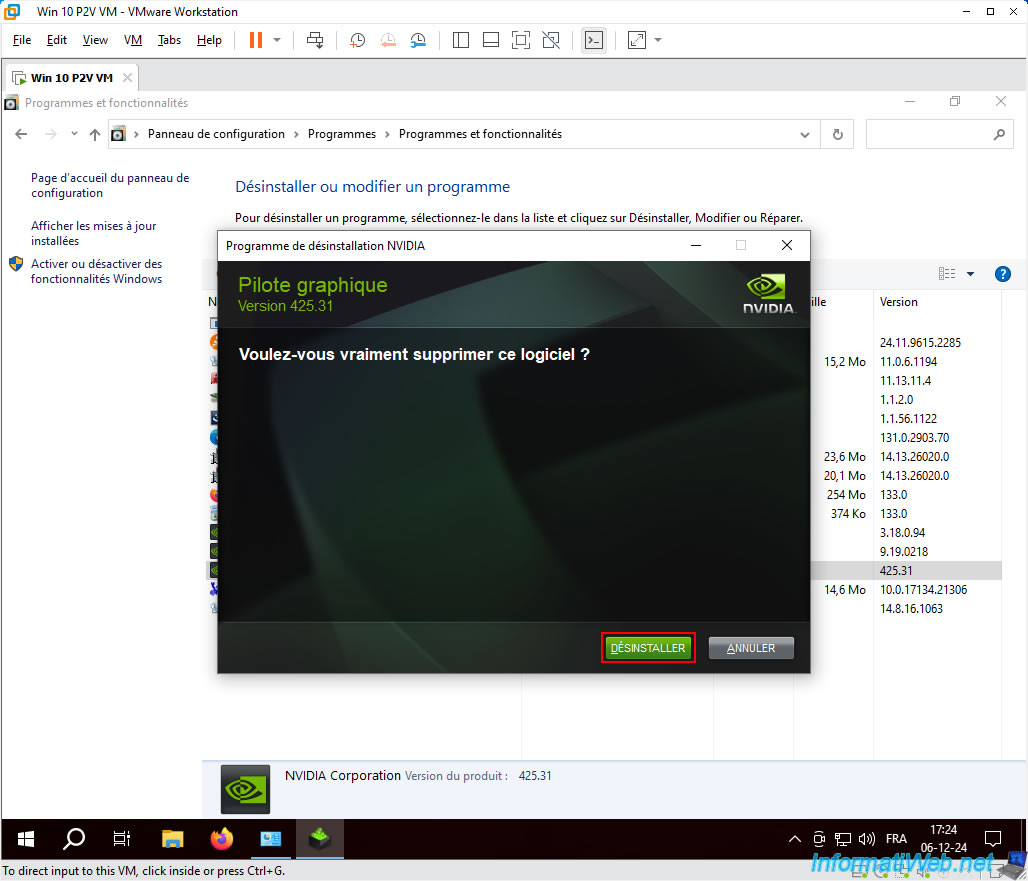
Uninstall each driver one by one.
That's it, the drivers have been uninstalled in your VM.
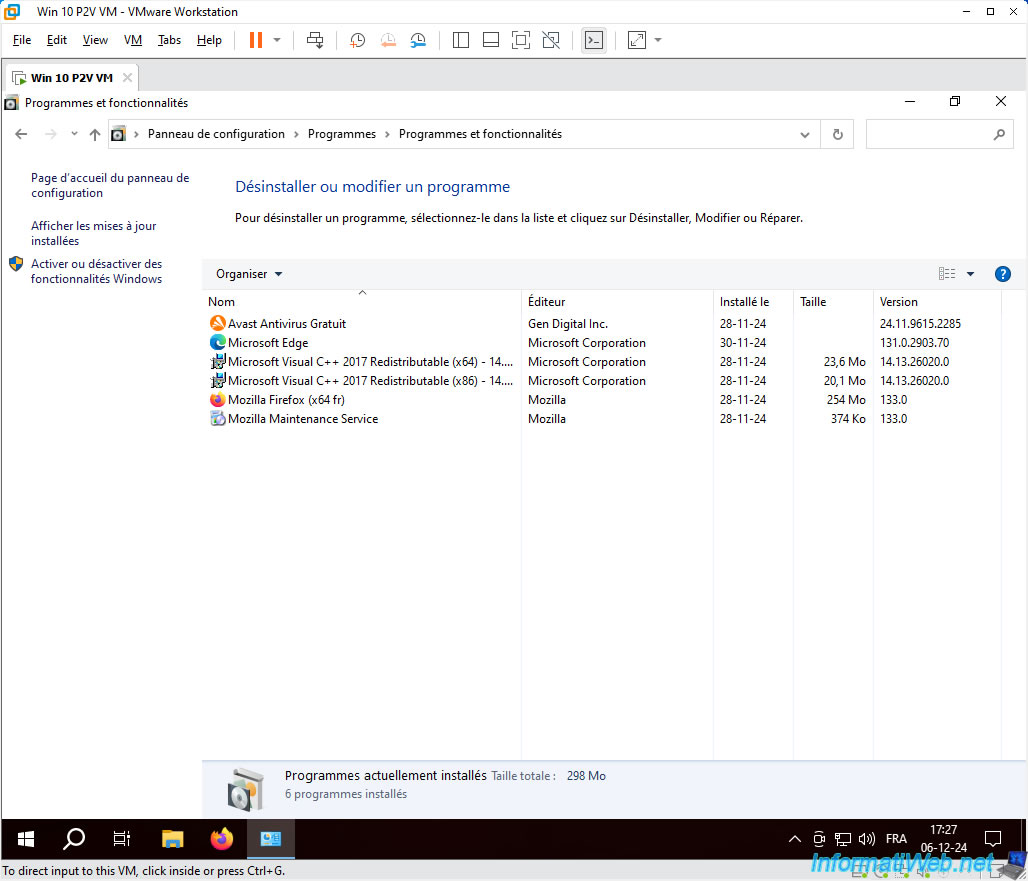
Now, restart your virtual machine to make sure that these drivers are no longer used by Windows in the background.
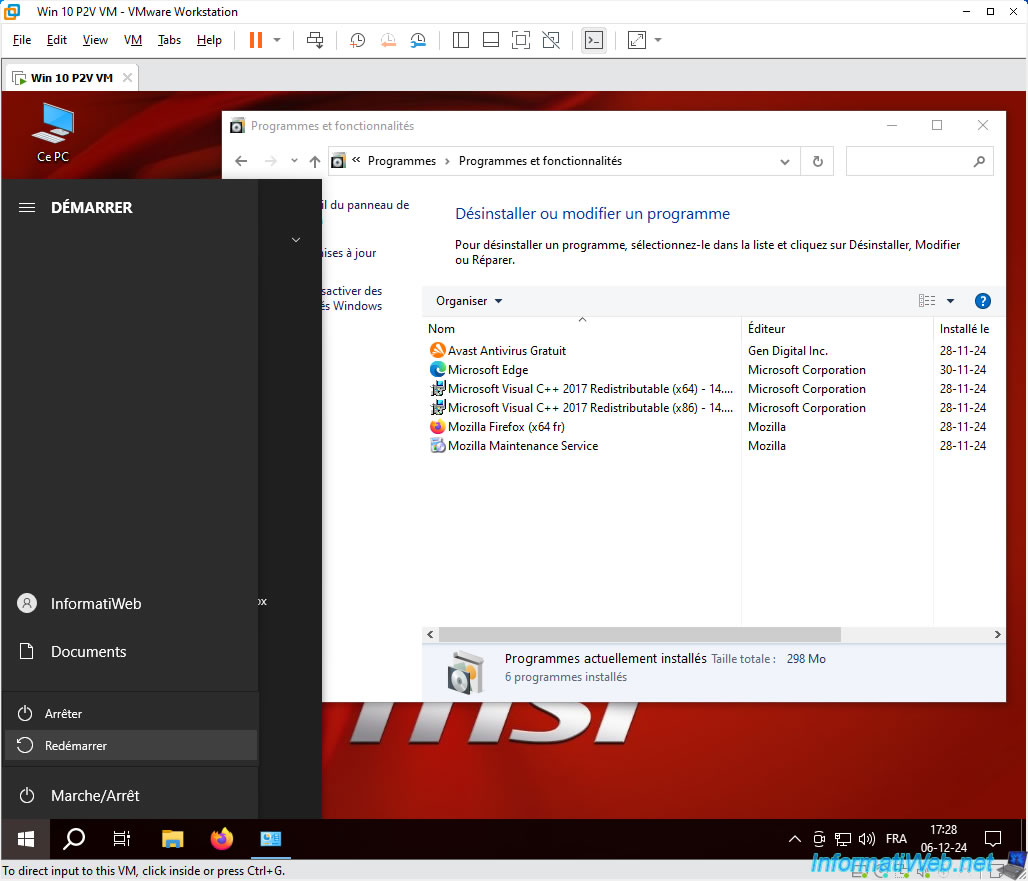
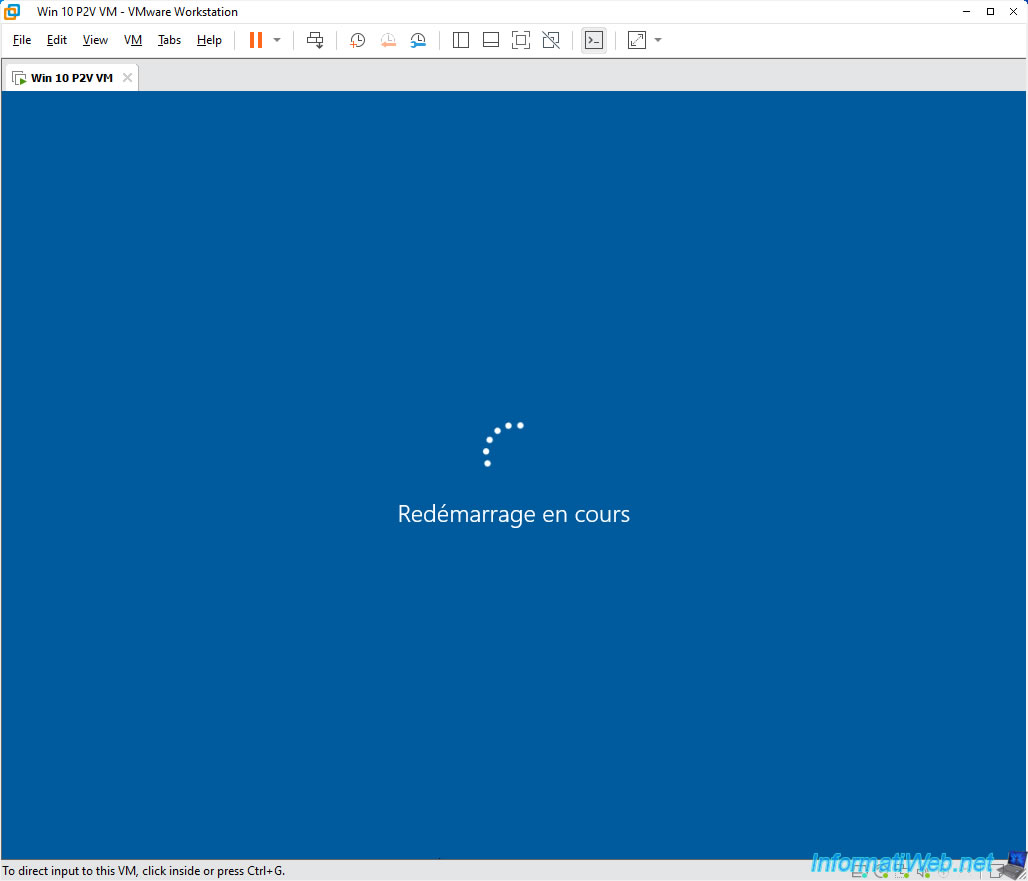
Windows restarts.
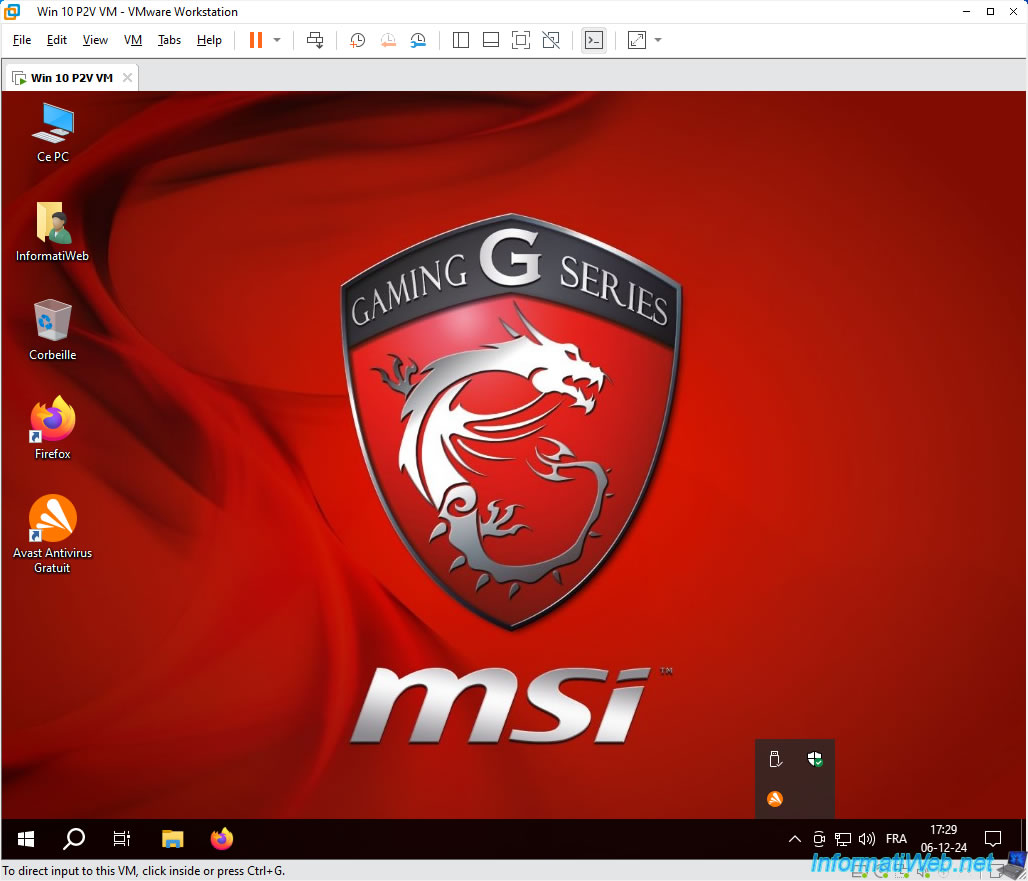
The icons for your old drivers have disappeared.
Share this tutorial
To see also
-
Backup 7/24/2025
Acronis True Image - Create differential backups
-
Backup 3/16/2026
Acronis True Image - Rescue Media - Partition a new disk
-
Backup 11/24/2025
Acronis True Image - Synchronize a folder between 2 PCs (locally)
-
Backup 5/4/2026
Acronis True Image - Universal Restore Media - Create and use media
No comment