Virtualize a physical PC to VMware Workstation Pro (P2V) using Acronis True Image (Cyber Protect Home Office) and Acronis Universal Restore
- Backup
- Acronis True Image, Acronis Universal Restore
- 15 September 2026 at 07:02 UTC
-

- 6/8
5. Apply Acronis Universal Restore in your virtual machine on VMware Workstation Pro
5.1. Insert the Acronis Universal Restore ISO into your VM's CD/DVD drive on VMware Workstation Pro
Now that you have extracted the VMware Tools drivers to a folder on your virtual hard drive, change the ISO in your VM's CD/DVD drive to use the Acronis Universal Restore ISO.
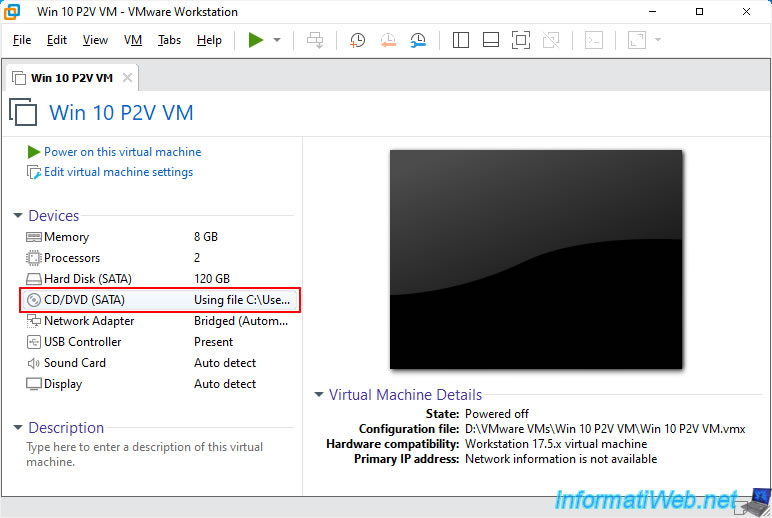
To do this, click on the "CD/DVD (SATA)" device of your VM.
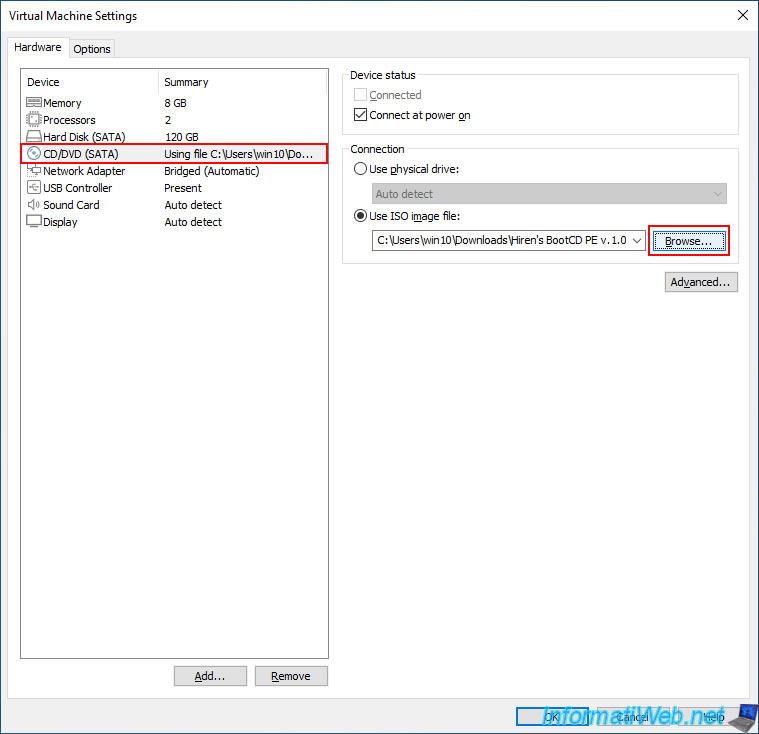
Click on the "Browse" button (on the right).
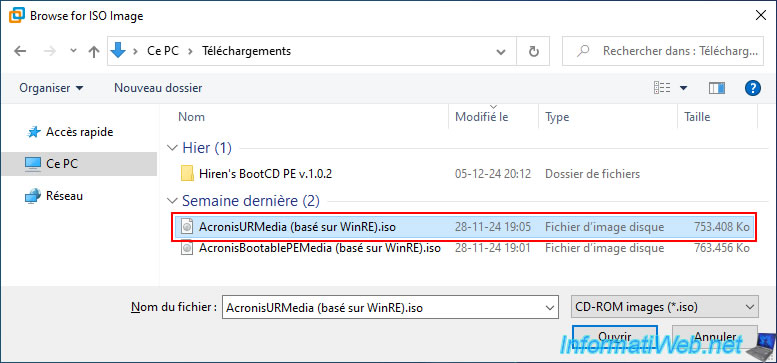
Select your Acronis bootable media containing the "Acronis Universal Restore" program.
In our case, it is the file "AcronisURMedia (based on WinRE).iso".
To create it, refer to our tutorial: Acronis True Image - Universal Restore Media - Create media (Win PE version based on Win RE).
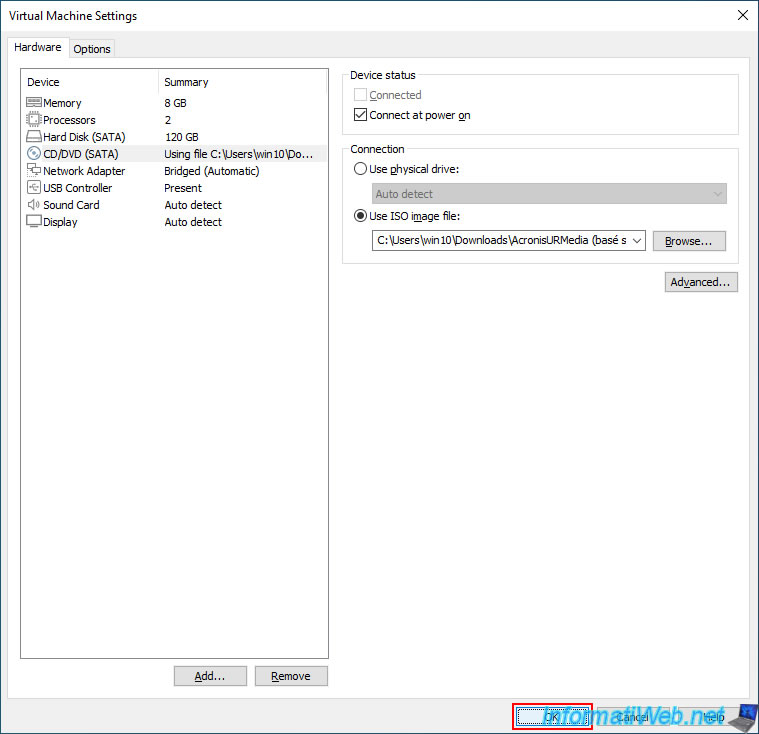
Once the Acronis Universal Restore ISO is selected, click OK.
5.2. Apply Acronis Universal Restore from your VM on VMware Workstation Pro
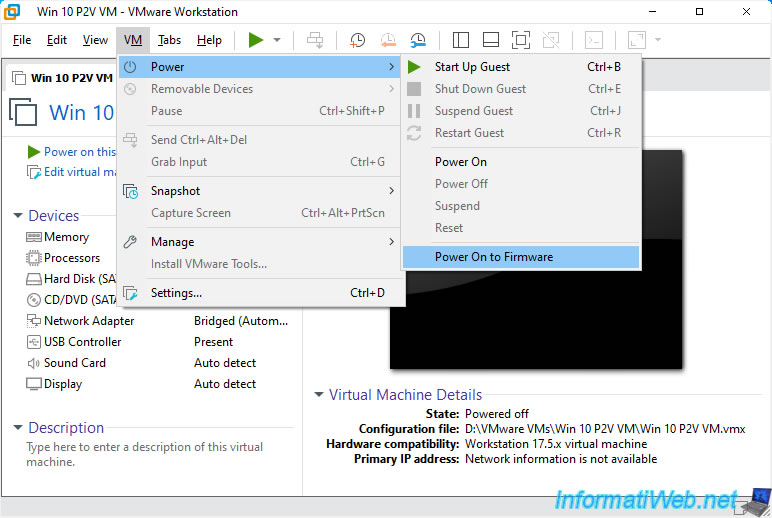
Boot your VM into its firmware (BIOS or UEFI firmware).
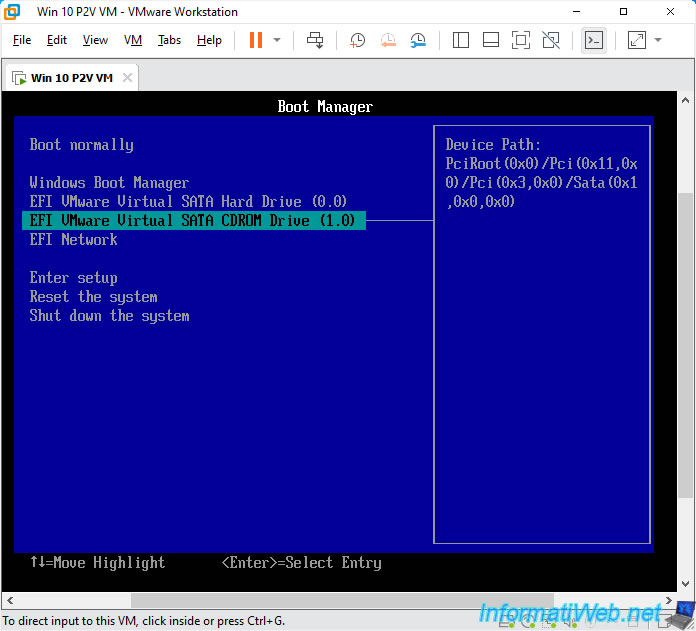
Select its CD/DVD drive (EFI ... CDROM Drive) and press Enter to boot from it.
Press "Enter" when you see the message "Press any key ..." appear.

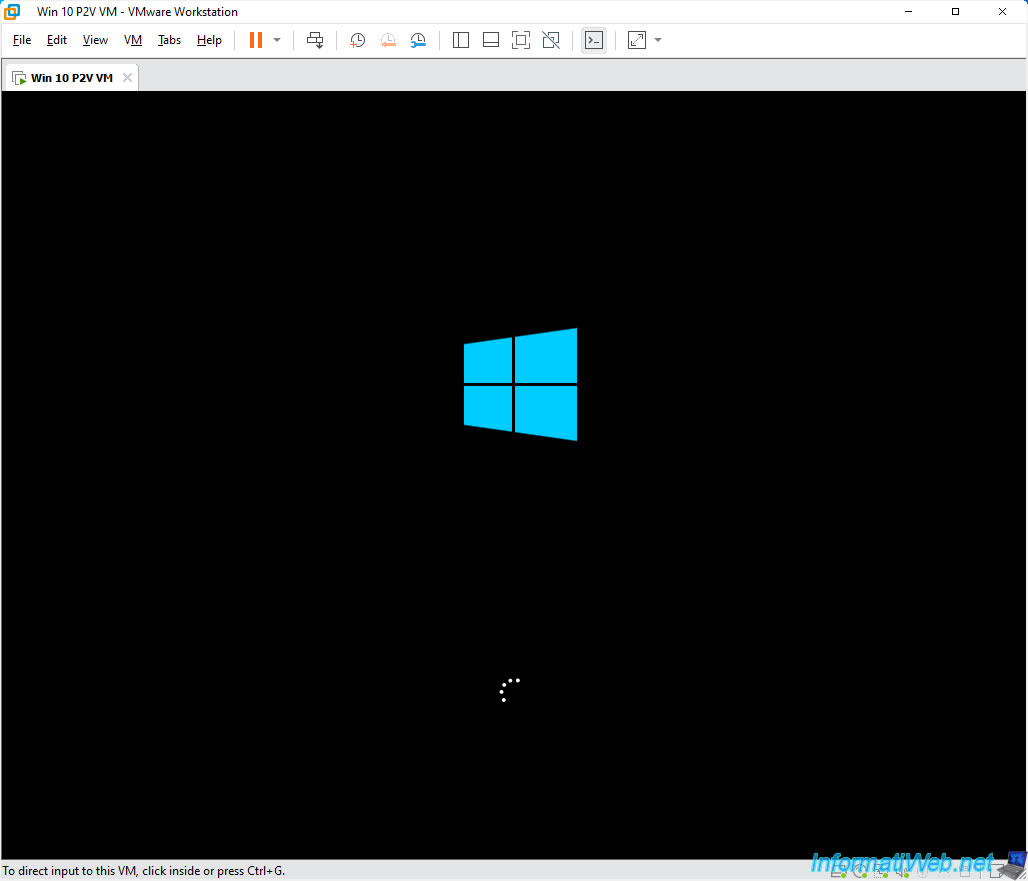
The Windows logo appears.
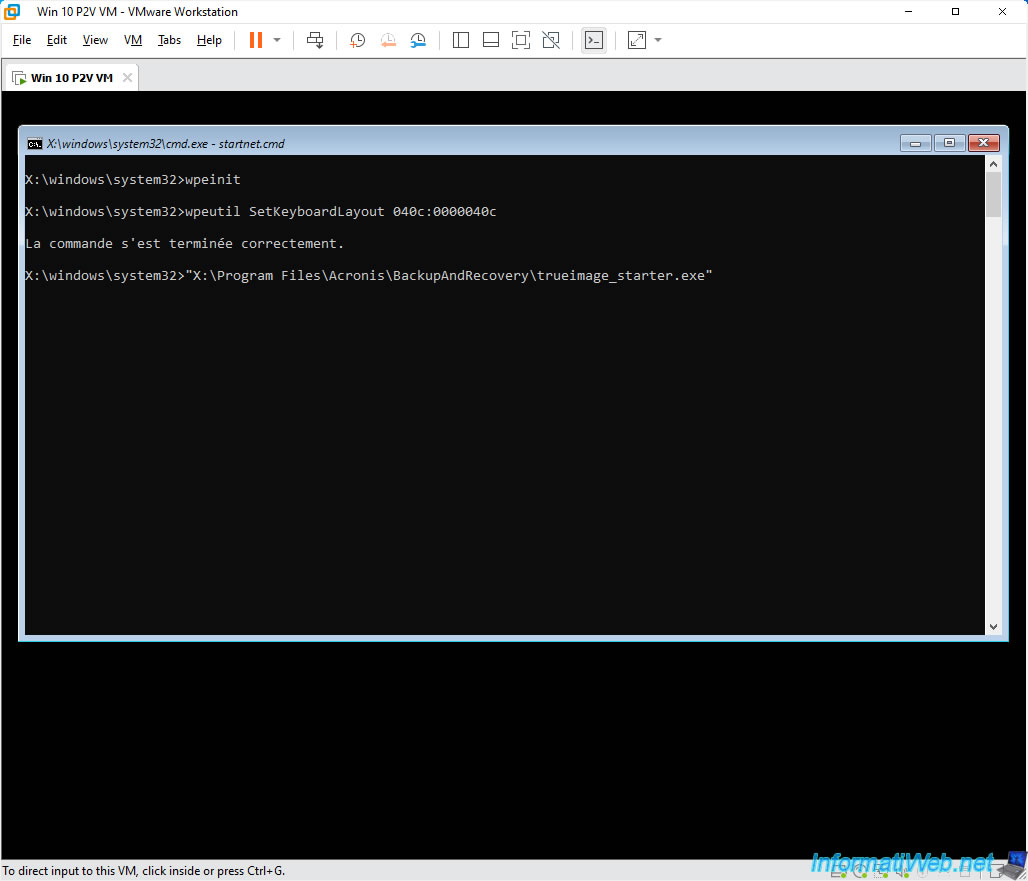
A command prompt with some commands appears.
Then, the Acronis program with the title "Apply Universal Restore" will appear.
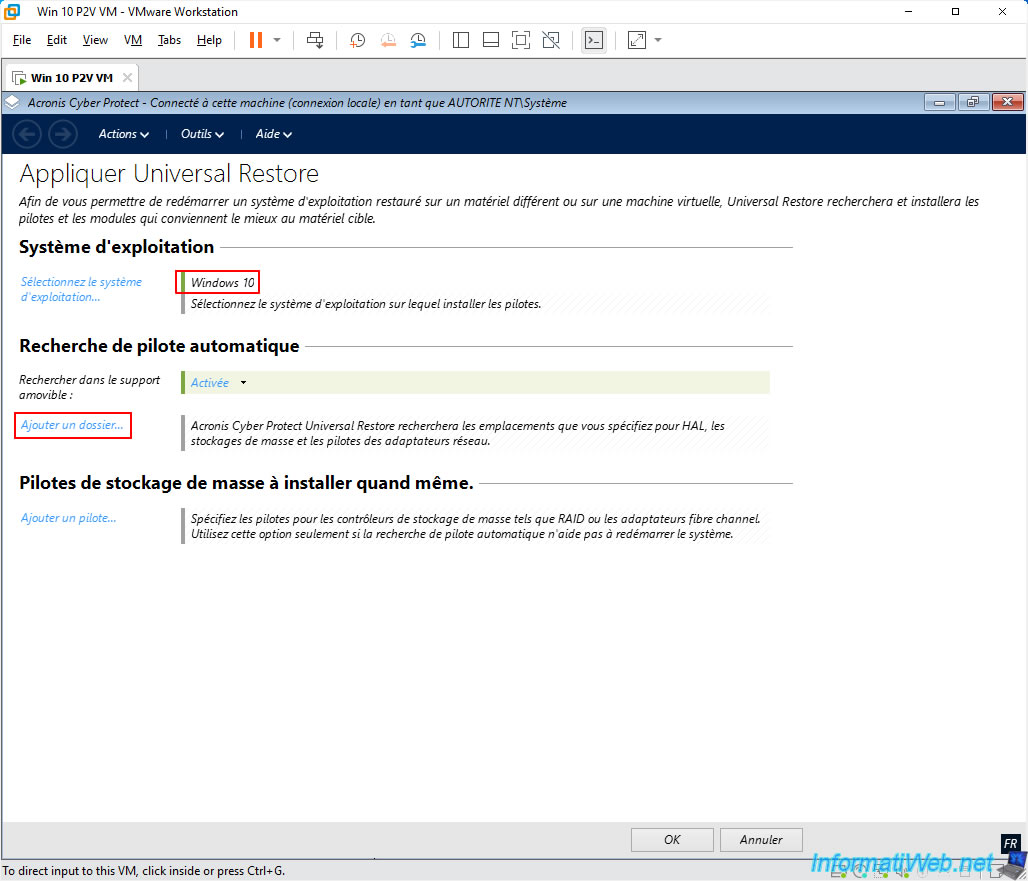
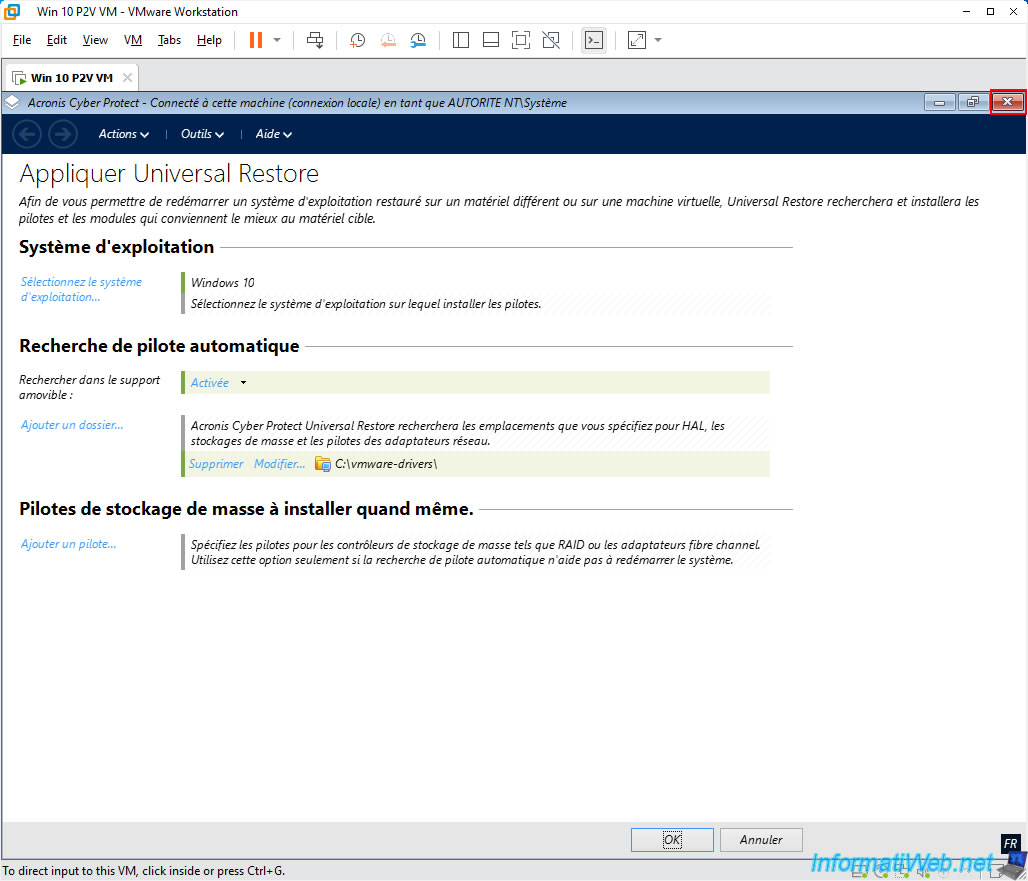
As you can see, Acronis Universal Restore will automatically detect the Windows installation (Windows 10 in our case) that you just restored on your virtual hard disk.
Click the "Add folder" link at the "Automatic driver search" step.
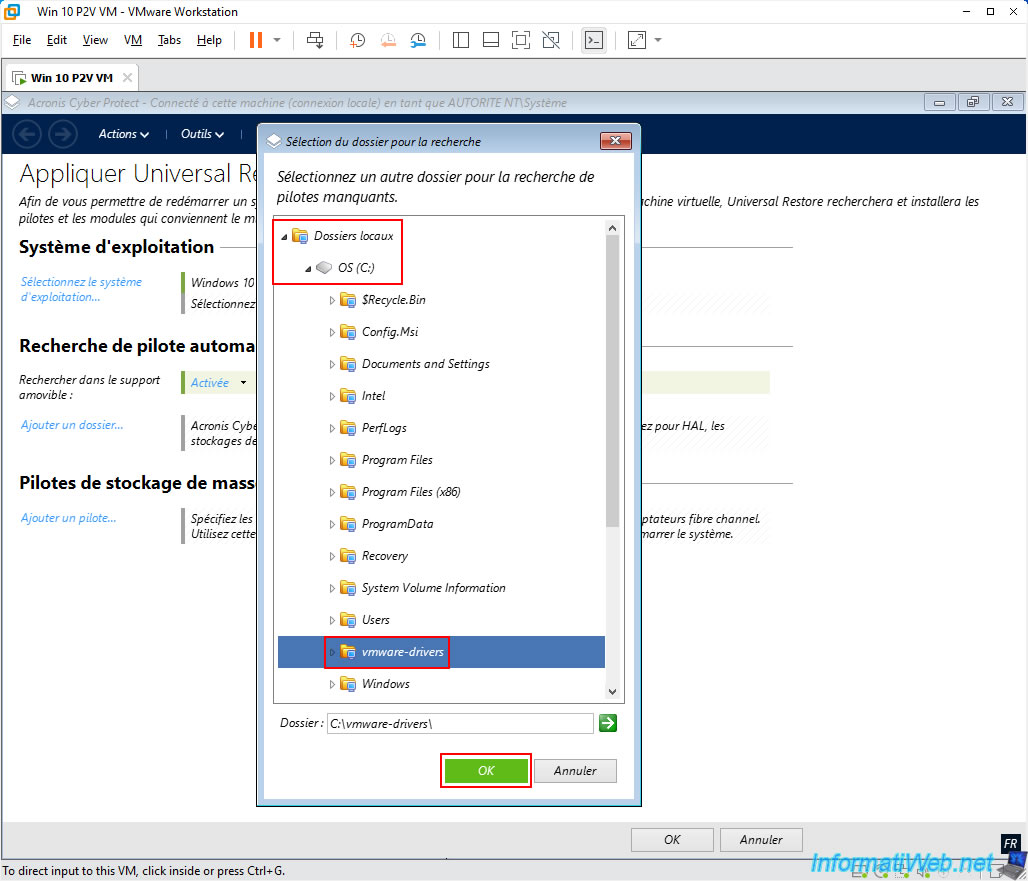
In the small window that appears, select the location "Local Folders -> OS (C:) -> vmware-drivers" and click OK.
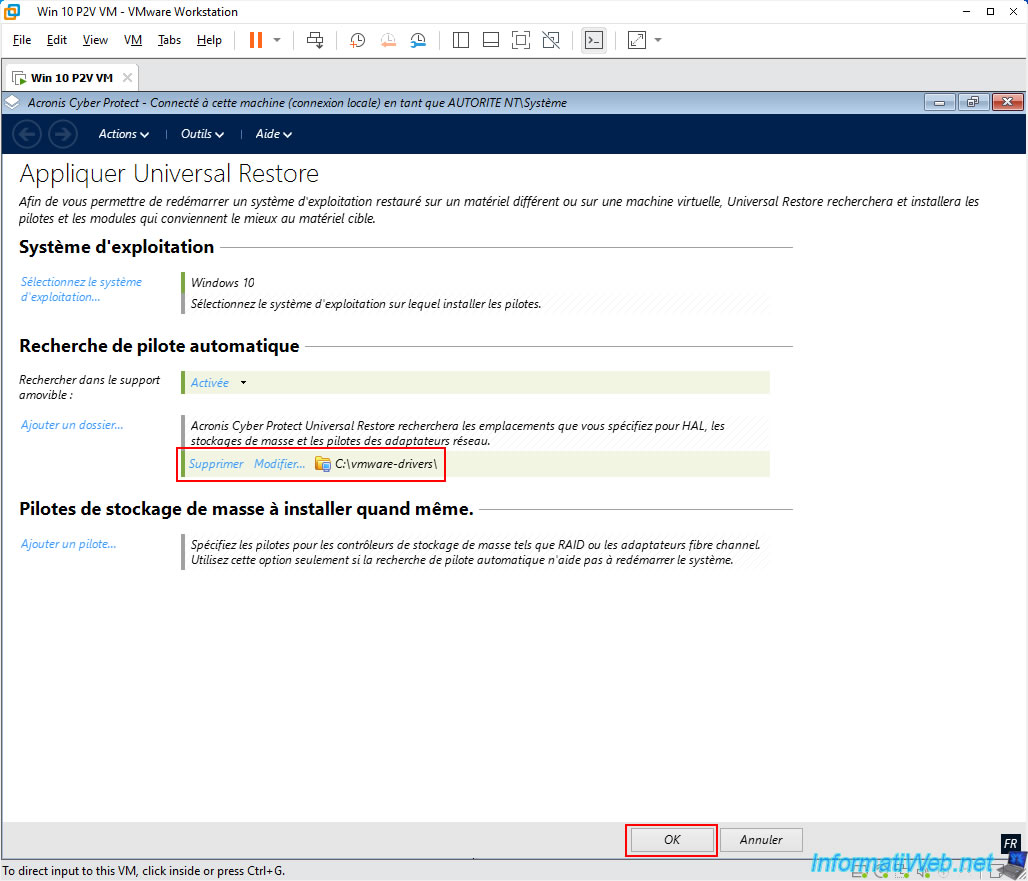
The selected "C:\vmware-drivers" folder will appear.
Click OK to launch the Universal Restore application on your Windows installation in your VM.
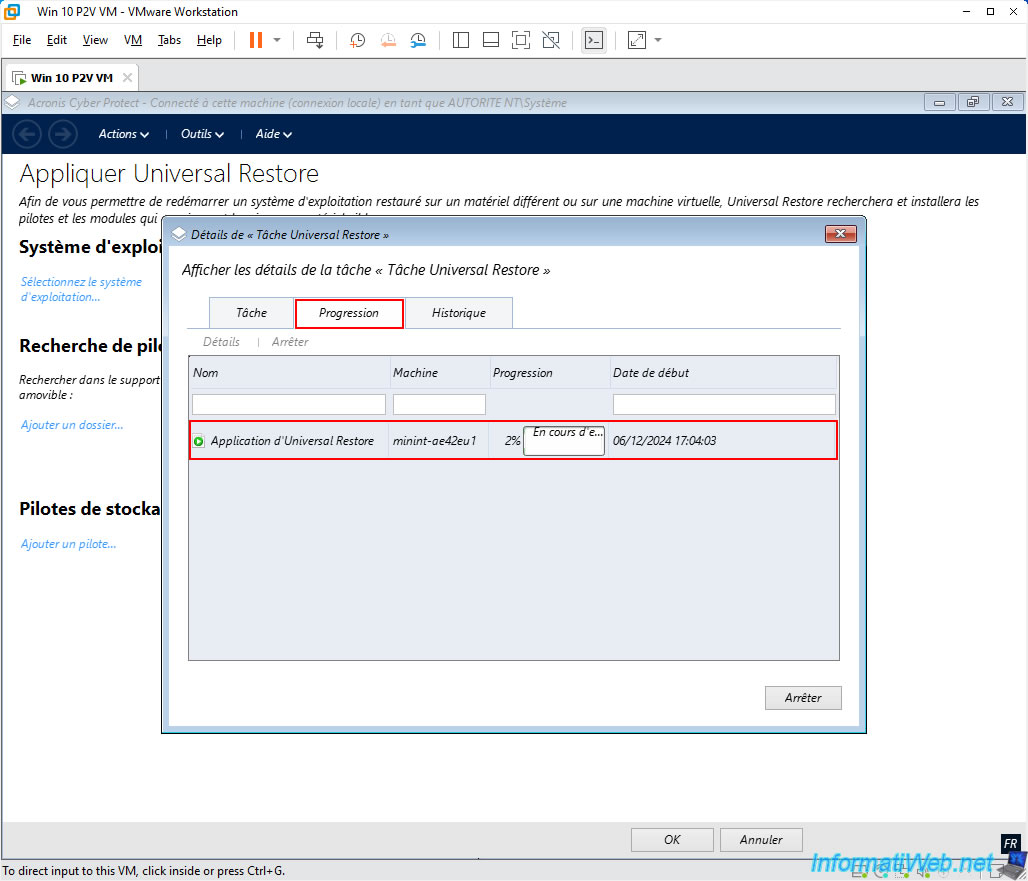
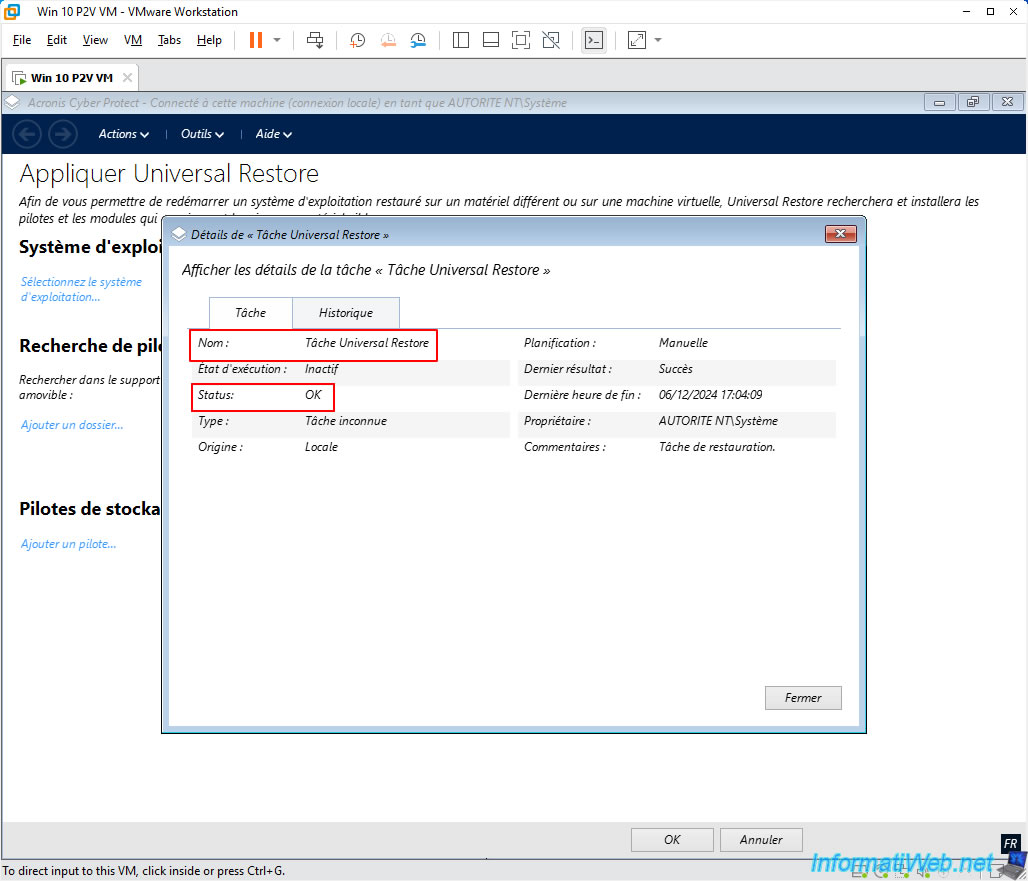
A window will appear regarding the "Universal Restore" task and you can see its progress in the "Progress" tab.
However, this is very fast.
Once this task is completed, the status will be OK.
Close this Acronis program by clicking on the cross at the top right of the window.
This will cause your virtual machine to restart automatically.
Share this tutorial
To see also
-

Backup 11/3/2025
Acronis True Image - Archive your files on Acronis Cloud
-

Backup 9/1/2025
Acronis True Image - Backing up your smartphone to your PC
-
Backup 6/1/2026
Acronis True Image - Test software risk-free with Try&Decide tool
-

Backup 5/18/2026
Acronis True Image - Universal Restore Media - Create media (Win PE version based on Win ADK)
No comment