- Backup
- Acronis True Image, Acronis Universal Restore
- 07 September 2026 at 13:50 UTC
-

- 1/8
With Acronis Cyber Protect Home Office (True Image), you can back up and restore your computer from this Acronis program installed under Windows, as well as from a previously created Acronis rescue media.
But, you can also back up a computer and restore the backup on another computer (with different hardware) thanks to Acronis Universal Restore.
Which also means that you have the possibility of doing P2V thanks to Acronis.
Indeed, by combining Acronis Cyber Protect Home Office (True Image) and Acronis Universal Restore, you can virtualize a physical PC into a virtual machine on VirtualBox (for example).
Important : although this works without problem, Acronis does not indicate anywhere that this is possible using the "Acronis Cyber Protect Home Office (True Image)" program which is intended for individuals.
- Physical PC to virtualize
- Configure the BIOS / UEFI firmware of the PC to be virtualized
- Backup physical PC via Acronis Cyber Protect Home Office (True Image)
- Create a VM on VirtualBox (where to restore your Acronis backup)
- Connect your external hard drive to your virtual machine (VM)
- Restore physical PC disk to your VirtualBox VM via Acronis Cyber Protect Home Office (True Image)
- Apply Acronis Universal Restore in your VirtualBox virtual machine
- Starting your VirtualBox virtual machine after applying Acronis Universal Restore
- Uninstall old drivers related to the virtualized physical PC hardware copied into your VirtualBox VM
- Install VirtualBox drivers in your virtual machine
- VirtualBox virtual machine working and corresponding to the virtualized physical PC
- Bonus: problem encountered if you try to restore the entire disk instead of its partitions
1. Physical PC to virtualize
To follow this tutorial, you will need 2 Acronis rescue media (which you can generate for free from Acronis Cyber Protect Home Office (True Image)).
For this, refer to our tutorials:
- for the rescue media "Acronis Cyber Protect Home Office (True Image)" : Acronis True Image - Rescue Media - Create media (Win PE version).
- for the bootable media "Acronis Universal Restore" : Acronis True Image - Universal Restore Media - Create media (Win PE version based on Win RE).
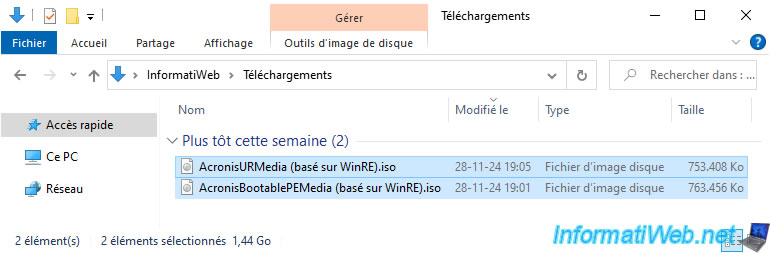
In our case, we have therefore generated 2 ISO files:
- AcronisURMedia (WinRE-based).iso: bootable media with "Acronis Universal Restore".
- AcronisBootablePEMedia (WinRE-based).iso: rescue media with "Acronis Cyber Protect Home Office (True Image)".
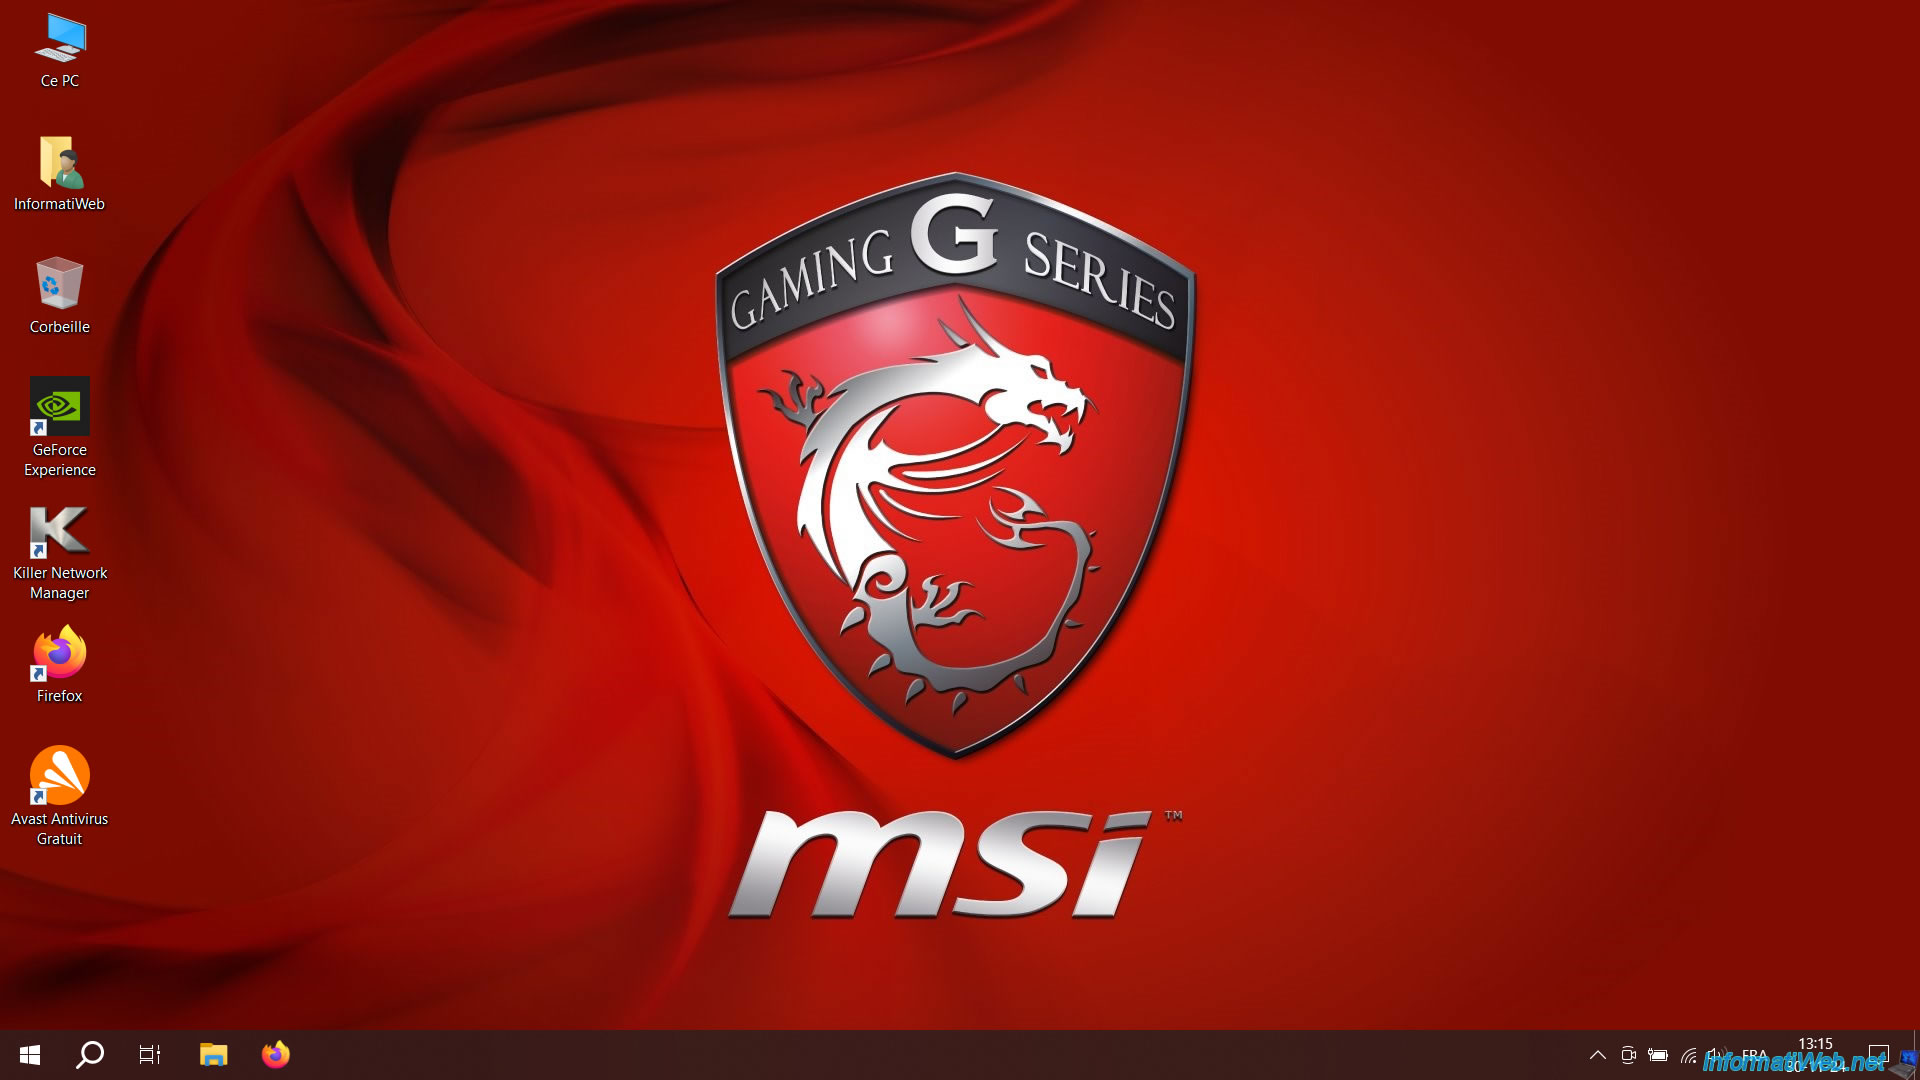
For this tutorial, we reused our MSI gaming laptop.
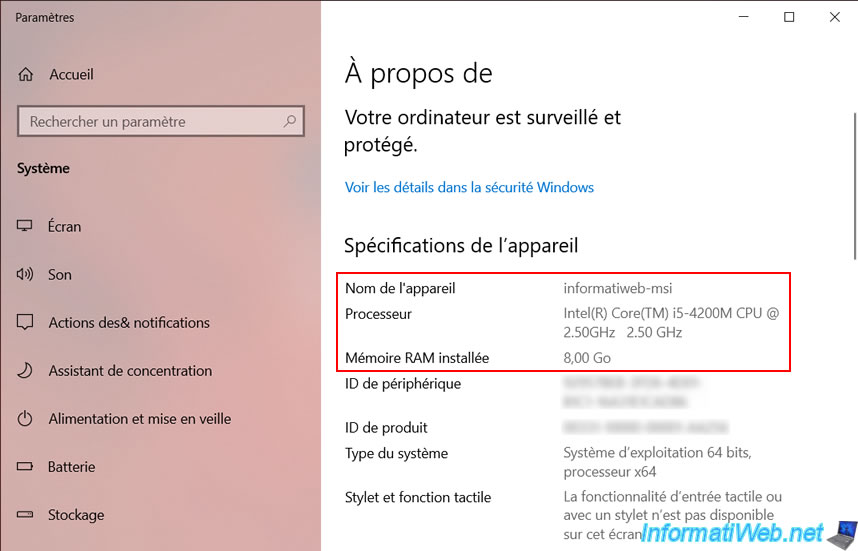
As you can see, this MSI laptop:
- is named: informatiweb-msi.
- has a processor: Intel i5-4200M.
- has 8 GB of RAM.
Note: more specifically, this is the "MSI GE60 2OE" laptop.
Currently, Windows 10 Pro v22H2 is installed on our laptop.
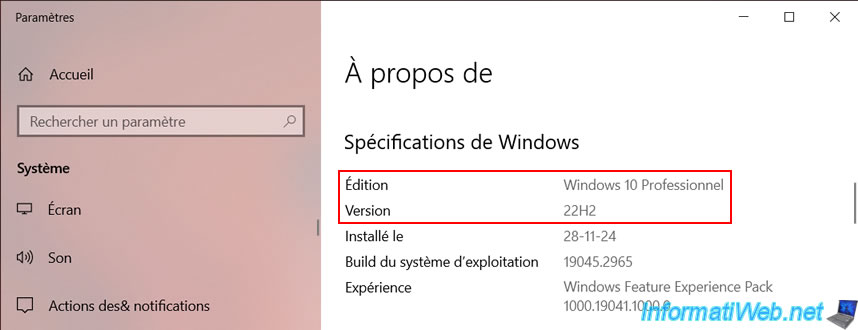
To backup the source computer, you will need the rescue media with "Acronis Cyber Protect Home Office (True Image)".
Which corresponds to our file "AcronisBootablePEMedia (based on WinRE).iso".
Also connect an external hard drive to a USB 3.0 port (preferably) of your computer where you can store the backup file that will be created from your Acronis rescue media.
In our case, we used a small external hard drive "WD My Passport" of 2 TB that supports USB 3.0. This allows to benefit from better performances and therefore to backup the computer more quickly.
Warning : if you use an Acronis rescue media generated from Windows 7, USB 3.0 ports will not be supported.
You will therefore have to connect your external hard drive to a USB 2.0 port of your computer.
If you created Acronis Rescue Media from Windows 8, 8.1, 10 or 11, then USB 3.0 will be supported natively.
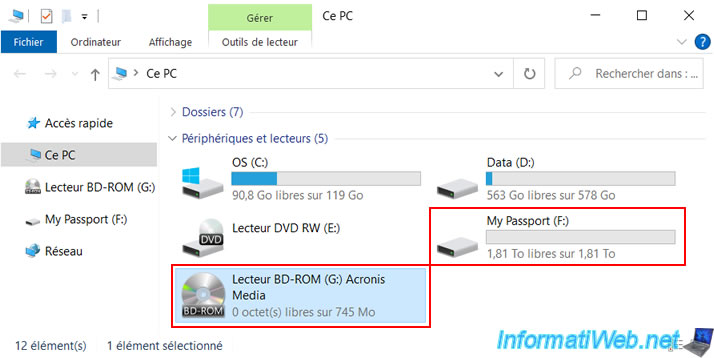
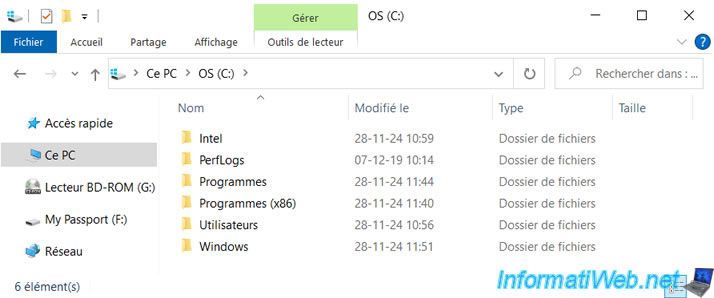
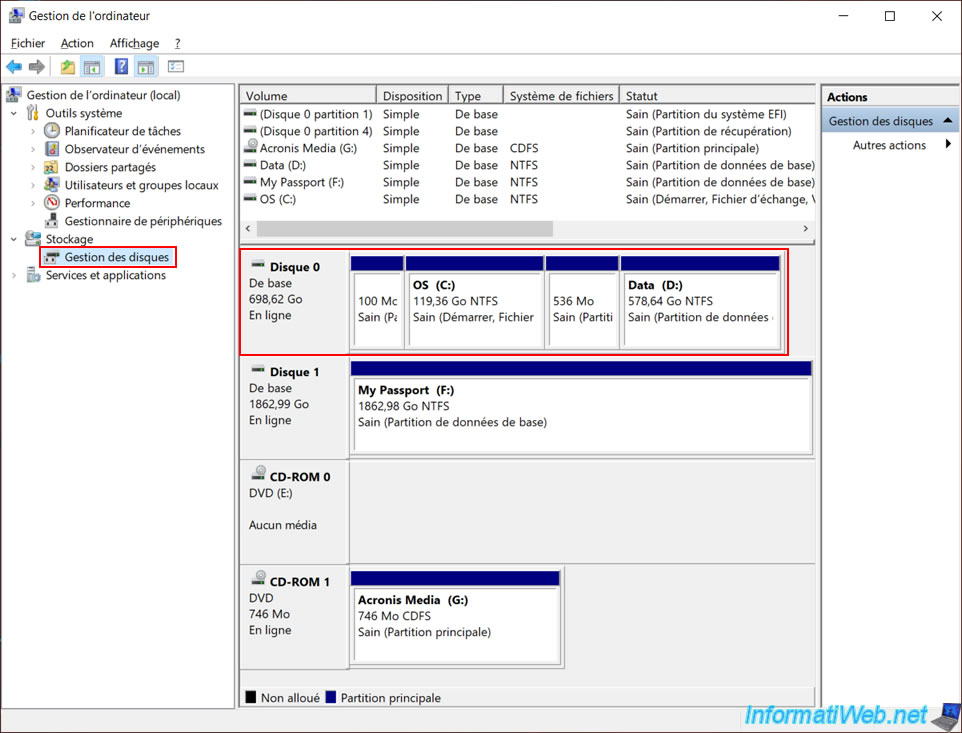
Here is the content of the "OS (C:)" partition that will be backed up.
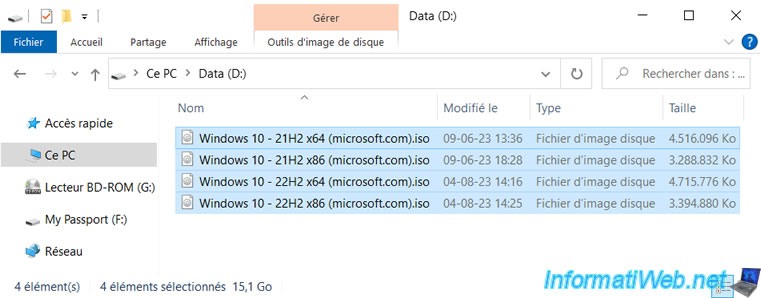
Here is the content of the "Data (D:)" partition which will also be backed up.
As you can see, in our case, disk 0 of our MSI laptop is composed of 4 partitions:
- the 100 MB EFI system partition: necessary to boot Windows 10 installed in UEFI mode in our case.
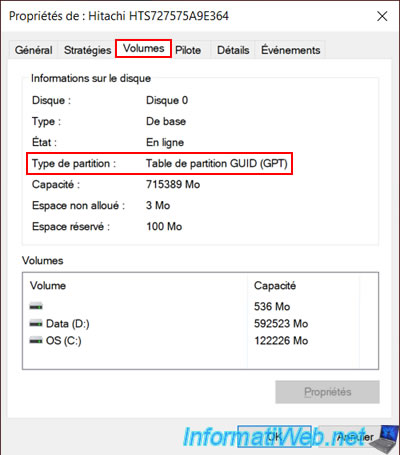
Which also indicates that the partition table used on this disk is of type "GPT". You will need to know this information later (when you want to correctly restore your backup in your VM).
This partition is hidden (invisible in the file explorer), because no letter is assigned to it. - a 119.36 GB "OS (C:)" partition: this is the partition where Windows and programs are installed.
- a recovery partition (536 MB) in our case: which contains the Windows 10 recovery environment.
In other words, this is the "WinRE" partition (Windows Recovery Environment). - a "Data (D:)" partition: which is a simple partition with data that we also want to save.
For the rest, these are respectively:
- our external hard drive "WD My Passport" where we will store our backup created via Acronis.
- the CD/DVD drive of our MSI laptop.
- the physical CD/DVD drive "Zalman ZM-VE300" which allows to emulate a CD/DVD drive with an ISO file thanks to a physical case.
Before backing up your physical PC disk, right-click "Properties" on that disk and go to the "Volumes" tab.
For the type of partition you will see, there are 2 possibilities:
- GUID Partition Table (GPT): GPT.
- Master Boot Sector: MBR.
Write this information down somewhere, as you will need it when you try to restore your backup into the VM.
2. Configure the BIOS / UEFI firmware of the PC to be virtualized
To back up your computer, you will need to boot it from your Acronis rescue media.
So you need to configure the BIOS of your laptop or your computer's motherboard so that your computer boots first from your CD/DVD drive.
To do this, refer to our tutorial: Change the BIOS boot priority.
In our case, we configured the BIOS of our MSI laptop to boot primarily from the "USB CD/DVD..." device.
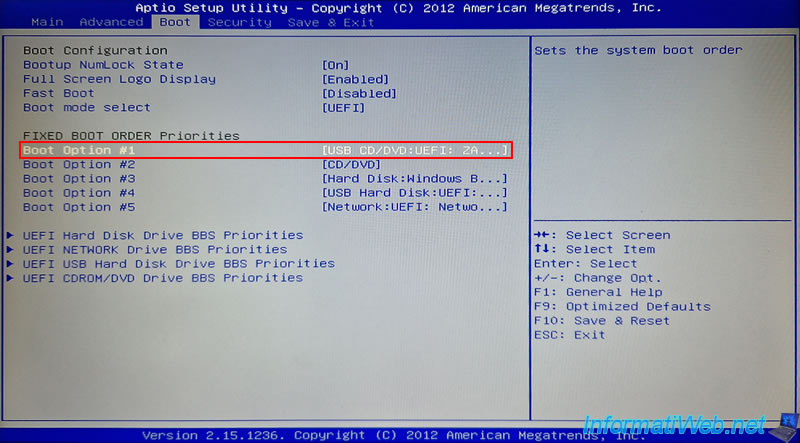
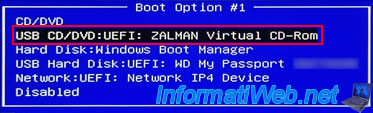
Indeed, we use our CD/DVD drive connected via USB.
Hence the name "USB CD/DVD:UEFI: ZALMAN Virtual CD-Rom" visible in our case.
Otherwise, in the case of our laptop's CD/DVD drive, we would have simply selected the "CD/DVD" option.
Then, save the changes made in this BIOS / UEFI firmware.
In our case, by going to the "Save & Exit" menu, then using the "Save Changes and Reset" option.
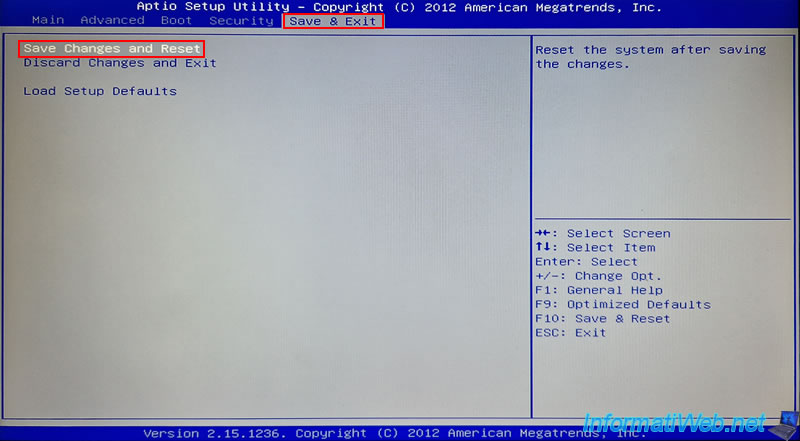
Confirm saving these changes.

3. Backup physical PC via Acronis Cyber Protect Home Office (True Image)
Insert your Acronis rescue media containing the "Acronis Cyber Protect Home Office (True Image)" program and press Enter when the message "Press any key to boot from CD or DVD" appears when your computer starts.

A command prompt (black window) will appear, then after a few seconds, you will see the program "Acronis Cyber Protect Home Office (True Image)" appear.
Click on the "My Disks" link of the "Backup" option.
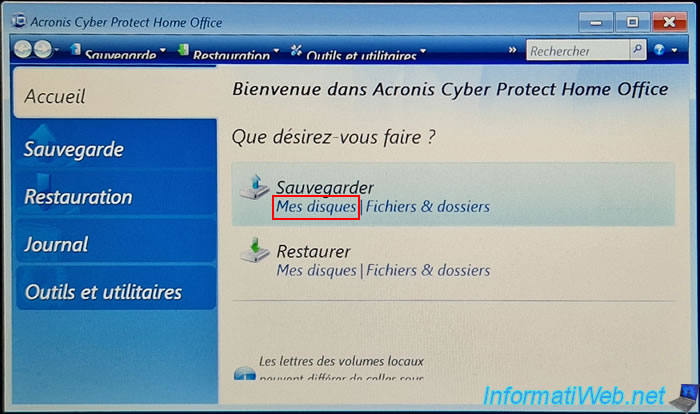
By default, the backup wizard will only select partitions related to Windows (so the "C" partition where Windows is located, as well as the 2 system partitions "EFI System Partition" and "Recovery Partition" (= Windows RE)).
In our case, we have chosen to backup the entire disk of our computer (which includes the "C" partition where Windows is located, its 2 hidden system partitions and our data partition "Data (D:)").
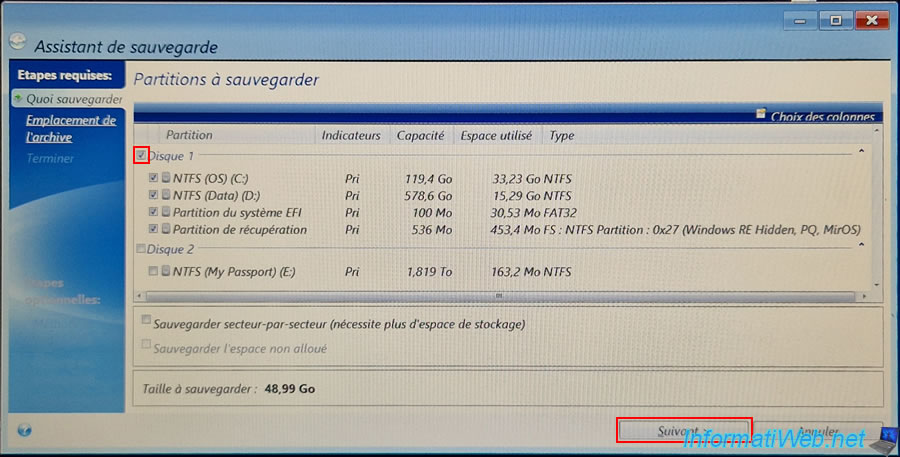
Choose "Create a new backup archive" and click "Browse" to choose the location where your ".tibx" backup file should be stored.
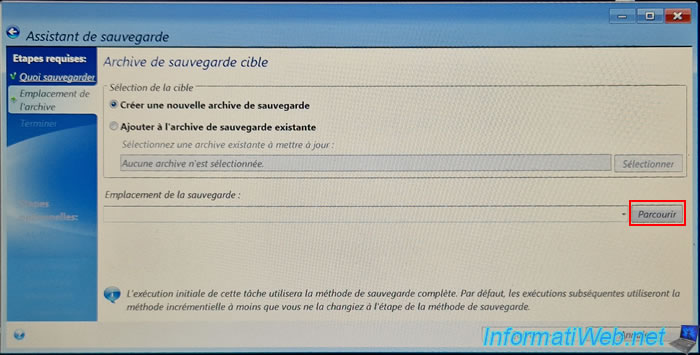
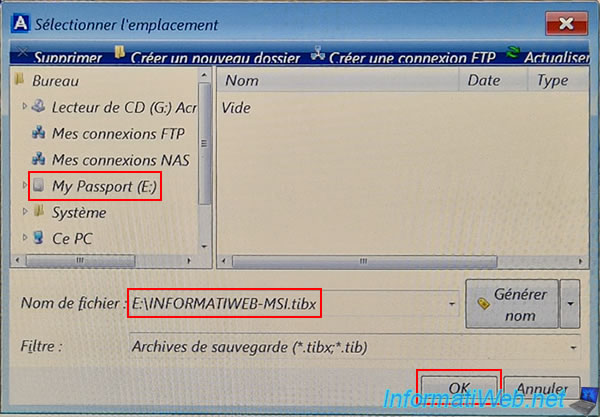
In the "Select Location" window that appears:
- select your external hard drive on the left.
In our case: My Passport (E:). - specify a file name with the extension ".tibx" (used for disk backups via Acronis).
In our case: INFORMATIWEB-MSI.tibx. - click OK.
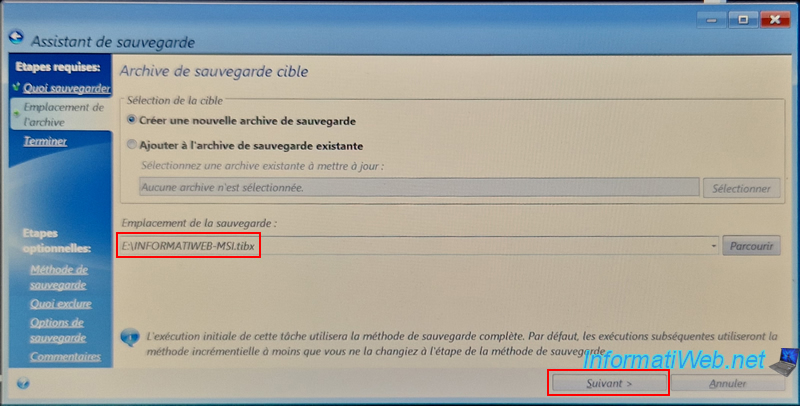
The path of the backup file that will be created appears.
Click "Next".
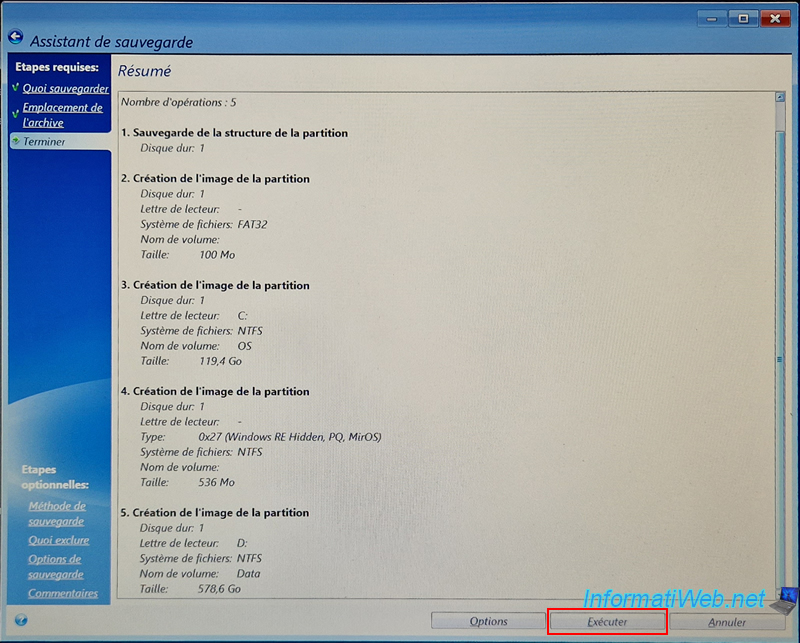
A summary of the backup operations that will be performed appears.
Click on "Run".
The "Preparing data" message will appear.
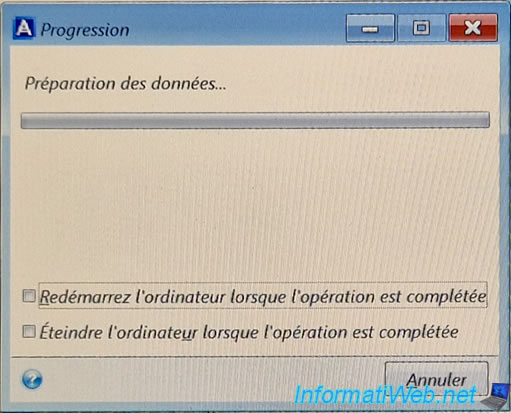
Please wait while your physical computer is backed up to your external hard drive.
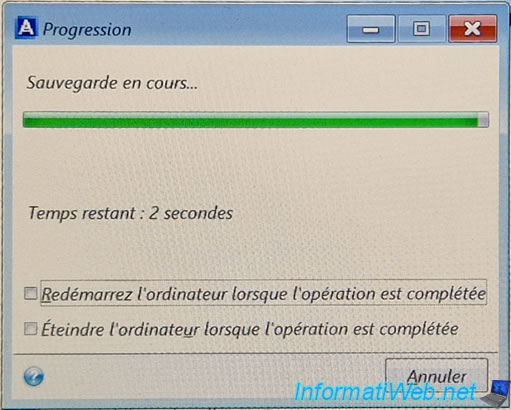
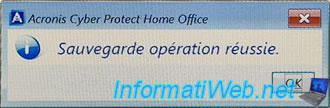
Once the backup is complete, the message "Backup operation successful" will appear.
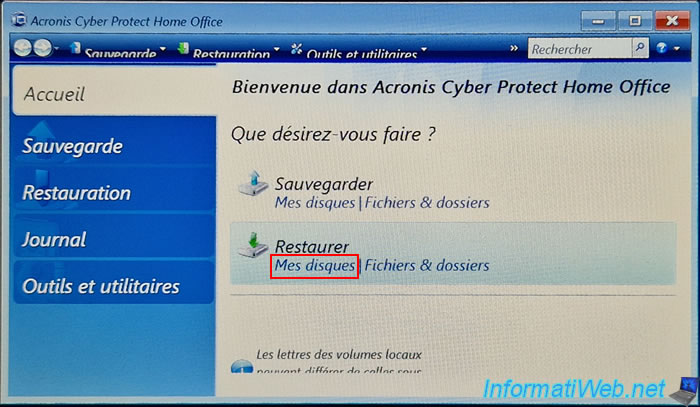
If you want to see the file that was created, click on the "My Disks" link in the "Restore" option.
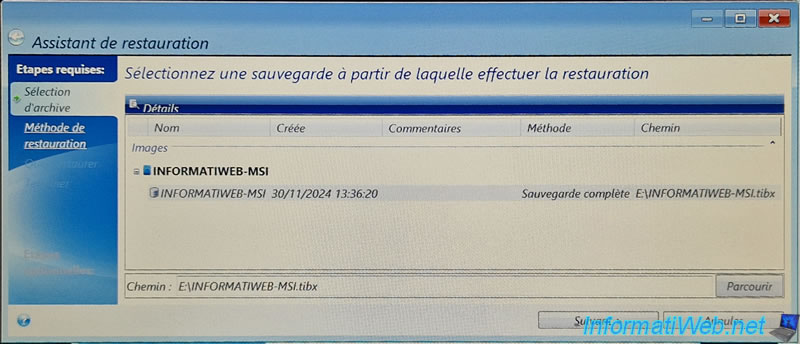
As expected, Acronis Cyber Protect Home Office (True Image) detected the full backup of our laptop "INFORMATIWEB-MSI".
Restart your computer and open Windows file explorer.
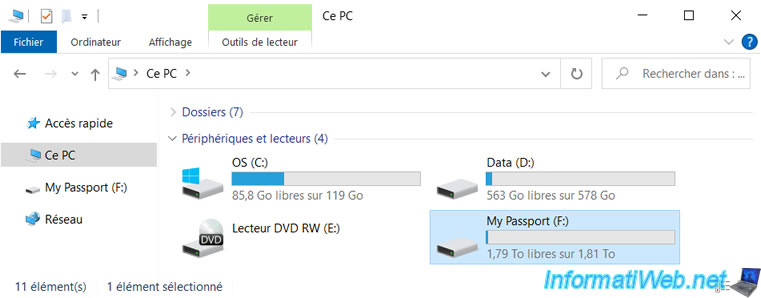
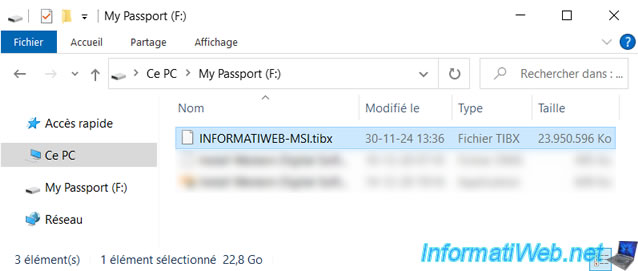
As expected, you will find your new backup file in TIBX format on your external hard drive.
Share this tutorial
To see also
-
Backup 8/10/2026
Acronis True Image - Enable recovery option
-
Backup 3/9/2026
Acronis True Image - Rescue Media - Enable recovery option
-
Backup 6/1/2026
Acronis True Image - Test software risk-free with Try&Decide tool
-
Backup 5/11/2026
Acronis True Image - Universal Restore Media - Create media (Win PE version based on Win RE)
You must be logged in to post a comment