- Backup
- Acronis True Image
- 01 June 2026 at 16:05 UTC
-

- 1/2
With the Acronis Cyber Protect Home Office (True Image) "Try&Decide" tool, you can test software or changes on your computer and then apply or roll back those changes if you want.
So, if the program or change you made causes problems, you can simply roll back the changes made and your computer will be automatically and quickly restored to its previous state (before activating this "Try&Decide" tool).
- Install Acronis Cyber Protect Home Office "Try&Decide" tool (True Image)
- Enable Acronis Cyber Protect Home Office "Try&Decide" tool (True Image)
- Temporary changes made to your computer
- Undo changes made after enabling the Try&Decide tool
1. Install Acronis Cyber Protect Home Office "Try&Decide" tool (True Image)
1.1. Install the "Try&Decide" tool together with Acronis Cyber Protect Home Office (True Image)
In order to use the Acronis Cyber Protect Home Office (True Image) Try&Decide tool, it is necessary that it is installed on your computer.
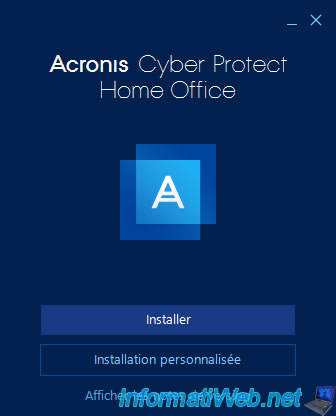
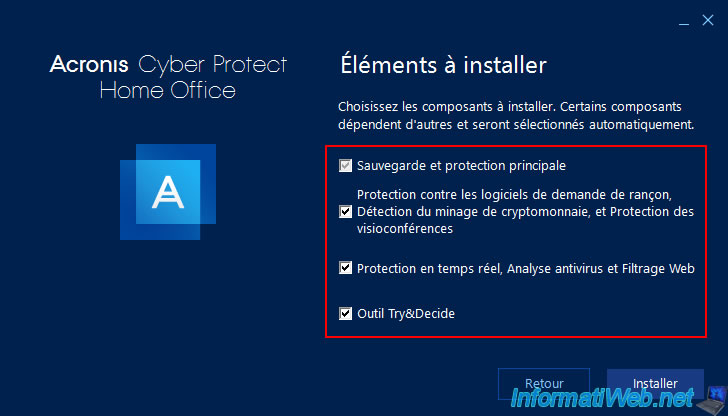
If Acronis Cyber Protect Home Office (True Image) is not yet installed in your case, click the "Custom installation" button when using the Acronis Cyber Protect Home Office (True Image) installer.
Then, check the item to install: Try&Decide tool.
1.2. Install the "Try&Decide" tool after installing Acronis Cyber Protect Home Office (True Image)
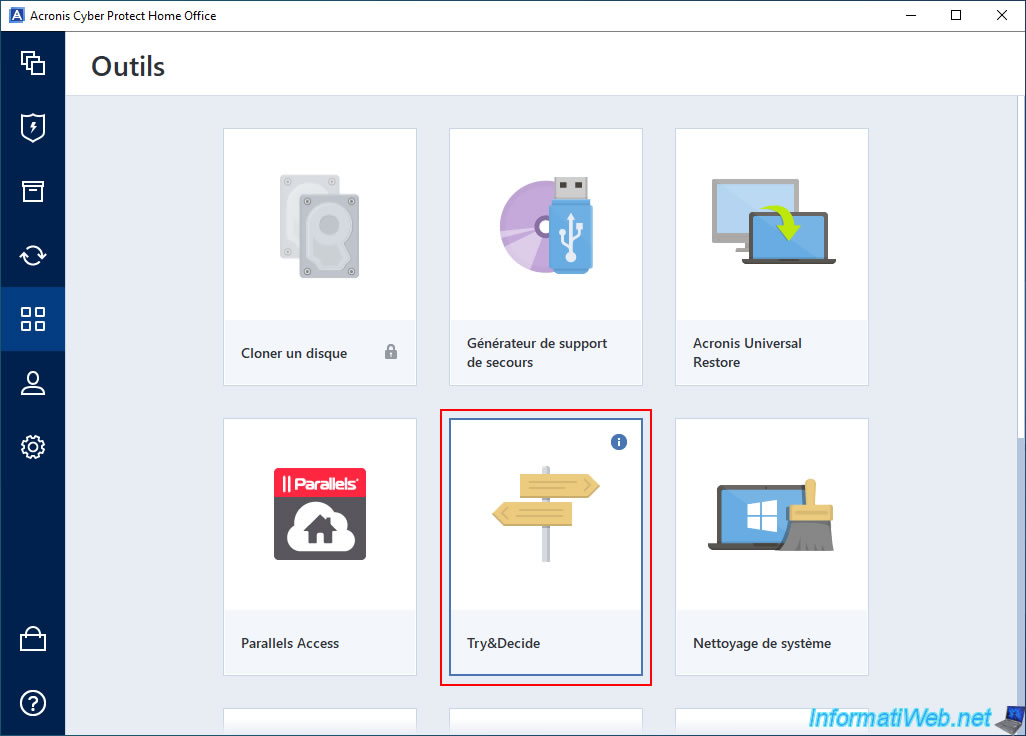
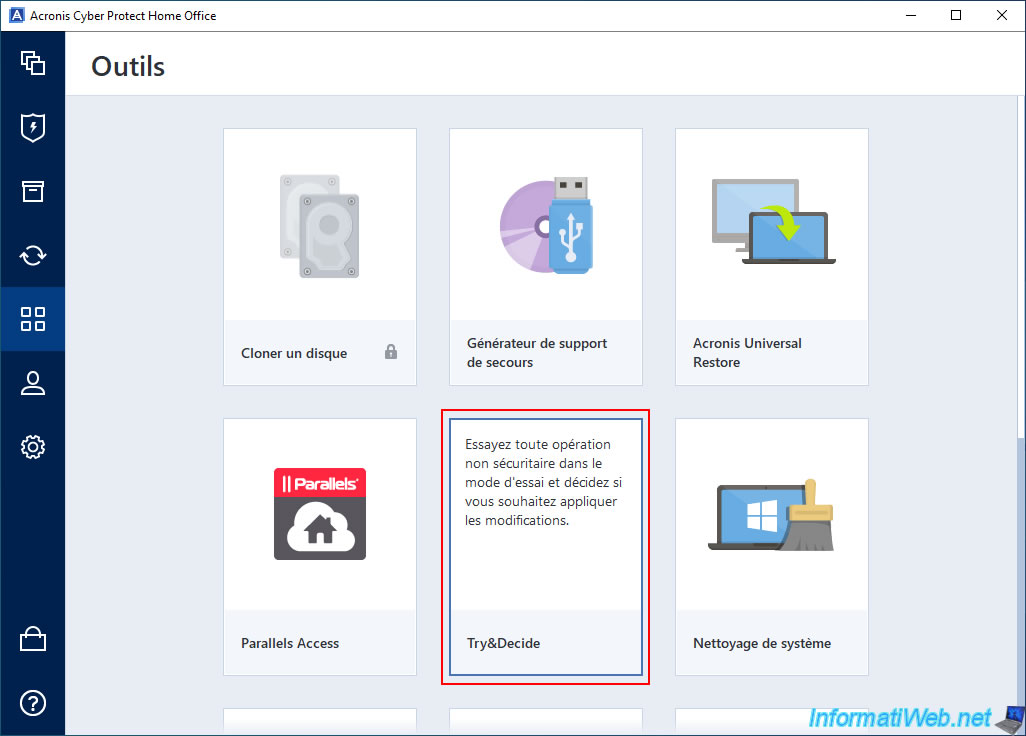
If you did not install the "Try&Decide" tool during the installation of Acronis Cyber Protect Home Office (True Image), which is the case if you simply clicked "Install" during the installation of Acronis, then you will need to go to the "Tools" section of Acronis and try to launch this "Try&Decide" tool.
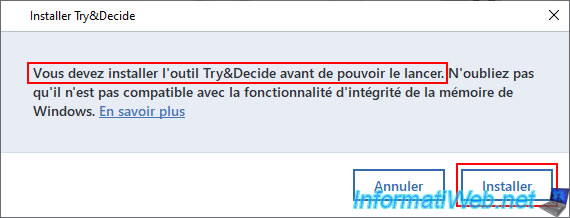
A small "Install Try&Decide" window will appear and tell you "You must install the Try&Decide tool before you can run it".
Click the "Install" button.
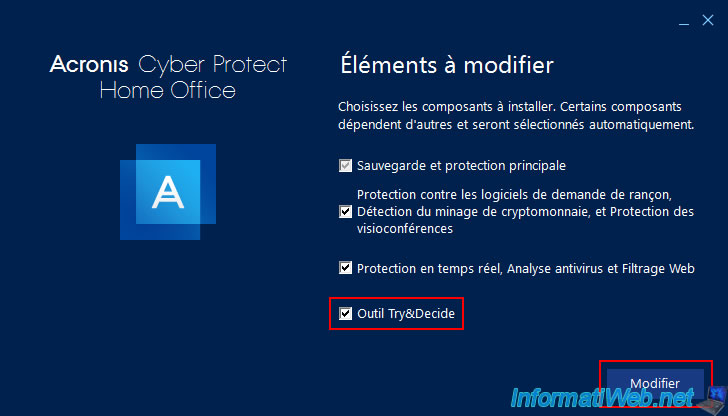
An "Acronis Cyber Protect Home Office (True Image)" window will appear with a list of "Items to modify".
Check the "Try&Decide Tool" box and click "Modify".
Please wait while your Acronis Cyber Protect Home Office (True Image) installation is modified.
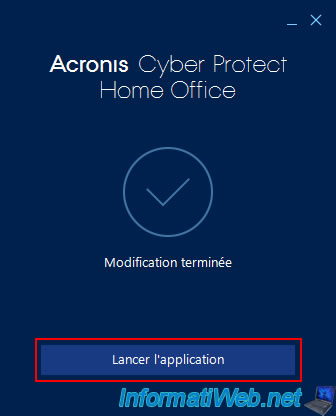
Once the modification is complete, click on "Launch Application".
Now, the "Try&Decide" tool is installed.
2. Enable Acronis Cyber Protect Home Office "Try&Decide" tool (True Image)
Once the Acronis Cyber Protect Home Office (True Image) "Try&Decide" tool is installed, launch it from the Acronis "Tools" section.
If you hover over the little "i" in this tool, you will see that this tool allows you to test changes in a trial mode and then decide whether you want to commit those changes or discard them.
The "Try&Decide" tool appears.
As you can see at the bottom of this tool, you can enable and configure 2 types of notifications.
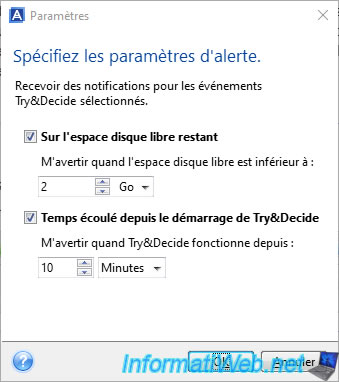
To change the values displayed by default, click on the "Change alert settings" link.
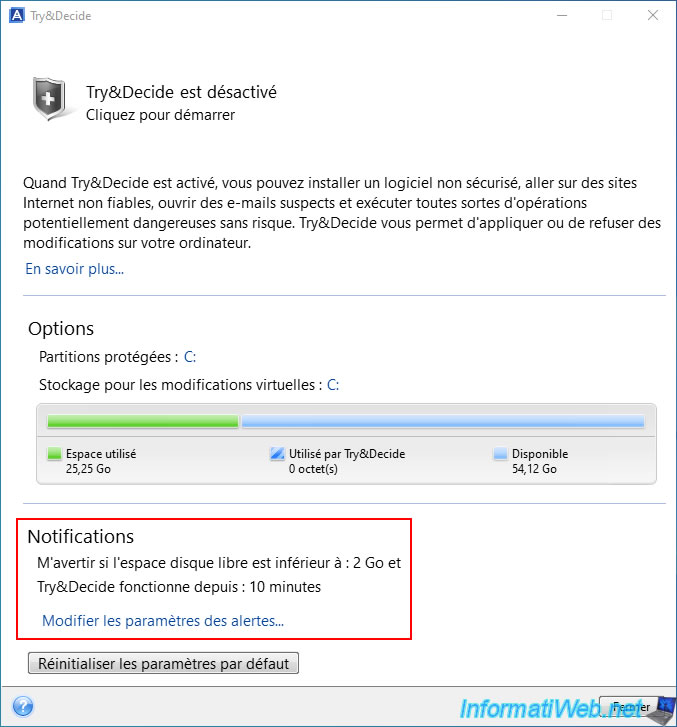
As you can see, you will be able to be notified when the remaining free space is less than 2GB and when the "Try&Decide" tool has been used for 10 minutes (by default).
To enable this tool, click the button at the top of the tool (where it currently says "Try&Decide" is disabled).
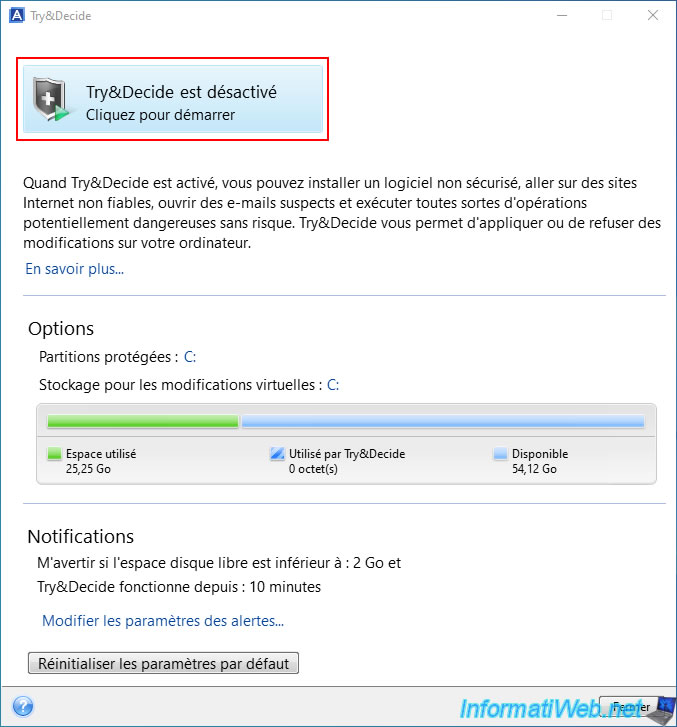
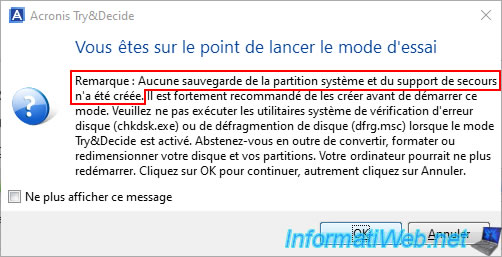
Attention: As you can see from the message that will appear, Acronis recommends that you first back up your system disk and create a rescue media.
To do this, refer to our tutorials:
- Acronis True Image - Backing up your PC to an external hard drive
- Acronis True Image - Rescue Media - Create media easily (in ISO format)
Important : to avoid problems, Acronis also advises against using system tools that impact the file system (whether it is "chkdsk.exe" for repairing errors in the file system or defragmentation software) or partitioning your disks.
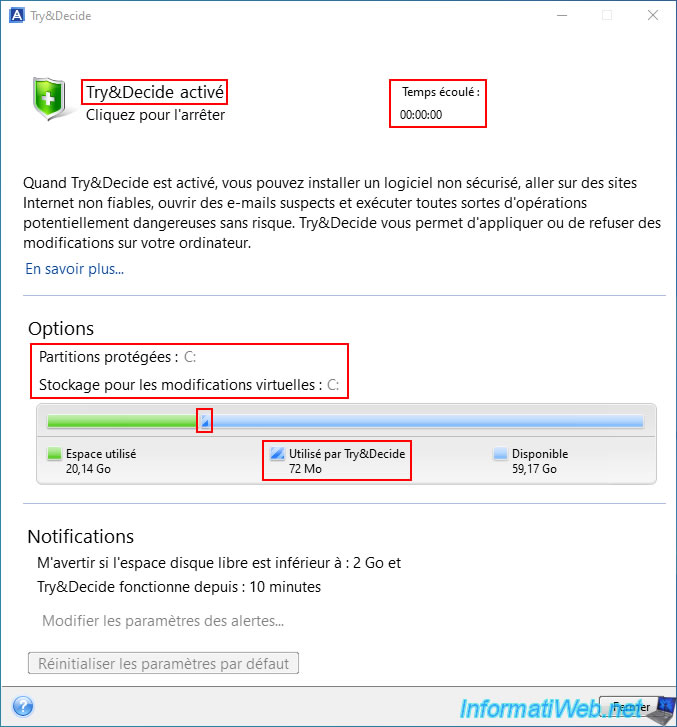
Now, you can see that "Try&Decide" is enabled and part of your disk space is used for storing virtual changes (i.e. all system changes that have not yet been permanently applied or reverted).
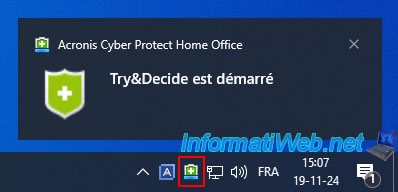
At the bottom of the screen, you will see a notification "Try&Decide is started" appear and you will see a green icon permanently in the taskbar as long as this "Try&Decide" tool is activated.
Share this tutorial
To see also
-
Backup 12/29/2025
Acronis True Image - Clone a specific partition
-
Backup 7/14/2025
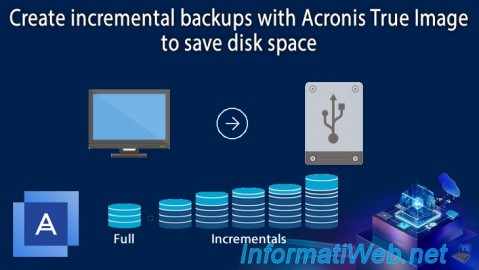
Acronis True Image - Create incremental backups
-
Backup 9/29/2025
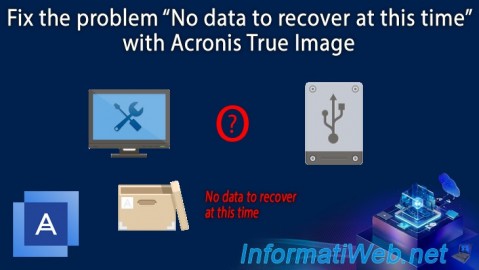
Acronis True Image - Fix the problem: No data to recover
-
Backup 1/12/2026
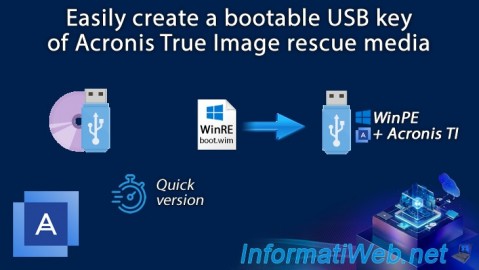
Acronis True Image - Rescue Media - Create media easily (bootable USB key)
You must be logged in to post a comment