Virtualize a physical PC to VMware vSphere (P2V) using Acronis True Image (Cyber Protect Home Office) and Acronis Universal Restore
- Backup
- Acronis True Image, Acronis Universal Restore
- 28 September 2026 at 07:41 UTC
-

- 4/9
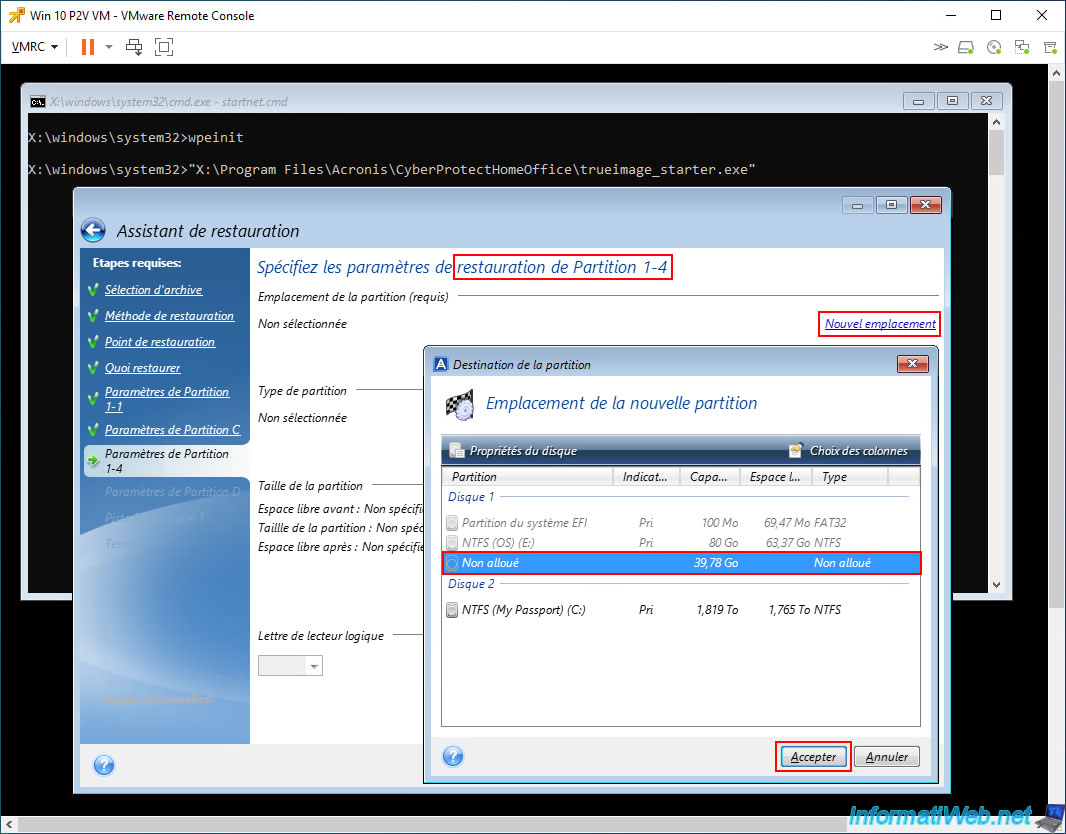
For the next partition, click the "New Location" link again.
Select the "Unallocated" space on Disk 1 again (as for each partition to be restored) and click "Accept".
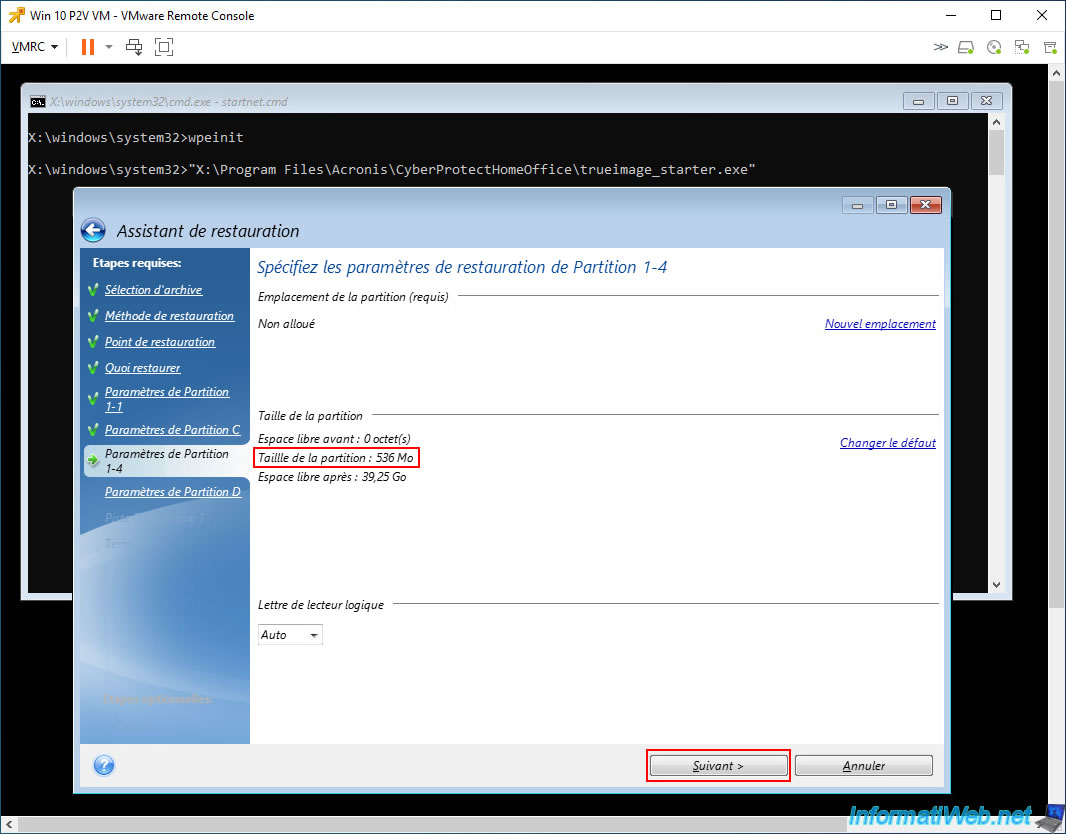
As you can see, this partition "Partition 1-4" has a size of only 536 MB.
Which does not pose any disk space problem. So you can click "Next" and leave the size indicated (preferably).
Note: just for information, this partition corresponds to the recovery partition (or in other words "Windows RE") of Windows 10.
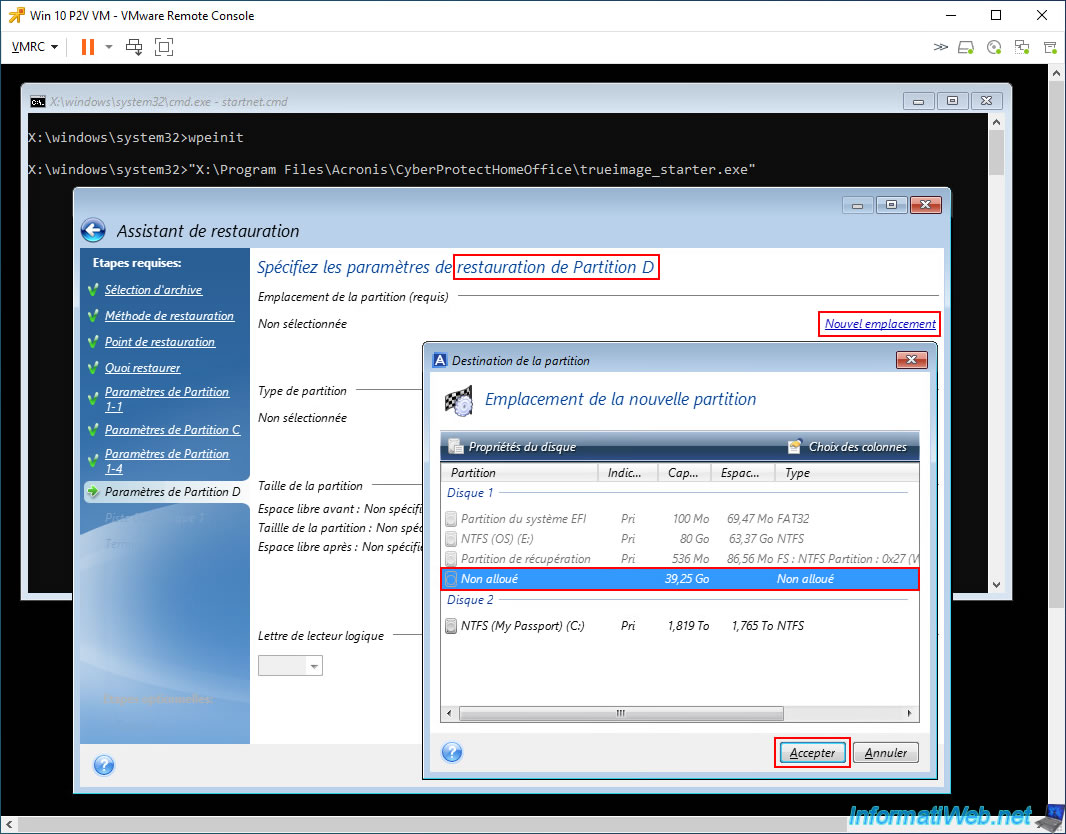
For restoring partition "D", click "New Location" again.
Select the "Unallocated" space of your disk 1 again and click "Accept".
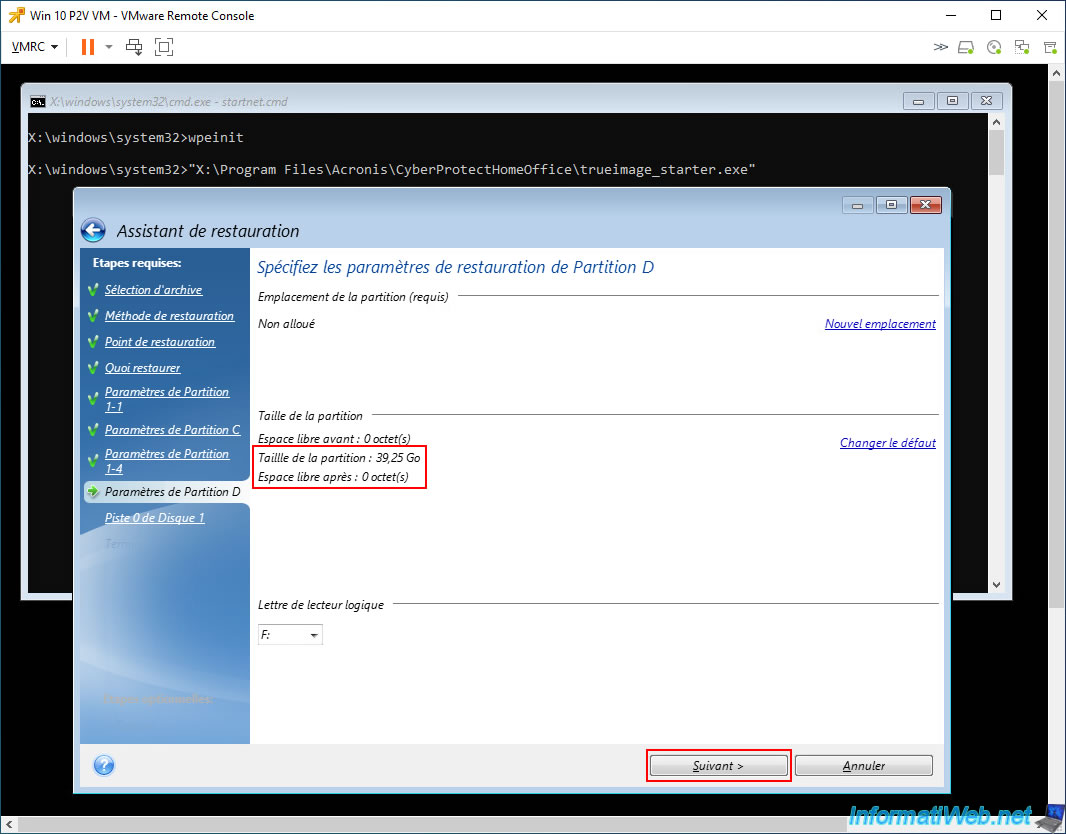
Since this is again a large partition, Acronis will use the remaining disk space of your virtual hard disk.
But since this is the last partition to be restored, this is an idea.
So, you can leave the size as indicated and click "Next".
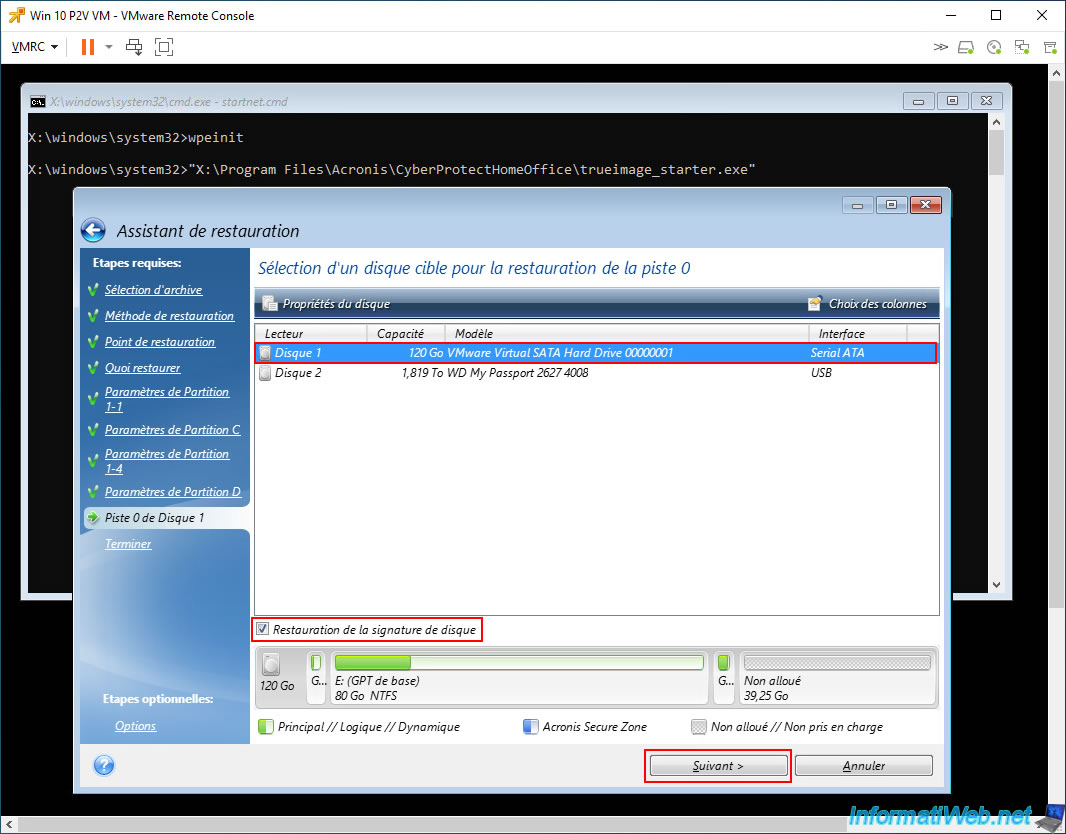
For "Track 0" restore, select disk 1 (whose model is "VMware Virtual ... Hard Drive") and check the "Disk Signature Restore" box.
This "Track 0" (or in other words the hard disk MBR) is necessary for Windows to start, because it tells your computer where Windows is located on the disk whose data you want to restore.
When you plan to restore a backup of a Windows installation, Acronis suggests selecting the "Disk Signature Restore" option. This step is crucial for several reasons:
- Task Recovery: this allows Acronis Cyber Protect Home Office (True Image), installed on the original PC, to easily recover its tasks, as Acronis uses the disk signature to identify that disk.
- Application Licenses: some applications may have licenses that depend on your disk signature, making this restore necessary.
- Windows Restore Points: signature restoration also allows you to use Windows Restore Points, if they exist.
- VSS Snapshots: this is essential for restoring VSS snapshots, especially when using the "Previous Versions" feature available in Windows 7 and Vista.
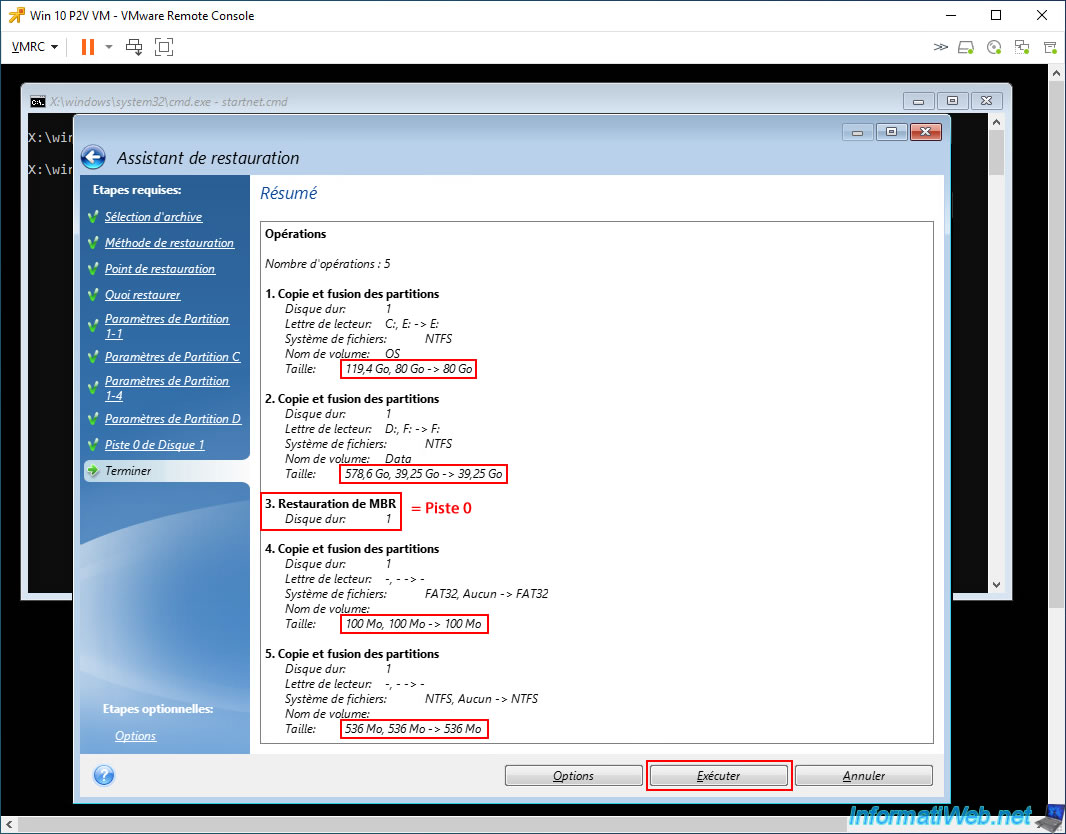
In the summary of this recovery wizard, you will notice that the partition sizes have been changed.
In addition, the MBR (Master Boot Record), which corresponded to the "Track 0" mentioned earlier in the wizard, will also be restored to your Disk 1, which represents the virtual hard disk "VMware Virtual SATA Hard Drive".
Click the "Run" button to restore your partitions and the MBR (Track 0) from your Acronis backup.
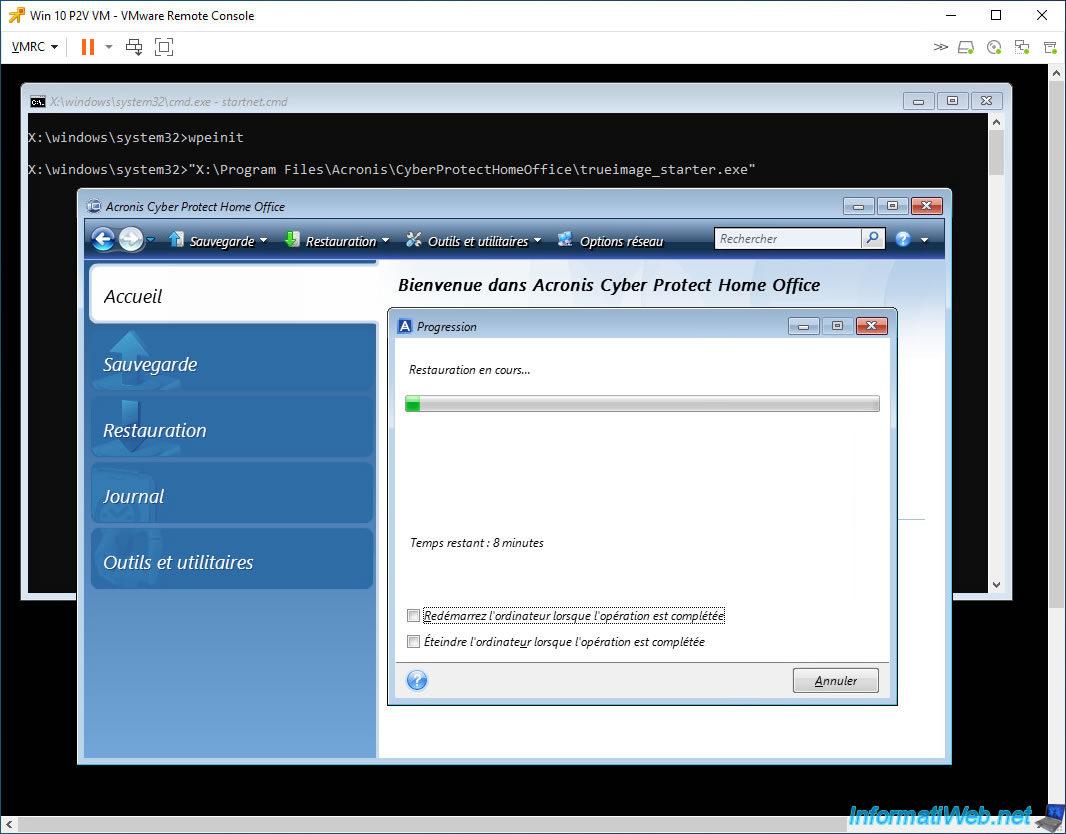
Please wait while your partitions and MBR (Track 0) of your disk are restored.
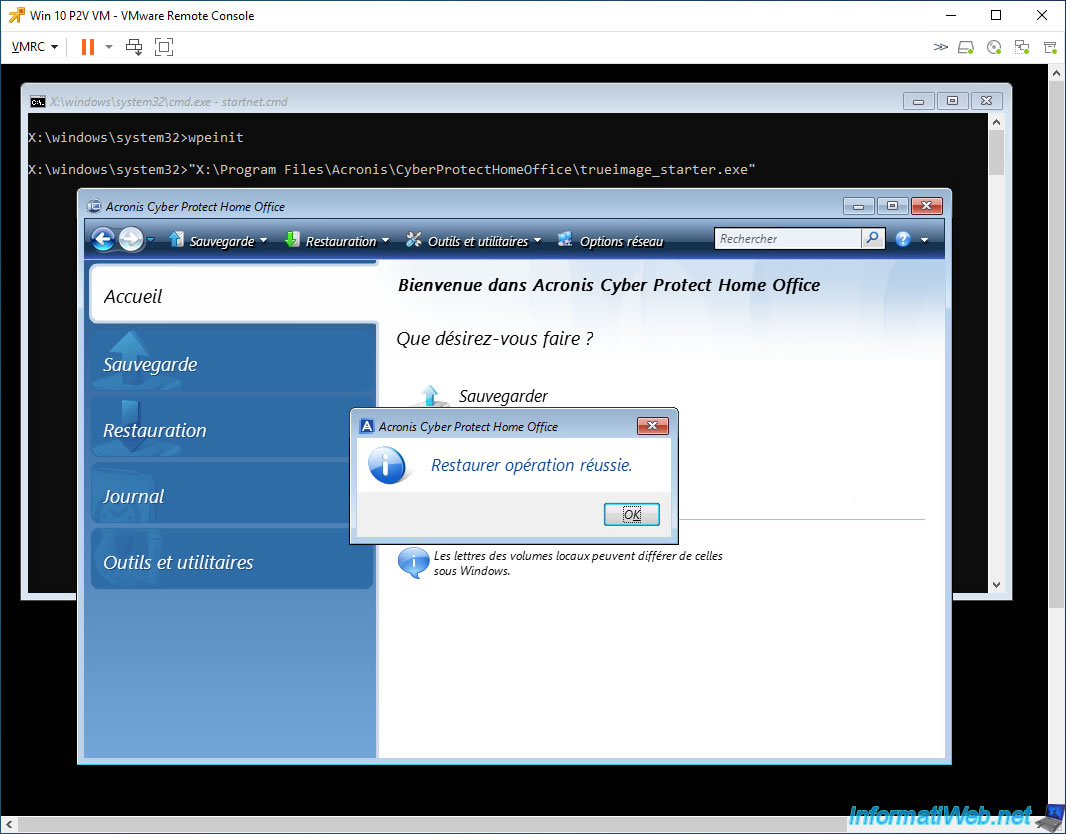
Once this restoration is complete, the message "Restore operation successful" will appear.
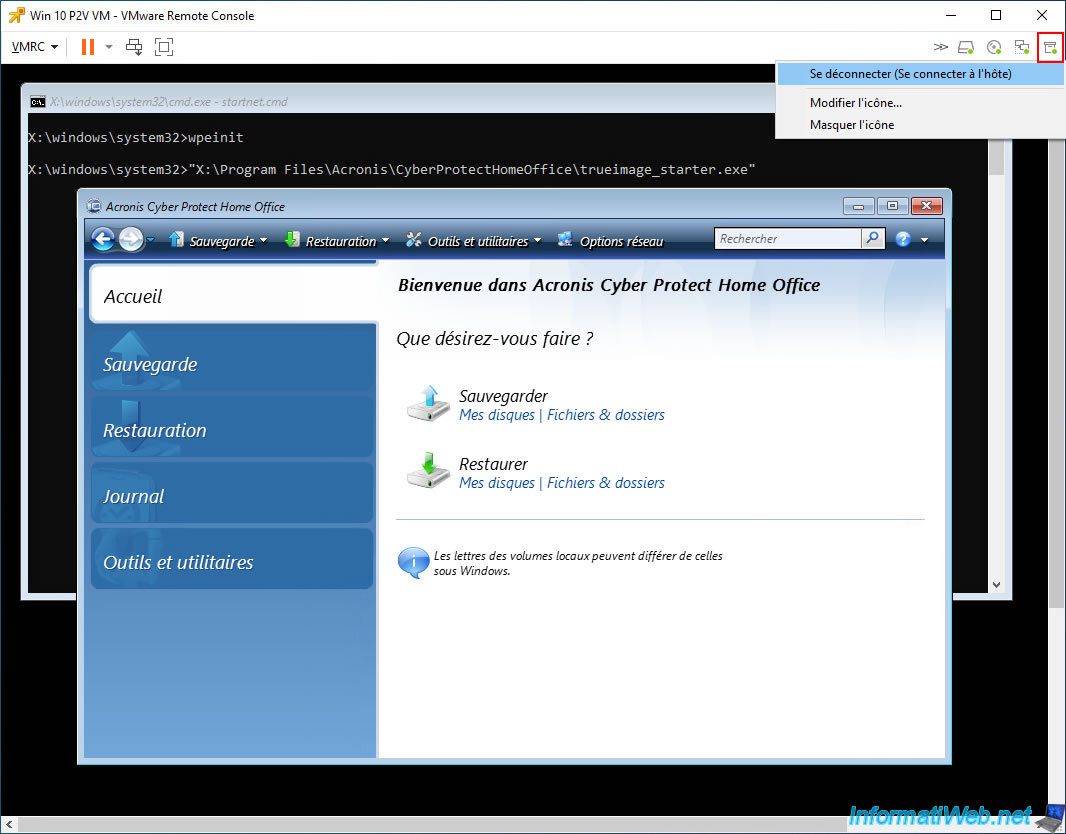
Now that the restore is complete, you can disconnect your external hard drive from your VM.
To do this, as before, click on: VMRC -> Removable Devices -> [name of your USB external hard drive] -> Disconnect (Connect to host).
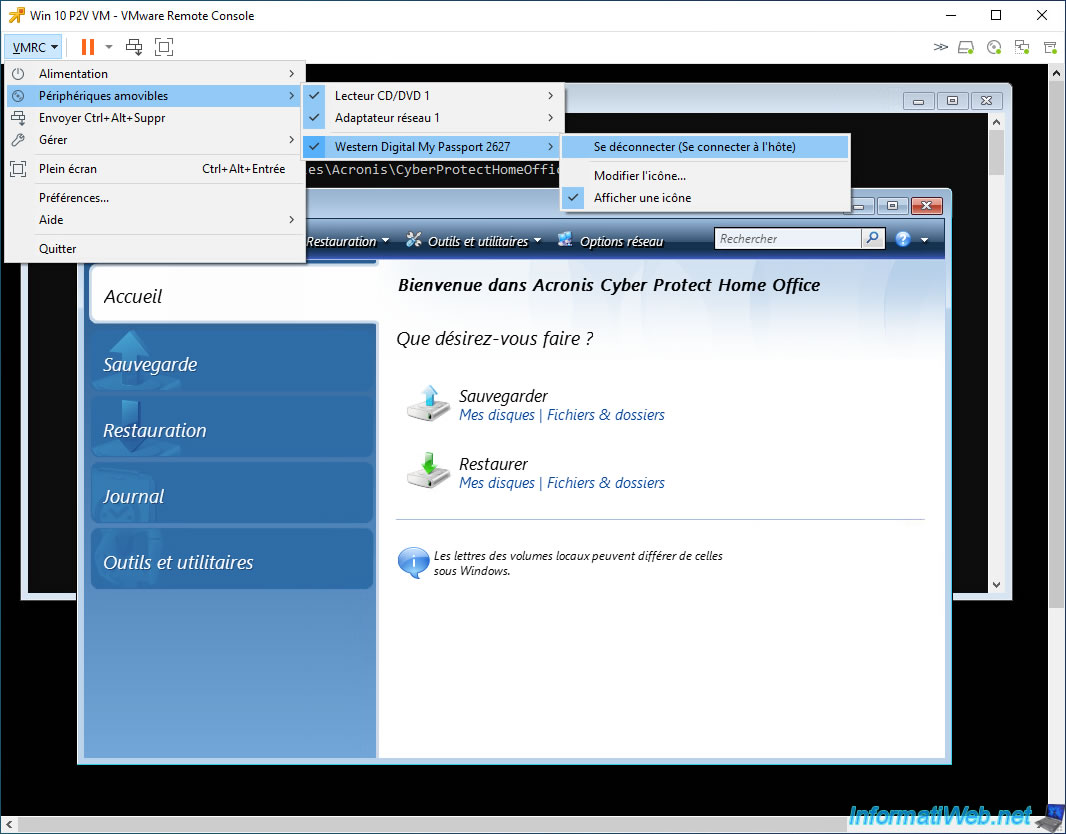
Or right-click "Disconnect (Connect to host)" on the icon corresponding to your external hard drive.
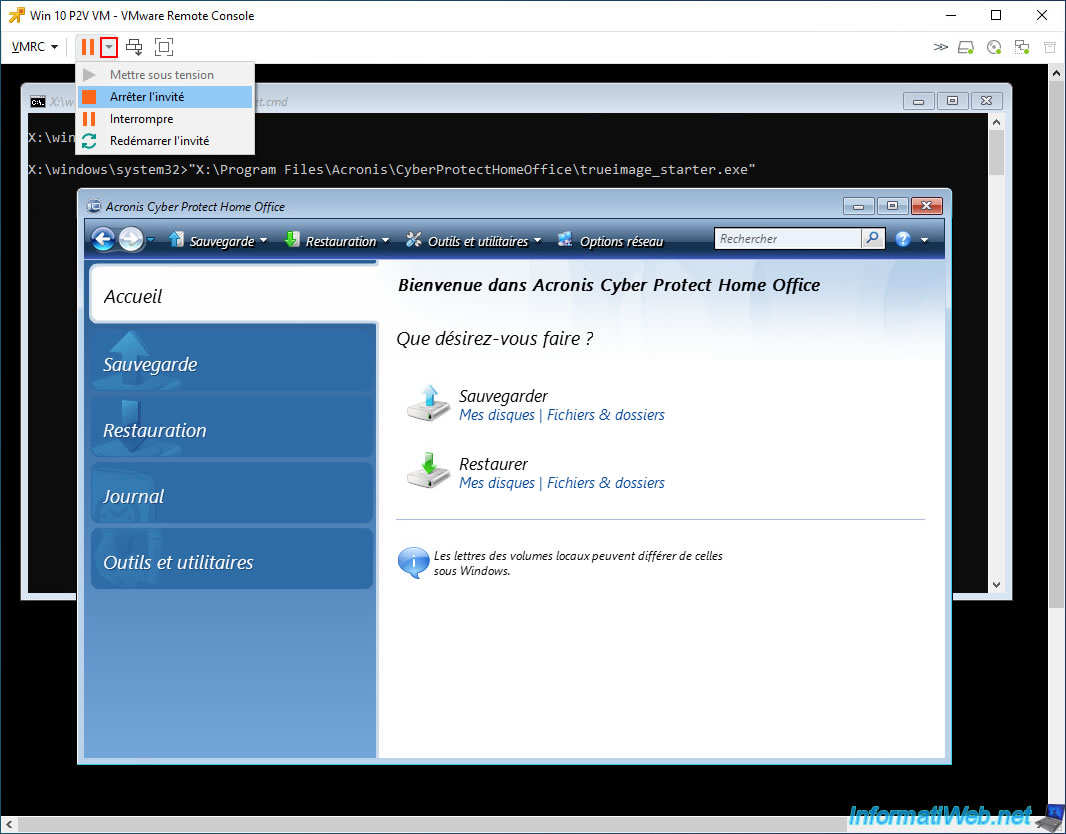
Once your external hard drive is disconnected from your VM, shut down your VM by clicking on "Shut down guest".
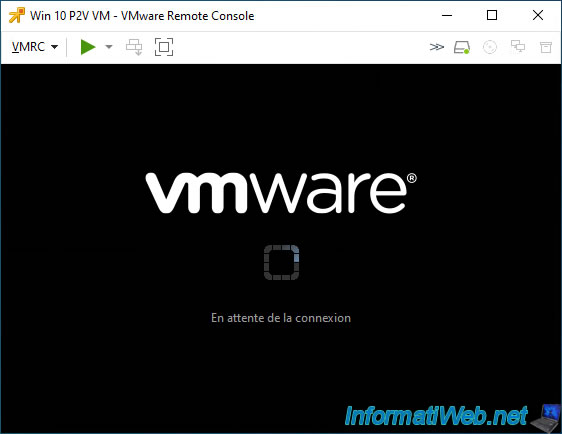
Your VM is powered off.
Share this tutorial
To see also
-
Backup 12/15/2025
Acronis True Image - Clone a disk (automatic mode)
-
Backup 7/21/2025
Acronis True Image - Create backups (via the version chain scheme)
-
Backup 3/9/2026
Acronis True Image - Rescue Media - Enable recovery option
-

Backup 8/7/2025
Acronis True Image - Search for files in a Cloud backup
No comment