Virtualize a physical PC to VMware vSphere (P2V) using Acronis True Image (Cyber Protect Home Office) and Acronis Universal Restore
- Backup
- Acronis True Image, Acronis Universal Restore
- 28 September 2026 at 07:41 UTC
-

- 5/9
5. Extract drivers from VMware Tools (recommended for using Acronis Universal Restore)
To maximize your chances of getting your restored Windows installation to work in your VM, you will need Acronis Universal Restore.
However, to maximize your chances of success, it is also important to be able to provide the VMware drivers to Acronis Universal Restore.
That said, the VMware drivers are not visible as is in the VMware Tools ISO, so you will need to extract them first.
For this, you will need Hiren's BootCD PE ISO version 1.0.2 (which uses a Windows PE environment based on Windows 10, unlike the latest version of HBCD PE where Win PE is based on Win 11).
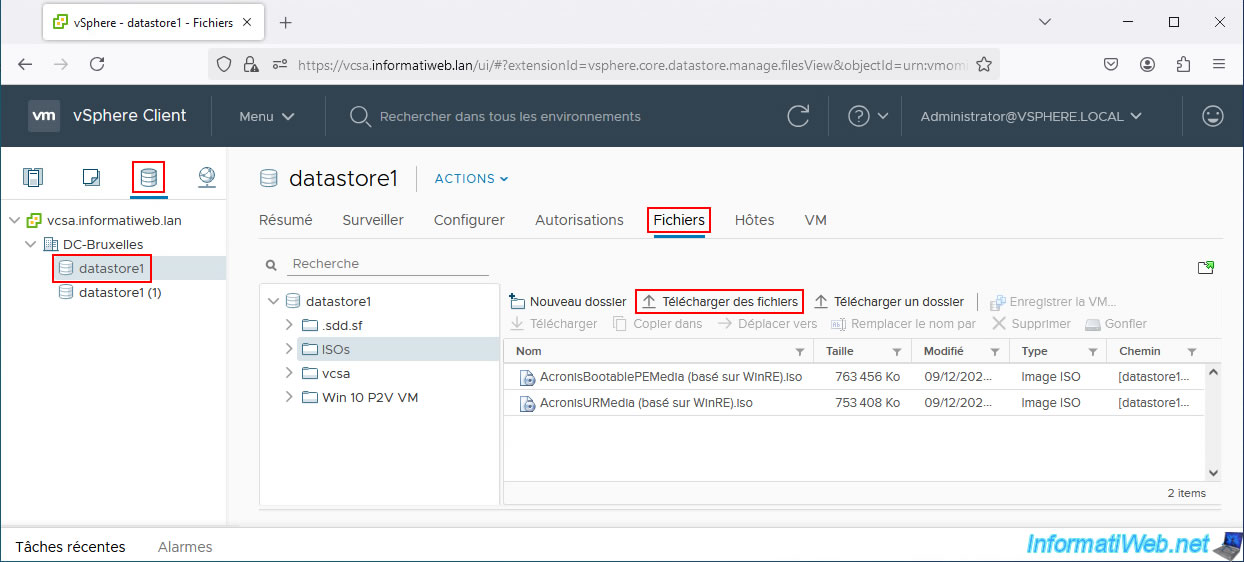
Once Hiren's BootCD PE ISO is downloaded, go to the "Storage" section, select the datastore where you stored your Acronis ISO files, and click "Upload Files".
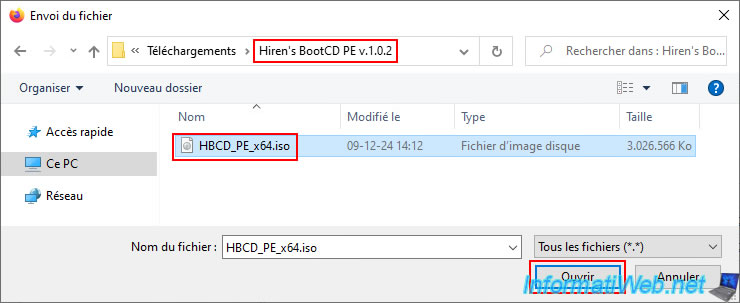
Select the file "HBCD_PE_x64.iso" and click "Open".
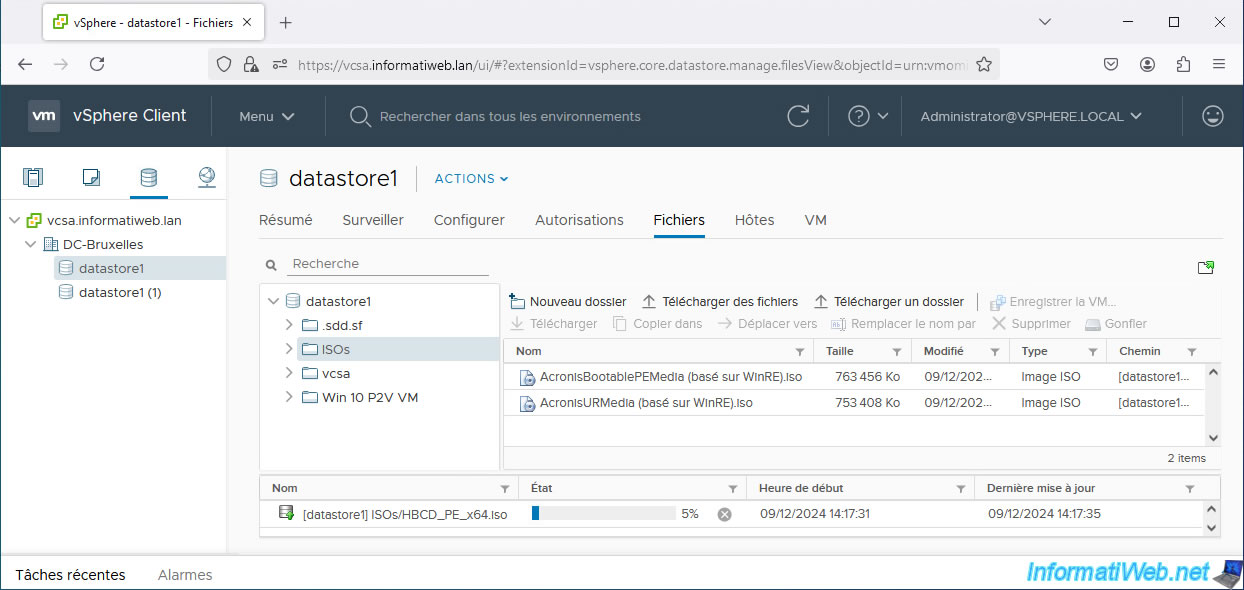
Please wait while this file "HBCD_PE_x64.iso" is being sent to your datastore.
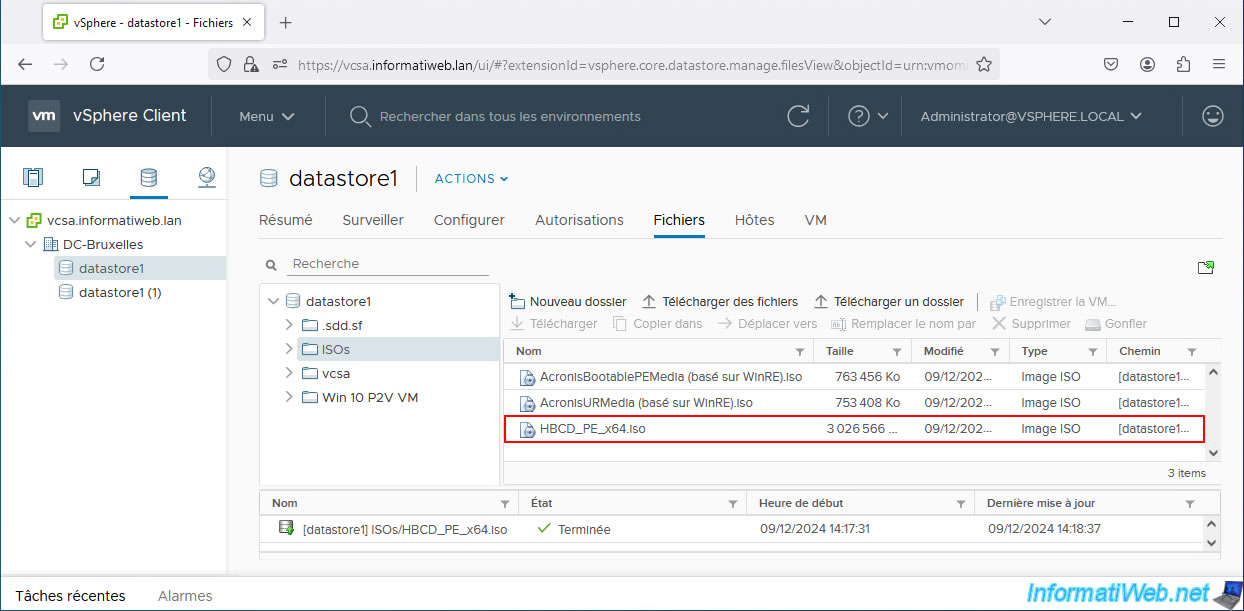
Your file "HBCD_PE_x64.iso" has been added to your datastore.
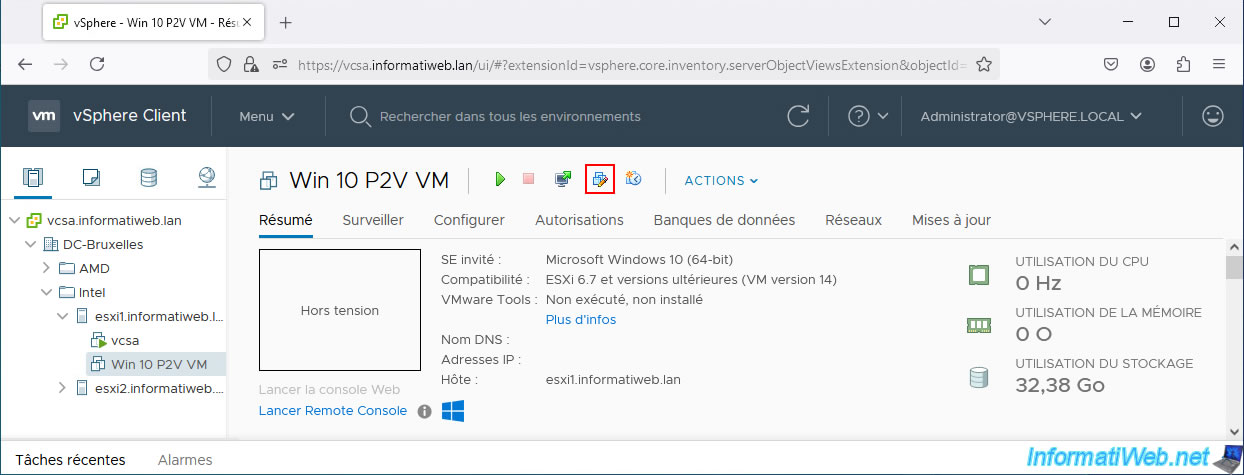
Now, change the configuration of your virtual machine to "Windows 10 P2V VM".
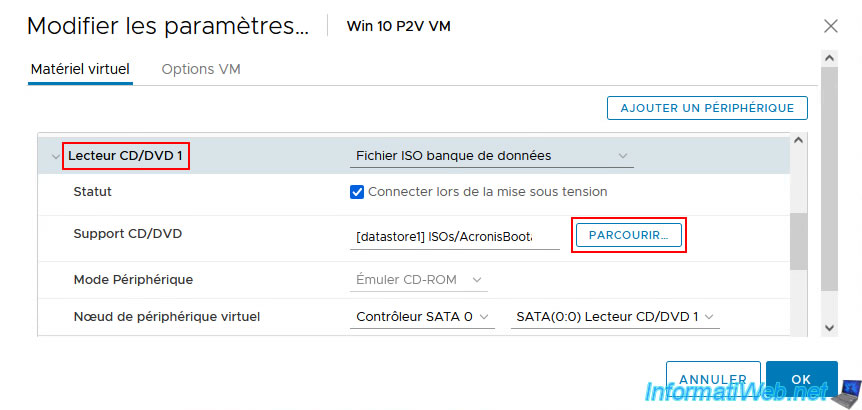
Expand the "CD/DVD Drive 1" section and click "Browse".
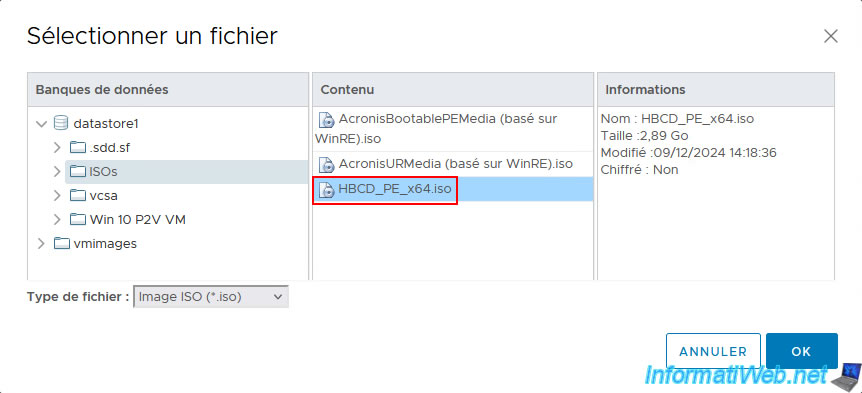
Select your "HBCD_PE_x64.iso" file and click OK.
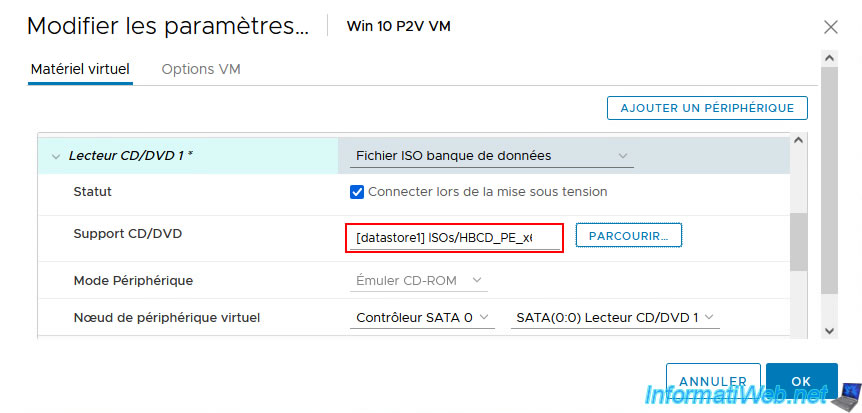
The selected ISO file appears in the "CD/DVD support" box.
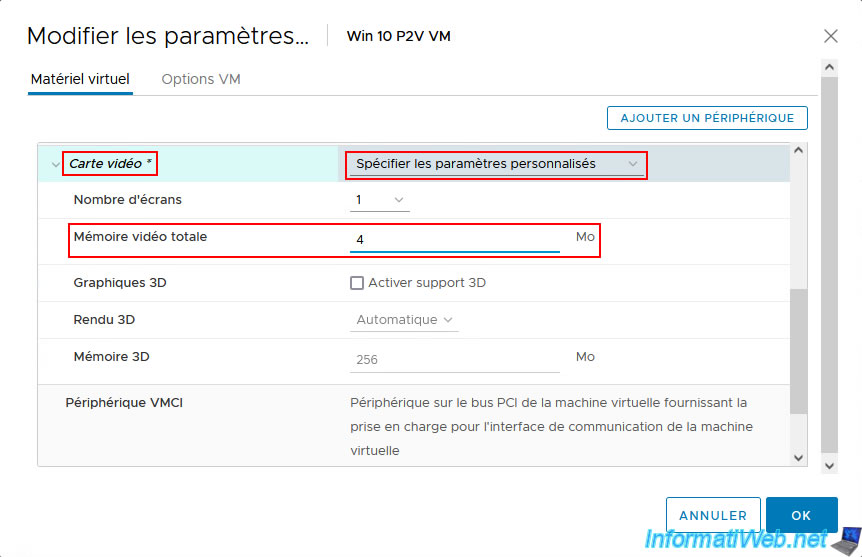
In order for the "Hiren's BootCD PE" live CD to appear properly in your VM, you need to temporarily change the video card settings.
To do this, select the "Specify custom settings" option (which was already selected by default in our case), and then change the "Total video memory" value to "4 MB".
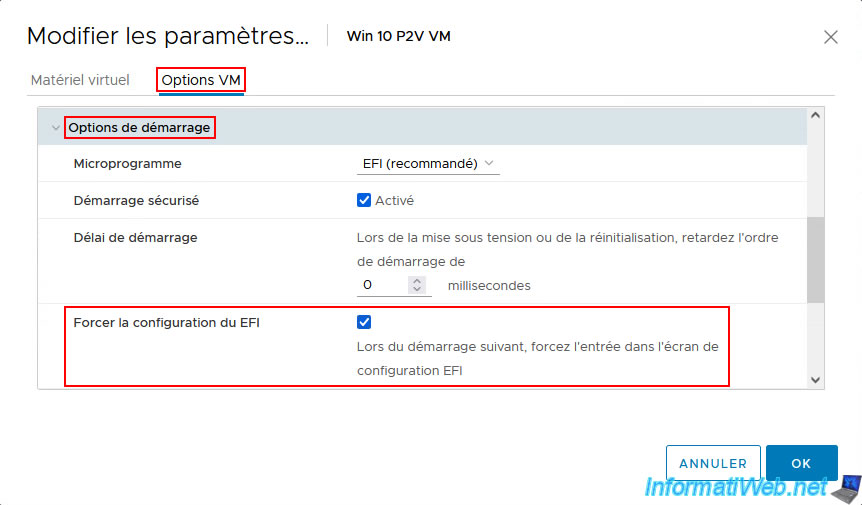
Next, go to the "VM Options" tab and in the "Boot Options" section, check the "Force EFI configuration" box.
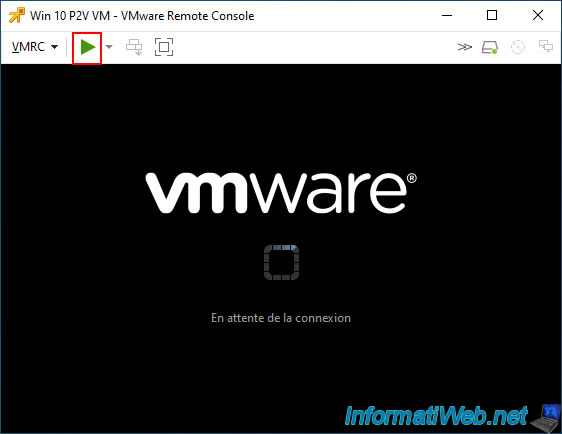
Now, start your VM.
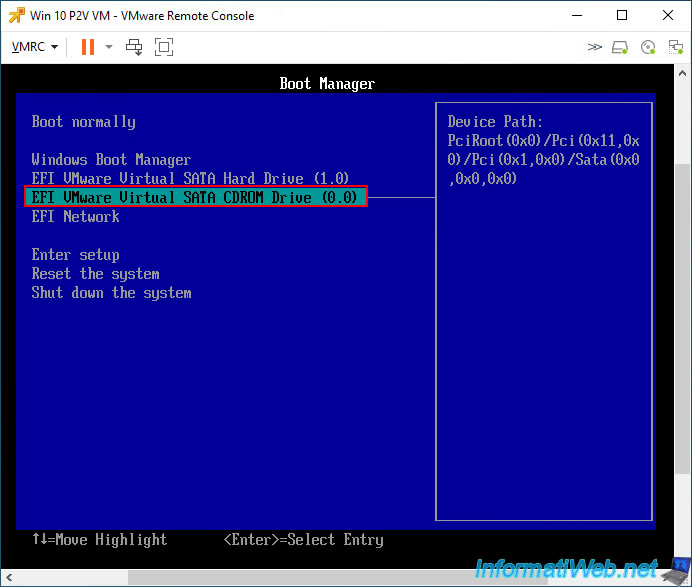
Boot your VM on its CD/DVD drive.
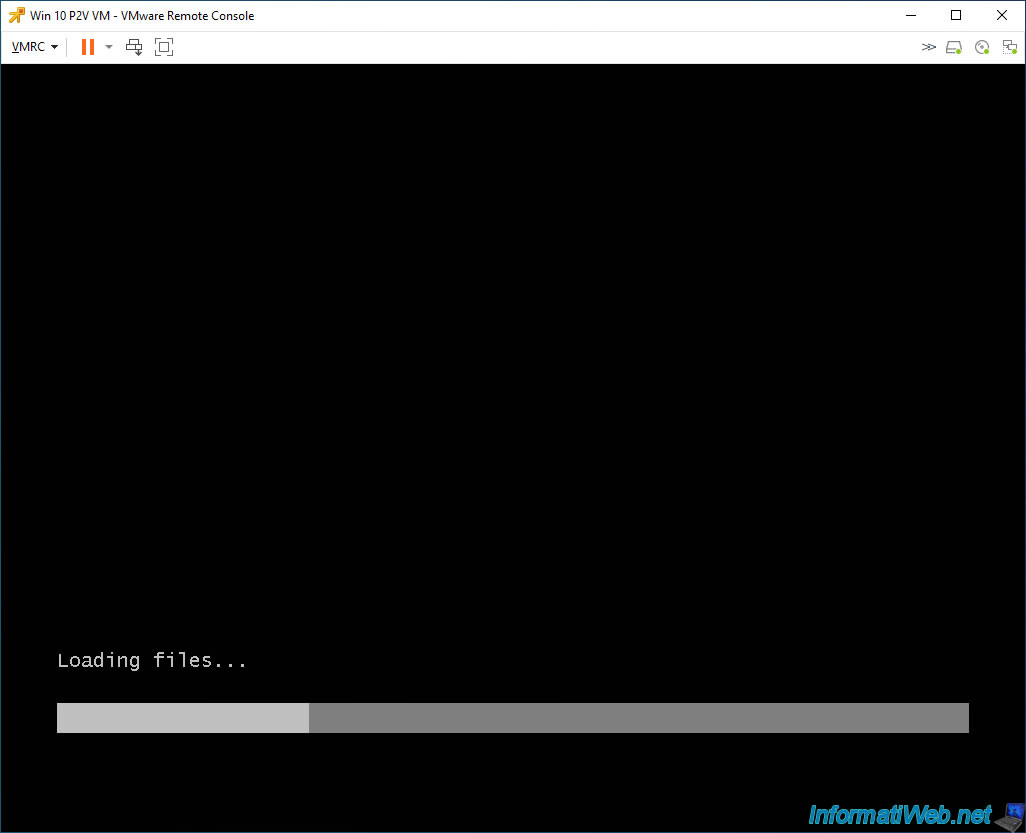
The message "Loading files" appears.
Then the Windows PE loading logo appears.
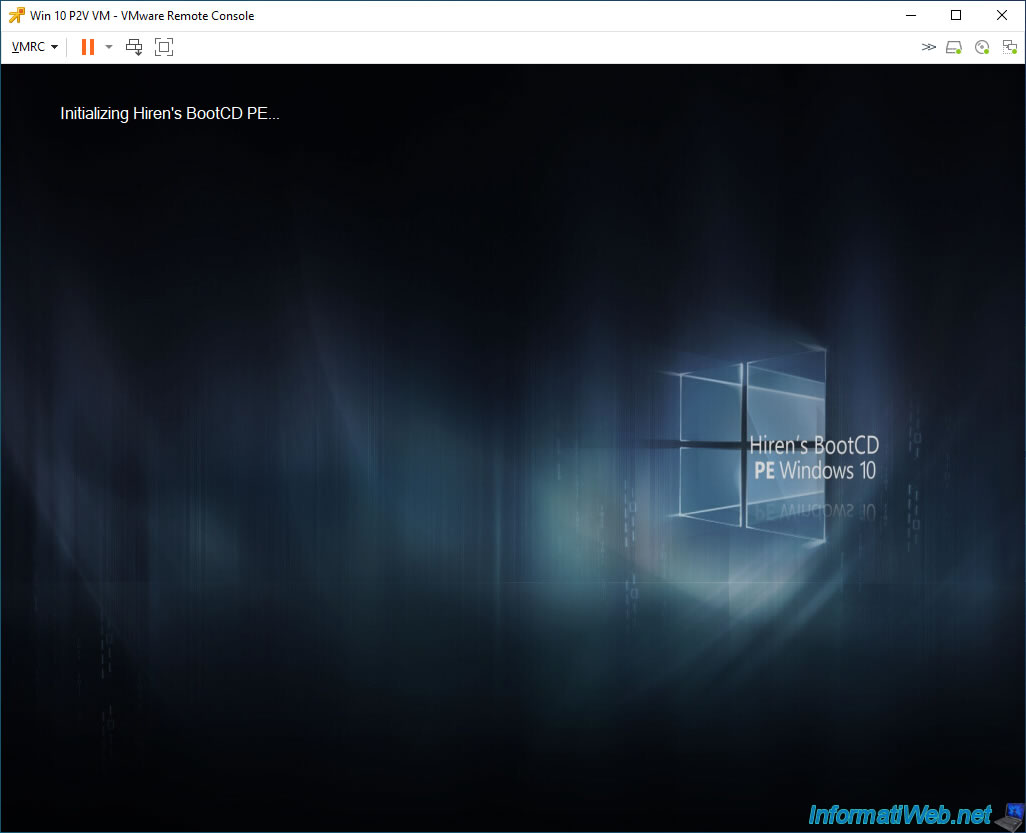
Then, you will see the message "Initializing Hiren's BootCD PE" appear.
Note: If Hiren's BootCD PE does not appear correctly, it is because you forgot to change the video card settings of your VM.
As you can see, we are using the Windows 10 based "Hiren's BootCD PE" live CD (hence the interest in downloading version 1.0.2 of this live CD).
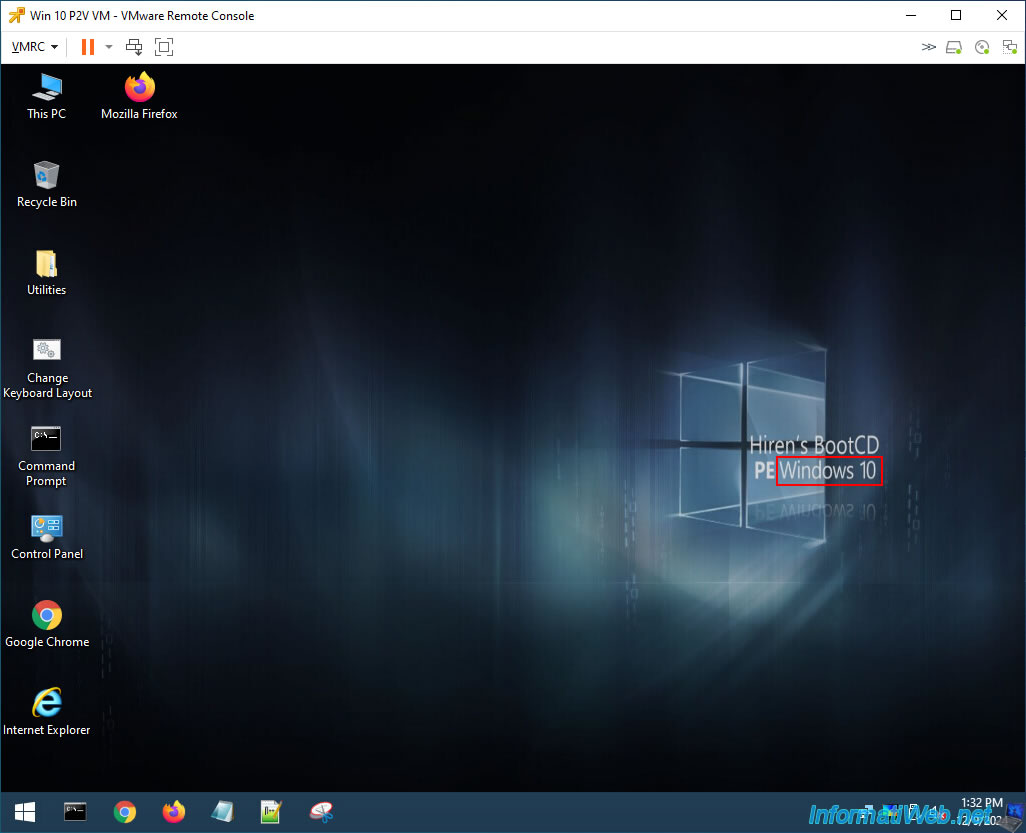
Double-click the "Change Keyboard Layout" shortcut to change the keyboard language to use.
- 50 for "French (France)".
- 16 for "French (Belgium)".
Then, press Enter to validate this change and relaunch the applications already open (if any).
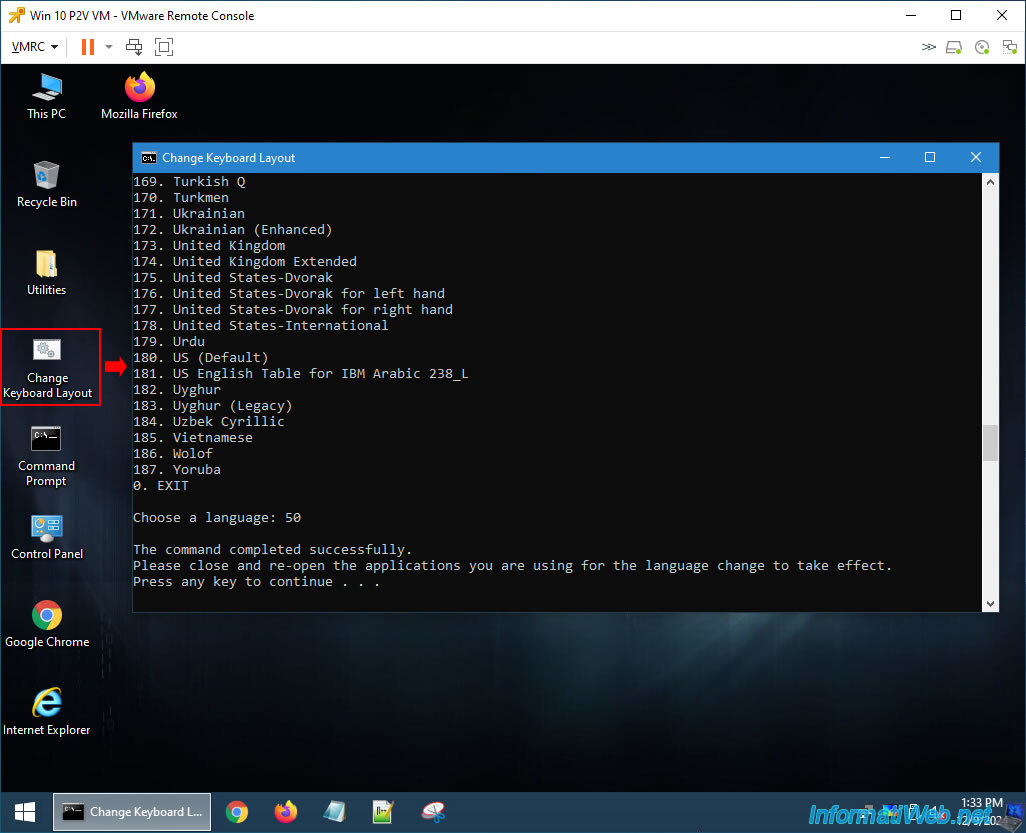
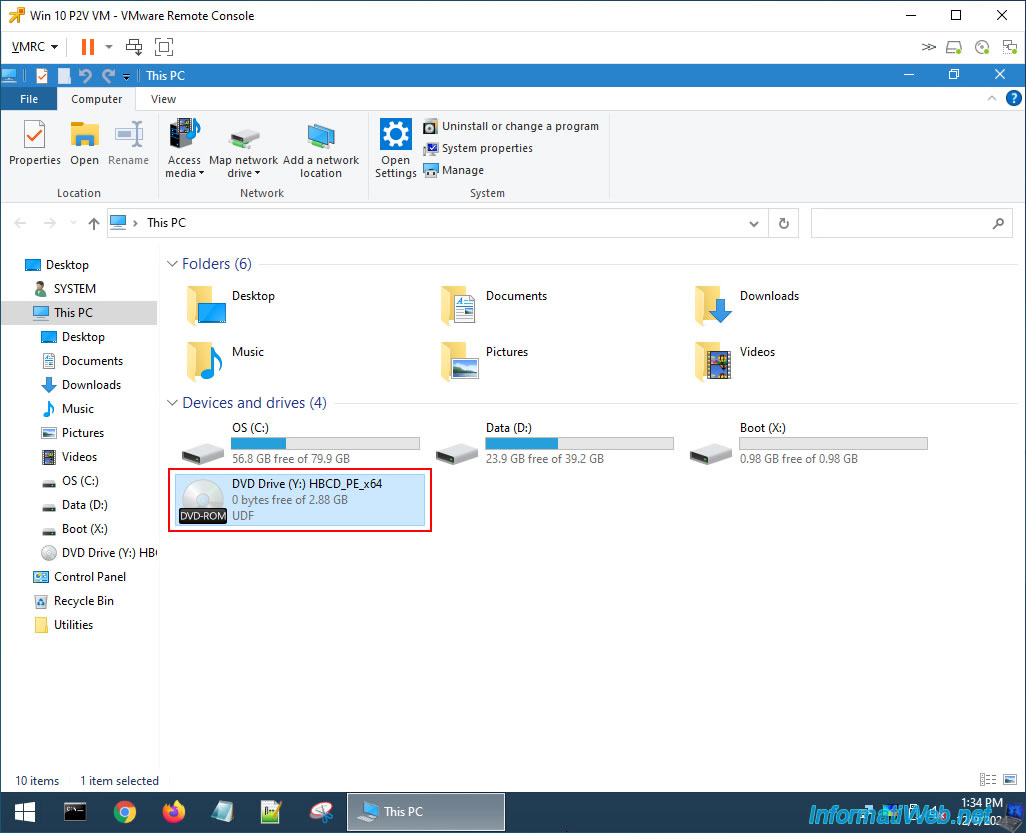
Then, double-click on the "This PC" shortcut on the desktop to open the file explorer.
As you can see, currently, it is the "HBCD PE" live CD that is in the CD/DVD drive of your VM.
However, the Windows PE environment you are currently using runs entirely in RAM and this CD is therefore no longer necessary.
Share this tutorial
To see also
-

Backup 9/15/2025
Acronis True Image - Backing up your smartphone to Acronis Cloud (encrypted backup)
-

Backup 8/21/2025
Acronis True Image - Replicate encrypted backups to Acronis Cloud
-

Backup 6/29/2026
Acronis True Image - Third-party tools
-
Backup 5/18/2026
Acronis True Image - Universal Restore Media - Create media (Win PE version based on Win ADK)
No comment