- Backup
- Acronis True Image
- 12 January 2026 at 19:05 UTC
-

When you install Acronis Cyber Protect Home Office (True Image) on your computer, you can back up your computer and then restore it to a previous state later if you want.
However, if your computer no longer starts (because Windows no longer starts), then you will need to boot to Acronis bootable media to be able to restore the desired backup.
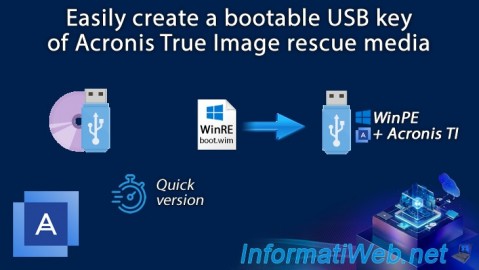
Here is how to easily create this bootable media on a USB key.
Note that this bootable media is very small (about 1 GB), so a USB key with a capacity of 8 GB is more than enough.
Warning : if you are using a trial version of Acronis Cyber Protect Home Office (True Image), be aware that the backup option of this Acronis rescue media will be disabled.
- USB key used
- Create Acronis rescue media on your USB key
- Boot to the Acronis rescue media created on your USB key
1. USB key used
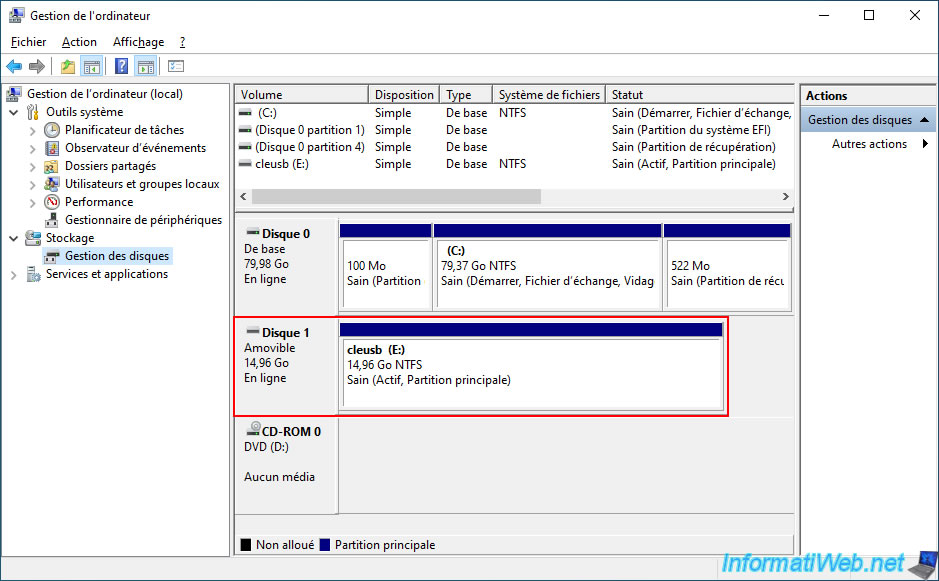
For this tutorial we used a 16GB USB key.

As expected, in Windows Disk Management, it is recognized as a removable disk.
2. Create Acronis rescue media on your USB key
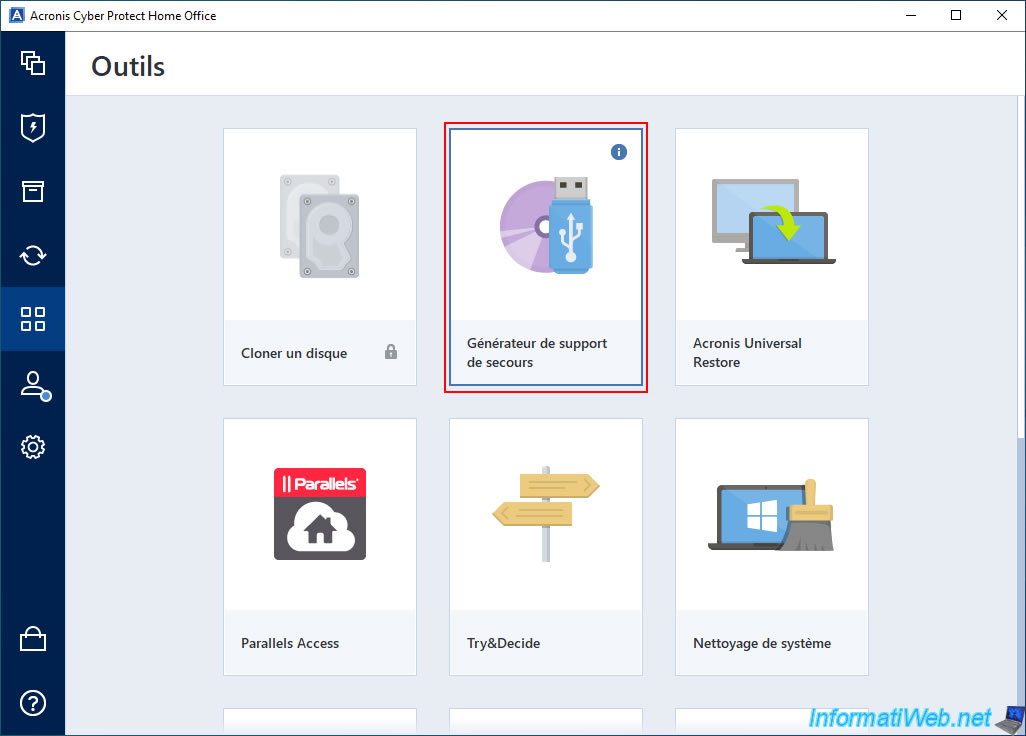
To turn your USB key into Acronis rescue media, go to the "Tools" section of Acronis Cyber Protect Home Office (True Image) and click "Rescue Media Generator".
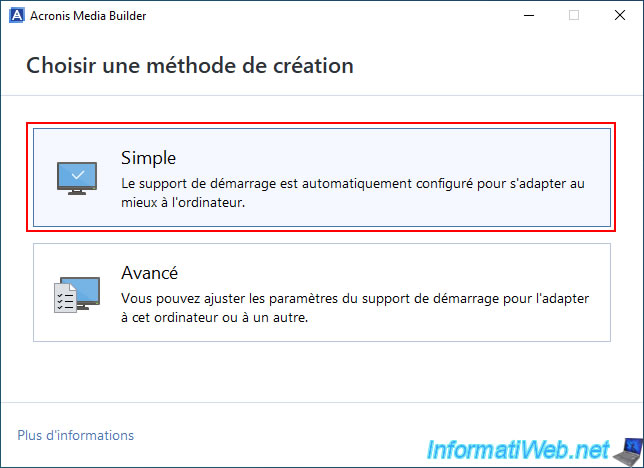
In the "Acronis Media Builder" window that appears, select "Simple" to create an Acronis bootable media that will be suitable for your computer.
This allows, among other things, to automatically install the necessary drivers for this Acronis bootable media to work properly on your computer.
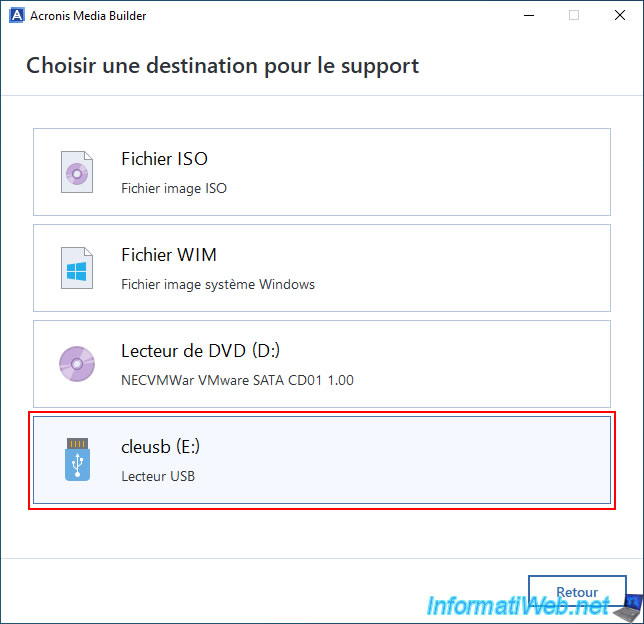
In the "Choose a destination for the media" step, click on "USB key".
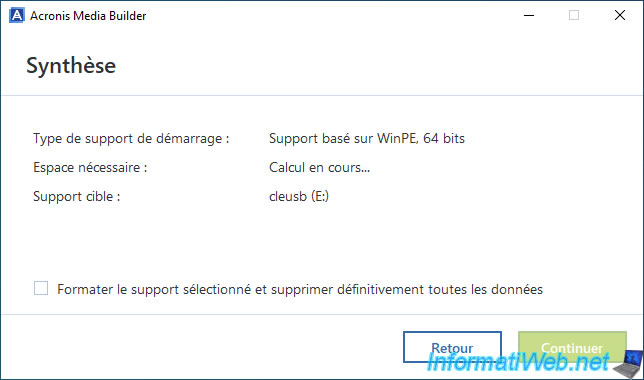
Acronis Media Builder calculates the space that will be needed on your USB key to create your Acronis bootable media.
Note: as you can see, in our case, Acronis Media Builder will create a WinPE-based media in 64-bit (because we are on Windows 10 x64).
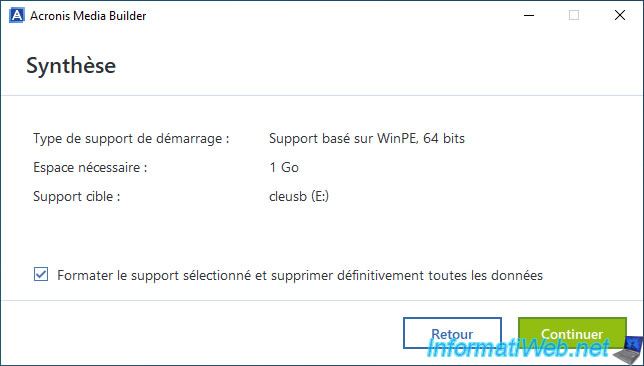
Check the "Format the selected media and permanently delete all data" box, then click "Continue".
Warning : Acronis Media Builder will permanently erase all data on your USB key to create your Acronis bootable media.
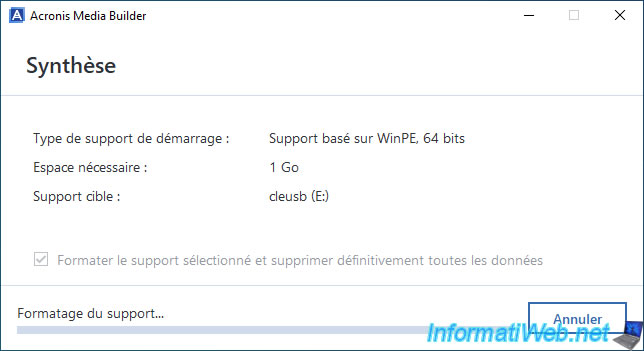
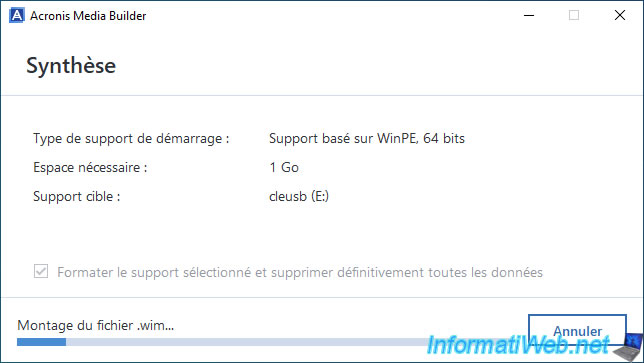
To begin with, Acronis Media Builder will format (erase) your USB key and thus create the necessary file system on it.
Then, Acronis Media Builder will mount the "boot.wim" file (which represents the Windows PE environment used by Acronis and where a stripped-down version of Acronis Cyber Protect Home Office (True Image) is pre-installed).
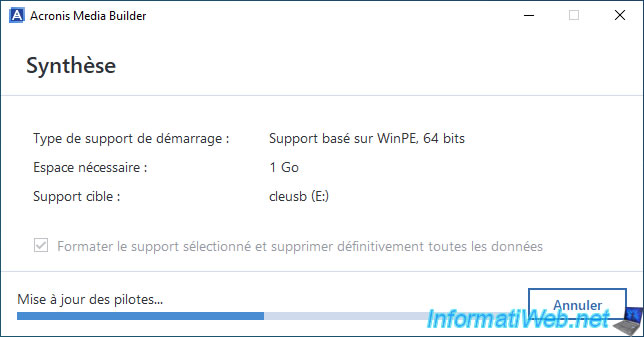
Acronis Media Builder will then integrate your computer's specific drivers into this Windows PE (WinPE) environment so that it works properly on your computer.
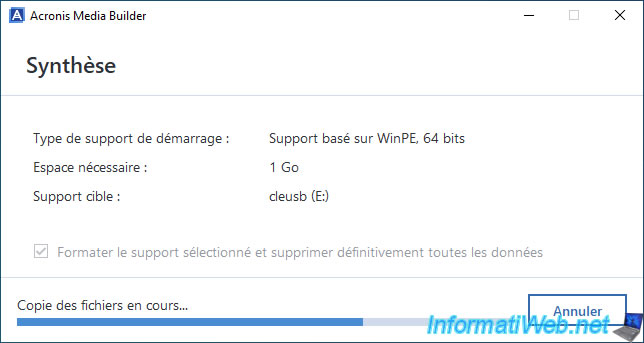
Once the Windows PE environment (and therefore the "boot.wim" file) has been modified by Acronis Media Builder, Acronis Media Builder will copy the necessary files (the "boot.wim" file, but also system files mainly used for booting on Windows PE) to your USB key.
Finally, the message "Acronis bootable media has been created successfully" will appear.
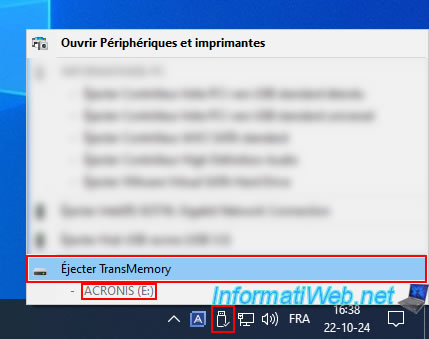
Note: Acronis Media Builder recommends that you eject your USB key properly to avoid data loss.

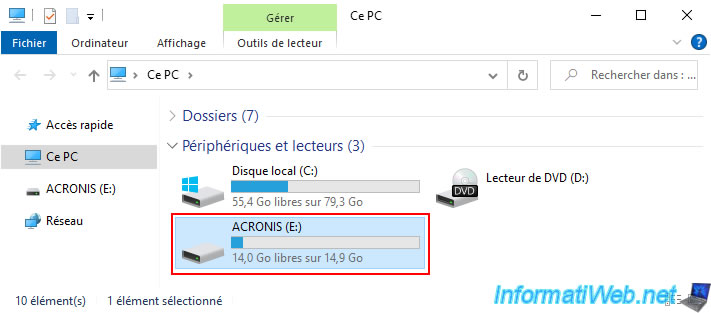
In file explorer you will see that your USB key has been renamed to "ACRONIS" and this bootable media only takes up 1GB of disk space on your USB key.
If you look at the contents of your USB key, you will find mainly 2 folders: Boot and EFI.
These are used to boot your computer on your USB key (including in UEFI mode).
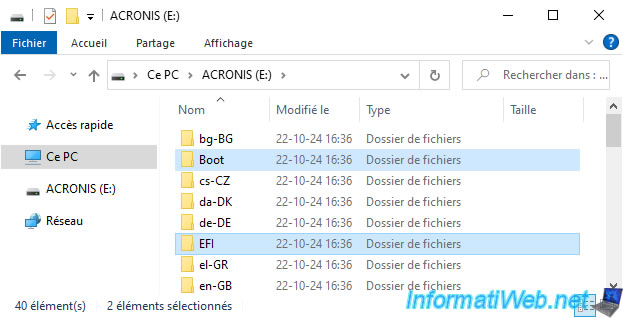
You will also find the files "bootmgr" and "bootmgr.efi" (which are respectively the boot managers for booting via an old BIOS and for booting in UEFI mode).
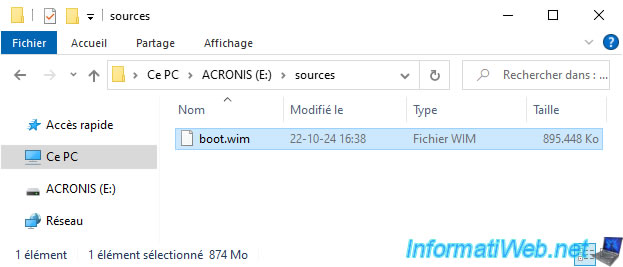
You will also find a "sources" folder.

In this "sources" folder, you will simply find the "boot.wim" file which represents the Windows PE environment in which a light version of Acronis Cyber Protect Home Office (True Image) is pre-installed.
Close the file explorer window and properly eject your USB key via the icon in the taskbar.
3. Boot to the Acronis rescue media created on your USB key
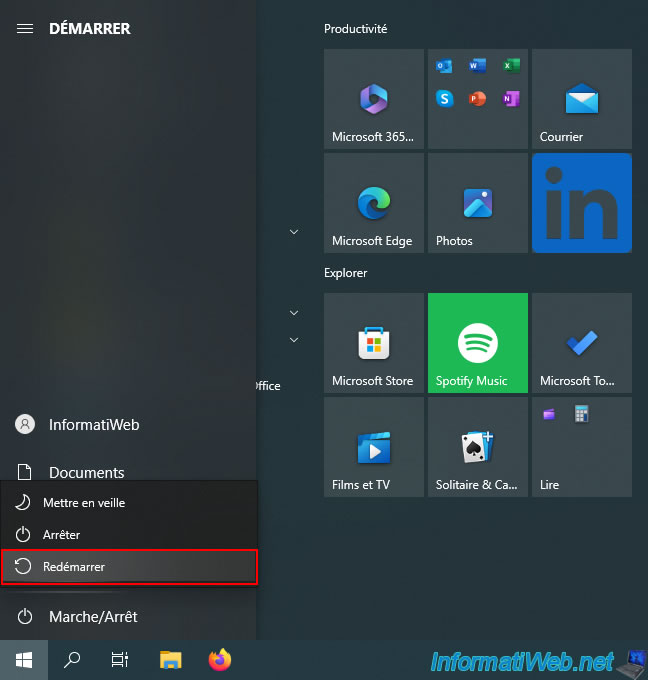
To begin, restart your computer.
Then, when your computer starts up (before Windows starts), press the "Del" key several times to enter your motherboard's BIOS / UEFI firmware.
Then, configure your motherboard's boot order to boot to your USB key first or use your motherboard's BIOS / UEFI firmware boot menu (if you have one).

Once your motherboard's BIOS/UEFI firmware is configured to boot your USB key first, you will see the Windows logo appear.
Note that in this case, it is the Windows PE logo present on your USB key.

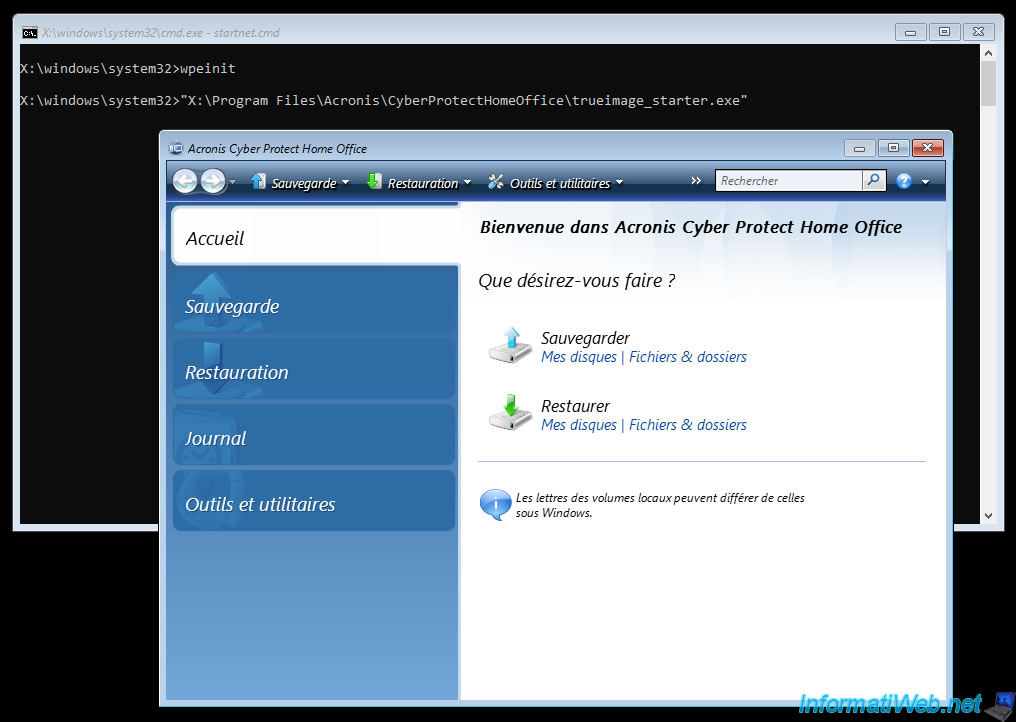
Wait a little and you will see a black window appear, then a few seconds later you will also see an "Acronis Cyber Protect Home Office (True Image)" window.
From this program you will be able to backup or restore your computer thanks to the backups stored on your hard drive.
Share this tutorial
To see also
-

Backup 9/15/2025
Acronis True Image - Backing up your smartphone to Acronis Cloud (encrypted backup)
-
Backup 12/22/2025
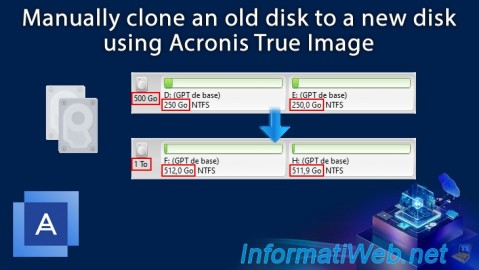
Acronis True Image - Clone a disk (manual mode)
-

Backup 8/25/2025
Acronis True Image - Create backups and authenticate your files
-
Backup 3/9/2026
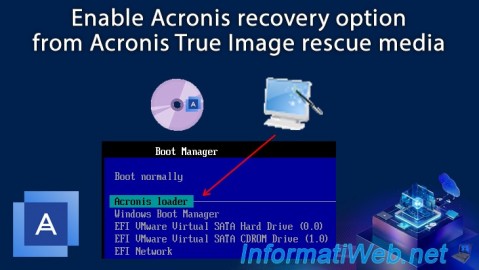
Acronis True Image - Rescue Media - Enable recovery option
You must be logged in to post a comment