Easily create Acronis True Image (Cyber Protect Home Office) rescue media in ISO format
- Backup
- Acronis True Image
- 05 January 2026 at 08:56 UTC
-

- 2/2
2. Boot to Acronis Cyber Protect Home Office rescue media (True Image)
To boot from Acronis Cyber Protect Home Office (True Image) rescue media, you need to burn the ISO file generated by Acronis Cyber Protect Home Office (True Image) to a CD.
If needed, refer to our tutorial: Burn a CD/DVD.
Then, insert this CD into your computer's CD/DVD drive (if it is not already done).

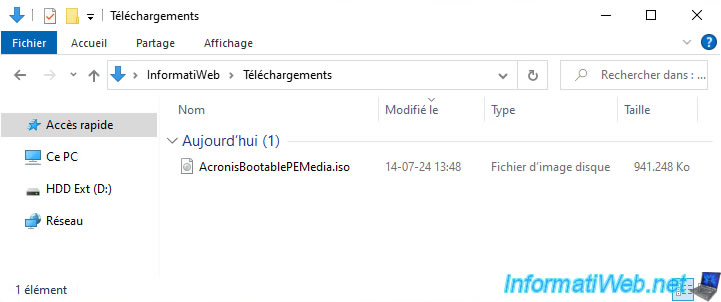
Note that the external hard drive containing our backup (in "tibx" format) is currently connected to our computer.
The rescue media will therefore automatically detect this backup file and you will be able to easily restore your computer using it.
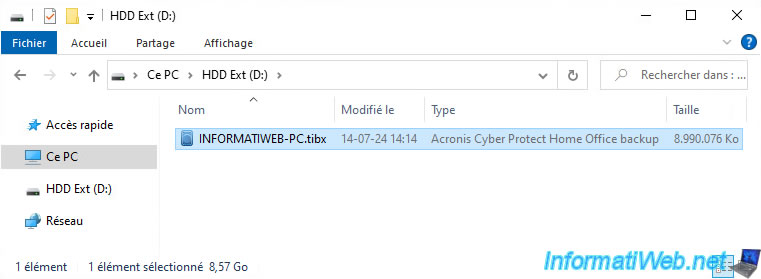
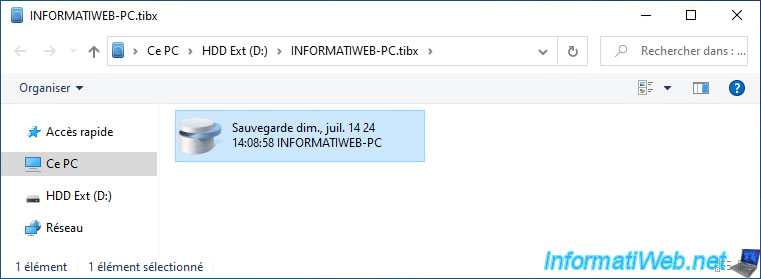
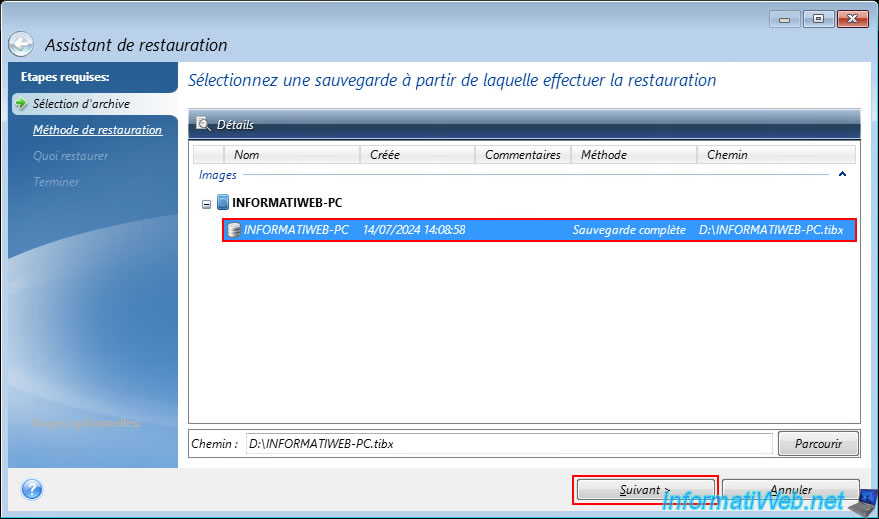
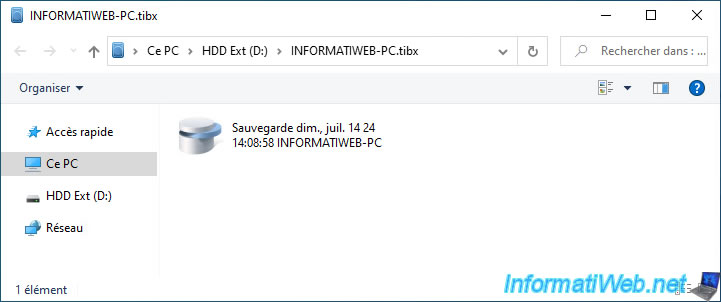
As you can see, this file "INFORMATIWEB-PC.tibx" contains a backup from July 14, 2024 at 2:08 p.m.
Restart your computer and configure your motherboard's BIOS / UEFI firmware so that your computer boots first on your CD / DVD drive (where you will have inserted your Acronis rescue media).
To do this, refer to our tutorial: Change the BIOS boot priority.
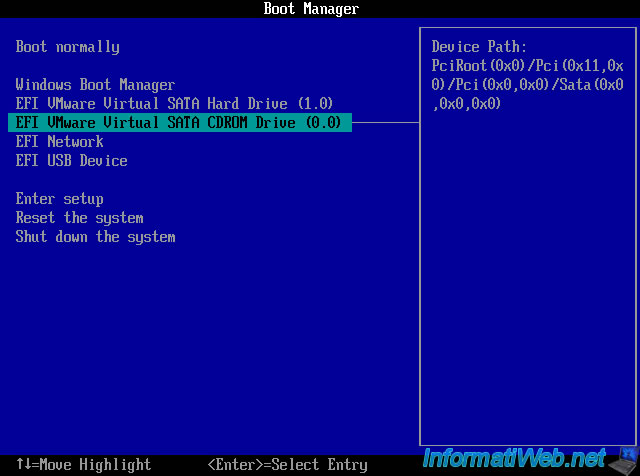
Depending on your motherboard, it is possible that a boot menu managed by your motherboard is available.
For example: via the F8 key for Asus motherboards.
Note: in our case, this is the UEFI boot manager of our VMware virtual machine used for this tutorial.
So, we select our CD / DVD drive (displayed as "EFI VMware Virtual SATA CDROM Drive (0.0)").
When the message "Press any key to boot from CD or DVD ..." appears on the screen, press the "Enter" key.

You will see the Windows logo appear.
However, it is the Windows PE logo (present on the Acronis rescue media) in this case.

A command prompt will appear and the rest of the screen will be black.
As you can see, 2 commands will be executed automatically by this rescue media.
You do not need to type them yourself, just wait a few seconds for the Acronis program to appear.
Note: these commands allow respectively to initialize the Windows PE environment (so that it works correctly), then to launch the Acronis program which will mainly allow you to backup and restore your computer using an existing backup file (.tibx).
Batch
wpeinit
"X:\Program Files\Acronis\CyberProtectHomeOffice\trueimage_starter.exe".

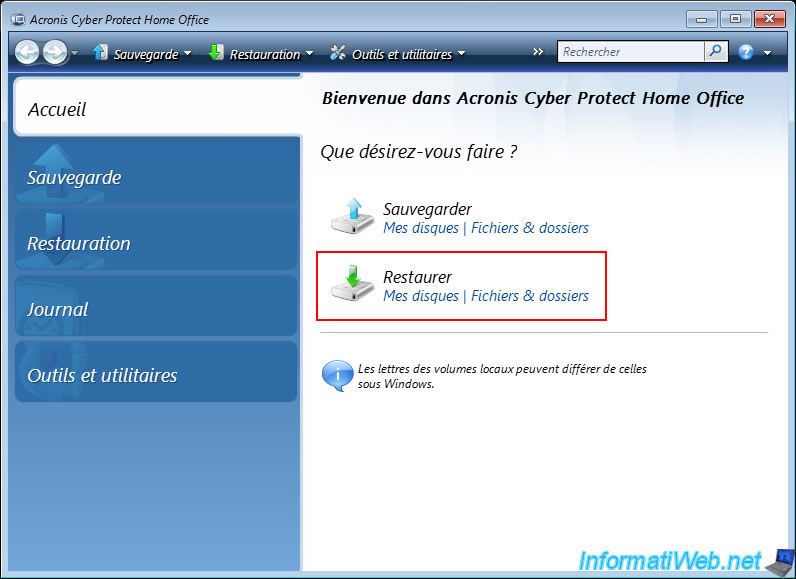
After a few seconds, a second window (named "Acronis Cyber Protect Home Office (True Image)") will appear.

3. Easily restore your computer with Acronis Cyber Protect Home Office (True Image) rescue media
In the "Acronis Cyber Protect Home Office (True Image)" window, choose the "Restore" option.
You will automatically arrive in the "Restore" section of the program.
At the bottom, you will see the list of image configurations (".tibx" files) detected, as well as the versions (full backups and incremental backups) that are in them.
Click on "Disk Restore".

In the Restore Wizard that appears, select the version (full or incremental backup) you want, then click "Next".
Select "Restore entire disks and partitions" to be able to restore the entire disk or specific partitions present from the selected backup, then click "Next".

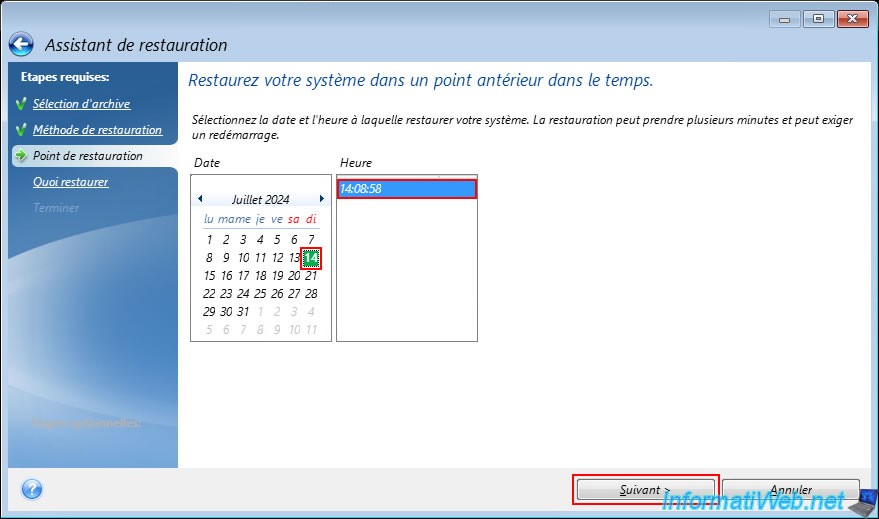
Select the desired date and time from the calendar, then click "Next".
Note: each date and time corresponds to a full or incremental backup present in the ".tibx" file selected previously.
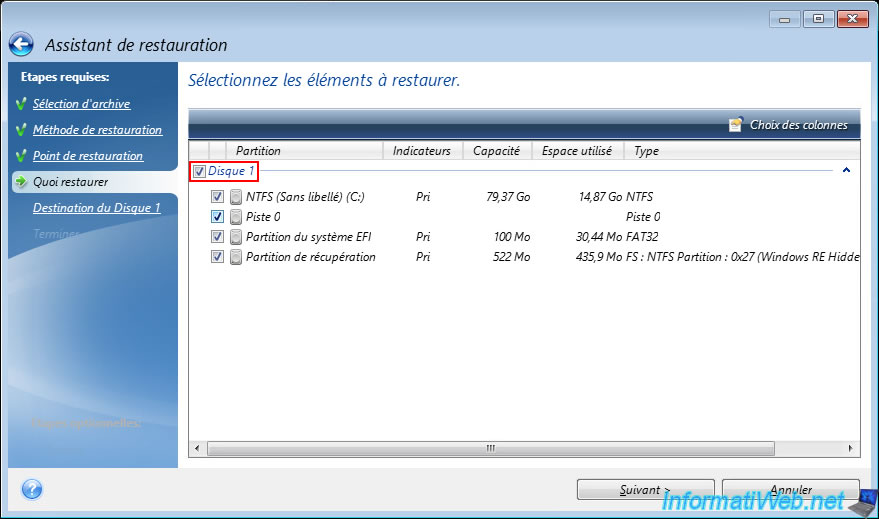
Select the disk or partitions contained in the backup that you want to restore.
Important : the disks listed here are those present in the previously selected backup.
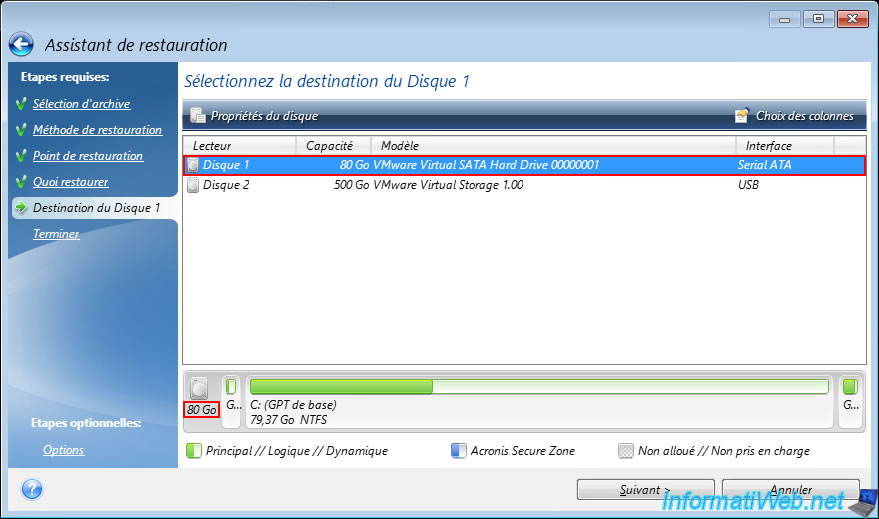
Select the physical disk on your computer to which you want to restore the backup disk you just selected.
Important : this time, the disks listed are those of your physical PC.
When you select a disk, the partitions currently on that physical disk appear at the bottom of the screen.
Note: in our case, disk 2 has an USB interface and therefore corresponds to our external hard drive where the backup file is located in ".tibx" format.
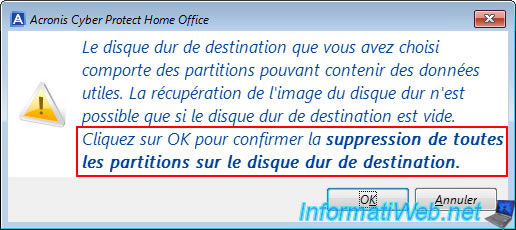
To be able to restore the desired backup, Acronis Cyber Protect Home Office (True Image) will need to erase the partitions that are currently on the physical disk selected above.
After the partitions on the physical disk are erased, Acronis Cyber Protect Home Office (True Image) will be able to recreate the partitions on this physical disk from the backup and copy the data from the backup to your physical disk.
Plain Text
The destination hard drive you have chosen has partitions that may contain useful data.
...
Click OK to confirm deleting all partitions on the destination hard drive.
Click OK.
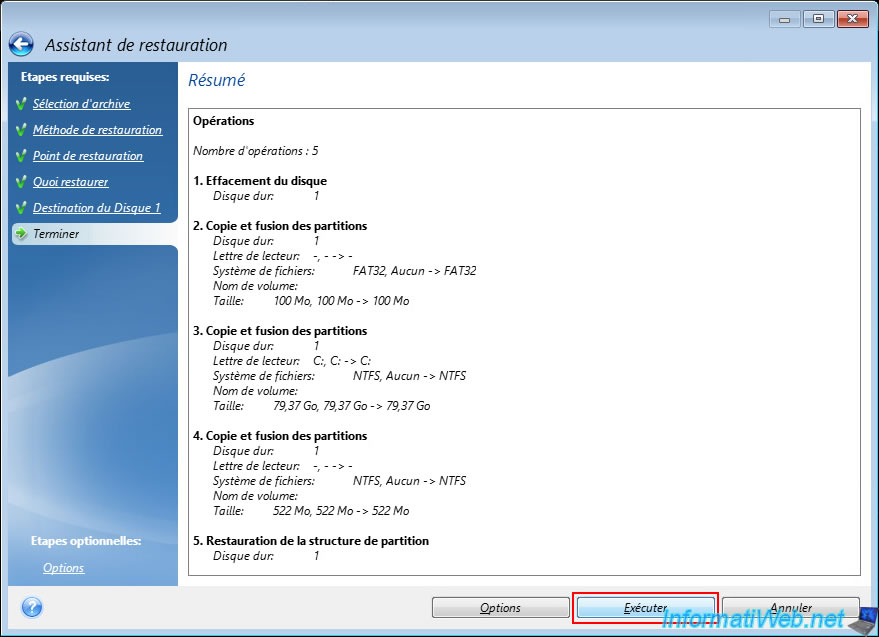
A summary of the restoration steps appears.
Click "Run".
In summary:
- the destination physical disk will be erased.
- the partitions present in the backup will be recreated on this physical disk.
- the data contained in the backup will be copied to your physical disk.
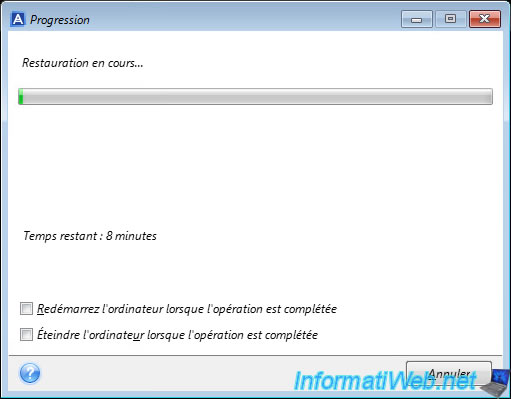
Please wait while your computer is being restored from this Acronis rescue media.
If you want, you can check the desired box (Restart/Shut down computer when operation is complete) so that your computer will restart or shut down automatically when the restoration is finished.
Once the restore is complete, the message "Restore operation successful" will appear.
Close this program "Acronis Cyber Protect Home Office (True Image)" by clicking on the cross at the top right.
Do the same for the command prompt.

Your PC will automatically restart into Windows.

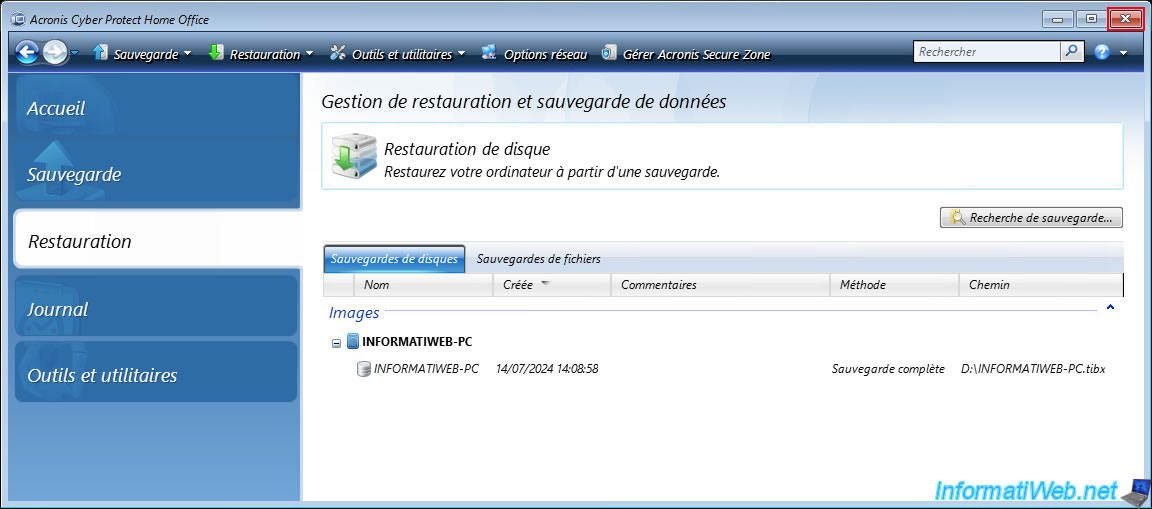
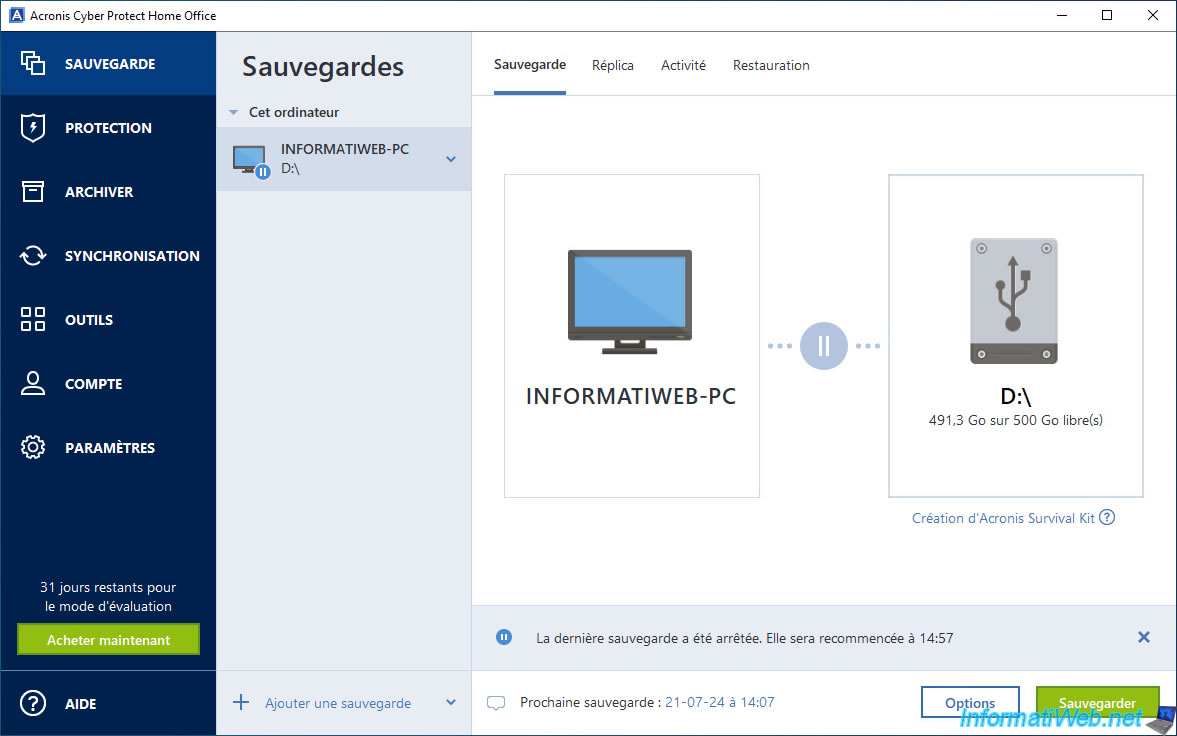
If you open the "Acronis Cyber Protect Home Office (True Image)" program installed on your computer, you will see the message "The last backup was stopped ..." appear (as after any restoration of an Acronis backup).
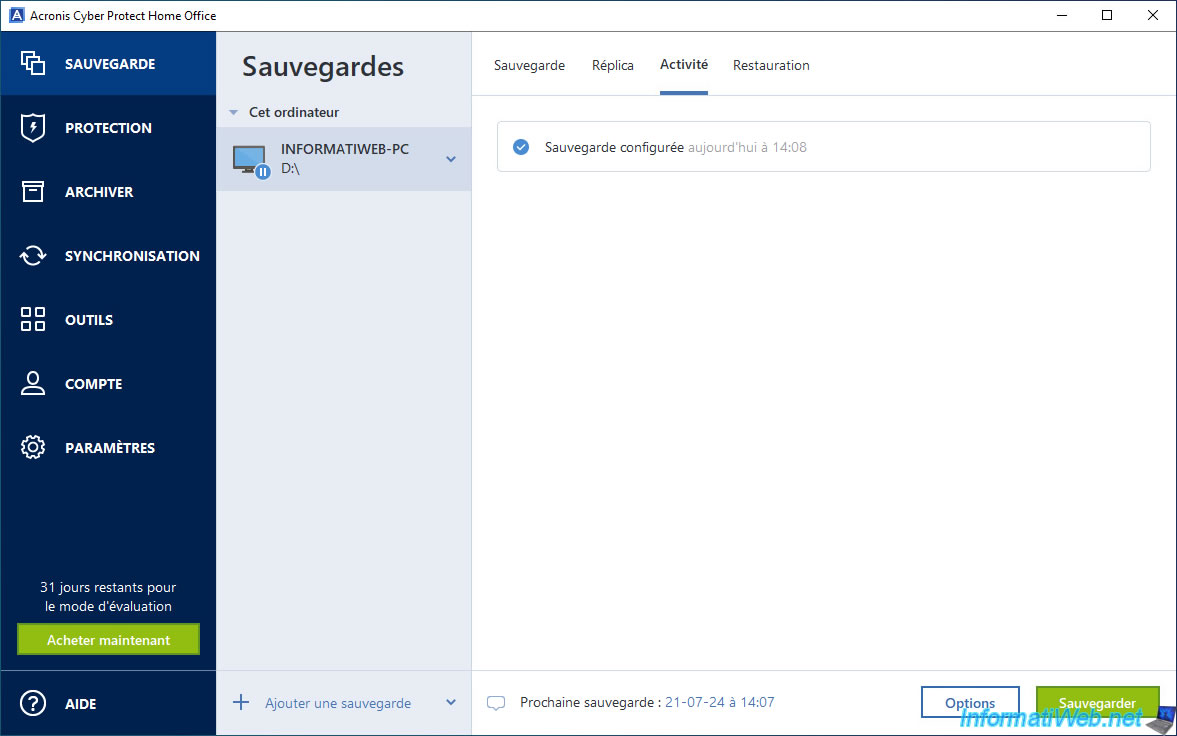
In the "Activity" tab, you won't see anything special since the PC has been restored.
Note that the disk that was restored in our case is the local disk "C".
So the rest was not changed.

The backup file ".tibx" on our external hard drive "D" is still present.
The ISO file that was on our PC is still there.
Share this tutorial
To see also
-
Backup 9/18/2025
Acronis True Image - Clean up Cloud smartphone backups
-
Backup 6/8/2026
Acronis True Image - Clean your system securely
-
Backup 7/31/2025
Acronis True Image - Create backups (single version)
-
Backup 7/14/2025
Acronis True Image - Create incremental backups
No comment