- Backup
- Acronis True Image
- 02 February 2026 at 09:27 UTC
-

- 1/2
With the "Rescue Media Generator" tool of Acronis Cyber Protect Home Office (True Image), you can create Acronis rescue media to backup or restore your computer by booting from it.
In order to add drivers to this rescue media (for example, to support a network card that is not natively supported by it), you will need to use the advanced mode.
However, under Windows 8.1, you will first need to download and install 2 Microsoft tools to be able to create this rescue media by adding your desired drivers.
Attention: the rescue media backup option will only be available if you have used a full (paid) version of Acronis Cyber Protect Home Office (True Image).
- Create Acronis rescue media by installing Windows ADK and Windows PE first
- Boot to your custom Acronis rescue media
1. Create Acronis rescue media by installing Windows ADK and Windows PE first
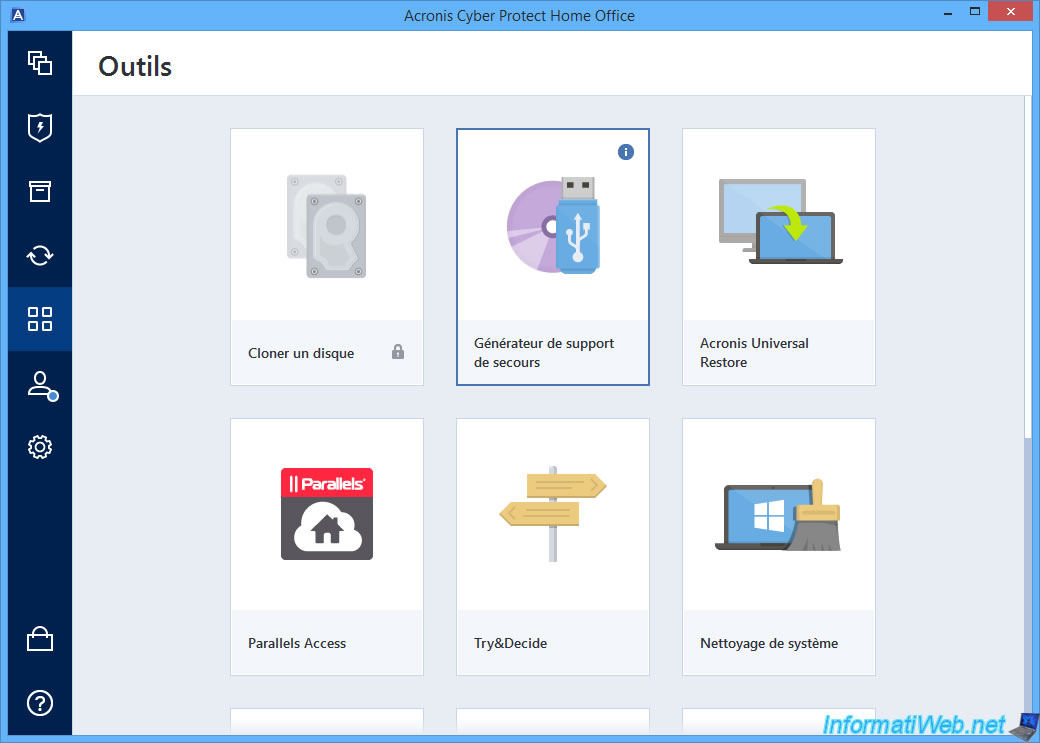
To get started, go to the "Tools" section of Acronis Cyber Protect Home Office (True Image) and click "Rescue Media Generator".
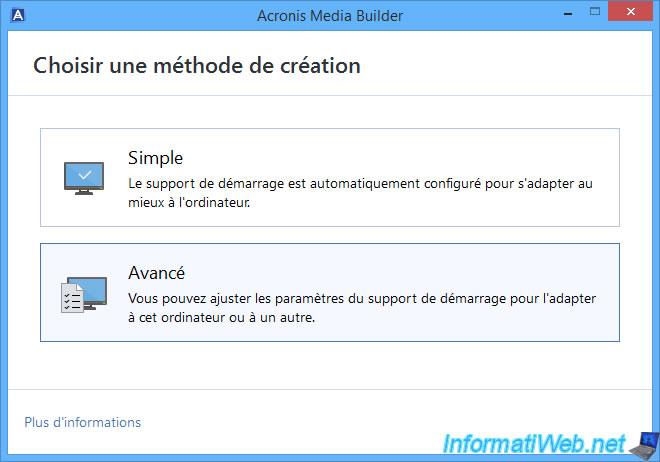
In the "Acronis Media Builder" window that appears, click "Advanced".
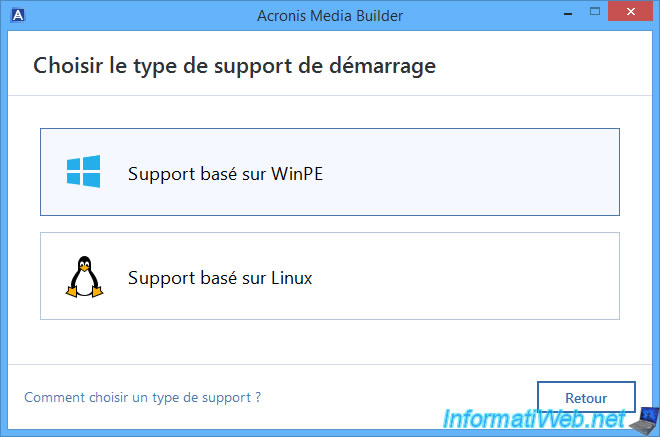
Then, click on "WinPE based support".
As requested by Acronis Media Builder, for Windows 8.1 you will need to use the Windows ADK.
Note: in our case, using the "Windows Recovery Environment" toolkit did not work (whether Windows 8.1 was up to date or not).
Hence the use of the "Windows ADK" toolkit under Windows 8.1.
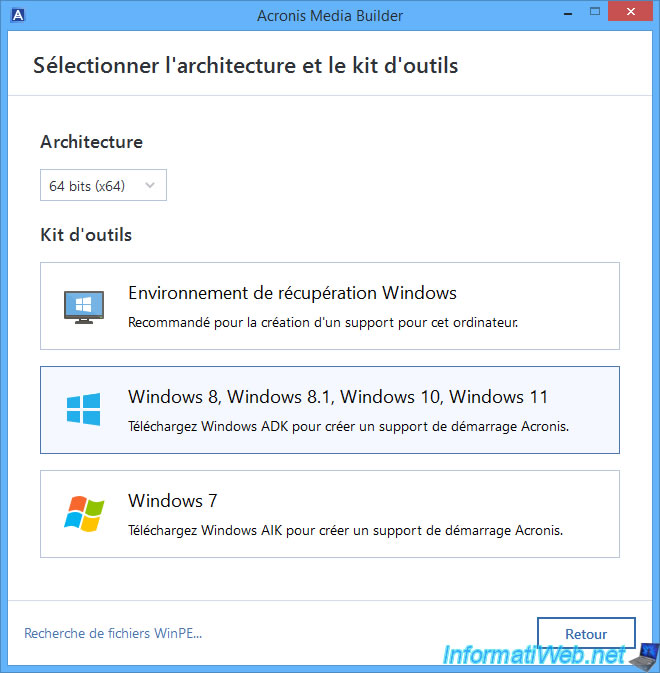
As you can see, 2 components will be required:
- Windows ADK which allows you to manage Windows deployments, notably via the DISM utility.
- Windows PE Addon: which contains a basic copy of Windows PE (in the 2 possible architectures (x86/x64)).
To download these components, simply click on the first 2 links displayed by Acronis Media Builder.
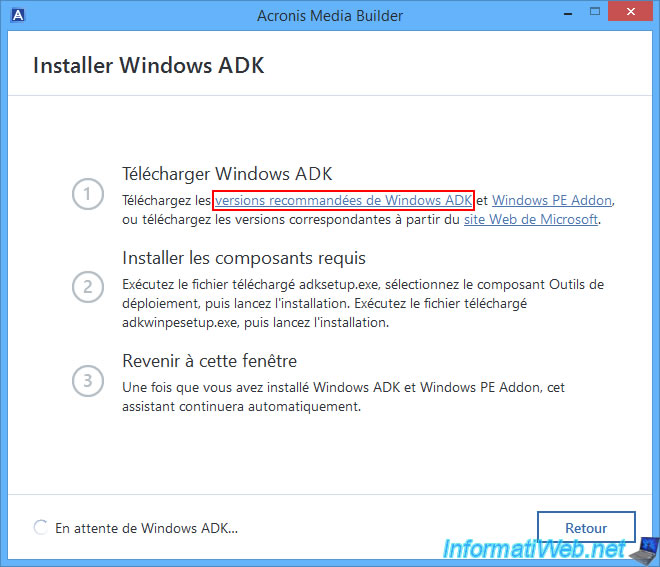
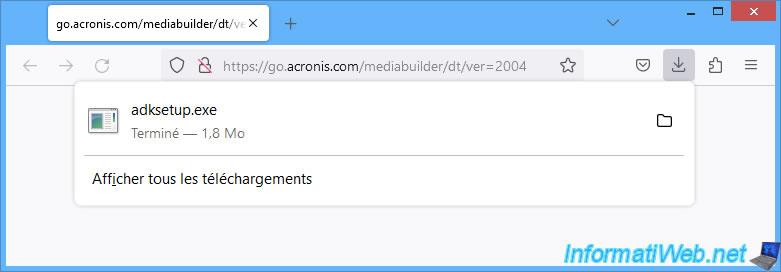
The 1st link (for Windows ADK) will download a very lightweight "adksetup.exe" file from Microsoft's site.
Note: the Acronis link is a simple redirect to a much longer download link from Microsoft.
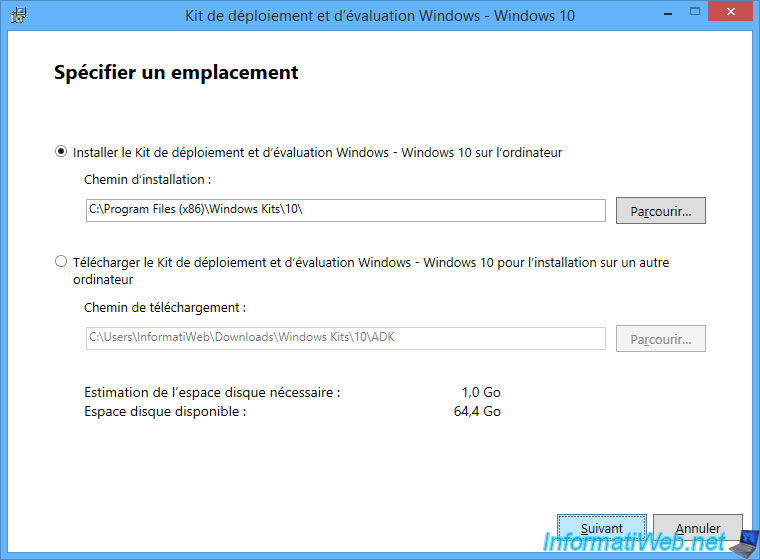
Run the downloaded "adksetup.exe" file and a "Windows Assessment and Deployment Kit - Windows 10" window will appear.
As you can see, the latest version of Windows ADK will be installed and therefore concerns Windows 10 and not Windows 8.1.
However, this is not a problem.
Just click "Next" leaving the default installation folder.
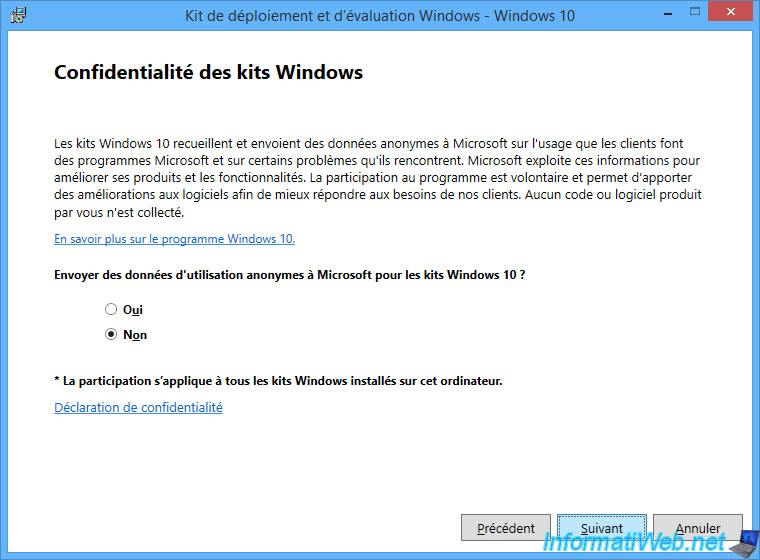
Opt out of sending anonymous usage data to Microsoft to protect your privacy and click "Next".
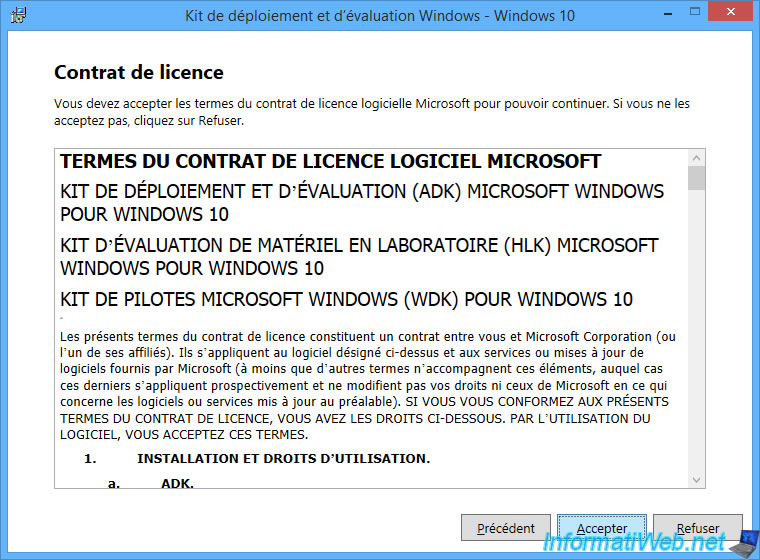
Accept the Microsoft license agreement (for Windows ADK).
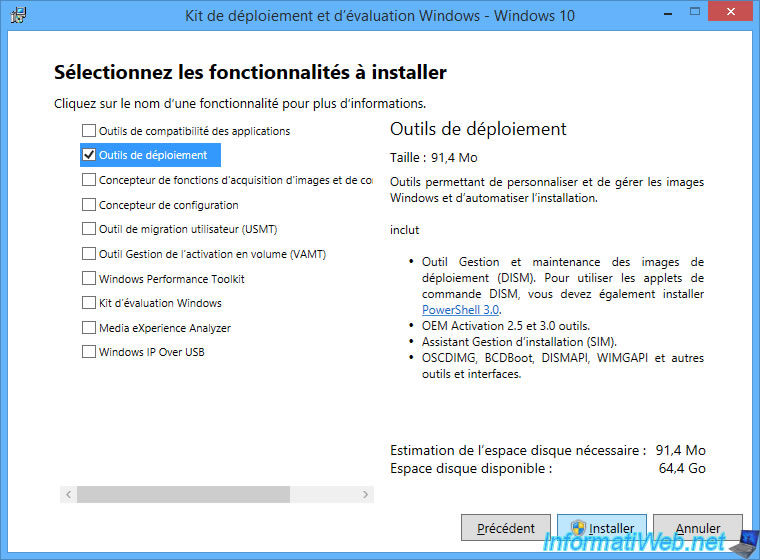
Install only the "Deployment Tools" feature (which includes the DISM tool used when you want to create a custom Windows PE environment).
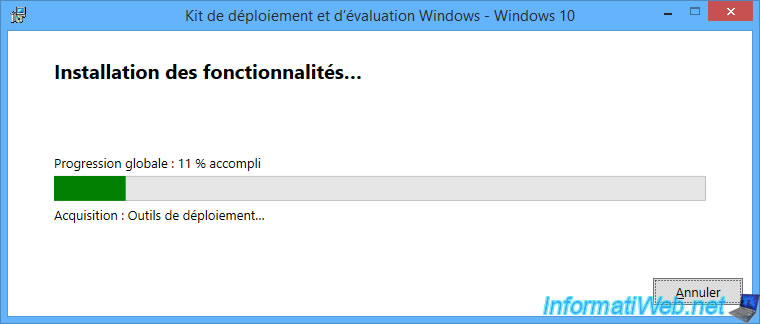
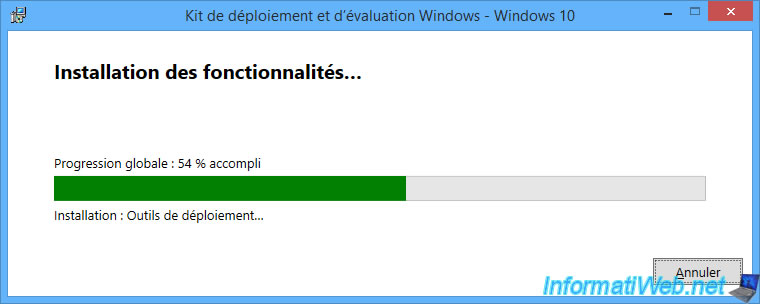
Please wait while this "Deployment Tools" feature is downloaded (acquired) from Microsoft's server.
Then, wait while it installs.
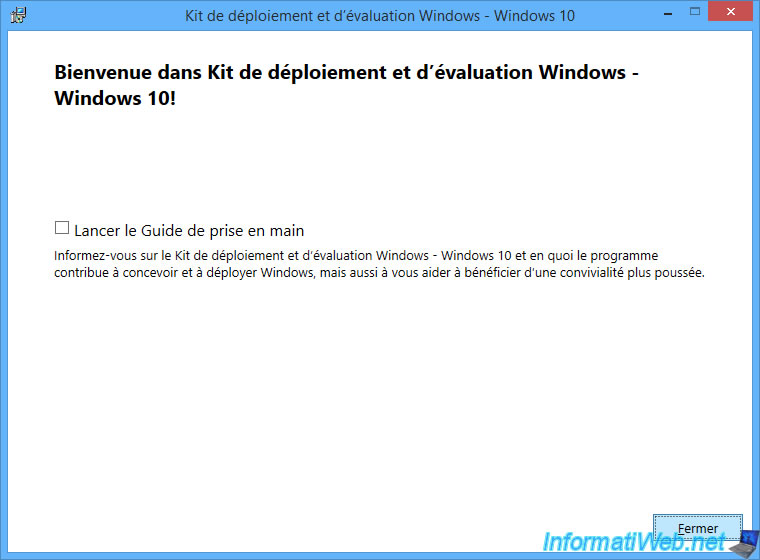
Once the Windows ADK installation is complete, click "Close".
Now, click on the 2nd link (Windows PE Addon) to download the 2nd Microsoft component to install.
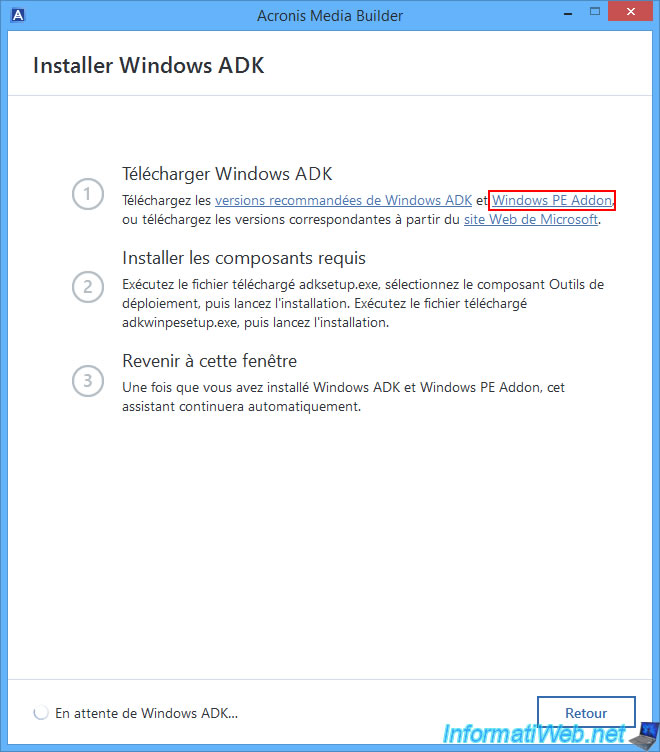
This time the (very light) file downloaded (again from a Microsoft server via an Acronis redirect) will be "adkwinpesetup.exe".

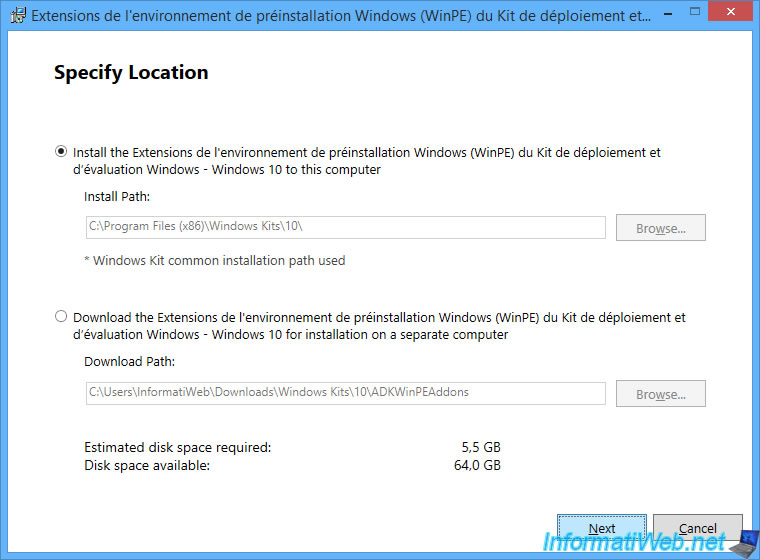
A "Windows Preinstallation Environment (WinPE) Extensions..." window will appear and the installation folder will be the same as the Windows ADK you just installed.
So, click "Next".
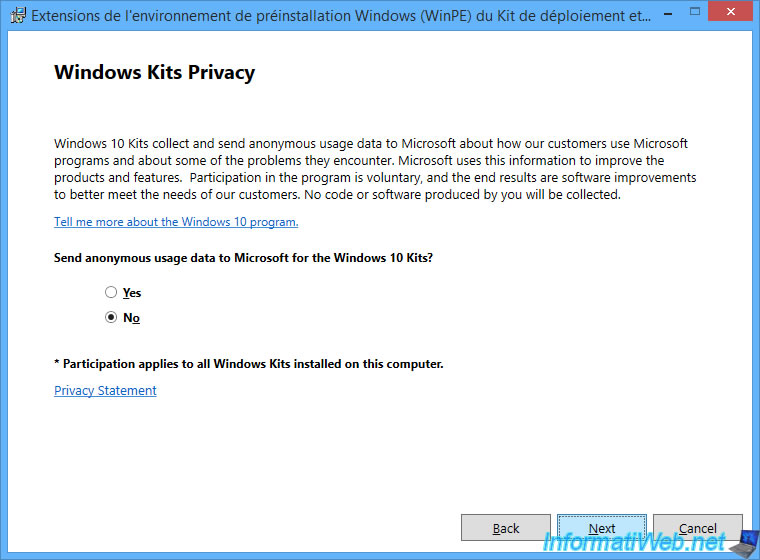
Opt out of sending anonymous usage data to Microsoft again, then click "Next."
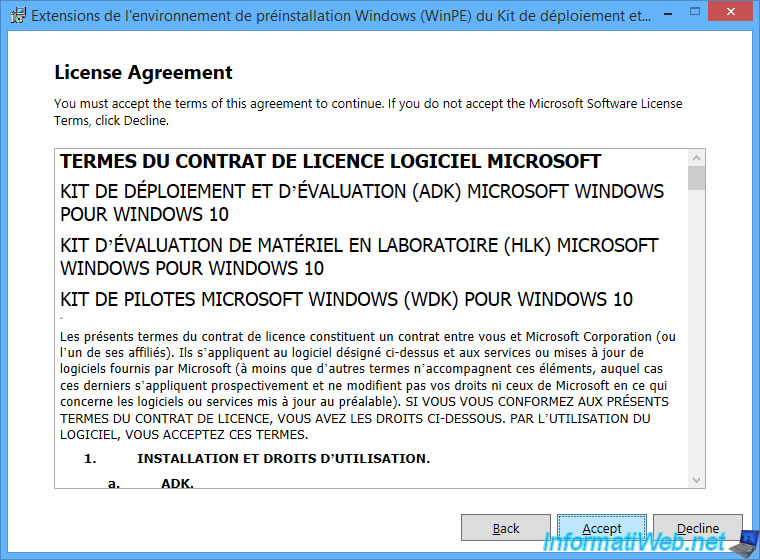
Accept the Microsoft license agreement for the Windows ADK again.
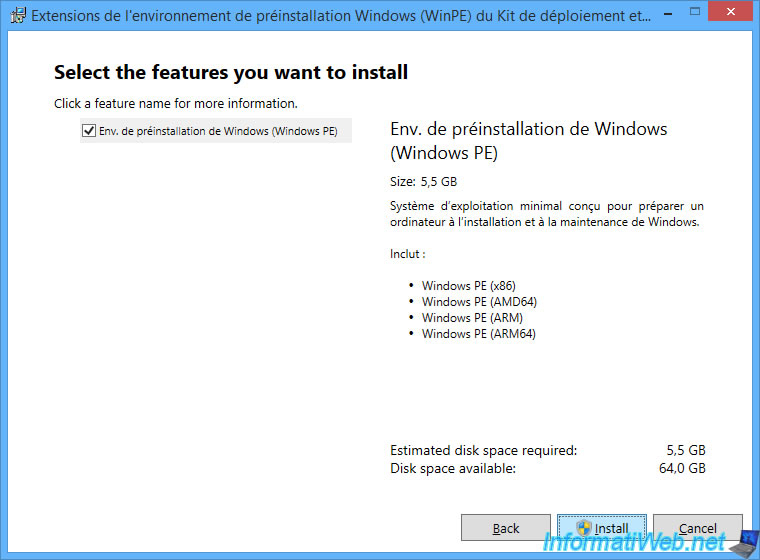
The "Windows Preinstallation Environment (Windows PE)" box is checked by default.
So, just click "Install".
Note: as you can see, this will download this basic Windows PE environment for architectures: x86 (32-bit), x64 (64-bit), ...
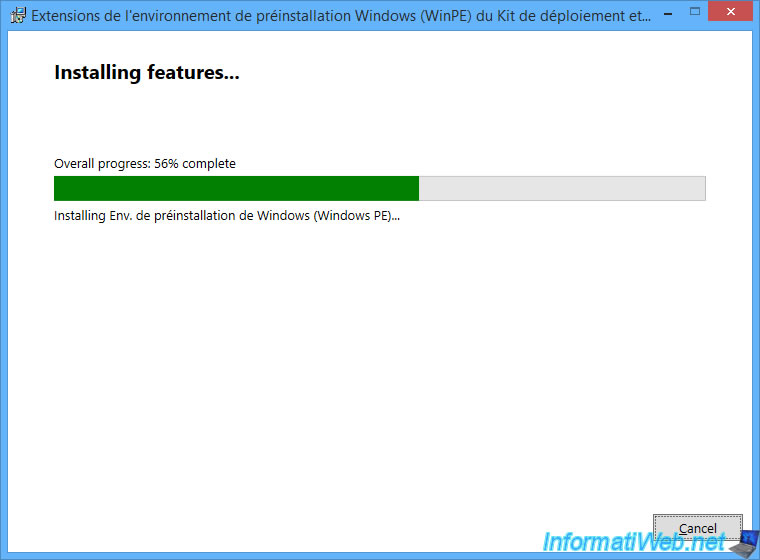
Please wait while this feature "Windows Preinstallation Environment (Windows PE)" is downloaded from Microsoft server.
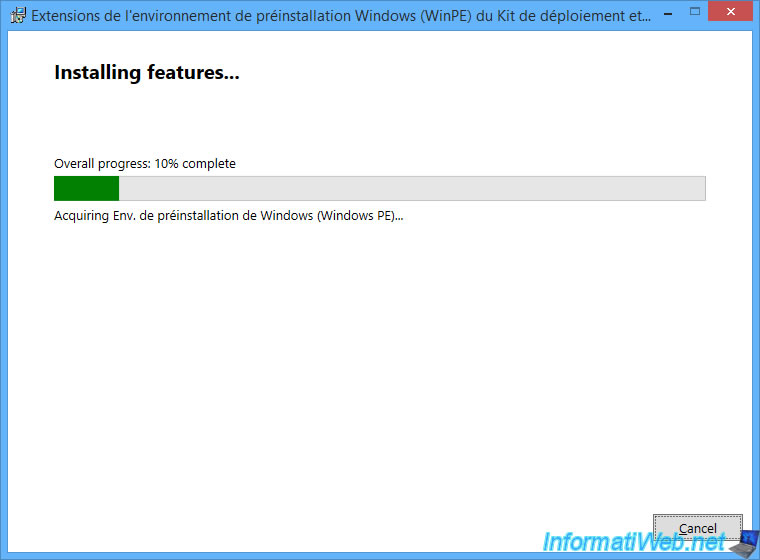
Then, during its installation.
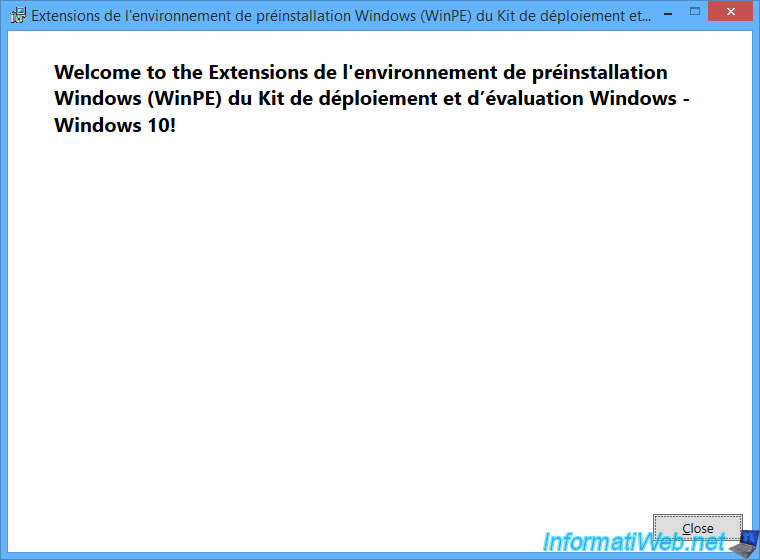
Once WinPE installation is complete, click "Close".
Note: again, you can notice that this is Windows 10 Deployment Kit.
So, Acronis rescue media will be based on Windows PE environment in Windows 10 version.
Share this tutorial
To see also
-

Backup 6/2/2025
Acronis True Image - Backing up your PC to an external hard drive
-

Backup 9/1/2025
Acronis True Image - Backing up your smartphone to your PC
-
Backup 8/25/2025
Acronis True Image - Create backups and authenticate your files
-
Backup 1/19/2026
Acronis True Image - Rescue Media - Create media (Linux version)
You must be logged in to post a comment