Microsoft multiboot with Windows 7 and Windows 8.1
- MultiBoot
- Windows 8 / 8.1, Windows 7
- 25 March 2024 at 15:12 UTC
-

- 2/3
2. Install Windows 8.1
Insert the Windows 8.1 installation DVD and restart your computer.
Your computer should boot to your Windows 8.1 installation DVD.
Hence the appearance of the Windows 8.1 logo.
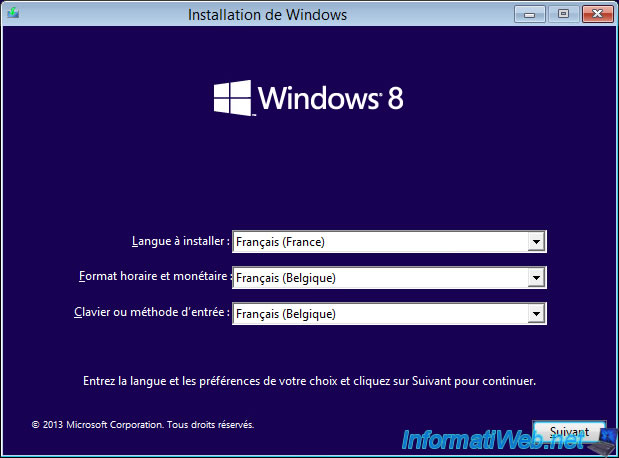
In the Windows 8.1 Setup Wizard that appears, select your language and country.
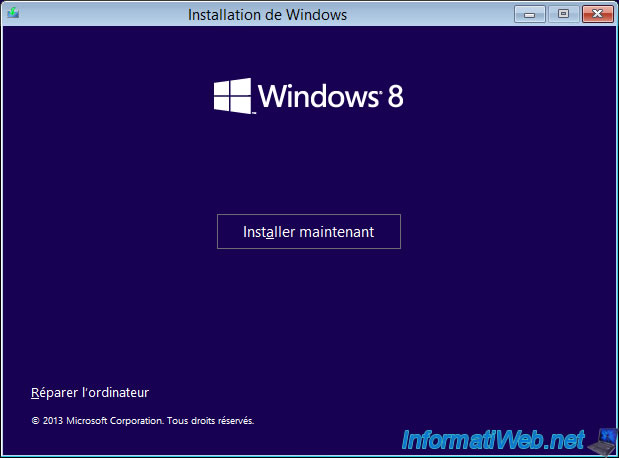
Click: Install now.
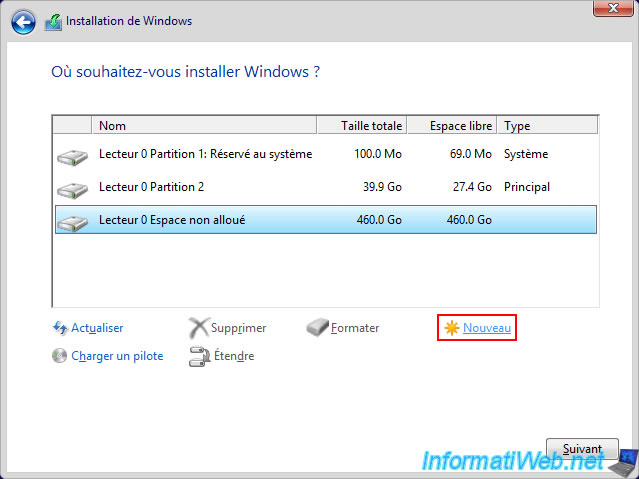
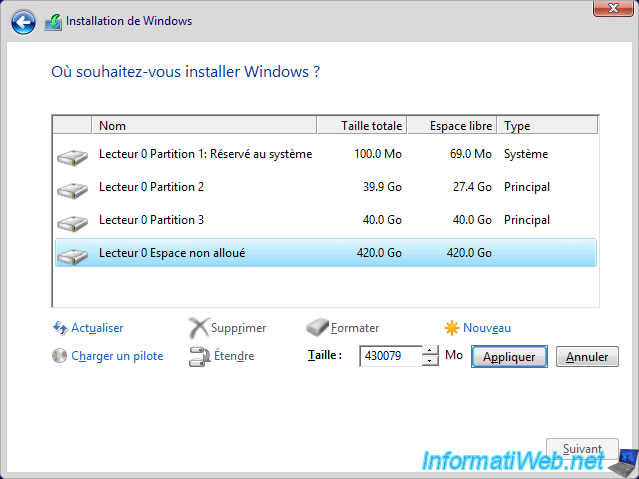
At the hard drive partitioning step, select the remaining unallocated space on your hard drive and click "New".
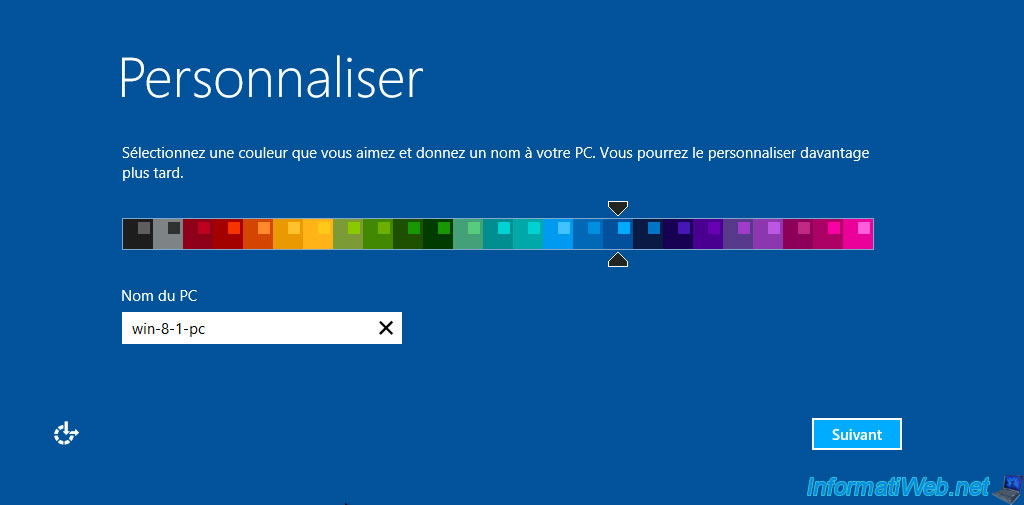
Note: if you want a complete tutorial on installing Windows 8.1, refer to our tutorial: Format your computer and reinstall Windows 8 or 8.1.
Specify "40960" MB to create a 40 GB partition (40 x 1024 MB = 40960 MB = 40 GB).
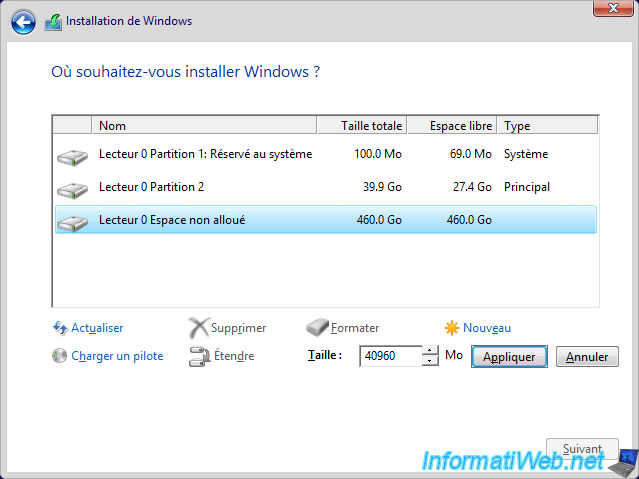
A 40 GB partition has been added.
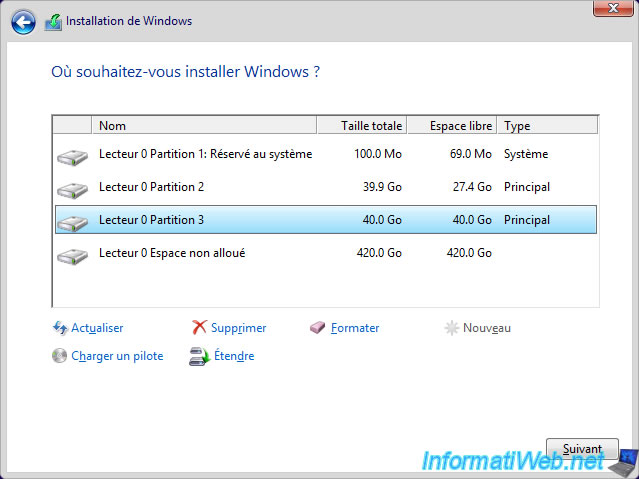
Select the unallocated space again and click "New" to create additional data(s) to store data,...
Leave the size indicated by default if you wish to create a single additional partition which will use all the remaining unallocated space and simply click on: Apply.
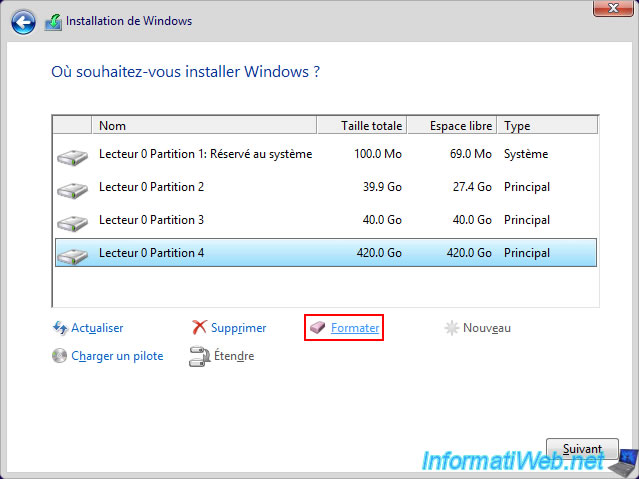
Important : you need to format your data partition at least once before you can use it.
Indeed, for the moment, there is no file system on it.
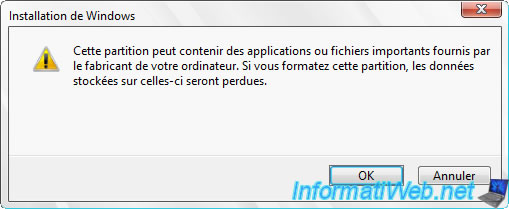
Ignore the warning by clicking OK.
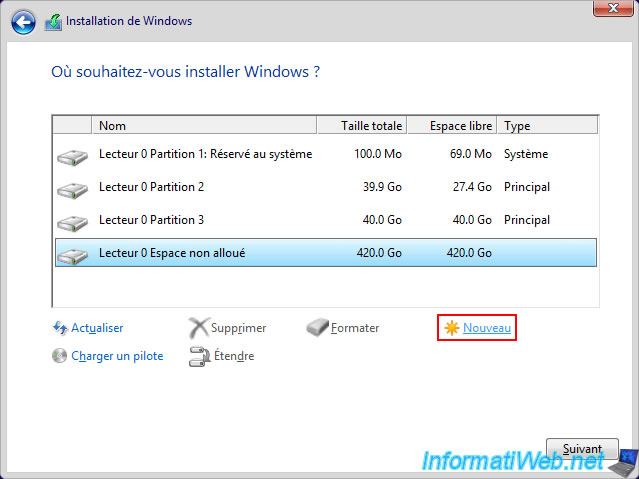
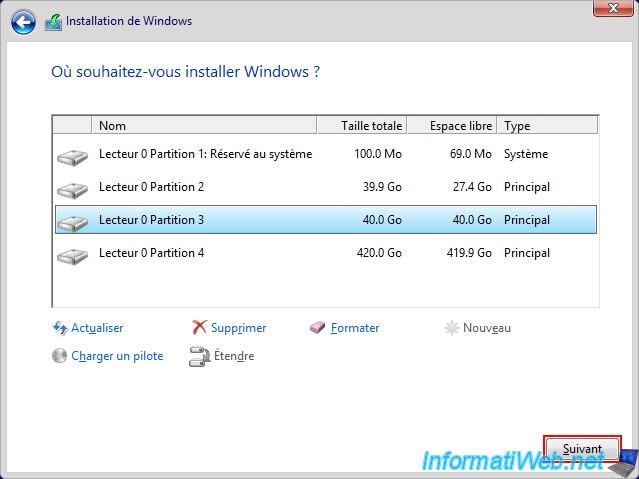
Select the 40 GB partition you created from this setup wizard.
So the partition you need to select is the one whose total size AND free space is 40 GB.
Windows 8.1 installation begins.
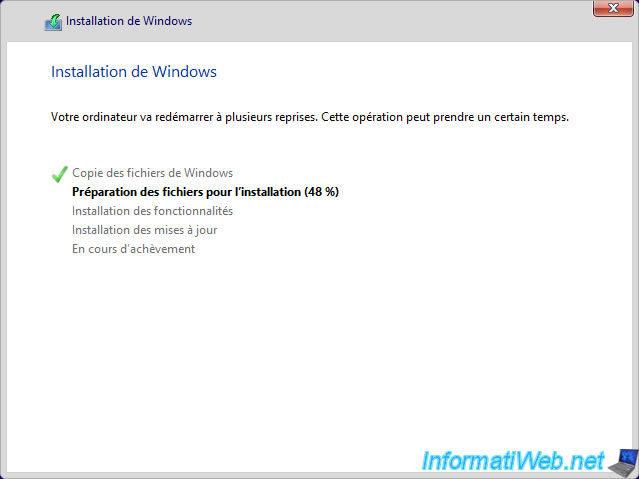
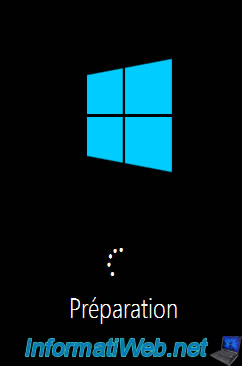
The "Preparing" message will appear at some point.
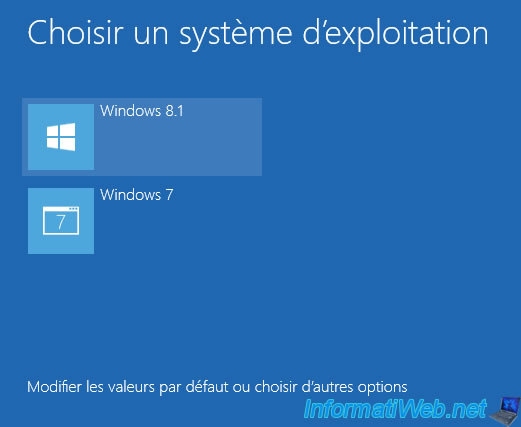
When this start menu appears, click each time on "Windows 8.1".
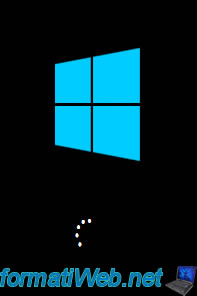
The Windows 8.1 logo reappears.
Windows 8.1 setup steps appear.
Again, if necessary, refer to the tutorial mentioned above.
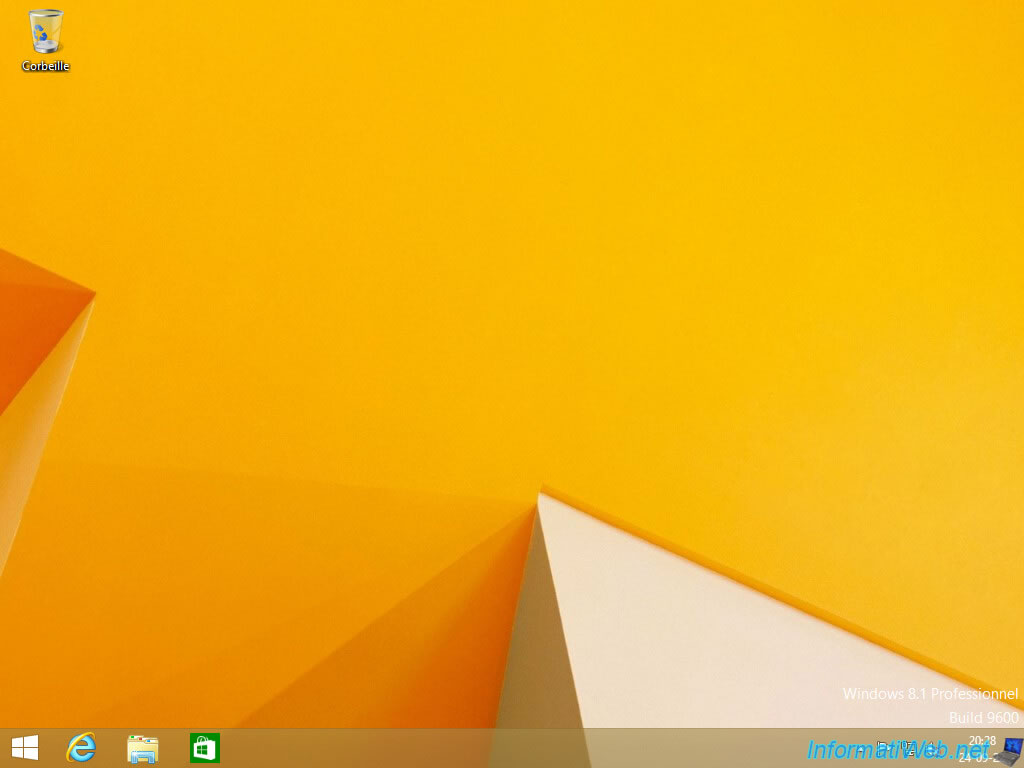
Windows 8.1 has been installed.
Once Windows 8.1 is installed, install the drivers for Windows 8.1 for your computer.
On restart, click: Windows 8.1.

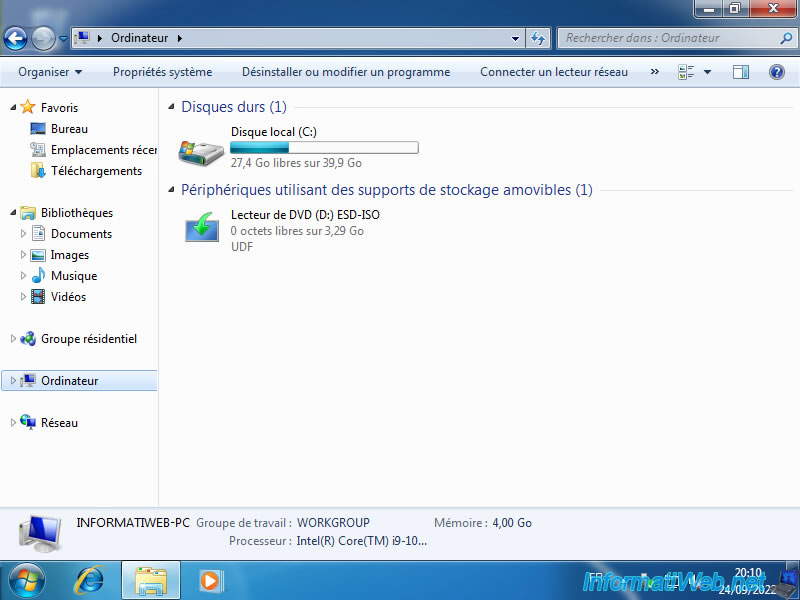
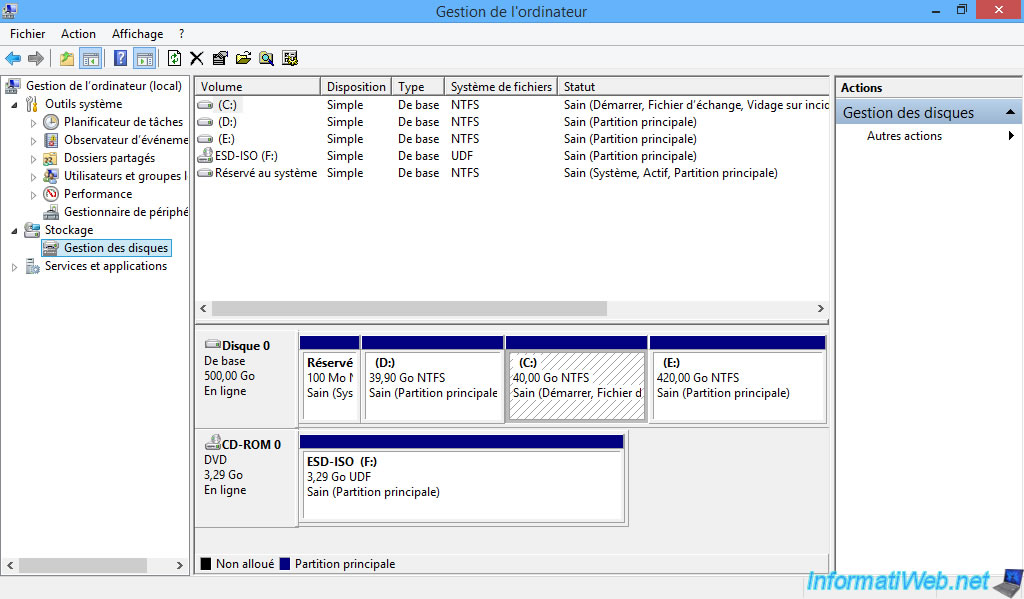
Once in Windows 8.1, open File Explorer and right click "Manage" on "This PC".
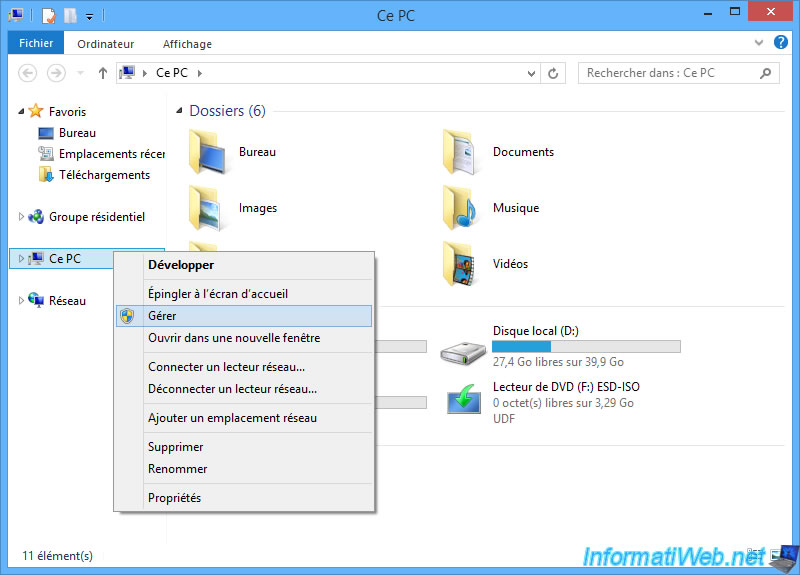
In the "Computer Management" console that appears, go to: Disk Management.
As you can see, your hard drive has several NTFS partitions:
- the 1st of 100 MB is the system partition with the repair tools (Win RE) of Windows 7.
- the 2nd partition (D) is the partition where Windows 7 is installed.
- the 3rd partition (C) is the partition where Windows 8.1 is installed.
- the 4th partition (E) is the partition intended for data storage.
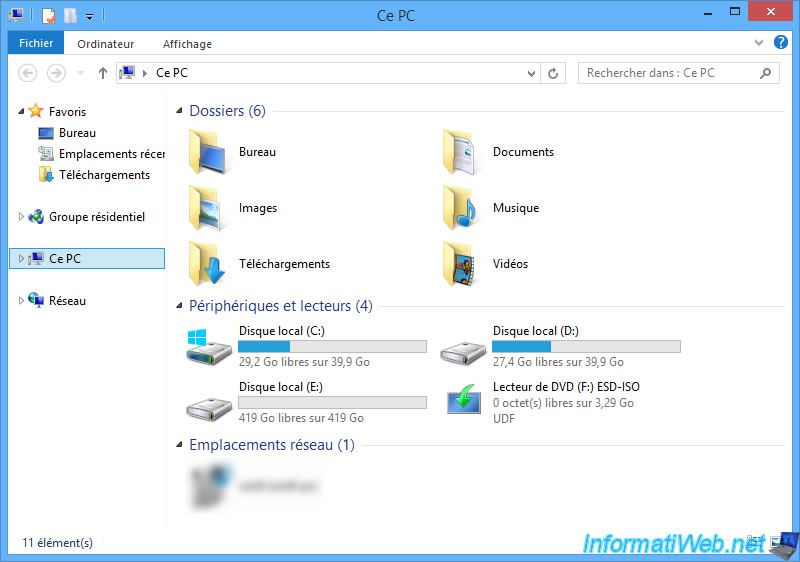
You will also see these partitions from the file explorer by clicking on: This PC.
Share this tutorial
To see also
-
Windows 4/6/2013
Get the serial number of Windows
-

Windows 4/3/2013
Manage startup programs
-
Windows 4/29/2016
Windows 8 / 8.1 / 10 / 11 - Startup repair
-
Windows 9/2/2016
Windows 8.1 - Repair Windows installation by the upgrade process
No comment