- MultiBoot
- Windows 8 / 8.1, Windows 7
- 25 March 2024 at 15:12 UTC
-

- 1/3
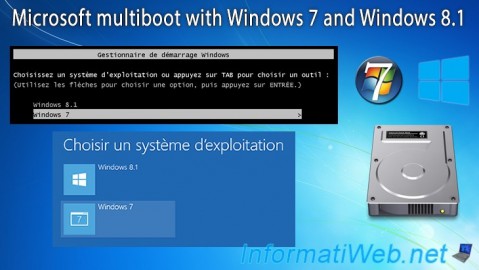
If you want to upgrade from Windows 7 to Windows 8.1, but want to test this new version of Windows first without altering the old one, you can easily multiboot with Windows 7 and 8.1.
- Install Windows 7
- Install Windows 8.1
- Manage the boot menu on Windows 8.1 (to change the default OS)
- Manage the boot menu on Windows 7 (to change the default OS)
1. Install Windows 7
To get started, configure your motherboard BIOS so that your computer boots to your CD/DVD drive first, then to the hard drive or SSD where you want to install Windows 7 and 8.1.
If necessary, refer to our tutorial: Change the BIOS boot priority.
If your computer boots to your Windows 7 installation DVD, you will probably see the message "Windows is loading files" appear for a few seconds.

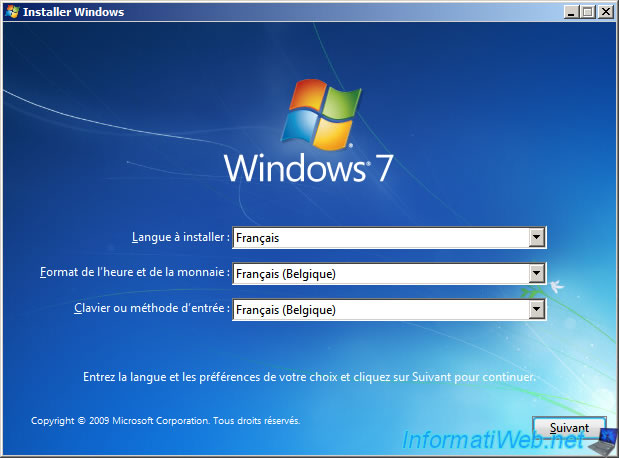
Then, the "Install Windows" program of Windows 7 will appear.
Select your language and country and click Next.
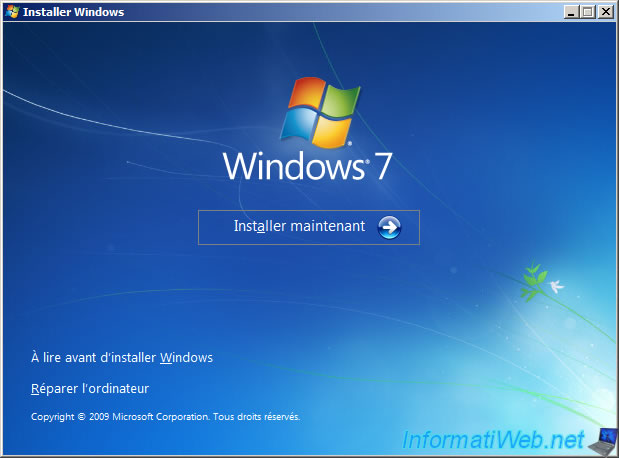
Click: Install Now.
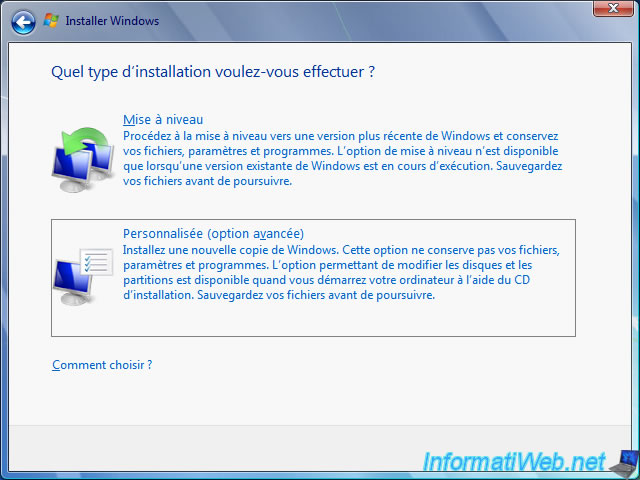
When this step appears, click on: Custom (advanced option).
Note: to obtain the detailed procedure concerning the normal installation of Windows 7, refer to our tutorial "Format your computer, reinstall Windows 7 and update it", if necessary.
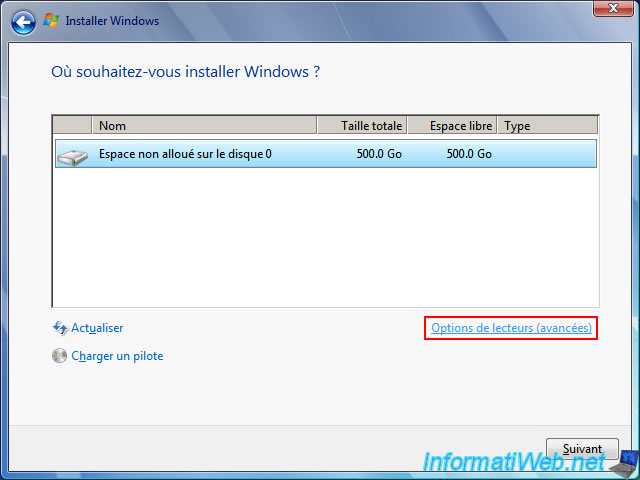
For hard drive partitioning, select unallocated space and click: Drive options (advanced).
Note: in our case, we used a blank hard drive. Hence the fact that there is only unallocated space on it and therefore no partition.
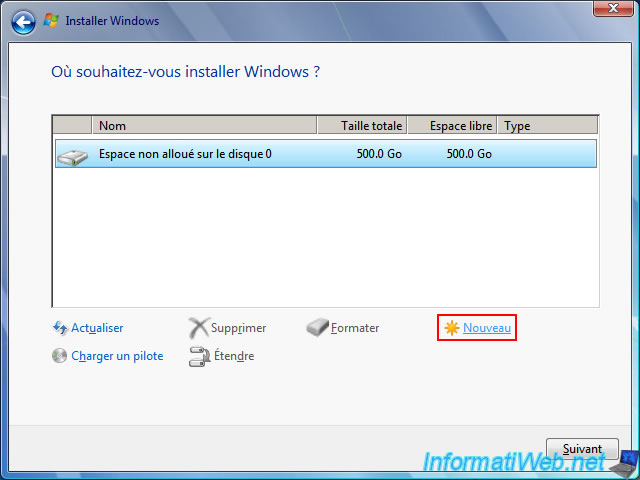
Then, click on: New.
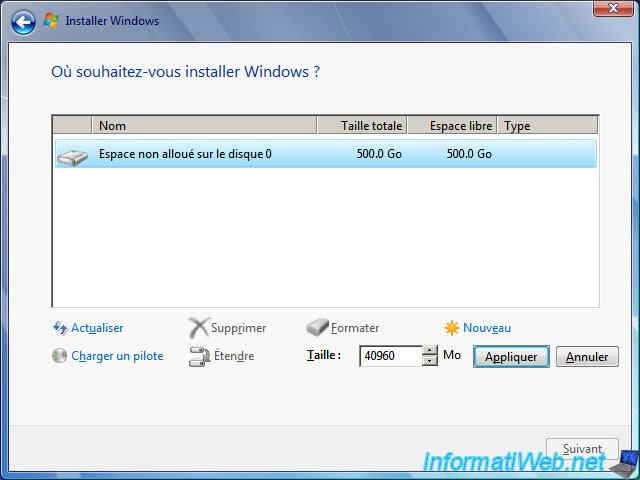
Specify "40960" MB to create a 40 GB partition (40 x 1024 MB = 4096 MB = 40 GB).
Which is enough to install Windows 7 and some programs.
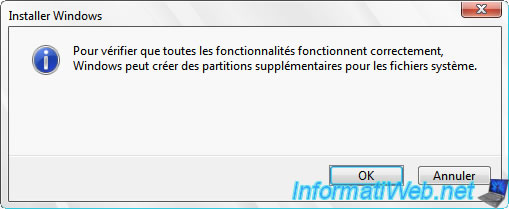
When you create your 1st partition in the unallocated space of your hard disk, the installation wizard tells you that it can create additional partitions for system files.
In other words, creating a 100MB partition (in the case of Windows 7) for Windows 7 repair tools. This is useful when Windows 7 startup no longer works.
Click OK.
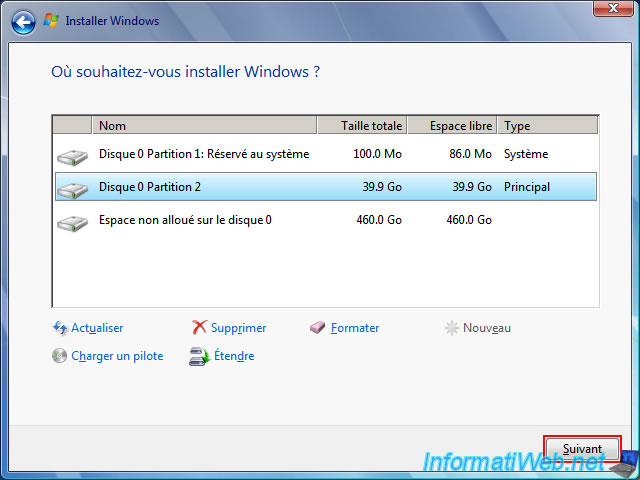
As you can see, a 100MB system partition named "System Reserved" was also created.
Select your 40 GB partition and click Next.
The installation of Windows 7 begins.
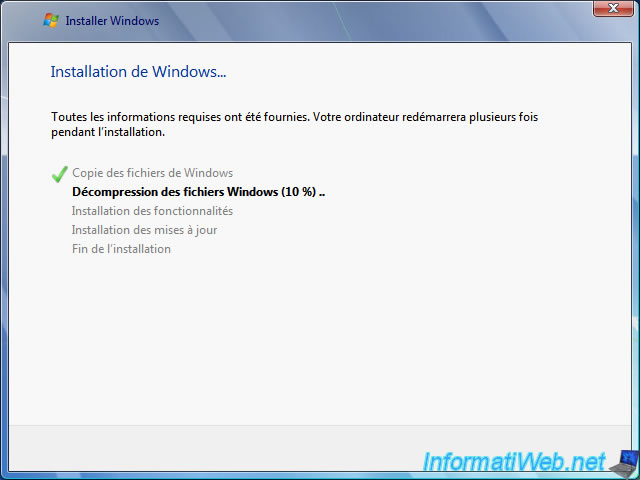
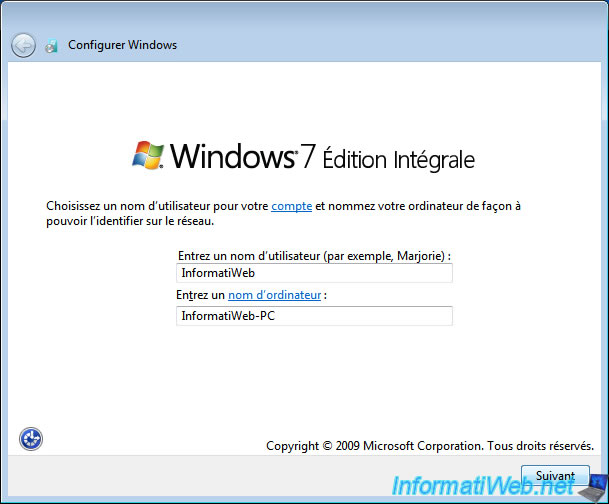
Once the installation of Windows 7 is complete, several configuration steps will appear.
If necessary, refer to the tutorial mentioned above.
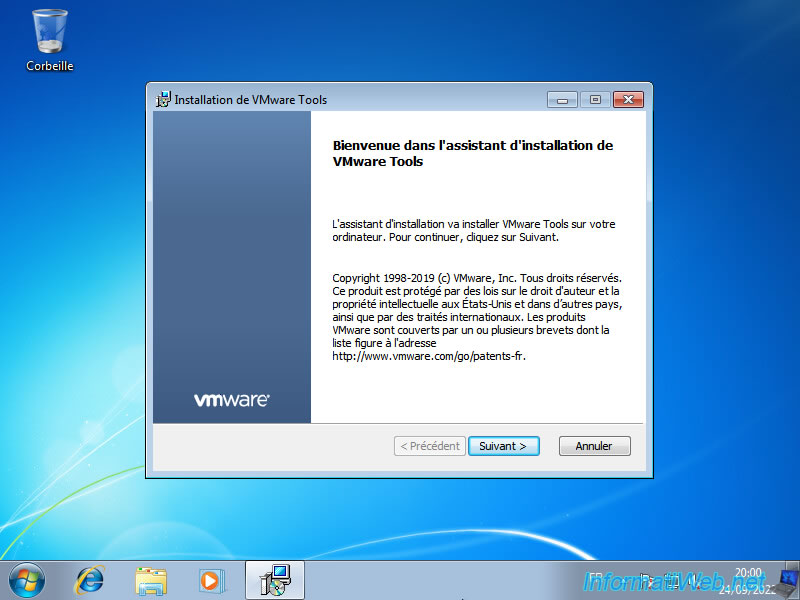
After the Windows 7 installation is fully completed, install the drivers for Windows 7 on your computer.
In general, it is sufficient to use the supplied CDs: Install the drivers on Windows from the supplied CDs.
Note: in our case, we carried out this tutorial in a VMware virtual machine.
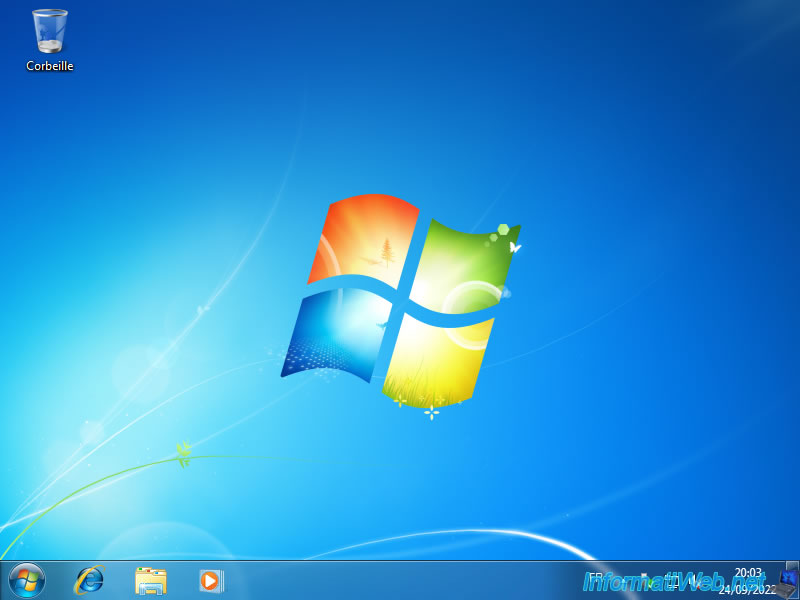
Your drivers are installed.
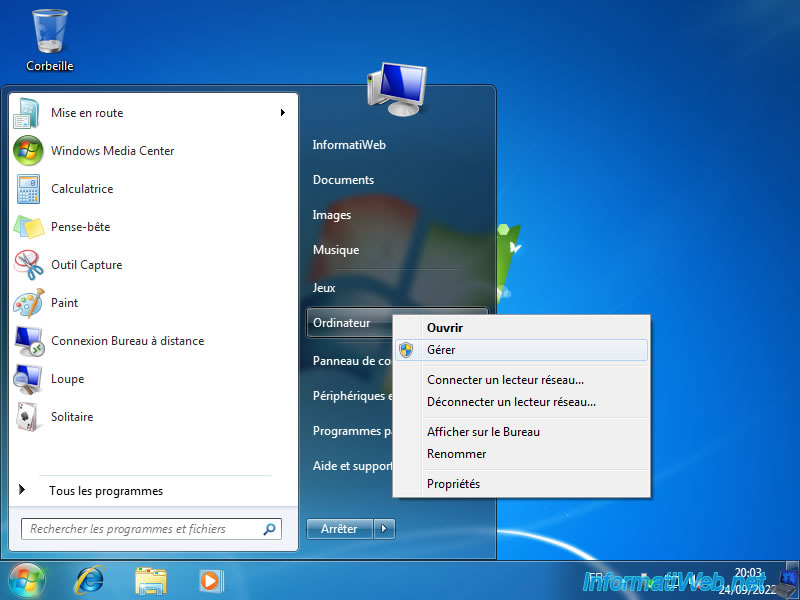
Open the Windows 7 start menu and right click "Manage" on "Computer".
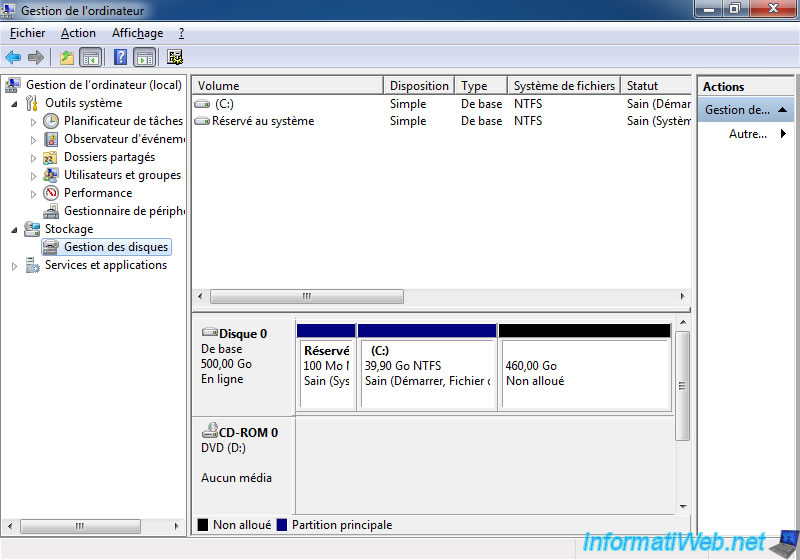
In the "Computer Management" console that appears, go to: Disk Management.
As you can see, currently your hard drive has:
- a 100 MB system partition named "System Reserved" (which corresponds to Windows 7's "Win RE" repair tools).
- a 40 GB "C" partition where Windows 7 is installed.
Share this tutorial
To see also
-

Windows 2/15/2013
Configure the firewall of your computer
-

Windows 8/29/2022
Windows - Install the drivers from the manufacturer's site
-
Windows 3/31/2025
Windows 11 / 10 / 8.1 / 8 - Repair a three-way mirror storage space (software RAID 11)
-
MultiBoot 5/21/2024
Windows 7 / 8 / 8.1 / 10 / 11 - Native boot to VHD/VHDX
You must be logged in to post a comment