VHD/VHDX multiboot (native boot) with Windows 10 and Windows 11
- MultiBoot
- Windows 10, Windows 11
- 01 July 2024 at 13:14 UTC
-

- 2/7
4. Partition disk 0 of your computer
As explained previously, the use of EFI and secure boot is part of the prerequisites of Windows 11.
So you need to configure your computer's BIOS to boot in EFI mode and enable secure boot in it.
To do this, refer to our tutorial: Configure your computer's BIOS to boot in UEFI mode (firmware).
Next, you will need to boot to a live CD based on a recent Windows PE environment.
Indeed, you will first have to erase disk 0 where your current Windows installation is located before you can create your multiboot.
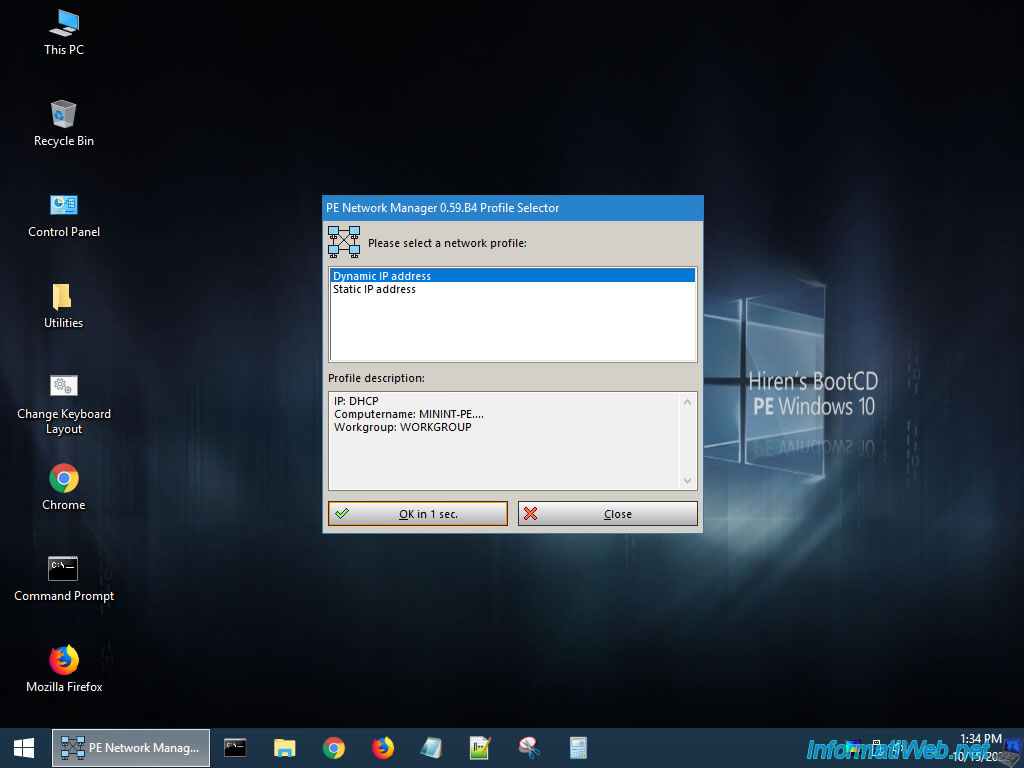
In our case, we will use the live CD "Hiren's BootCD PE" which is based on a Windows PE environment in Windows 10 version.
Restart your computer and press "Enter" when this message appears.

The Windows loading logo appears.
Then, this message will appear at the top left of your screen.

Note that this live CD may allow you to access the Internet if it has a driver compatible with your network card.
This will help you continue to follow our tutorial if necessary without needing a smartphone next to you.
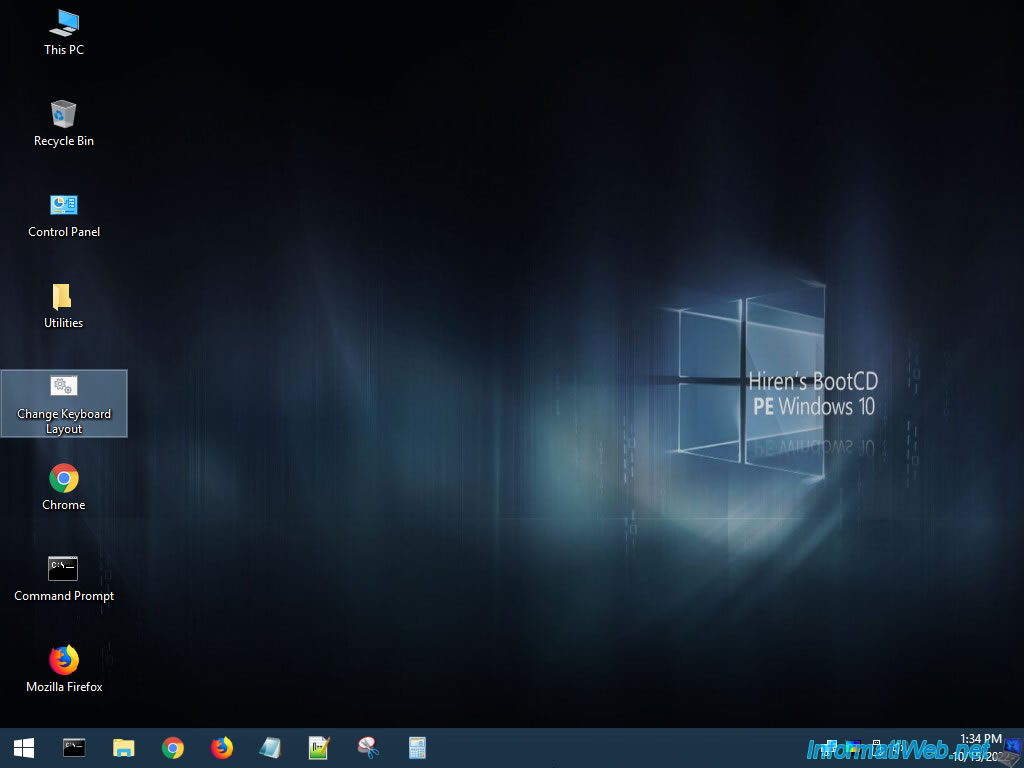
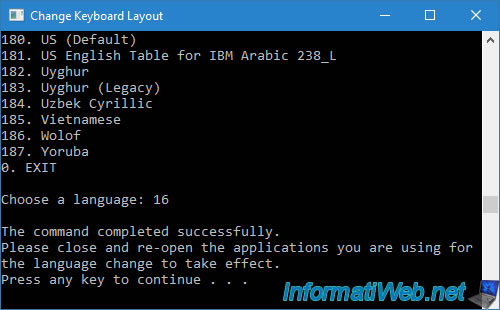
Like any software, the keyboard is configured by default in QWERTY.
To solve the problem, first launch the "Change Keyboard Layout" script via the shortcut on the desktop.
For the "French (France)" keyboard, type the number "50".
For the "French (Belgium)" keyboard, type the number "16".
For other keyboard layouts, see the long list offered by this script.
The default keayboard is : 180 = US (Default).
Warning : as indicated by this script, if you have already opened other programs, you will have to close them and reopen them for this change to take effect.
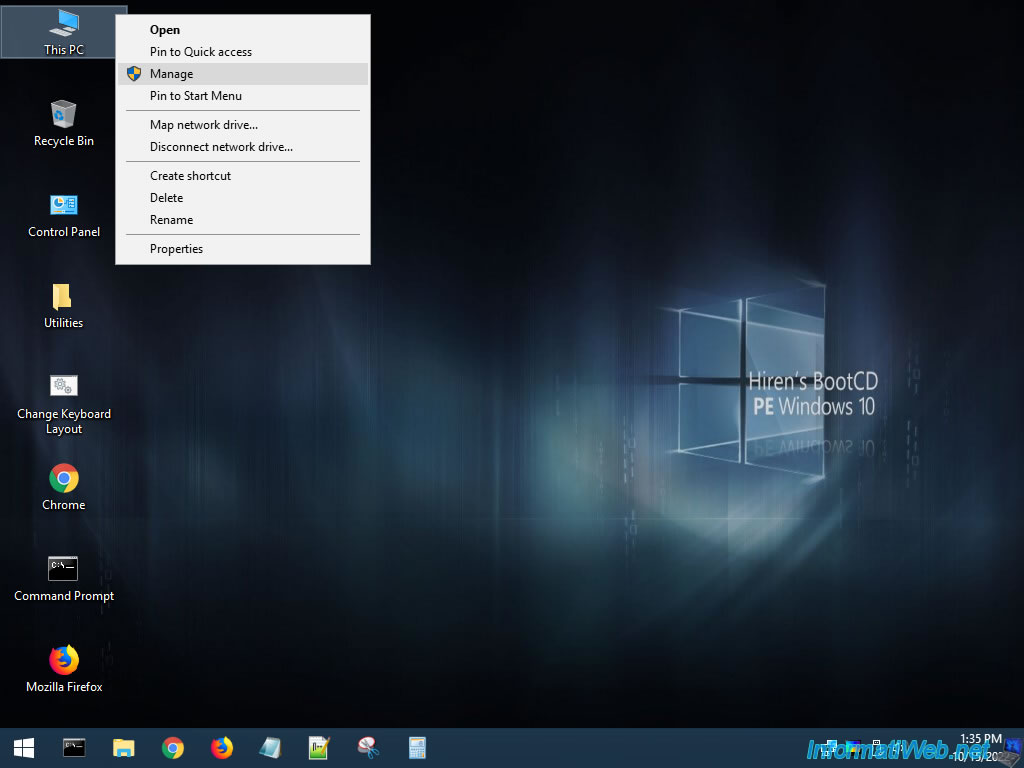
Right-click "Manage" on the "This PC" shortcut present on the desktop.
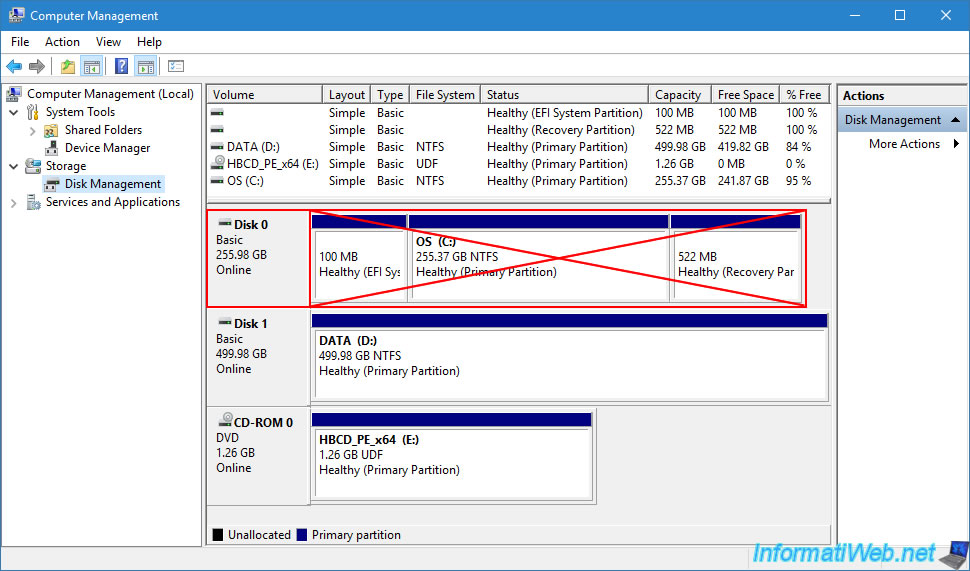
In the "Computer Management" console that appears, go to the "Storage -> Disk Management" section.
Warning : the "Disk 0" visible here will be completely erased. This includes the "C" partition where your old Windows installation is located, but also the other partitions that would be on that "Disk 0" drive.
Once this disk is erased, the data present on it cannot be recovered.
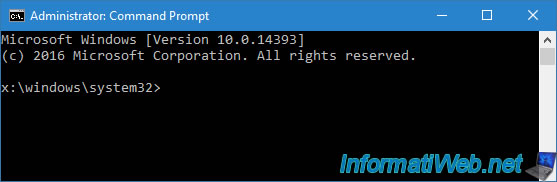
Open a command prompt (cmd.exe) as an administrator by double-clicking on the "Command Prompt" shortcut on the desktop.
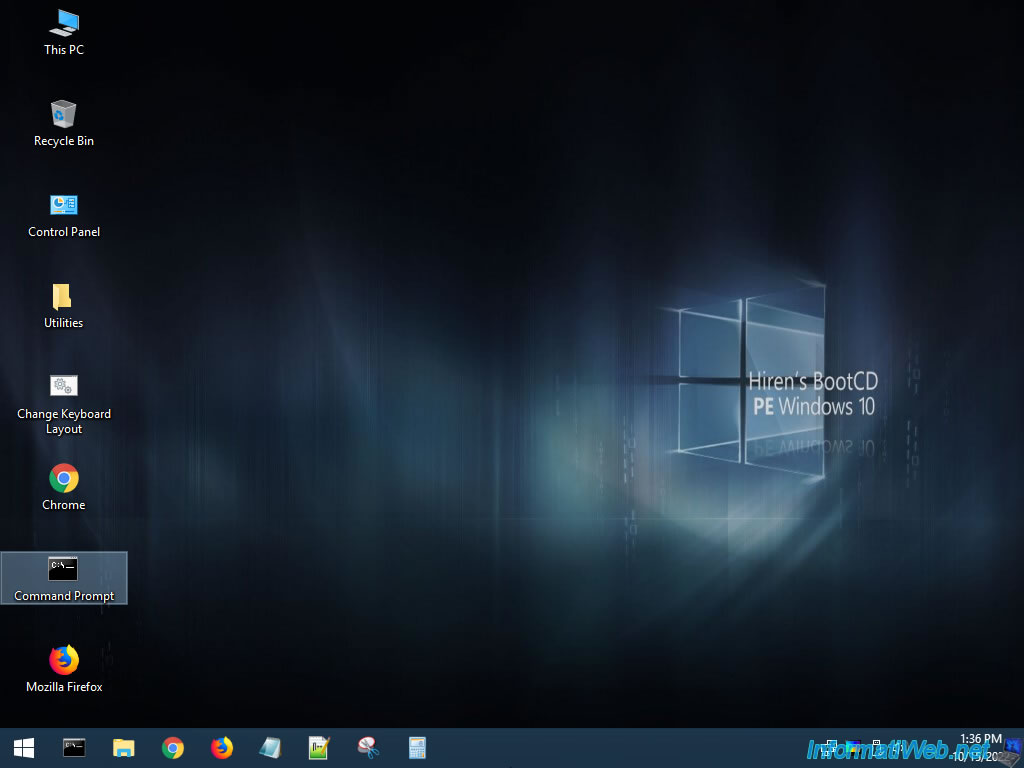
An "Administrator: Command Prompt" window will appear.
To begin, in this command prompt, launch the "DiskPart" tool.
Batch
diskpart
Select Disk 0 (where your normal Windows installation is located).
Batch
select disk 0
Plain Text
Disk 0 is now the selected disk
Erase this hard drive or SSD entirely (including its partition table).
Batch
clean
Plain Text
DiskPart succeeded in cleaning the disk.
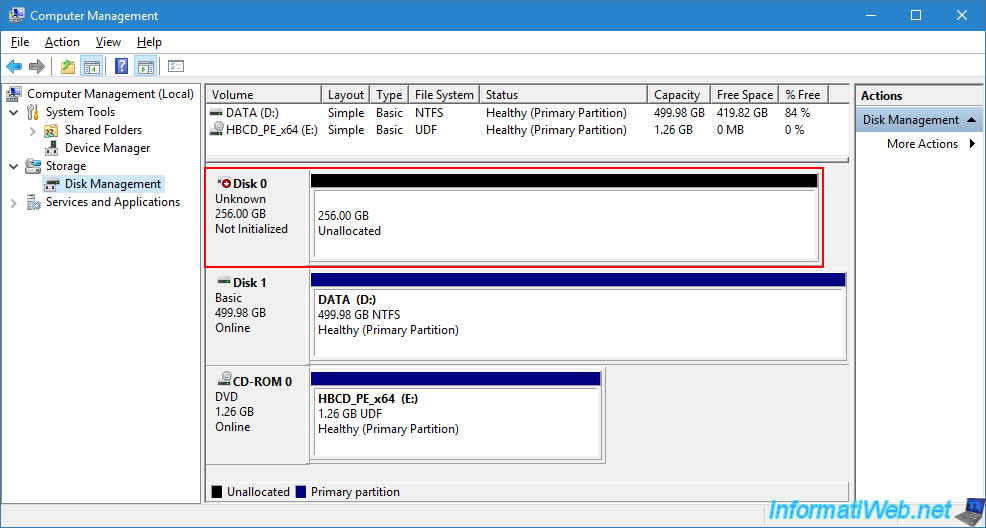
If you look in the "Disk Management" section of the "Computer Management" console, you will see that disk 0 is not initialized (Not Initialized) and that it only contains unallocated space (Unallocated).
As explained earlier, Windows 11 requires booting in UEFI mode.
Which requires that the disk your computer will boot from must use a GPT partition table.
To do this, you must initialize your disk with a GPT partition table using the command:
Batch
convert gpt
Plain Text
DiskPart successfully converted the selected disk to GPT format.
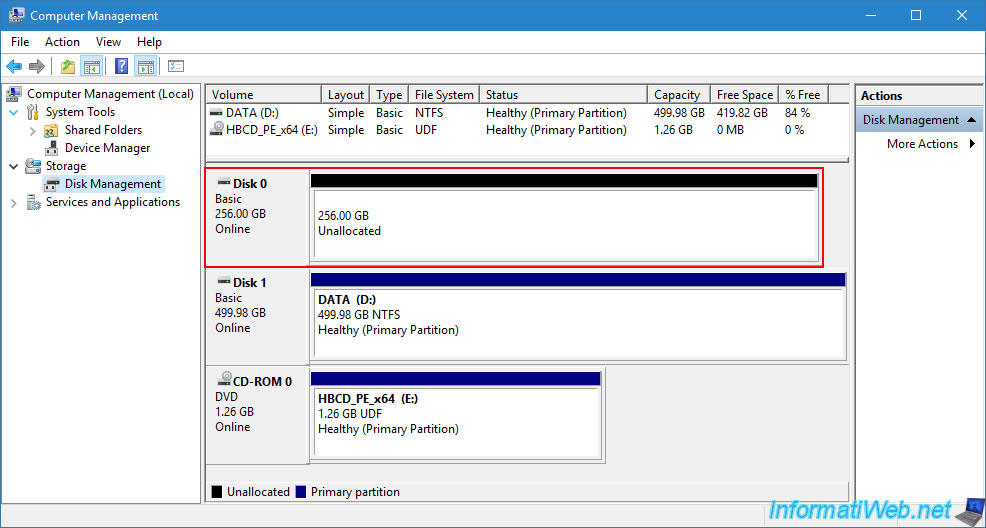
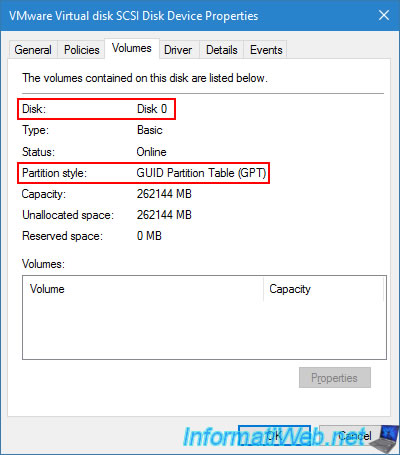
To see the type of partition table that will be used, you must right click "Properties" on your "Disk 0".
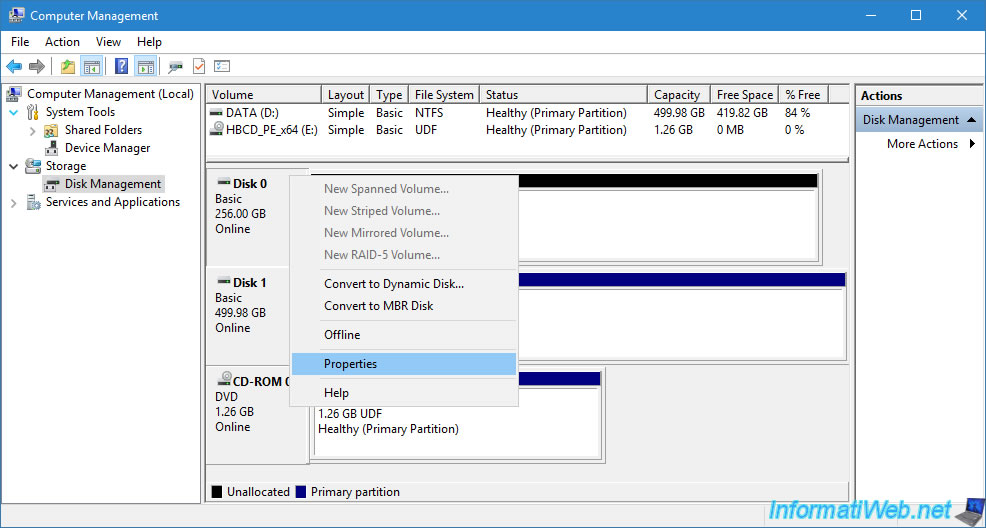
In the "Volumes" tab of the window that is displayed, you will see that the type of partitions used on "Disk 0" is "GUID Partition Table (GPT)".
To boot in EFI mode in Windows 10 or 11, you will need a 100MB EFI partition, as well as an MSR partition (reserved for Microsoft).
Source: Boot to a virtual hard disk: Add a VHDX or VHD to the boot menu | Microsoft Learn.
First create the 100MB EFI partition.
Batch
create partition efi size=100
Plain Text
DiskPart succeeded in creating the specified partition.
Format this partition in FAT32 and name it: System.
Batch
format quick fs=fat32 label="System"
Plain Text
DiskPart successfully formatted the volume.
Assign the letter "S" to this partition.
Batch
assign letter=S
Plain Text
DiskPart successfully assigned the drive letter or mount point.
Next, create the 128MB MSR (Microsoft Reserved) partition.
Batch
create partition msr size=128
Plain Text
DiskPart succeeded in creating the specified partition.
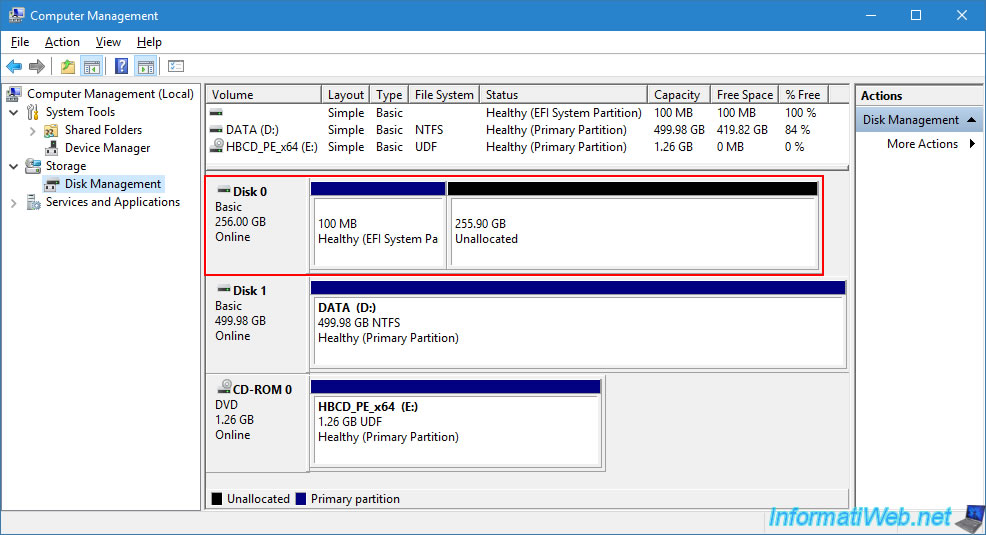
If you check in Windows Disk Management, you will see that the 100MB EFI partition will appear.
However, you will not see the MSR partition appear here, as it is a special type of partition.
Finally, create a 3rd "Primary" type partition on which you will then store the VHDX files of your virtual hard disks.
Batch
create partition primary
Format this 3rd partition in NTFS and name it "Main" (for "main"), for example.
Batch
format quick fs=ntfs label="Main"
Plain Text
0 percent completed
When formatting is complete, this will be displayed.
Note that this formatting may take a few minutes depending on the size of your disk 0.
Plain Text
100 percent completed

DiskPart successfully formatted the volume.
Assign the letter "M" to this partition.
Batch
assign letter=M
Plain Text
DiskPart successfully assigned the driver letter or mount point.
Quit DiskPart.
Batch
exit
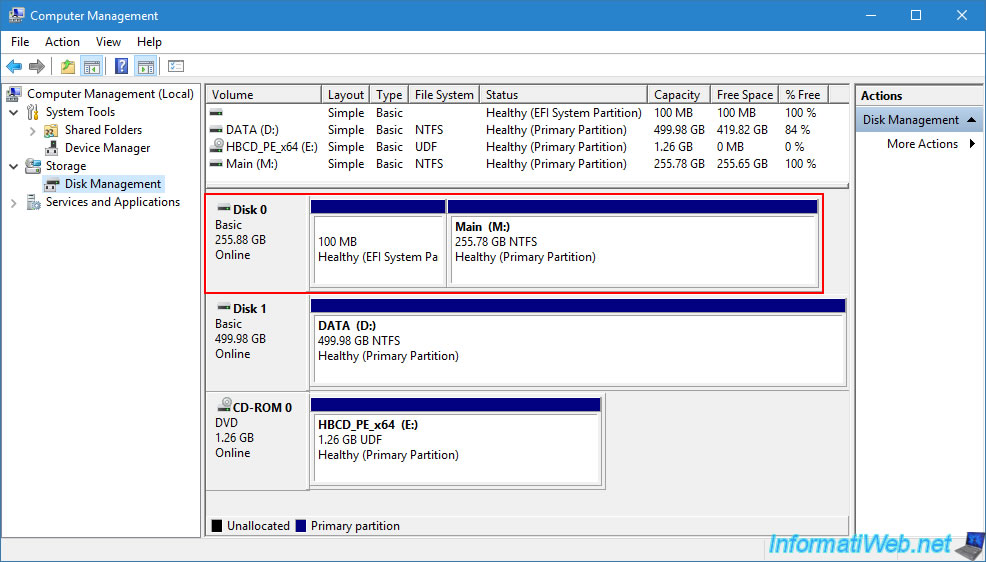
In Windows Disk Management, you will see that Disk 0 has:
- an EFI system partition (for boot files).
- a primary "Main" partition (where you will store the VHDX files of your virtual hard disks.
- the MSR partition is not visible because of its somewhat special type.
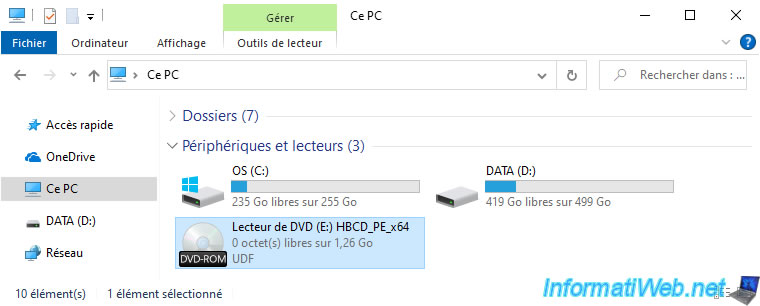
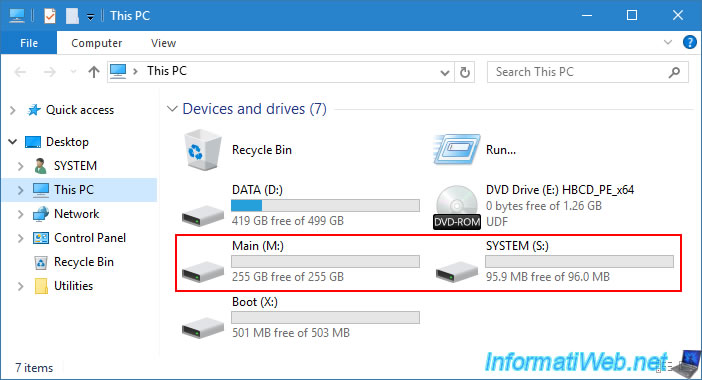
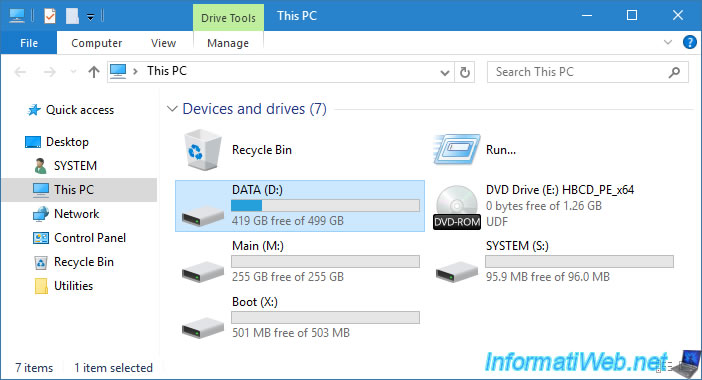
In the file explorer, you will see the 2 new partitions appear.
Note that the letter "S" of the EFI system partition appears in File Explorer, even though it does not appear in Windows Disk Management.
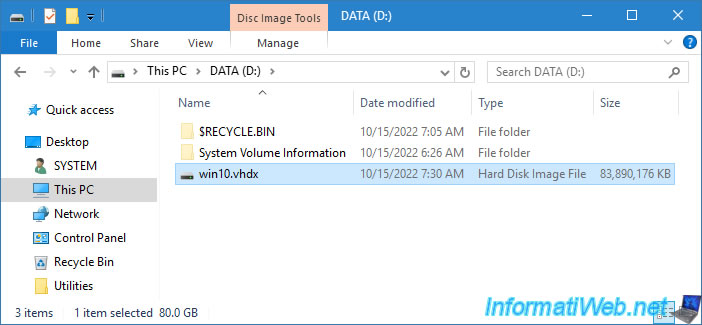
Currently, your virtual hard disk file "win10.vhdx" is located in the partition of your 2nd hard disk.
In our case, it is in our "DATA (D:)" partition. Hence the fact that space is used on this partition.
As expected, we find our "win10.vhdx" file.
Move this "win10.vhdx" file to the root of your new "Main (M:)" partition from file explorer or use the command below.
Note: the progress of moving the file does not appear if you use the command below.
So you have to be patient.
Batch
move D:\win10.vhdx M:\
Plain Text
1 file(s) moved.
The "win10.vhdx" file has been moved to your "Main (M:)" partition.

5. Create boot files and boot entry for Windows 10
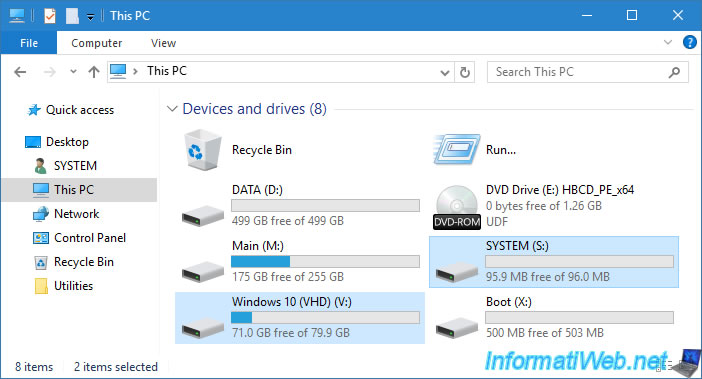
To create the boot files, you will need the "Windows 10 (VHD) (V:)" partition of your virtual hard drive.
To do this, in the command prompt, launch the DiskPart tool.
Batch
diskpart
Select your virtual hard disk by specifying the path of its VHDX file.
Batch
select vdisk file=M:\win10.vhdx
Plain Text
DiskPart successfully selected the virtual disk file.
Attach this virtual hard disk so that Windows can use it.
Batch
attach vdisk
Plain Text
DiskPart successfully attached the virtual disk file.
List the volumes available on your computer.
Batch
list volume
In our case, it gives this.
Plain Text
 Volume ###  Ltr  Label        Fs     Type        Size     Status     Info
 ----------  ---  -----------  -----  ----------  -------  ---------  --------
 Volume 0     E   HBCD_PE_x64  UDF    DVD-ROM     1292 MB  Healthy
 Volume 1     M   Main         NTFS   Partition    255 GB  Healthy
 Volume 2     S   SYSTEM       FAT32  Partition    100 MB  Healthy    Hidden
 Volume 3     D   DATA         NTFS   Partition    499 GB  Healthy
 Volume 4     C   Windows 10   NTFS   Partition     79 GB  Healthy
Select the "Windows 10 (VHD)" volume corresponding to the partition of your VHDX virtual hard disk by specifying its number retrieved from the list above.
Batch
select volume 4
Plain Text
Volume 4 is the selected volume
Assign the letter "V" to this one.
Batch
assign letter=V
Quit DiskPart.
Batch
exit
As you can see, at the moment the EFI "SYSTEM (S:)" partition is empty.
Move to the "Windows\System32" folder of the Windows 10 installation located on your virtual hard disk so that the Windows startup files are used to start your multiboot.
Batch
cd /d V:\Windows\System32
Then, use the "bcdboot" tool of Windows 10 by specifying:
- V:\Windows: the path of the "Windows" folder of the installation to add to the Windows startup manager that will be created.
- "/s S:": allows you to specify the system partition where the boot files must be created.
In this case, the EFI system partition "SYSTEM (S:)". - /f UEFI: indicates that the boot should be in UEFI mode.
Which is required by Windows 11 and also supported by Windows 10.
Batch
bcdboot V:\Windows /s S: /f UEFI
If the above command succeeds, this will be displayed.
Plain Text
Boot files successfully created.
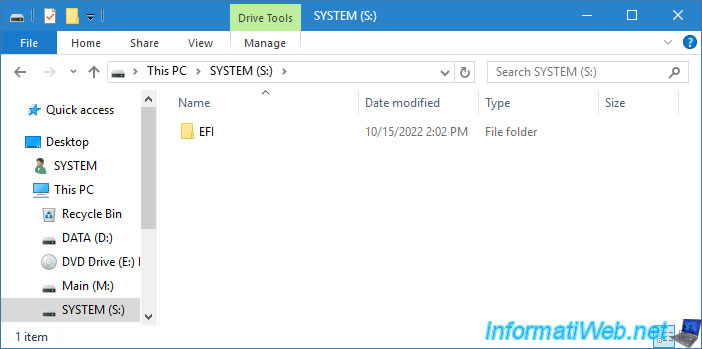
As you can see, data has been created on the "SYSTEM (S:)" partition.
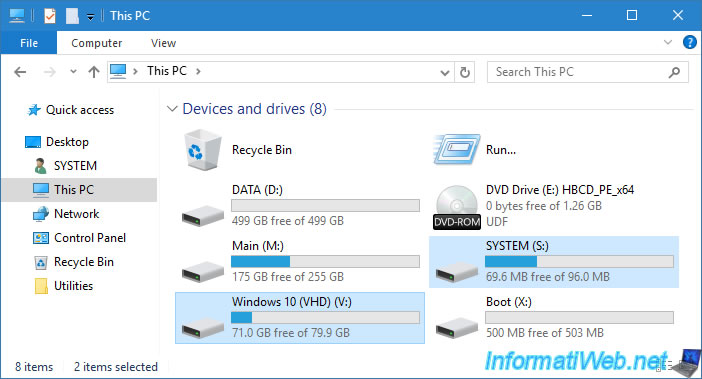
If you enter this "SYSTEM (S:)" partition, you will see that an "EFI" folder has been created.
This "EFI" folder contains the boot files needed to boot into UEFI mode.
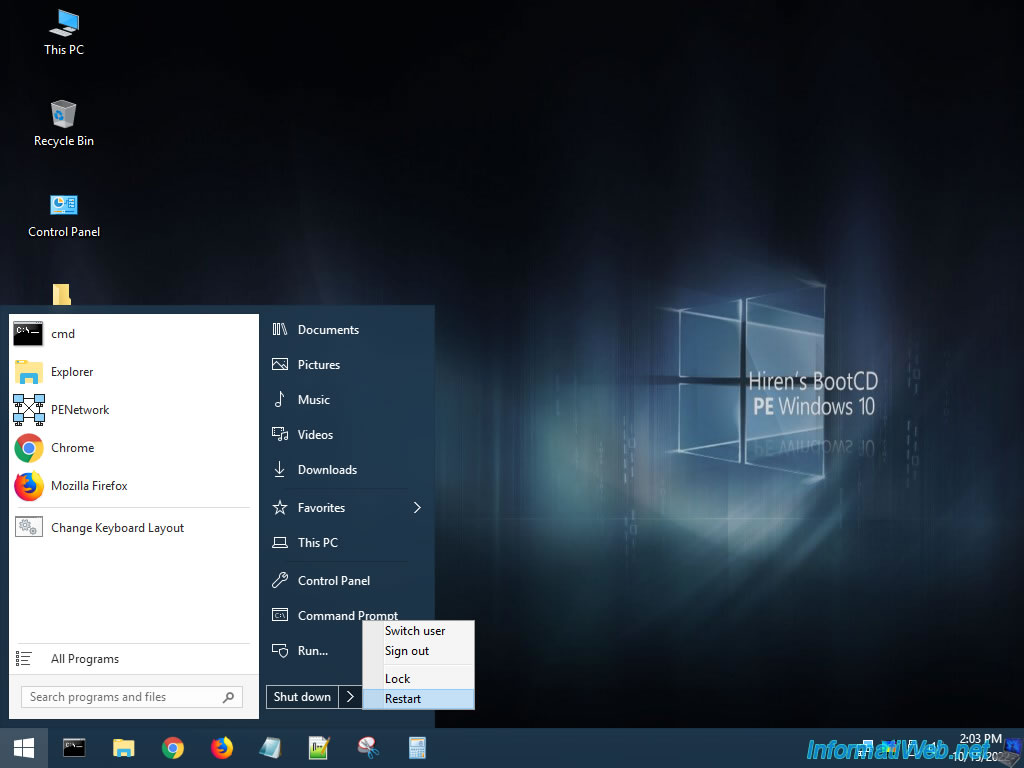
Restart your computer by opening the Windows start menu, then clicking "> Restart".
Share this tutorial
To see also
-

Windows 4/11/2022
Windows 10 - Delete an old network profile
-
Windows 2/3/2025
Windows 10 - Tabbed file explorer (via Files)
-
Windows 3/24/2025
Windows 11 / 10 / 8.1 / 8 - Repair a two-way mirror storage space (software RAID 1)
-
Windows 5/18/2022
Windows 7 / 8 / 8.1 / 10 / 11 - Enable the Administrator account
No comment