- Windows
- Windows 8 / 8.1, Windows 10, Windows 11
- 07 April 2025 at 14:16 UTC
-

- 1/2
With Windows storage spaces, you can create storage that combines performance and security.
To do this, simply create a "parity" type storage space (RAID 5 software) using 3 physical disks.
With this type of storage, performance is improved since Windows writes transparently:
- half of each data on the 1st physical disk.
- the other half of each data on the 2nd physical disk.
To ensure data security, Windows will also write parity data to the 3rd physical disk.
So, if one of the physical disks fails (no matter which one), you will not lose any data and you just have to replace it and rebuild it.
Tutorial made on Windows 10 version 2104 and also tested with Windows 11 v21H2, 8.1 Pro and 8 Pro.
- Create a parity storage space (software RAID 5)
- Data accessible during physical disk failure
- Add a new physical disk to your parity storage space (software RAID 5)
- Rebuild missing disk of parity storage (software RAID 5)
- Remove the faulty physical disk from a parity storage (software RAID 5)
1. Create a parity storage space (software RAID 5)
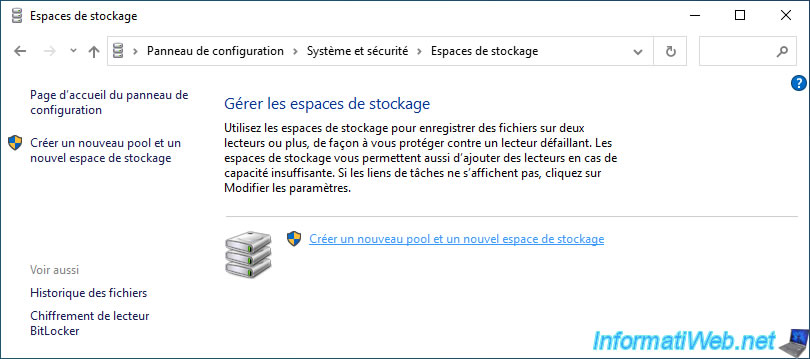
To create a "parity" type storage space (software RAID 5) to benefit from better performance while ensuring the security of your data, you click on the link "Create a new pool and a new storage space".
Then, in the "Create storage space" window, you select the resilience type "Parity".

As long as the physical disks used for this storage space are in good condition, the status displayed is "OK" for your storage space, as well as for the physical disks used.
Note: as a reminder, a "Parity" type storage space requires 3 physical disks. 2 physical disks for data and a 3rd physical disk for parity (which will allow the reconstruction of the disk that would fail in the meantime).
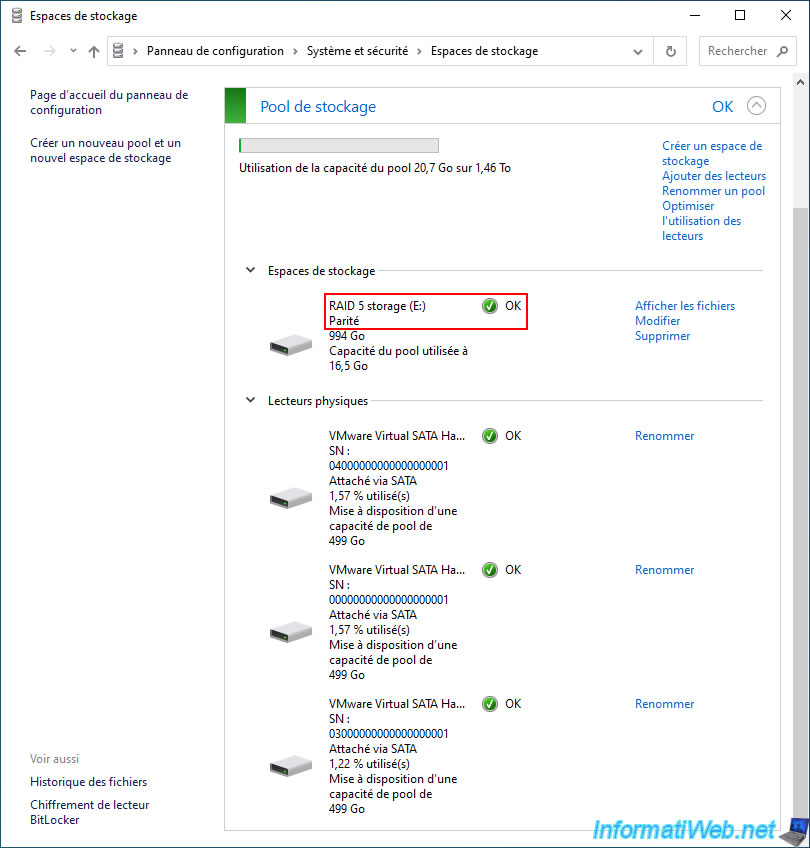
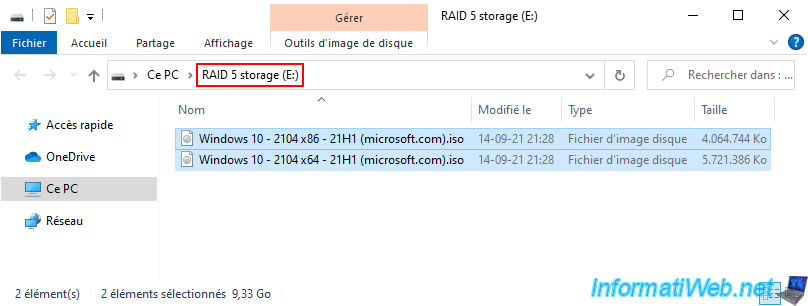
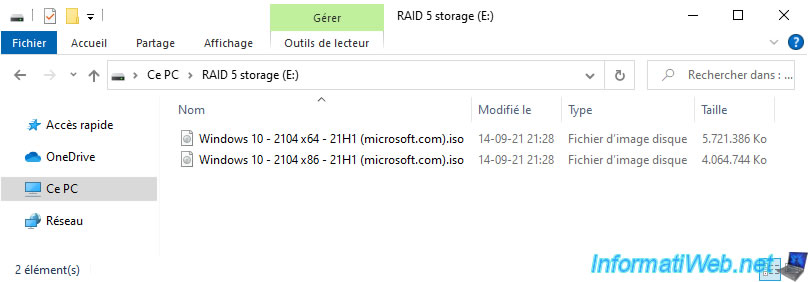
In the explorer, your "RAID 5 storage" storage space appears normally and you therefore have access to the files it contains.
2. Data accessible during physical disk failure
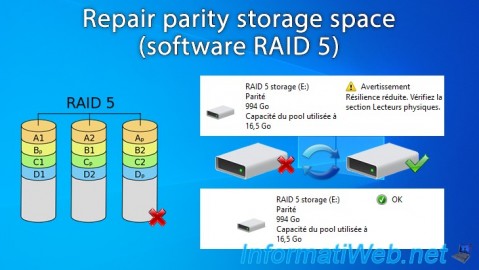
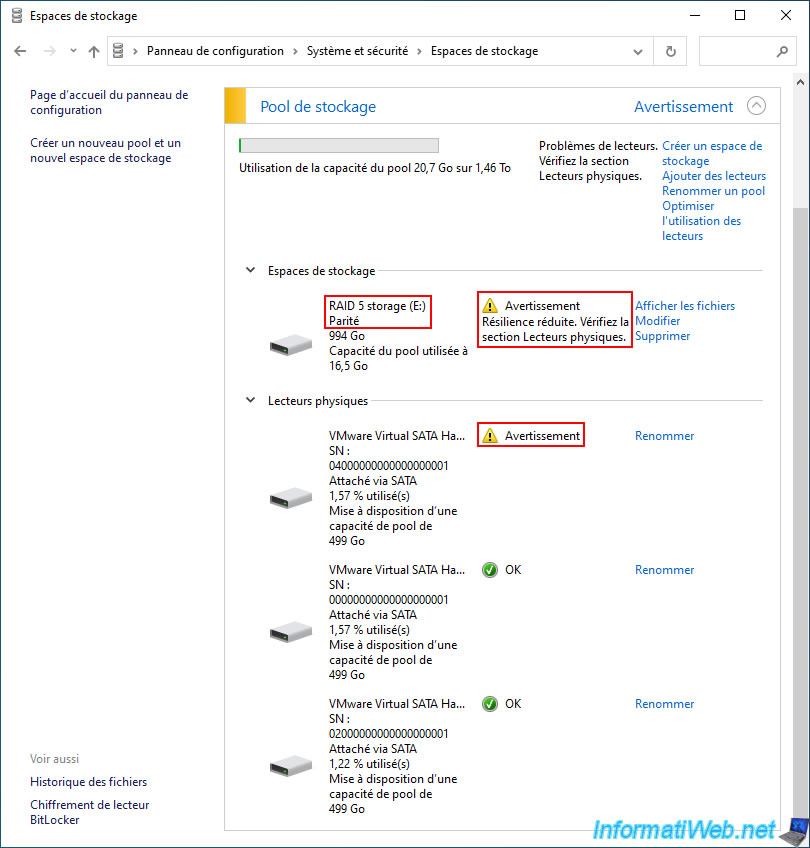
If one of the 3 physical disks used for your "Parity" type storage space fails, the status of your storage pool will become "Warning".
For your "RAID 5 storage" storage space, its status will be "Warning - Reduced resilience. Check the physical drives section".
This indicates that the fault tolerance is reduced, although it has become non-existent in this case.
Nevertheless, your storage space is still accessible, as well as all of its data, because the number of remaining healthy disks is sufficient to be able to access your data.
For the failed physical disk (Physical drive), a "Warning" status appears for it.
As explained earlier, your storage space is always available in file explorer.
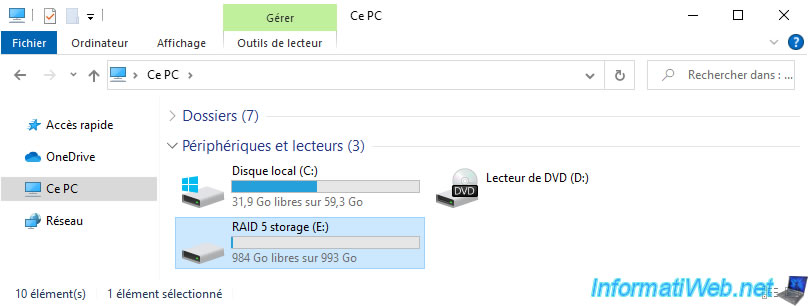
As explained earlier, your storage space is always available in file explorer.
Of course, since the number of remaining disks (2) is sufficient in the case of a RAID 5 (Parity), you will be able to use the files in your storage space without any problem or copy them elsewhere if you wish.
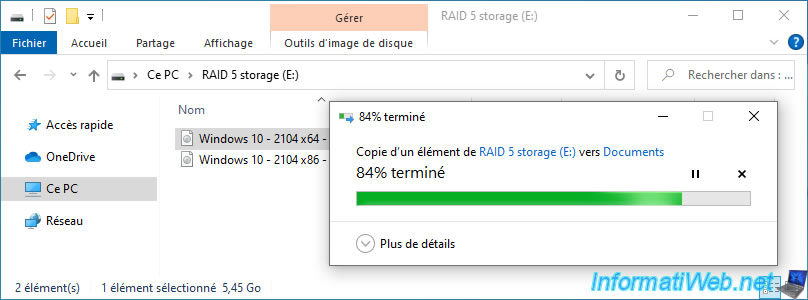
As expected, copying a file from this storage space succeeded without any issues.
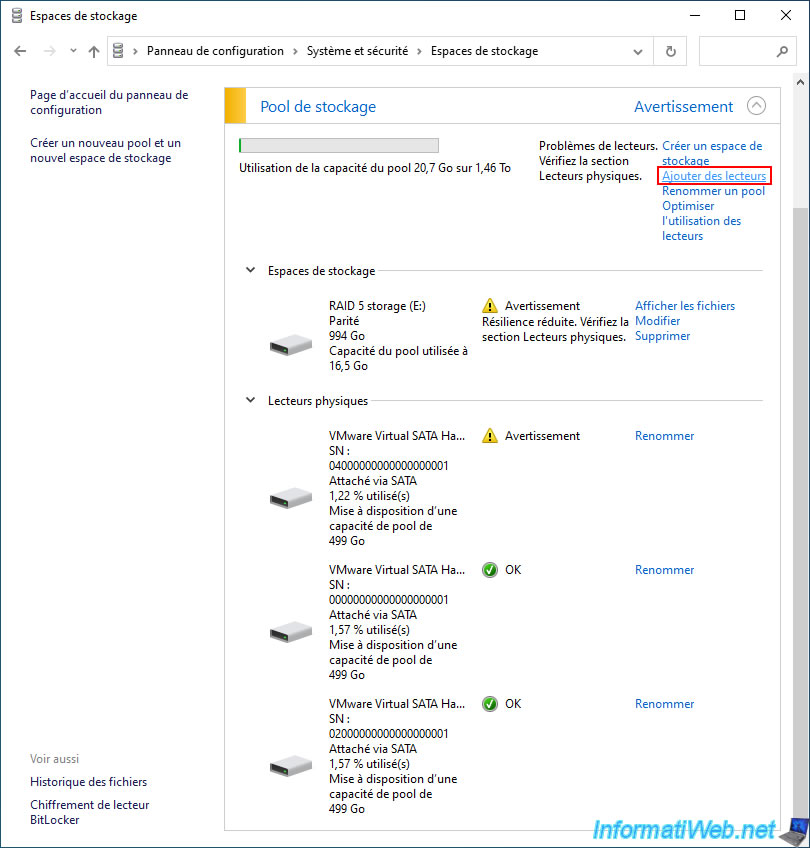
3. Add a new physical disk to your parity storage space (software RAID 5)
To replace the failed physical disk, you must turn off your computer and physically unplug it.
Then, plug in a new physical disk of the same size and turn your computer back on.
Once your computer is turned on, click the "Add drives" link to the right of your storage pool.
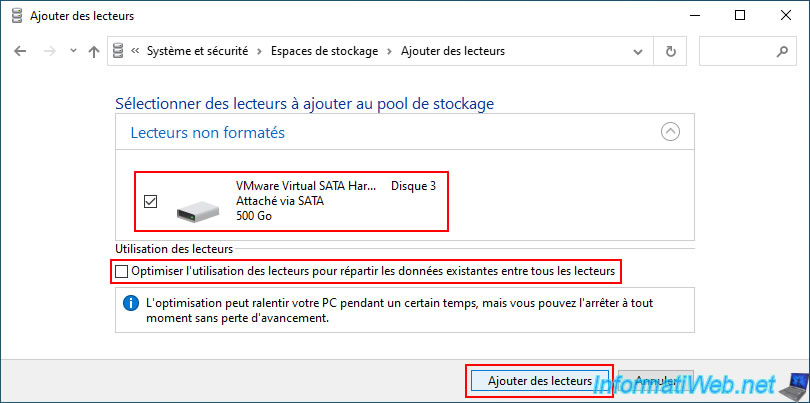
Select the blank physical disk you just plugged into your computer and uncheck the "Optimize drive usage to distribute existing data across drives" box.
Indeed, optimizing disk space is not necessary in this case and it would only slow down the process of repairing your storage space.
Which is rather not recommended until you have recovered the fault tolerance of your "Parity" type storage space.
Now, click on the "Add drives" button.
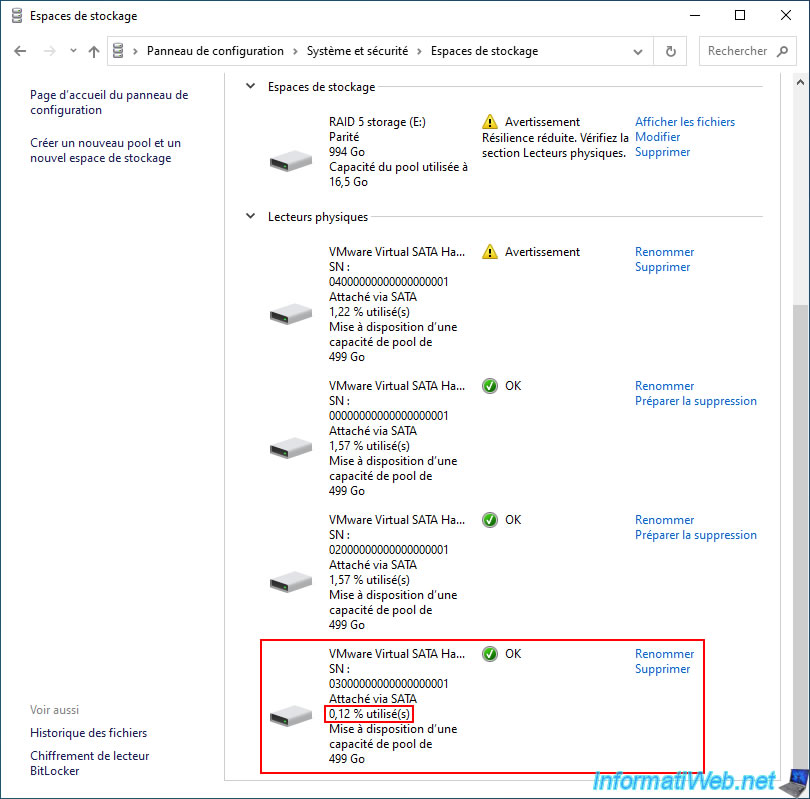
The newly added physical disk appears in the list of physical drives in your storage pool.
In fact, you will notice that its usage is around 0% at the moment.
Share this tutorial
To see also
-

Windows 9/5/2022
Windows - Install the drivers from the device manager
-

Windows 4/17/2025
Windows 10 - Microsoft Store - Change download location
-
Windows 12/4/2023
Windows 10 / 11 - Create an EFS recovery agent
-

Windows 10/20/2021
Windows 7 / 8 / 8.1 / 10 / 11 - Automatically enable the numeric lock (num lock) on startup
You must be logged in to post a comment